Annotating videos
After you have trained a model, you can request a prediction by supplying a CSV
file to the batchPredict
method that lists your videos. The batchPredict method applies labels based
on predictions made by your model.
The maximum lifespan for a model is two years. You must then train a new model.
Predict Example
To request a batch of predictions from AutoML Video, create a CSV
file that lists the Cloud Storage paths to the videos that you want to
annotate. You can also specify a start and end time to tell
AutoML Video to only annotate a segment (segment-level) of the
video. The start time must be zero or greater and must be before the end time.
The end time must be greater than the start time and less than or equal to the
duration of the video. You can also use inf to indicate the end of a video.
gs://my-videos-vcm/short_video_1.avi,0.0,5.566667
gs://my-videos-vcm/car_chase.avi,0.0,3.933333
gs://my-videos-vcm/northwest_wildlife_01.avi,0.0,3.7
gs://my-videos-vcm/northwest_wildlife_02.avi,0.0,1.666667
gs://my-videos-vcm/motorcycles_and_cars.avi,0.0,2.633333
gs://my-videos-vcm/drying_paint.avi,0.0,inf
You must also specify an output file path where AutoML Video will write the results of the predictions from your model. This path must be a Cloud Storage bucket and object where you have write permissions.
Each video can be up to 3 hours in duration with a maximum file size of 50GB. AutoML Video can generate predictions for approximately 100 hours of video in 12 hours of processing time.
When you request a prediction for your videos, you can set the following
options in the params section. If you do not specify any of these options,
the default score threshold is applied, and segment_classification is used.
score_threshold - A value from 0.0 (no confidence) to 1.0 (very high confidence). When the model makes predictions for a video, it will only produce results that have at least the confidence score you've specified. The default for the API is 0.5.
segment_classification - Set to true to enable segment-level classification. AutoML Video returns labels and their confidence scores for the entire segment of video that you specified in your request configuration. The default is true.
shot_classification - Set to true to enable shot-level classification. AutoML Video determines the boundaries for each camera shot in the entire segment of video that you specified in your request configuration. AutoML Video Intelligence then returns labels and their confidence scores for each shot detected, along with the start and end time of the shot. The default is false.
1s_interval_classification - Set to true to enable classification for a video at one-second intervals. AutoML Video returns labels and their confidence scores for each second of the entire segment of video that you specified in your request configuration. The default is false.
Web UI
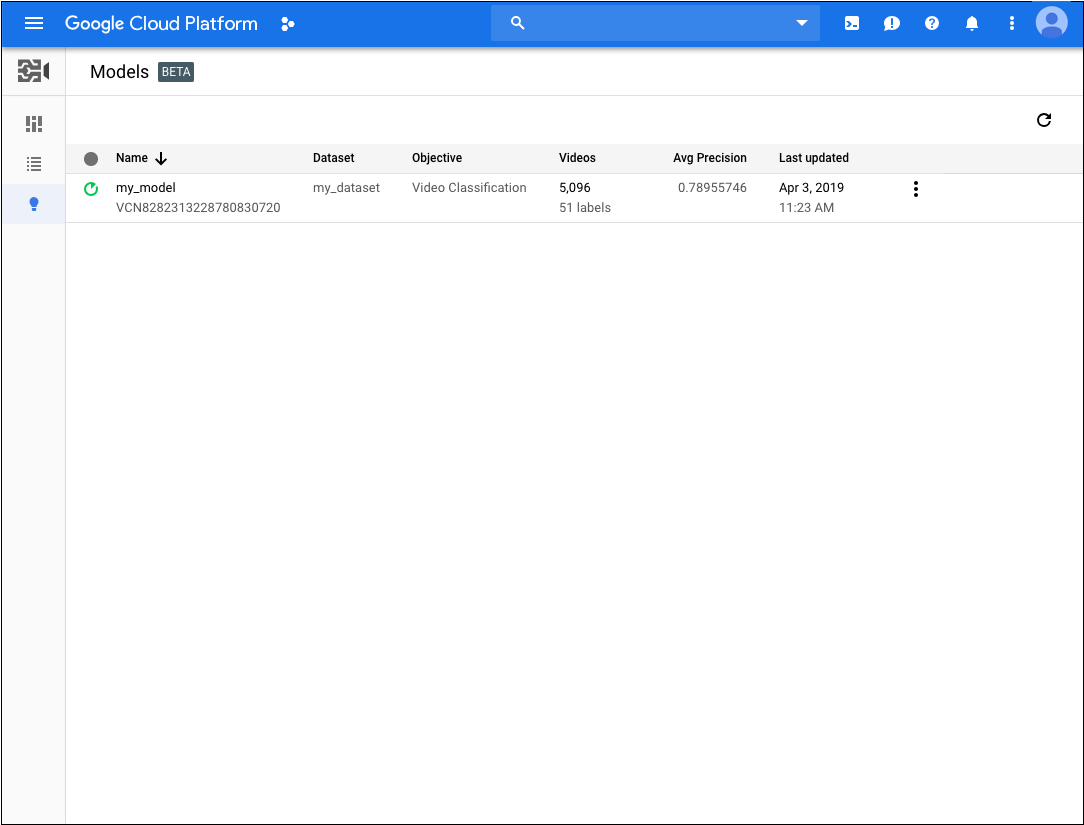
- Open the AutoML Video UI.
- Click the model that you want to use from the displayed
list.
- On the Test & Use tab for the model, do the following:
- Under Test your model, select a CSV file to use for the prediction. The CSV file must provide a list of videos that you want to annotate.
Also under Test your model, select a directory within your Cloud Storage bucket to receive the annotation results.
You may actually want to create a specific 'results' folder in your Cloud Storage bucket to hold the annotation results. By doing so, you can more easily access older predictions by loading the
video_classification.csvfile contained in the results directory.- Click Get Predictions.
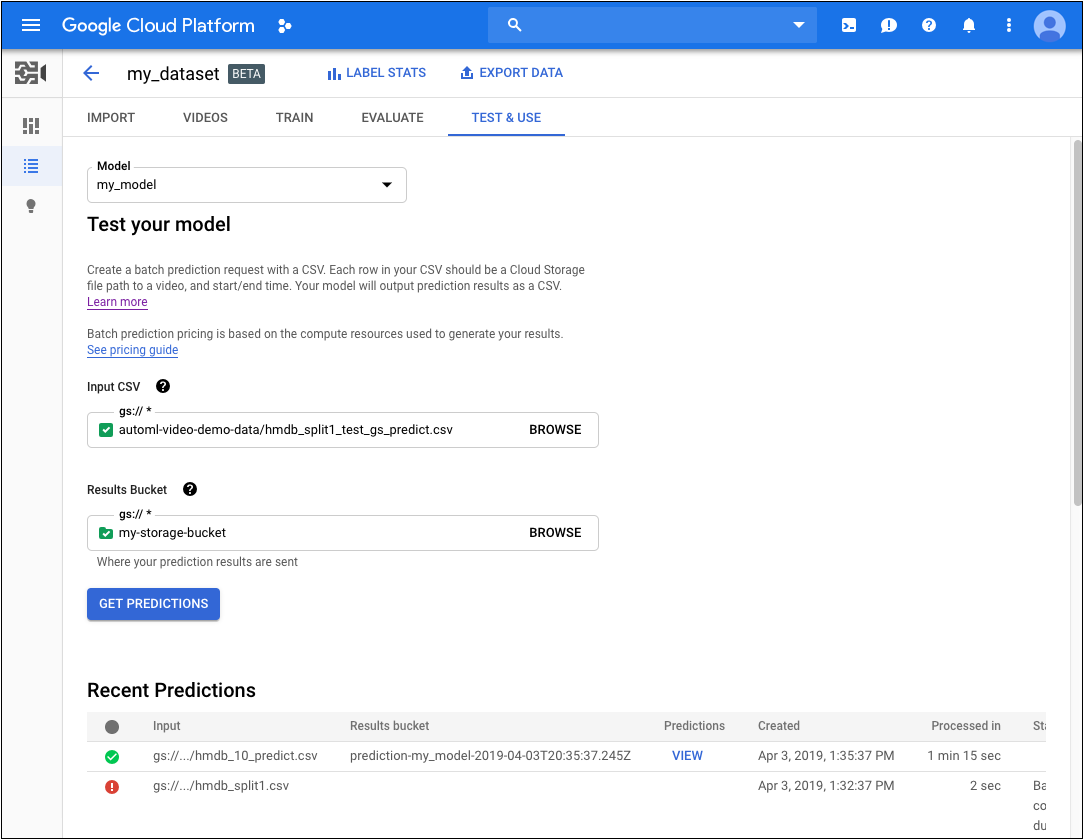
The process for getting predictions can take some time, depending on the number of videos that you want annotated.
When the process has completed, the results appear on the page for the model under Recent Predictions. To view the results, do the following:
- Under Recent Predictions in the Predictions column, click View for the prediction you want to look at.
- Under Video, select the name of the video you want to see the results for.

REST
Before using any of the request data, make the following replacements:
- input-uri: a Cloud Storage bucket that contains the file you want to annotate,
including the file name. Must start with gs://. For example:
"inputUris": ["gs://automl-video-demo-data/hmdb_split1_test_gs_predict.csv"] - output-bucket replace with the name of your Cloud Storage
bucket. For example:
my-project-vcm - object-id: replace with the operation id for your import data operation.
- Note:
- project-number: number of your project
- location-id: the Cloud region where annotation
should take place. Supported cloud regions are:
us-east1,us-west1,europe-west1,asia-east1. If no region is specified, a region will be determined based on video file location.
HTTP method and URL:
POST https://automl.googleapis.com/v1beta1/projects/project-number/locations/location-id/models/model-id:batchPredict
Request JSON body:
{
  "inputConfig": {
    "gcsSource": {
      "inputUris": [input-uri]
    }
  },
  "outputConfig": {
    "gcsDestination": {
      "outputUriPrefix": "gs://output-bucket/object-id"
    }
  }
}
To send your request, choose one of these options:
curl
Save the request body in a file named request.json,
and execute the following command:
curl -X POST \
     -H "Authorization: Bearer $(gcloud auth print-access-token)" \
     -H "x-goog-user-project: project-number" \
     -H "Content-Type: application/json; charset=utf-8" \
     -d @request.json \
     "https://automl.googleapis.com/v1beta1/projects/project-number/locations/location-id/models/model-id:batchPredict
"
PowerShell
Save the request body in a file named request.json,
and execute the following command:
$cred = gcloud auth print-access-token
$headers = @{ "Authorization" = "Bearer $cred"; "x-goog-user-project" = "project-number" }

Invoke-WebRequest `
    -Method POST `
    -Headers $headers `
    -ContentType: "application/json; charset=utf-8" `
    -InFile request.json `
    -Uri "https://automl.googleapis.com/v1beta1/projects/project-number/locations/location-id/models/model-id:batchPredict
" | Select-Object -Expand Content
You should receive an operation id for your batch predict request. For example:
VCN926615623331479552
Depending on the number of videos that you specified in your CSV file, the
batch predict task can take some time to complete. When the task is
finished, you will see done: true in the status of the operation with
no errors listed, as shown in the following example.
{
  "name": "projects/project-number/locations/location-id/operations/VCN926615623331479552",
  "metadata": {
    "@type": "type.googleapis.com/google.cloud.automl.v1beta1.OperationMetadata",
    "createTime": "2020-02-11T21:39:19.832131Z",
    "updateTime": "2020-02-11T21:43:43.908318Z",
    "done": true,
    "batchPredictDetails": {
      "inputConfig": {
        "gcsSource": {
          "inputUris": [
            "gs://bucket-name/input-file.csv"
          ]
        }
      },
      "outputInfo": {
        "gcsOutputDirectory": "output-storage-path/prediction-test_model_01-2019-01-11T21:39:19.684Z"
      }
    }
  }
}
When the batch predict task is complete, the output of the prediction is stored in the Cloud Storage bucket that you specified in your command. There is a JSON file for each video segment. For example:
my-video-01.avi.json
{
  "input_uri": "automl-video-sample/sample_video.avi",
  "segment_classification_annotations": [ {
    "annotation_spec": {
      "display_name": "ApplyLipstick",
      "description": "ApplyLipstick"
    },
    "segments": [ {
      "segment": {
        "start_time_offset": {
        },
        "end_time_offset": {
          "seconds": 4,
          "nanos": 960000000
        }
      },
      "confidence": 0.43253016
    }, {
      "segment": {
        "start_time_offset": {
        },
        "end_time_offset": {
          "seconds": 4,
          "nanos": 960000000
        }
      },
      "confidence": 0.56746984
    } ],
    "frames": [ ]
  } ],
  "shot_classification_annotations": [ {
    "annotation_spec": {
      "display_name": "ApplyLipstick",
      "description": "ApplyLipstick"
    },
    "segments": [ {
      "segment": {
        "start_time_offset": {
        },
        "end_time_offset": {
          "seconds": 5
        }
      },
      "confidence": 0.43253016
    }, {
      "segment": {
        "start_time_offset": {
        },
        "end_time_offset": {
          "seconds": 5
        }
      },
      "confidence": 0.56746984
    } ],
    "frames": [ ]
  } ],
  "one_second_sliding_window_classification_annotations": [ {
    "annotation_spec": {
      "display_name": "ApplyLipstick",
      "description": "ApplyLipstick"
    },
    "segments": [ ],
    "frames": [ {
      "time_offset": {
        "nanos": 800000000
      },
      "confidence": 0.54533803
    }, {
      "time_offset": {
        "nanos": 800000000
      },
      ...
      "confidence": 0.57945728
    }, {
      "time_offset": {
        "seconds": 4,
        "nanos": 300000000
      },
      "confidence": 0.42054281
    } ]
  } ],
  "object_annotations": [ ],
  "error": {
    "details": [ ]
  }
}
Java
To authenticate to AutoML Video, set up Application Default Credentials. For more information, see Set up authentication for a local development environment.
Node.js
To authenticate to AutoML Video, set up Application Default Credentials. For more information, see Set up authentication for a local development environment.
Python
To authenticate to AutoML Video, set up Application Default Credentials. For more information, see Set up authentication for a local development environment.