Dokumen ini menjelaskan cara memigrasikan project App Engine berbasis IntelliJ ke Cloud Code for IntelliJ.
Sebelum memulai
Jika project Anda berbasis Maven atau Gradle dan menggunakan plugin berbasis App Engine SDK yang lebih lama (misalnya,
com.google.appengine.appengine-maven-plugindancom.google.appengine:gradle-appengine-plugin), Anda harus bermigrasi terlebih dahulu ke plugin Maven dan Gradle berbasis gcloud CLI yang baru.Plugin baru tidak mendukung peningkatan Datanucleus. Jika Anda bergantung pada fitur ini, Anda harus mengonfigurasi peningkatan Datanucleus (JDO, JPA) secara manual untuk project Anda agar dapat bermigrasi ke Cloud Code. Anda harus menggunakan Objectify sebagai lapisan ORM saat membaca/menulis ke Datastore.
Instal plugin baru
Jika Anda belum melakukannya, instal plugin dengan melakukan hal berikut:
- Pastikan Anda memiliki versi IDE yang didukung, JetBrains IDE versi 2022.3+
(seperti IntelliJ Ultimate/Community, PyCharm Professional/Community,
WebStorm, GoLand), di
PATHkomputer Anda. - Buka IntelliJ IDEA (atau JetBrains IDE yang didukung).
- Buka jendela marketplace plugin menggunakan File > Settings > Plugins. Untuk Mac OS X, gunakan IntelliJ IDEA > Preferences > Plugins.
Telusuri plugin 'Cloud Code' dan instal.
Anda mungkin diminta untuk memulai ulang IDE guna mengaktifkan plugin.
Mengonfigurasi IntelliJ dan project Anda
Setelah menginstal plugin, konfigurasi IntelliJ dan project Anda untuk menggunakan plugin baru sebagai berikut:
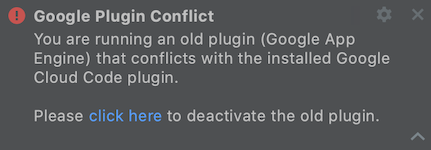
Saat diberi tahu bahwa plugin baru bertentangan dengan integrasi App Engine yang ada, klik link di perintah.
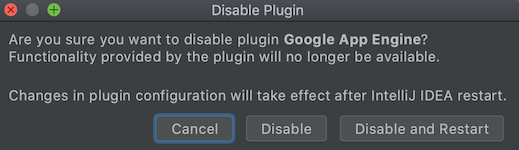
Pada perintah Nonaktifkan Plugin berikut, pilih 'Nonaktifkan dan Mulai Ulang' untuk menonaktifkan plugin App Engine dan memulai ulang IDE agar perubahan konfigurasi plugin diterapkan.
Saat diberi tahu bahwa project Anda dalam format lama, klik opsi untuk Konversi project Anda ke format baru.
Anda harus menghapus instance Server App Engine dan Cloud yang ada, lalu membuatnya ulang menggunakan gcloud CLI baru.
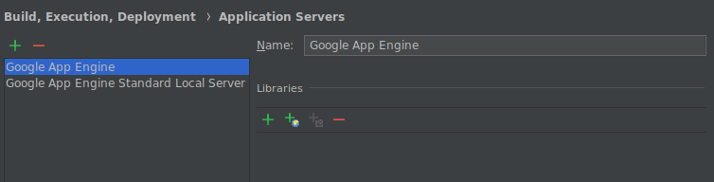
Buka Settings > Build, Execution, Deployment > Application Servers.
Pilih instance App Engine Dev Anda, lalu klik Hapus (-).
Klik Add (+), lalu pilih Google App Engine Dev Server.
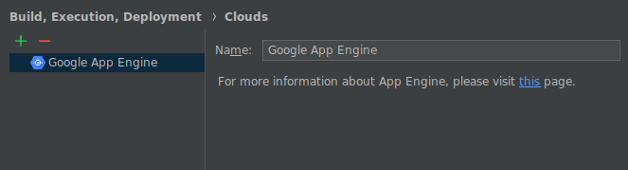
Buka Settings > Build, Execution, Deployment > Clouds.
Pilih instance cloud Google App Engine Anda, lalu klik Hapus (-).
Klik Tambahkan (+) untuk mengonfigurasi target deployment cloud App Engine.
Jika Anda memiliki konfigurasi eksekusi server lokal App Engine, Anda harus memperbaruinya untuk menggunakan Server Aplikasi yang baru dikonfigurasi.
Buka Tools > Cloud Code > App Engine untuk melihat daftar tindakan yang tersedia bagi Anda untuk menjalankan dan men-deploy aplikasi, atau lihat dokumentasi untuk mengetahui informasi selengkapnya.
Untuk project berbasis Maven atau Gradle, pastikan Anda menggunakan plugin App Engine Gradle dan Maven versi terbaru.
Mengonfigurasi project khusus IntelliJ
Khusus untuk project spesifik IntelliJ (yaitu, project yang telah mengonfigurasi setelan project secara manual dengan aspek App Engine lama dan tidak disinkronkan dari Gradle atau Maven), update dependensi App Engine Anda.
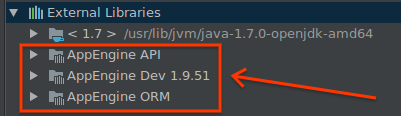
Dependensi App Engine Anda masih dikonfigurasi sebagai 'External Libraries' dan disediakan oleh penginstalan SDK App Engine lama Anda. Jika Anda menghapus penginstalan App Engine SDK, aplikasi Anda tidak akan dikompilasi.
Untuk menghapus dependensi ini pada App Engine SDK lama, konfigurasikan dependensi App Engine API Anda menggunakan fitur impor library App Engine Facet sebagai berikut:
Pengguna fitur peningkatan Datanucleus JDO/JPA plugin lama harus mem-porting aplikasi mereka ke Maven atau Gradle karena peningkatan Datanucleus tidak didukung oleh plugin Cloud Code.
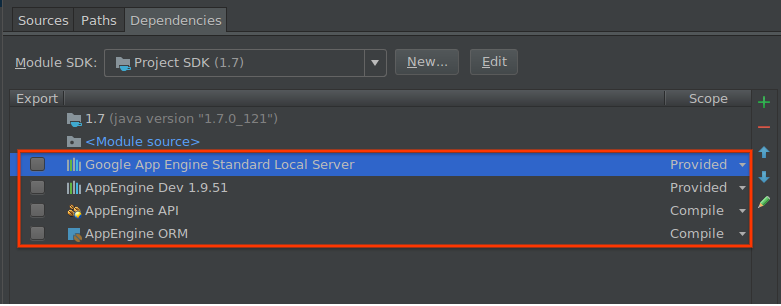
Dari UI Project Structure IntelliJ, buka tab dependensi modul App Engine Standard Anda.
Hapus semua library terkait App Engine.
Di UI Project Structure yang sama, buka aspek Google App Engine modul App Engine Anda.
Di panel Libraries, pilih dependensi App Engine yang Anda gunakan.
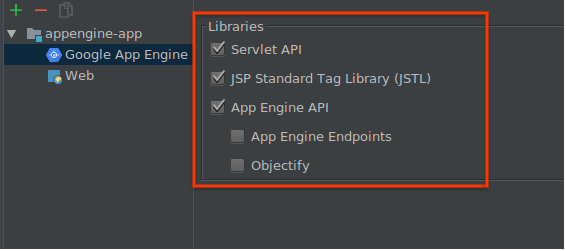
Tindakan ini akan otomatis mengambil dependensi ini dari Maven Central dan menambahkannya ke classpath modul Anda.
Jalankan secara lokal dan deploy untuk memverifikasi bahwa konfigurasi baru Anda berfungsi.
Pada tahap ini, Anda dapat menghapus App Engine SDK lama dengan aman.