Plataforma Vertex AI
Inove mais rápido com IA pronta para empresas, aprimorada pelos modelos do Gemini
A Vertex AI é uma plataforma de desenvolvimento de IA unificada e totalmente gerenciada para criar e usar a IA generativa. Acesse e use o Vertex AI Studio, o Agent Builder e mais de 200 modelos de fundação.
Clientes novos ganham até US$ 300 em créditos para testar a Vertex AI e outros produtos do Google Cloud.
Recursos
Gemini, o modelo multimodal mais eficiente do Google
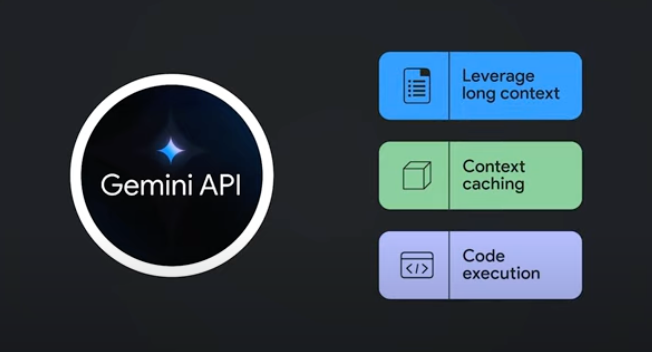
A Vertex AI oferece acesso aos modelos mais recentes do Gemini do Google. O Gemini é capaz de entender praticamente qualquer entrada, combinando diferentes tipos de informações e gerando quase qualquer saída. Crie e teste o Gemini na Vertex AI Studio usando texto, imagens, vídeo ou código. Usando o raciocínio avançado e os recursos de geração de última geração do Gemini, os desenvolvedores podem testar exemplos de comandos para extrair texto de imagens, converter o texto da imagem para JSON e até gerar respostas sobre imagens enviadas para criar aplicativos de IA de última geração.
Mais de 200 ferramentas e modelos de IA generativa
Escolha entre a mais ampla variedade de modelos com modelos próprios (Gemini, Imagen, Chirp e Veo), de terceiros (família de modelos Claude da Anthropic) e de código aberto (Gemma, Llama 3.2) no Model Garden. Use extensões para permitir que os modelos recuperem informações em tempo real e ativem ações. Personalize modelos de acordo com seu caso de uso com uma variedade de opções de ajuste para modelos de texto, imagem ou código do Google.
Modelos de IA generativa e ferramentas totalmente gerenciadas facilitam a prototipagem, personalização, integração e implantação deles em aplicativos.
AI Platform aberta e integrada
Os cientistas de dados trabalham com mais rapidez usando as ferramentas da Vertex AI Platform para treinar, ajustar e implantar modelos de ML.
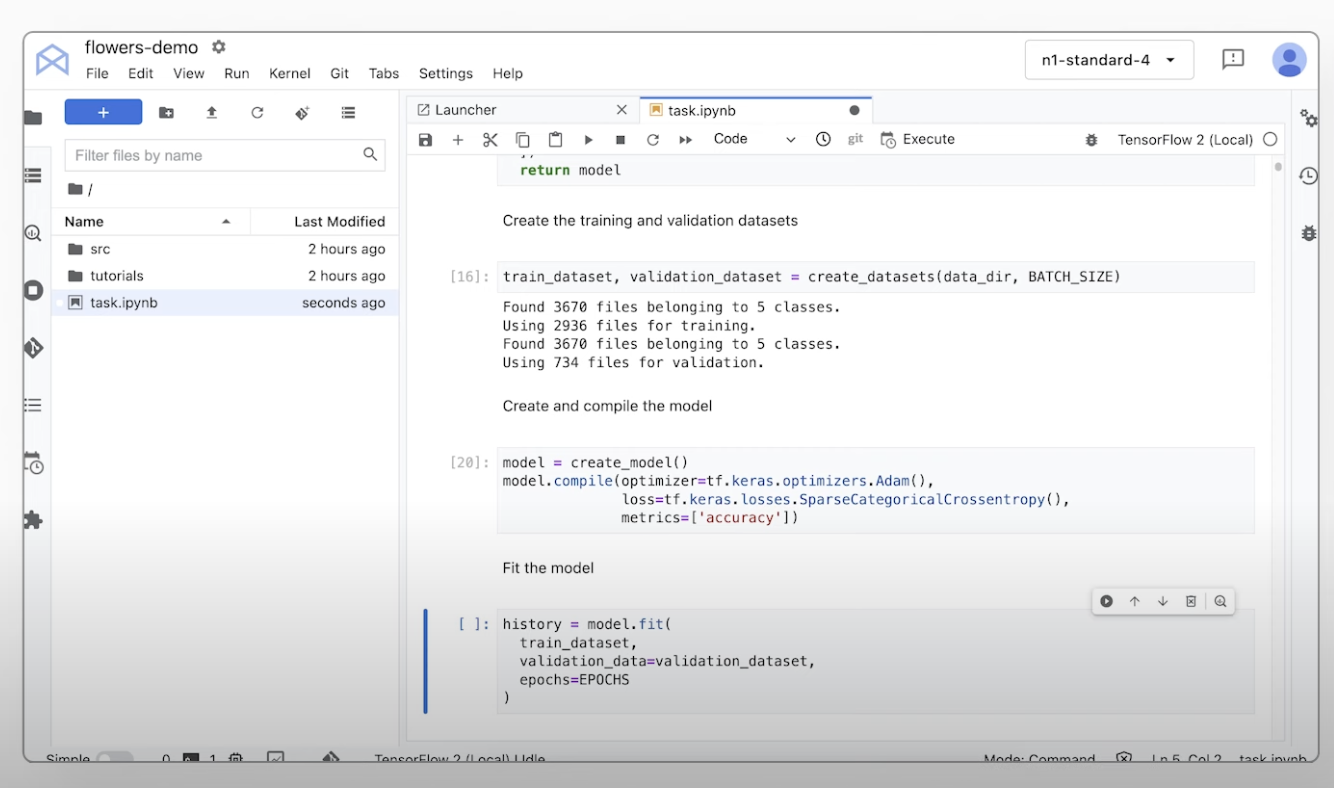
Os notebooks da Vertex AI, incluindo o Colab Enterprise ou Workbench, são integrados de maneira nativa ao BigQuery, oferecendo uma plataforma única em todas as cargas de trabalho de dados e IA.
O Treinamento da Vertex AI e a Previsão ajudam a reduzir o tempo de treinamento e implantar modelos na produção facilmente com sua escolha de frameworks de código aberto e infraestrutura de IA otimizada.
MLOps para IA preditiva e generativa
A Vertex AI Platform oferece ferramentas de MLOps personalizadas para que cientistas de dados e engenheiros de ML automatizem, padronizem e gerenciem projetos de ML.
As ferramentas modulares ajudam a colaborar entre equipes e melhorar os modelos ao longo de todo o ciclo de vida do desenvolvimento. Elas identificam o melhor modelo para um caso de uso com a Avaliação da Vertex AI e orquestram fluxos de trabalho com o Vertex AI Pipelines e gerenciam qualquer modelo com o Registro de modelos, exibem, compartilham e reutilizam atributos de ML com o Feature Store e monitoram modelos em busca de desvios e deslocamentos de entrada.
Agent Builder
Com o Vertex AI Agent Builder, os desenvolvedores podem criar e implantar facilmente experiências de IA generativa prontas para empresas. Esse produto oferece a conveniência de um console de criação de agentes sem código, além de recursos avançados de embasamento, orquestração e personalização. Com o Vertex AI Agent Builder, os desenvolvedores conseguem criar rapidamente uma variedade de agentes e aplicativos de IA generativa com base nos dados das organizações.
Como funciona
A Vertex AI oferece várias opções para treinamento e implantação de modelos:
- A IA generativa dá acesso a grandes modelos de IA generativa, como o Gemini 2.5, para que você possa avaliar, ajustar e implantar esses modelos para uso nos seus aplicativos com tecnologia de IA.
- O Model Garden permite descobrir, testar, personalizar e implantar a Vertex AI, além de selecionar modelos e recursos de código aberto (OSS).
- O treinamento personalizado oferece controle total sobre o processo de treinamento, incluindo o uso do framework de ML de sua preferência, como escrever seu próprio código de treinamento e escolher as opções de ajuste de hiperparâmetros.
Usos comuns
Crie com o Gemini
Acesse os modelos do Gemini usando a API Gemini na Vertex AI do Google Cloud
- Python
- JavaScript
- Java
- Go
- Curl
Exemplo de código
Acesse os modelos do Gemini usando a API Gemini na Vertex AI do Google Cloud
- Python
- JavaScript
- Java
- Go
- Curl
IA generativa em aplicativos
Introdução à IA generativa na Vertex AI
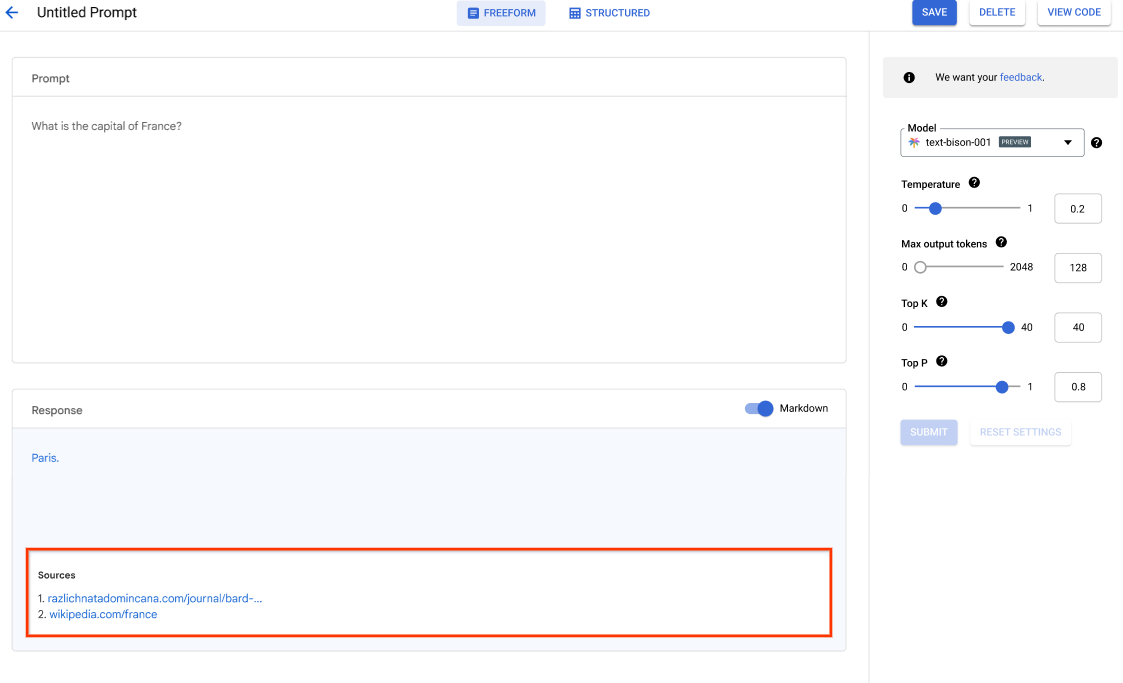
O Vertex AI Studio oferece uma ferramenta do console do Google Cloud para prototipar e testar rapidamente modelos de IA generativa. Saiba como usar o Generative AI Studio para testar modelos usando amostras de comandos, criar e salvar prompts, ajustar um modelo básico e fazer a conversão entre voz e texto.
Como ajustar LLMs no Vertex AI Studio
Tutoriais, guias de início rápido e laboratórios
Introdução à IA generativa na Vertex AI
O Vertex AI Studio oferece uma ferramenta do console do Google Cloud para prototipar e testar rapidamente modelos de IA generativa. Saiba como usar o Generative AI Studio para testar modelos usando amostras de comandos, criar e salvar prompts, ajustar um modelo básico e fazer a conversão entre voz e texto.
Como ajustar LLMs no Vertex AI Studio
Extrair, resumir e classificar dados
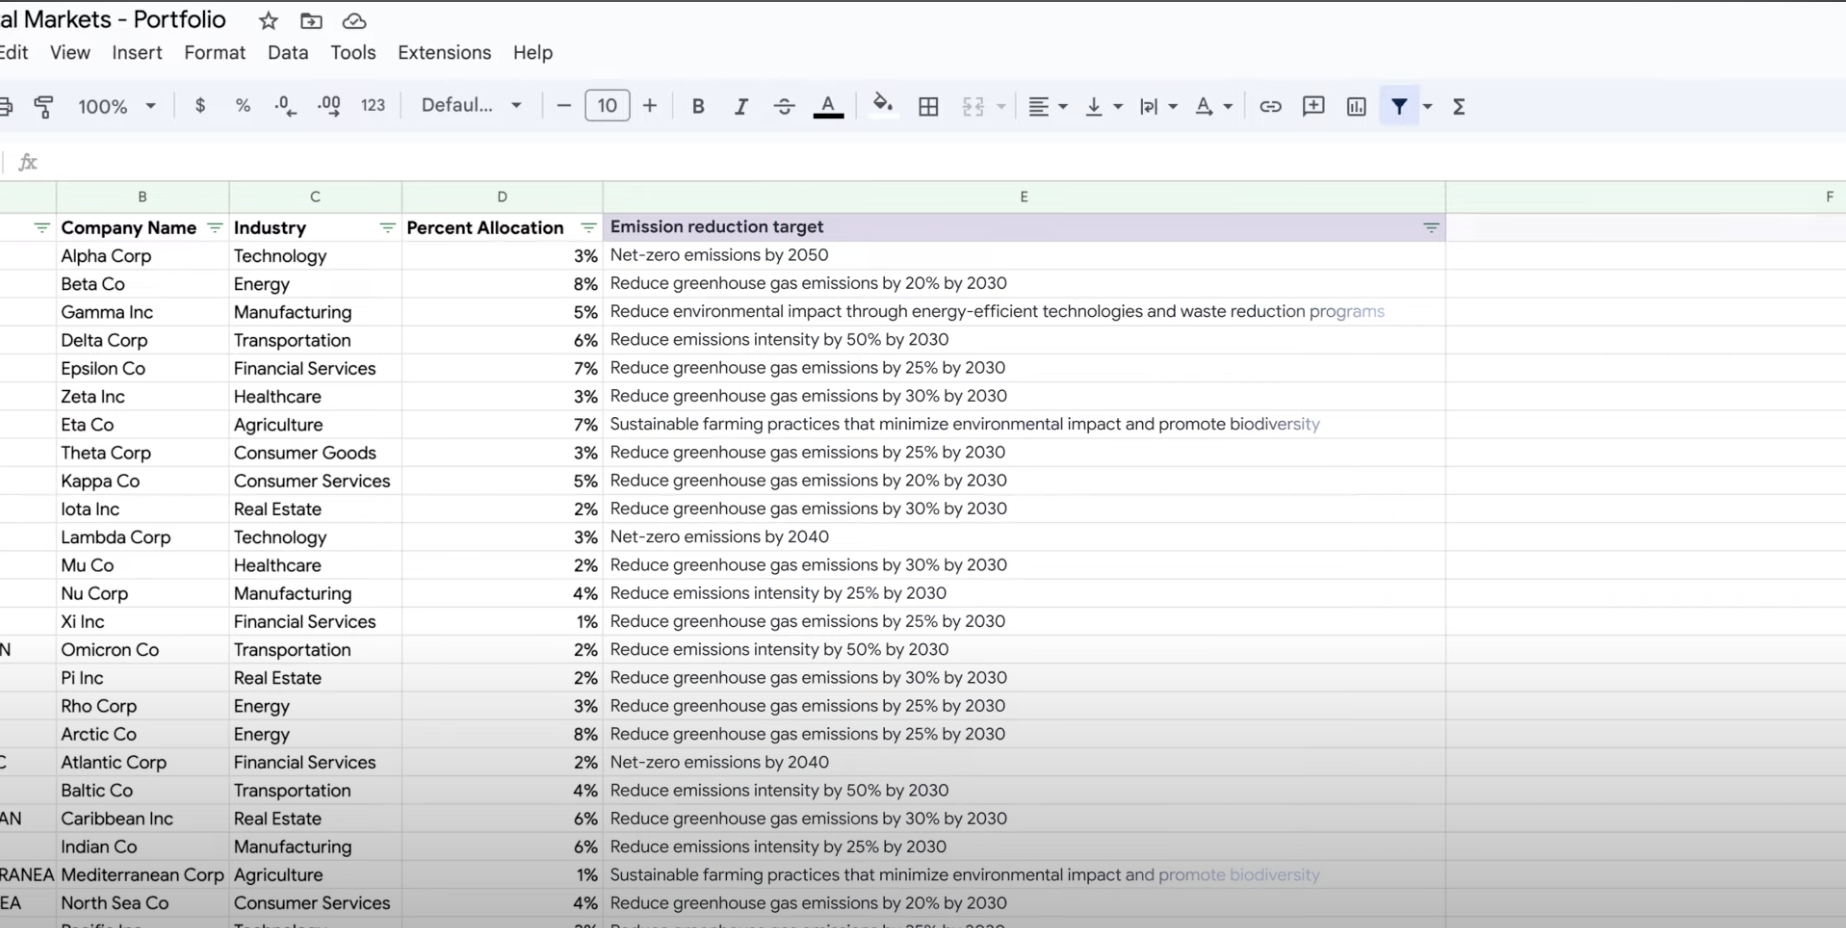
Use a IA generativa para resumo, classificação e extração
Saiba como criar solicitações de texto para processar qualquer número de tarefas com o suporte da IA generativa da Vertex AI. Algumas das tarefas mais comuns são classificação, resumo e extração. O Gemini na Vertex AI permite criar comandos com flexibilidade em termos de estrutura e formato.
Tutoriais, guias de início rápido e laboratórios
Use a IA generativa para resumo, classificação e extração
Saiba como criar solicitações de texto para processar qualquer número de tarefas com o suporte da IA generativa da Vertex AI. Algumas das tarefas mais comuns são classificação, resumo e extração. O Gemini na Vertex AI permite criar comandos com flexibilidade em termos de estrutura e formato.
Treinar modelos de ML personalizados
Visão geral e documentação do treinamento de ML personalizado
Confira um tutorial em vídeo das etapas necessárias para treinar modelos personalizados na Vertex AI.
Tutoriais, guias de início rápido e laboratórios
Visão geral e documentação do treinamento de ML personalizado
Confira um tutorial em vídeo das etapas necessárias para treinar modelos personalizados na Vertex AI.
Implantar um modelo para uso em produção
Implantar para previsões em lote ou on-line
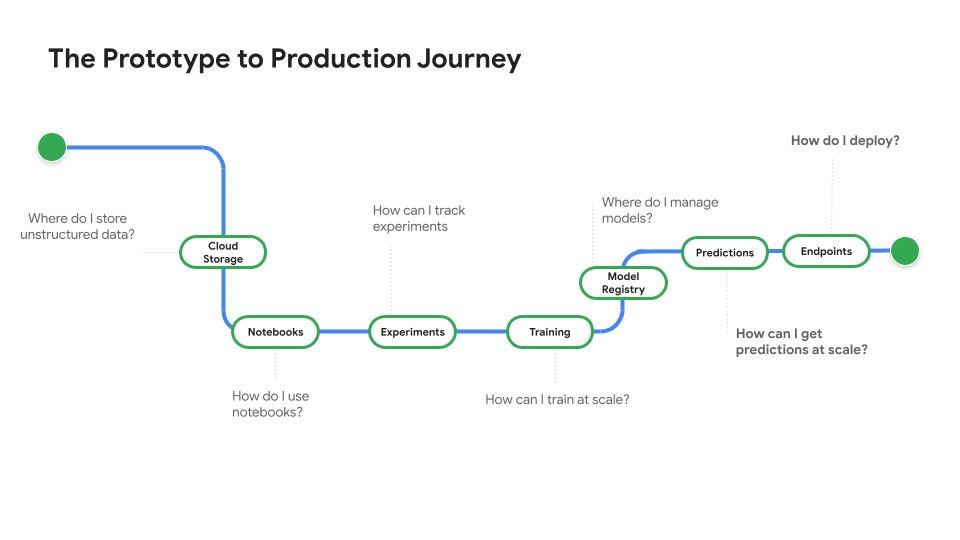
Assista o Protótipo para produção, uma série de vídeos que leva você do código do notebook para um modelo implantado.
Tutoriais, guias de início rápido e laboratórios
Implantar para previsões em lote ou on-line
Assista o Protótipo para produção, uma série de vídeos que leva você do código do notebook para um modelo implantado.
Preços
| Como funcionam os preços da Vertex AI | Pague pelas ferramentas da Vertex AI, pelo armazenamento, pela computação e pelos recursos do Cloud usados. Novos clientes ganham US$ 300 em créditos para testar a Vertex AI e outros produtos do Google Cloud. | |
|---|---|---|
| Ferramentas e uso | Descrição | Preço |
IA generativa | Modelo de imagens para geração de imagens Com base na entrada de imagem, na entrada de caracteres ou nos preços de treinamento personalizado. | A partir de US$ 0,0001 |
Geração de texto, chat e código Com base em cada 1.000 caracteres de entrada (solicitação) e cada 1.000 caracteres de saída (resposta). | A partir de US$ 0,0001 por 1.000 caracteres | |
Modelos de AutoML | Treinamento, implantação e previsão de dados de imagem Com base no tempo de treinamento por hora de uso do nó, o que reflete o uso de recursos e se para classificação ou detecção de objetos. | A partir de US$ 1,375 por hora de uso do nó |
Treinamento e previsão de dados de vídeo Com base no preço por hora de uso do nó e na classificação, rastreamento de objetos ou reconhecimento de ações. | A partir de US$ 0,462 por hora de uso do nó | |
Treinamento e previsão de dados tabulares Com base no preço por hora de uso do nó e se classificação/regressão ou previsão. Entre em contato com a equipe de vendas para saber detalhes sobre os preços e possíveis descontos. | Entre em contato com a equipe de vendas | |
Upload, treinamento, implantação e previsão de dados de texto Com base nas taxas por hora para treinamento e previsão, páginas para upload de dados legados (somente PDF) e registros de texto e páginas para previsão. | A partir de US$ 0,05 por hora | |
Modelos treinados e personalizados | Treinamento do modelo personalizado Com base no tipo de máquina usado por hora, na região e nos aceleradores usados. Receba uma estimativa nas vendas ou na calculadora de preços. | Entre em contato com a equipe de vendas |
Notebooks da Vertex AI | Recursos de computação e armazenamento Com base nas mesmas taxas do Compute Engine e do Cloud Storage. | Referência a produtos |
Taxas de administração Além do uso de recursos acima, são aplicadas taxas de gerenciamento com base na região, nas instâncias, nos notebooks e nos notebooks gerenciados usados. Visualizar detalhes | Consulte os detalhes | |
Pipelines da Vertex AI | Execução e taxas adicionais Com base na cobrança de execução, nos recursos usados e em quaisquer taxas de serviço adicionais. | A partir de US$ 0,03 por execução de pipeline |
Vector Search da Vertex AI | Custos de veiculação e criação Com base no tamanho dos seus dados, na quantidade de consultas por segundo (QPS) que você quer executar e no número de nós usados. Confira o exemplo. | Consulte o exemplo |
Confira os preços detalhados de todos os recursos e serviços da Vertex AI.
Como funcionam os preços da Vertex AI
Pague pelas ferramentas da Vertex AI, pelo armazenamento, pela computação e pelos recursos do Cloud usados. Novos clientes ganham US$ 300 em créditos para testar a Vertex AI e outros produtos do Google Cloud.
Modelo de imagens para geração de imagens
Com base na entrada de imagem, na entrada de caracteres ou nos preços de treinamento personalizado.
Starting at
US$ 0,0001
Geração de texto, chat e código
Com base em cada 1.000 caracteres de entrada (solicitação) e cada 1.000 caracteres de saída (resposta).
Starting at
US$ 0,0001
por 1.000 caracteres
Treinamento, implantação e previsão de dados de imagem
Com base no tempo de treinamento por hora de uso do nó, o que reflete o uso de recursos e se para classificação ou detecção de objetos.
Starting at
US$ 1,375
por hora de uso do nó
Treinamento e previsão de dados de vídeo
Com base no preço por hora de uso do nó e na classificação, rastreamento de objetos ou reconhecimento de ações.
Starting at
US$ 0,462
por hora de uso do nó
Treinamento e previsão de dados tabulares
Com base no preço por hora de uso do nó e se classificação/regressão ou previsão. Entre em contato com a equipe de vendas para saber detalhes sobre os preços e possíveis descontos.
Entre em contato com a equipe de vendas
Upload, treinamento, implantação e previsão de dados de texto
Com base nas taxas por hora para treinamento e previsão, páginas para upload de dados legados (somente PDF) e registros de texto e páginas para previsão.
Starting at
US$ 0,05
por hora
Treinamento do modelo personalizado
Com base no tipo de máquina usado por hora, na região e nos aceleradores usados. Receba uma estimativa nas vendas ou na calculadora de preços.
Entre em contato com a equipe de vendas
Recursos de computação e armazenamento
Com base nas mesmas taxas do Compute Engine e do Cloud Storage.
Referência a produtos
Taxas de administração
Além do uso de recursos acima, são aplicadas taxas de gerenciamento com base na região, nas instâncias, nos notebooks e nos notebooks gerenciados usados. Visualizar detalhes
Consulte os detalhes
Execução e taxas adicionais
Com base na cobrança de execução, nos recursos usados e em quaisquer taxas de serviço adicionais.
Starting at
US$ 0,03
por execução de pipeline
Vector Search da Vertex AI
Custos de veiculação e criação
Com base no tamanho dos seus dados, na quantidade de consultas por segundo (QPS) que você quer executar e no número de nós usados. Confira o exemplo.
Consulte o exemplo
Confira os preços detalhados de todos os recursos e serviços da Vertex AI.
Comece sua prova de conceito
Caso de negócios
Aproveite todo o potencial da IA generativa

"A precisão da solução de IA generativa do Google Cloud e a praticidade da plataforma Vertex AI nos dão a confiança necessária para implementar essa tecnologia moderna no centro dos negócios e atingir nossa meta a longo prazo para um tempo de resposta de zero minuto.”
Abdol Moabery, CEO da GA Telesis
Relatórios de analistas
TKTKT
O Google foi reconhecido como líder no The Forrester Wave™: soluções de infraestrutura de IA, no primeiro trimestre de 2024 e recebeu a maior pontuação de todos os fornecedores avaliados nas categorias Solução atual e Estratégia.
O Google foi reconhecido como líder no relatório The Forrester Wave™: Modelos de fundação de IA para linguagem, no segundo trimestre de 2024 Leia o relatório.
O Google foi reconhecido como líder no relatório Forrester Wave: AI/ML Platforms no terceiro trimestre de 2024. Saiba mais.

