Stay organized with collections
Save and categorize content based on your preferences.
This page describes how to connect AODocs to Agentspace.
After you set up your data source and import data the first time, the data store
syncs data from that source at a frequency that you select during setup.
Before you begin
Before setting up your connection:
In addition to the third-party connector allowlist, this connector requires
that your project is added to an additional allowlist. To be added to this
allowlist, contact your Agentspace account team.
Set up access control for your data source. For information
about setting up access control, see
Use data source access control.
A Google Workspace super administrator must install the AODocs app in your
Google Workspace.
Obtain OAuth 2.0 credentials for use with AODocs
Before connecting your data source to Agentspace, an AODocs
administrator must obtain OAuth 2.0 credentials to use in integrating with
Agentspace. Use the following instructions to create
a client ID and secret, and have your client ID added to the allowlist.
To obtain OAuth 2.0 credentials:
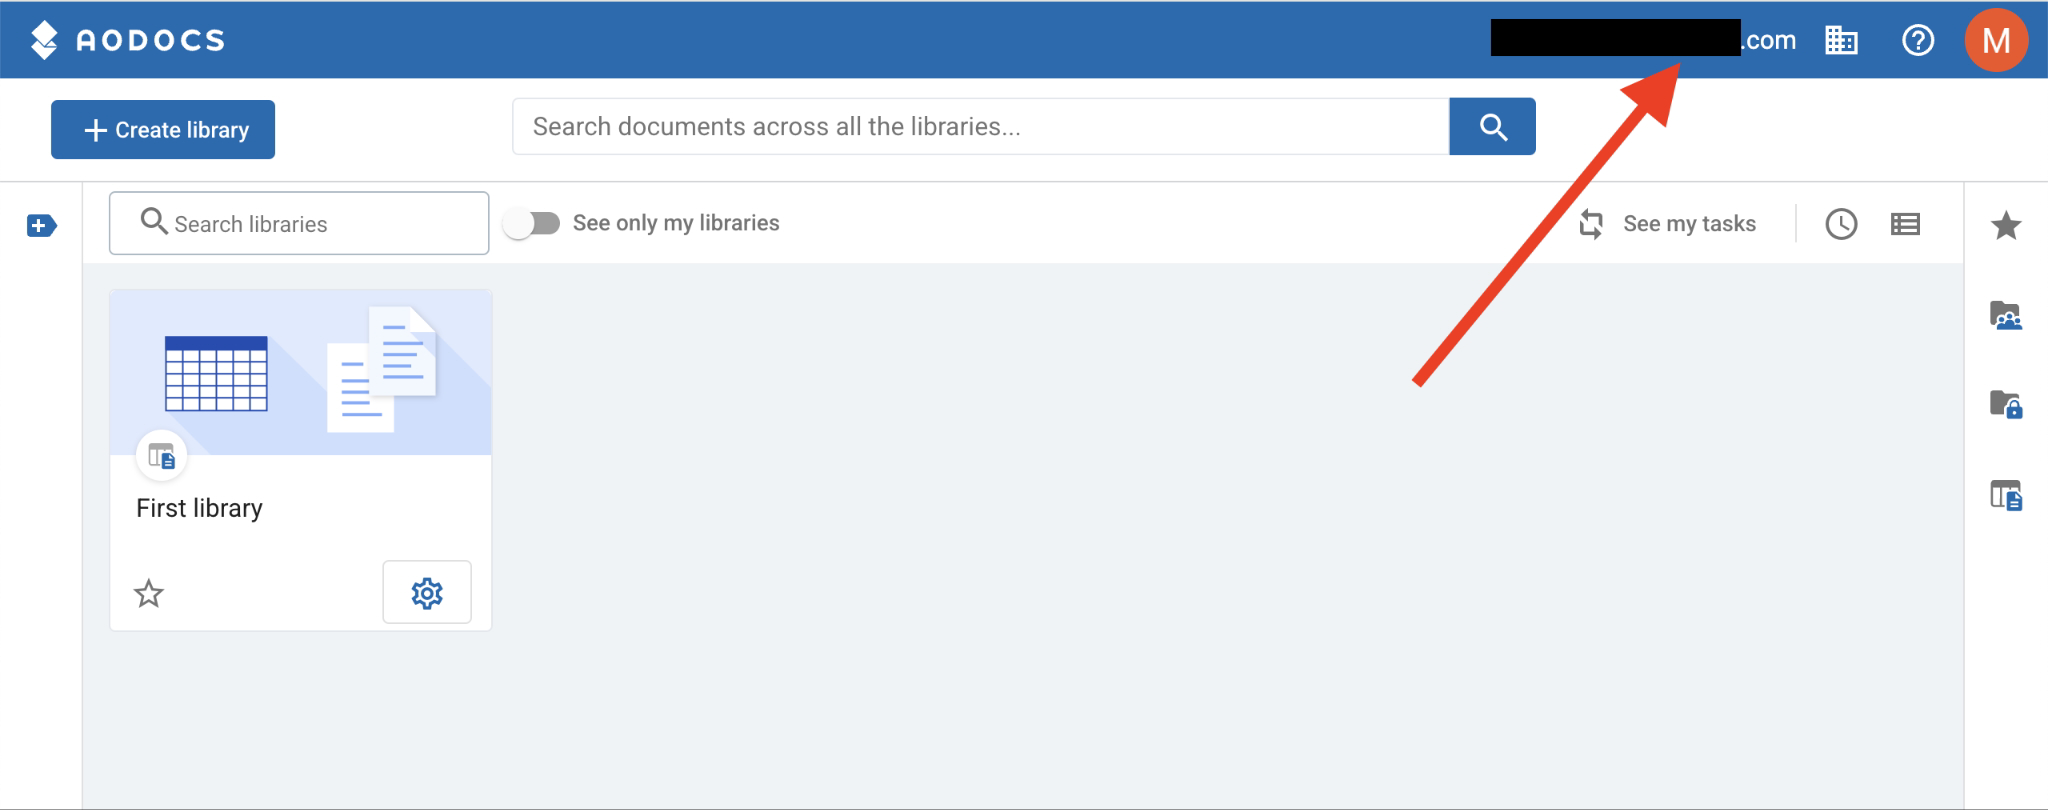
Copy your AODocs instance ID (the domain URL of your AODocs instance). You
can find this in the URL string following aodocs-domain=, or obtain it
from the AODocs website.
Obtain the instance ID from the AODocs website.
In the Google Cloud console, select APIs & Services > Credentials.
Select Create credentials, and then select OAuth client ID.
Select the application type Web Application.
Enter a name for the application.
In the Authorized Redirect URIs field, enter
https://vertexaisearch.cloud.google.com/console/oauth/default_oauth.html.
Click Create.
Note the ClientId and ClientSecret.
To request that your new client ID be added to the allowlist:
On the Select a data source page, scroll or search for AODocs to connect your third-party source.
Enter your AODocs authentication information and click Authenticate. A
new window appears.
Enter your AODocs instance ID.
Enter the client ID and client secret you created earlier.
Click Authenticate. Confirm that authentication succeeded before
returning to the Specify the AODocs source for your data store page.
Select any advanced options and click Continue.
Select which entities to sync and click Continue.
Select a region for your data store.
Enter a name for your data connector.
Select a synchronization frequency.
Click Create. Agentspace creates your data
store and displays your data stores on the Data stores page.
To check the status of your ingestion, go to the Data stores page and
click your connector name to see details about it on its Data page. The
Connector state changes from Creating to Running when it starts
synchronizing data. When ingestion is complete, the state changes to
Active to indicate that the connection to your data source is set up and
awaiting the next scheduled synchronization.
Depending on the size of your data, ingestion can take several
minutes or several hours.
Next steps
To attach your connector to an app, create an app and select your connector
following the steps in Create a search app.
To preview how your search results appear after your app is set up,
see Get search results.
[[["Easy to understand","easyToUnderstand","thumb-up"],["Solved my problem","solvedMyProblem","thumb-up"],["Other","otherUp","thumb-up"]],[["Hard to understand","hardToUnderstand","thumb-down"],["Incorrect information or sample code","incorrectInformationOrSampleCode","thumb-down"],["Missing the information/samples I need","missingTheInformationSamplesINeed","thumb-down"],["Other","otherDown","thumb-down"]],["Last updated 2025-08-27 UTC."],[],[],null,["This page describes how to connect AODocs to Agentspace.\n\n\u003cbr /\u003e\n\n| **Preview:** You must be on the allowlist to use this connector.\n\n\u003cbr /\u003e\n\nAfter you set up your data source and import data the first time, the data store\nsyncs data from that source at a frequency that you select during setup.\n\nBefore you begin\n\nBefore setting up your connection:\n\n1. In addition to the third-party connector allowlist, this connector requires\n that your project is added to an additional allowlist. To be added to this\n allowlist, contact your Agentspace account team.\n\n2. Set up access control for your data source. For information\n about setting up access control, see\n [Use data source access control](/agentspace/docs/identity).\n\n3. A Google Workspace super administrator must install the AODocs app in your\n Google Workspace.\n\nObtain OAuth 2.0 credentials for use with AODocs\n\nBefore connecting your data source to Agentspace, an AODocs\nadministrator must obtain OAuth 2.0 credentials to use in integrating with\nAgentspace. Use the following instructions to create\na client ID and secret, and have your client ID added to the allowlist.\n\nTo obtain OAuth 2.0 credentials:\n\n1. Copy your AODocs instance ID (the domain URL of your AODocs instance). You\n can find this in the URL string following `aodocs-domain=`, or obtain it\n from the AODocs website.\n\n Obtain the instance ID from the AODocs website.\n2. In the Google Cloud console, select **APIs \\& Services \\\u003e Credentials**.\n\n3. Select **Create credentials** , and then select **OAuth client ID**.\n\n4. Select the application type **Web Application**.\n\n5. Enter a name for the application.\n\n6. In the **Authorized Redirect URIs** field, enter\n `https://vertexaisearch.cloud.google.com/console/oauth/default_oauth.html`.\n\n7. Click **Create**.\n\n8. Note the `ClientId` and `ClientSecret`.\n\nTo request that your new client ID be added to the allowlist:\n\n1. In the [AODocs Knowledge Base](https://support.aodocs.com), select\n **Submit a ticket**.\n\n2. In the issue drop-down list, select **Support Requests**.\n\n3. Enter your email address.\n\n4. In the **Subject** field, enter **Request to allow-list client ID**.\n\n5. In the **AODocs Module** drop-down list, select **Others**.\n\n6. In the **Description** field, provide the client ID that you noted in the\n previous procedure, and ask that the client ID be added to the allowlist.\n\n7. Click **Submit**.\n\nOptional: Enable the Google Drive API\n\nIf you want to include attachments in your search results, you must enable the\nGoogle Drive API in your Google Cloud project.\n\n1. Open the Google Drive API product details page by visiting the following\n URL:\n\n https://console.developers.google.com/apis/api/drive.googleapis.com/overview?project=\u003cvar translate=\"no\"\u003ePROJECT_ID\u003c/var\u003e\n\n Replace \u003cvar translate=\"no\"\u003ePROJECT_ID\u003c/var\u003e with the ID of your Google Cloud\n project.\n2. Click **Enable**.\n\n3. In the Google Admin console, select\n **Apps \\\u003e Google Workspace \\\u003e Drive and Docs**.\n\n4. Click **Service status**.\n\n5. Click **On for everyone**.\n\n6. Click **Save**.\n\n7. Click **Features and Applications**.\n\n8. In the **Drive SDK** section, check **Allow users to access Google Drive with the Drive SDK API**.\n\n9. Click **Save**.\n\nCreate an AODocs connector \n\nConsole\n\nTo use the Google Cloud console to sync data from AODocs to\nAgentspace, follow these steps:\n\n1. In the Google Cloud console, go to the **Agentspace** page.\n\n [Agentspace](https://console.cloud.google.com/gen-app-builder/)\n2. In the navigation menu, click **Data stores**.\n\n3. Click add **Create data store**.\n\n4. On the **Select a data source** page, scroll or search for **AODocs** to connect your third-party source.\n\n5. Enter your AODocs authentication information and click **Authenticate**. A\n new window appears.\n\n6. Enter your AODocs instance ID.\n\n7. Enter the client ID and client secret you created earlier.\n\n8. Click **Authenticate** . Confirm that authentication succeeded before\n returning to the **Specify the AODocs source for your data store** page.\n\n9. Select any advanced options and click **Continue**.\n\n10. Select which entities to sync and click **Continue**.\n\n11. Select a region for your data store.\n\n12. Enter a name for your data connector.\n\n13. Select a synchronization frequency.\n\n14. Click **Create** . Agentspace creates your data\n store and displays your data stores on the **Data stores** page.\n\n15. To check the status of your ingestion, go to the **Data stores** page and\n click your connector name to see details about it on its **Data** page. The\n **Connector state** changes from **Creating** to **Running** when it starts\n synchronizing data. When ingestion is complete, the state changes to\n **Active** to indicate that the connection to your data source is set up and\n awaiting the next scheduled synchronization.\n\n Depending on the size of your data, ingestion can take several\n minutes or several hours.\n\n\u003cbr /\u003e\n\nNext steps\n\n- To attach your connector to an app, create an app and select your connector\n following the steps in [Create a search app](/agentspace/docs/create-app).\n\n- To preview how your search results appear after your app is set up,\n see [Get search results](/agentspace/docs/preview-search-results).\n\n- To enable alerts for the data store, see [Configure alerts for third-party data stores](/agentspace/docs/configure-periodic-data-alerts)."]]