本頁面提供 Cloud Code 中的 Kubernetes 開發作業總覽。
使用 Cloud Code 中的 Kubernetes 部分
您可以直接透過 IDE 存取「Kubernetes」專區中的叢集、節點、工作負載等資訊。您也可以設定目前的背景資訊、串流及查看記錄、開啟互動式終端機,以及透過 Kubernetes 部分查詢資源說明。
Cloud Code 會使用預設的 kubeconfig 檔案 (位於 MacOS/Linux 的 $HOME/.kube 目錄或 Windows 的 %USERPROFILE%\.kube 目錄下) 擷取 Kubernetes 資源。您可以在 Kubernetes 專區中切換或新增 Kubeconfig 檔案。Kubeconfig 檔案是 YAML 檔案,其中包含 Kubernetes 叢集詳細資料、憑證和用於叢集驗證的秘密符記。
如要使用預設 kubeconfig 以外的 kubeconfig 檔案,請參閱使用 kubeconfig 檔案指南。
前往 Kubernetes 專區
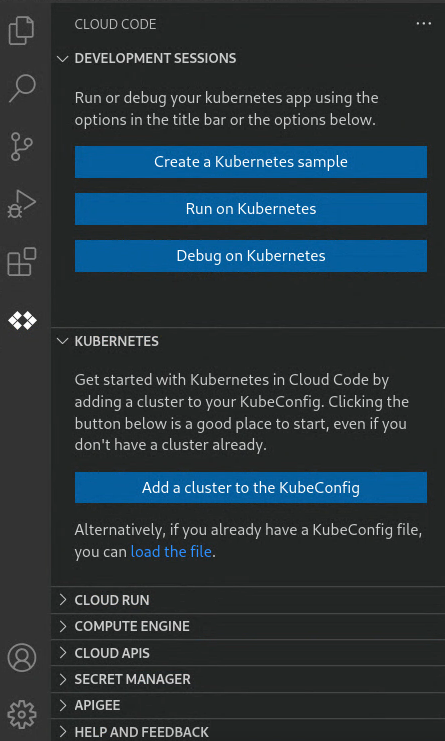
如要查看及管理 Kubernetes 資源,請按一下嘗試偵錯時,系統可能會提示您驗證憑證,以便在本機執行及偵錯應用程式。
前往「Development sessions」(開發工作階段) 專區
您可以使用開發工作階段來執行或偵錯 Kubernetes 應用程式,或是使用範本建立應用程式範例。
開始開發或偵錯工作階段時,「Development sessions」專區會顯示結構化記錄檢視畫面。

基本操作
「Kubernetes」專區採用 kubectl 技術,只要您已設定 kubectl 設定檔來存取叢集,即可使用「Kubernetes」專區新增叢集,瀏覽叢集的所有可用命名空間、資源和節點,無論這些叢集是在活動或非活動的環境中皆可。
Kubernetes 部分
可用的一般 Kubernetes 動作如下,可透過 Kubernetes 專區中的圖示存取:
- 新增 KubeConfig
- 重新整理Kubernetes 專區
- question_mark 在網路瀏覽器中開啟 Cloud Code Kubernetes 說明文件
「開發工作階段」部分
可用的 Kubernetes 動作如下,可透過 Kubernetes 開發工作階段專區中的圖示存取:
 開啟 Kubernetes 範例應用程式
- play_arrow 執行應用程式
 為應用程式偵錯
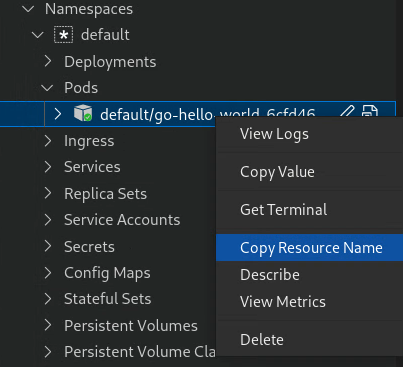
複製資源名稱
您可以將任何 Kubernetes 資源名稱複製到剪貼簿 (包括容器和叢集名稱)。如要複製資源名稱,請在資源上按一下滑鼠右鍵,然後選擇「Copy resource name」。
重新整理資源
「Kubernetes」專區會監控變更,並自動重新整理,以反映更新內容。如要強制重新整理任何 Kubernetes 資源,以便擷取最新資訊,請在資源上按一下滑鼠右鍵,然後選擇「重新整理」。
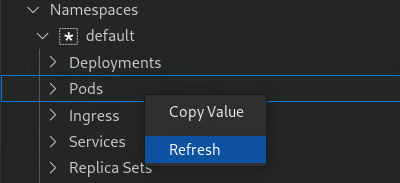 您也可以使用 Kubernetes 專區的重新整理按鈕,強制重新整理整個 Kubernetes 專區。
說明資源
如要顯示任何非叢集資源的詳細資料,請在資源上按一下滑鼠右鍵,然後選取「描述」。終端機會隨即開啟,並顯示資源資訊。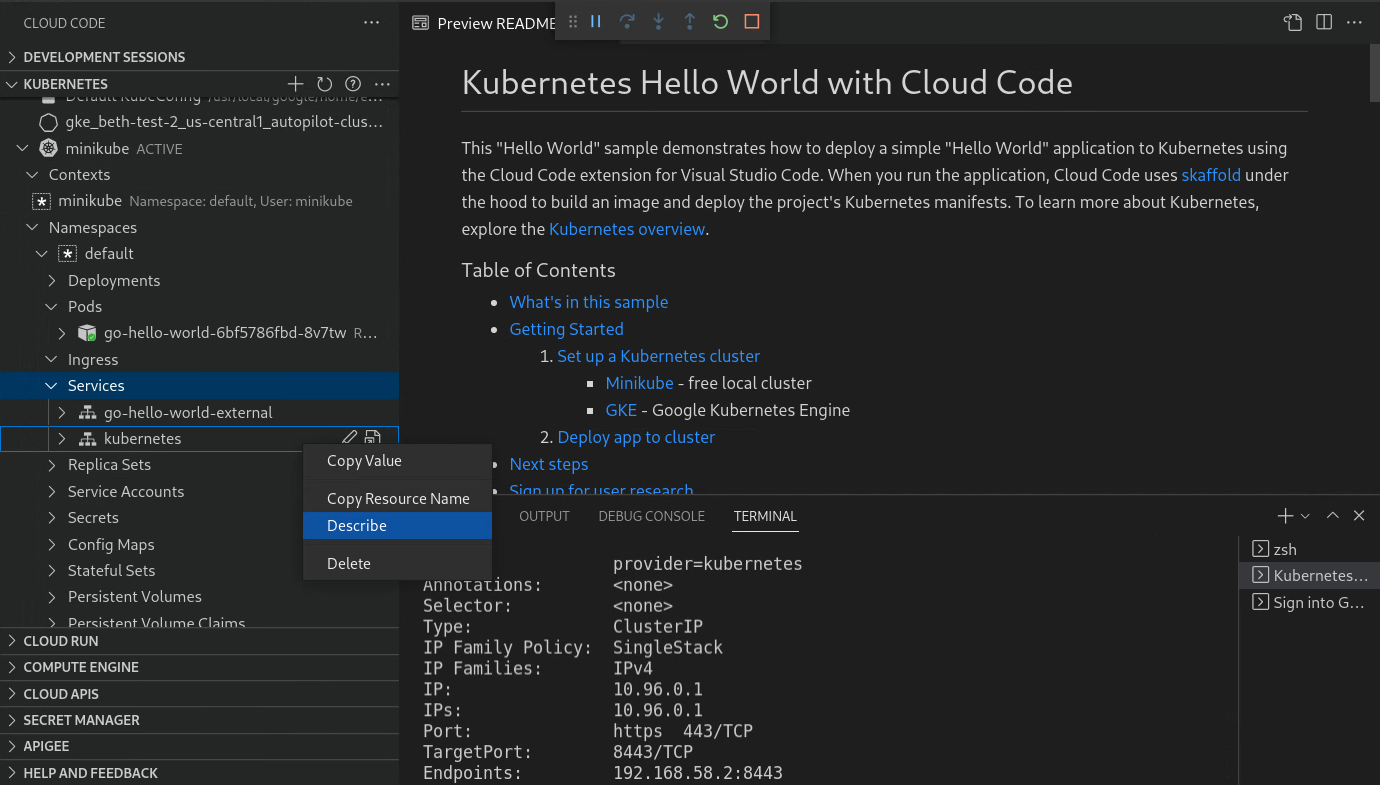
自訂啟動設定
如要設定應用程式的執行方式,您可以自訂 skaffold.yaml 檔案。
.vscode/launch.json 檔案的 cloudcode.kubernetes 設定中指定下列欄位,藉此設定啟動作業:
- skaffoldConfig:指定包含建構和部署設定的 Skaffold 設定檔案。
- profile: 指定偏好的 Skaffold 設定檔。如未定義,系統會使用預設設定檔。
- imageRegistry:指定要推送圖片的圖片註冊服務。
- watch:指定是否要監控工作區中的變更,並重新執行應用程式。除非明確設為 false,否則預設為 true。
- cleanUp:指定是否要在應用程式終止後,刪除叢集中已部署的 Kubernetes 資源。除非明確設為 false,否則預設為 true。
- portForward:指定是否要將叢集中公開的 Kubernetes 資源轉送通訊埠至本機。除非明確設為 false,否則預設為 true。
查看遠端 YAML
如要查看叢集中資源的 YAML,請選取或將游標懸停在資源上,即可顯示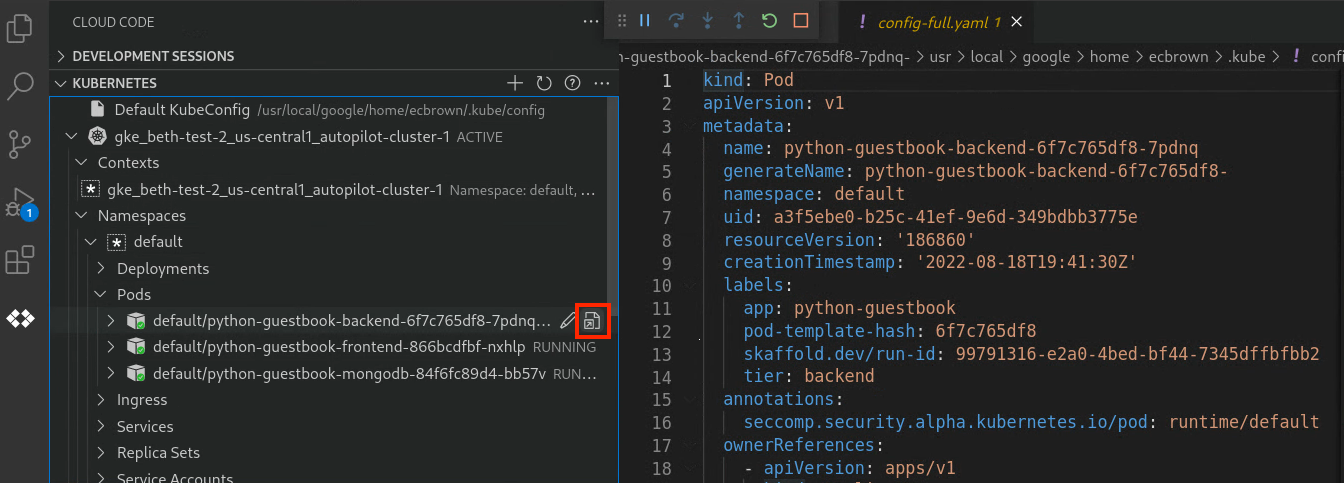
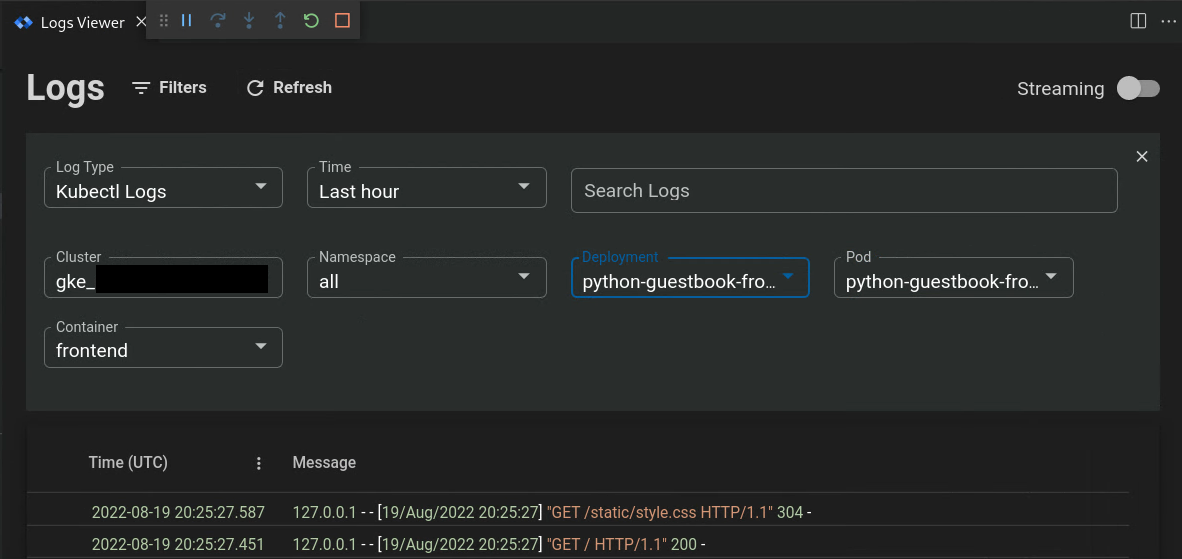
查看記錄
您可以將 Kubernetes 資源的記錄串流傳送至 Kubernetes 區段主控台,並在該處查看記錄,以便監控記錄的進度。
如要開啟記錄檢視器,請按下Ctrl/Cmd+Shift+P 或依序點選「View」>「Command Palette」,然後選取「Cloud Code: View Logs」。

記錄檔檢視器會在新編輯器分頁中開啟。
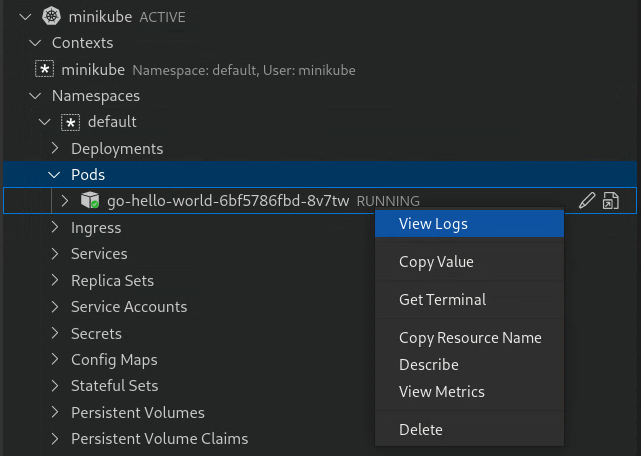
 如要查看 Pod 或容器的記錄,請在資源上按一下滑鼠右鍵,然後選取「View logs」。
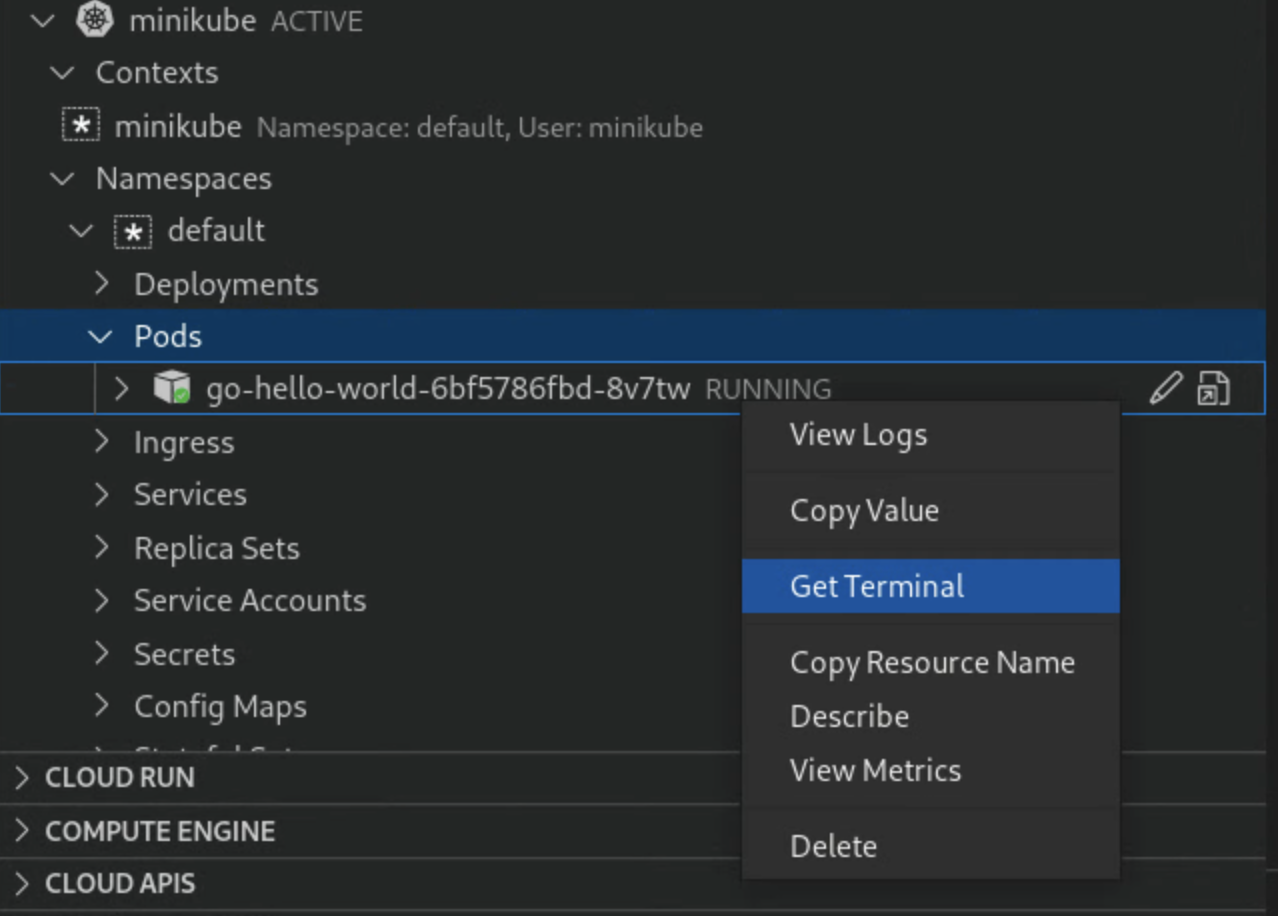
啟動終端機
針對 Pod 和容器,您可以按一下 Pod 或容器的滑鼠右鍵,然後選取「Get terminal」,即可開啟互動式終端機。
資源專屬動作
Kubernetes 專區會顯示叢集、命名空間、節點、工作負載 (例如部署、複本集、Pod 和容器)、服務和入口、設定 (例如密鑰和設定檔地圖) 和儲存空間 (例如磁碟區)。您可以使用 Kubernetes 專區,針對部分資源執行特定動作。
叢集
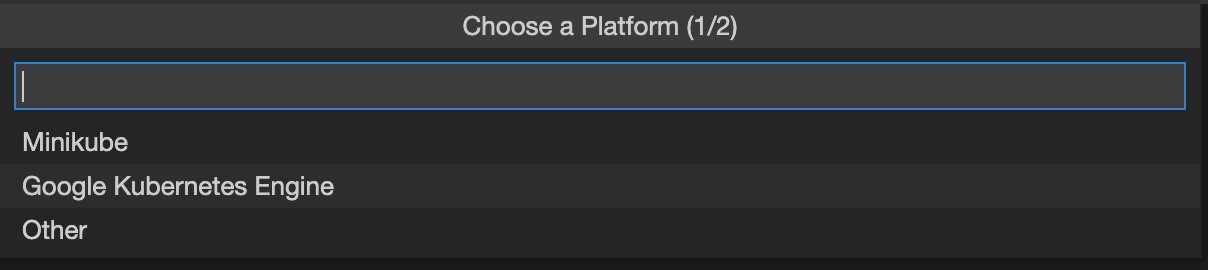
- 將叢集新增至 Kubeconfig:新增現有的 GKE 或 minikube 叢集,或建立新的叢集。
「Add Cluster」對話方塊隨即顯示,您可以選擇要使用的專案和叢集,或建立新的叢集。

設為作用中叢集:將指定的叢集設為作用中,這樣預設情況下,已設定的
kubectl情境就會存取這個叢集。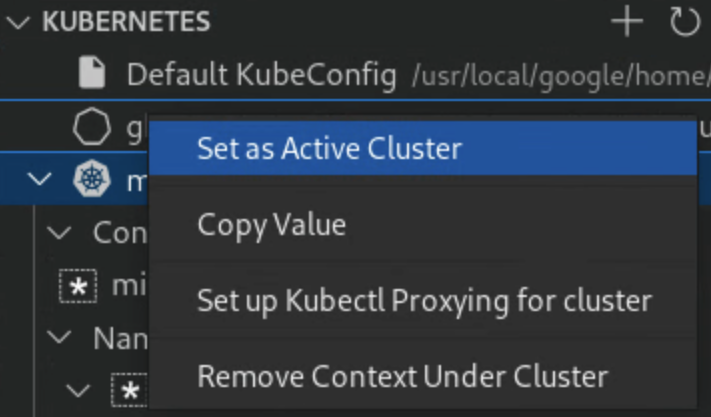
Kubernetes 部分會自動重新整理,您會在適當叢集旁看到 Kubernetes 符號。
如果叢集已設定多個情境,您可以選擇其中一個可用的情況,將其設為目前的情境。
命名空間
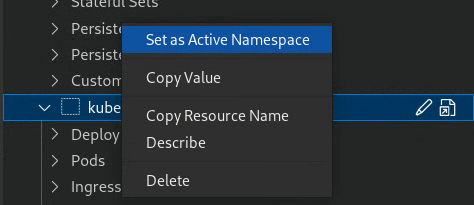
設為有效命名空間:將命名空間設為有效,這樣一來,預設情況下,已設定的
kubectl內容會存取這個命名空間。在要設為有效的命名空間上按一下滑鼠右鍵。
請注意,Kubernetes 情境是快速鍵,可讓您快速存取叢集中的命名空間。當您啟動 minikube 或 GKE 叢集時,系統通常會自動建立情境。如果您沒有看到特定命名空間的「Set as current context」選項,但想為該命名空間建立情境,請在終端機中使用 kubectl config set-context 指令,設定包含偏好叢集、使用者和命名空間的情境。
Pod
- 查看記錄:將 Pod 中的記錄放入 Kubernetes 專區的主控台。
取得終端:在 Kubernetes 專區的控制台中取得終端,用於 Pod。
此外,執行中的 Pod 標籤旁會顯示彩色狀態標記:
- 紅色:Pod 處於失敗狀態
- 黃色:Pod 正在啟動或終止
- 綠色:Pod 運作正常

容器
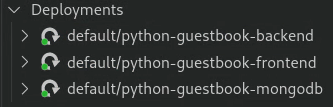
部署作業
查看記錄: 查看記錄 從 Kubernetes 區段主控台查看部署記錄。
在即時部署中,標籤旁會顯示彩色狀態標記,並顯示目前/總備用資源數量:
- 黃色:部署作業未達最低可用性,或有圖像問題。
- 綠色:部署作業的健康狀態良好,且有最低可用性。
節點
叢集節點的名稱旁會顯示彩色狀態標記:
- 黃色:節點有資源問題,例如記憶體或磁碟可用性。
- 綠色:節點健康。
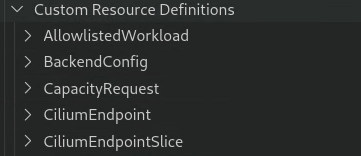
自訂資源定義 (CRD)
「Kubernetes」部分會列出叢集中已安裝及可用的所有自訂資源定義 (CRD):
後續步驟
- 開始使用適用於 Kubernetes 的 VS Code 適用 Cloud Code,透過程式碼範例建立及部署 Kubernetes 應用程式。
- 使用檔案同步和熱載入功能加快開發速度。
- 在 Cloud Code 中偵錯應用程式