This tutorial shows you how to deploy a G2 accelerator-optimized cluster by using the Slurm scheduler and then using this cluster to fine-tune Llama 2. Llama 2 is a collection of pretrained and fine-tuned generative text models ranging in scale from 7 billion to 70 billion parameters. In this tutorial we work with Llama-2-7b, using 7 billion parameters.
The cluster deployment is done by using Cluster Toolkit and this tutorial assumes you've already set up Cluster Toolkit in your environment. Cluster Toolkit is open-source software offered by Google Cloud which simplifies the process of deploying high performance computing (HPC), artificial intelligence (AI), and machine learning (ML) environments.
Objectives
In this tutorial, you will learn how to complete the following task:
- Use Cluster Toolkit to create a
G2 accelerator-optimized
g2-standard-96node cluster. These nodes are ideal for running Llama 2 fine tuning. - Run Llama 2 fine tuning.
Costs
Before you begin
- Set up Cluster Toolkit. During the setup ensure you enable all the required APIs, and permissions, and grant credentials to Terraform. Also ensure you clone and build the Cluster Toolkit repository in your local environment.
Ensure that you have enough GPU quotas. At least 8 NVIDIA L4 GPUs are required in your desired region.
- To view quotas, see
View the quotas for your project.
In the Filter field,
specify
NVIDIA_L4_GPUS. - If you don't have enough quota, request a higher quota.
- To view quotas, see
View the quotas for your project.
In the Filter field,
specify
Open your CLI
In the Google Cloud console, activate Cloud Shell.
At the bottom of the Google Cloud console, a Cloud Shell session starts and displays a command-line prompt. Cloud Shell is a shell environment with the Google Cloud CLI already installed and with values already set for your current project. It can take a few seconds for the session to initialize.
Deploy the G2 cluster using Slurm
From the Cloud Shell (or local shell), complete the following steps:
- Setup the Cluster Toolkit.
Clone the GitHub repository.
git clone https://github.com/GoogleCloudPlatform/scientific-computing-examples.gitChange to the AI Infrastructure directory.
cd scientific-computing-examples/llama2-finetuning-slurmModify the
hpc-slurm-llama2.yamlfile to specify the region where you have the NVIDIA L4 quota. By default, this is set tous-east1.Execute
ghpc createto process the YAML blueprint.ghpc create hpc-slurm-llama2.yaml --vars project_id=$(gcloud config get-value project) -w --vars bucket_model=llama2Use the
ghpc deploycommand to begin automatic deployment of your cluster:ghpc deploy hpc-slurm-llama2 --auto-approveThis process can take over 30 minutes.
If the run is successful, the output is similar to the following:
Apply complete! Resources: 39 added, 0 changed, 0 destroyed.To view the created VMs, run the
gcloudcommand:gcloud compute instances list | grep slurmYou are now ready to submit jobs to your cluster.
Connect to the cluster
To run the Llama 2 fine tuning on your cluster, you must login to the Slurm login node. To login, you can use either Google Cloud console or Google Cloud CLI.
Console
Go to the Compute Engine > VM instances page.
From the Connect column of the VM, click SSH.
gcloud
To connect to the login VM, use the
gcloud compute ssh command.
gcloud compute ssh $(gcloud compute instances list --filter "name ~ login" --format "value(name)") --tunnel-through-iap --zone us-east1-b
Download the llama2-7b models
On the Slurm login node, you can download the Hugging Face models to your local directory on the cluster.
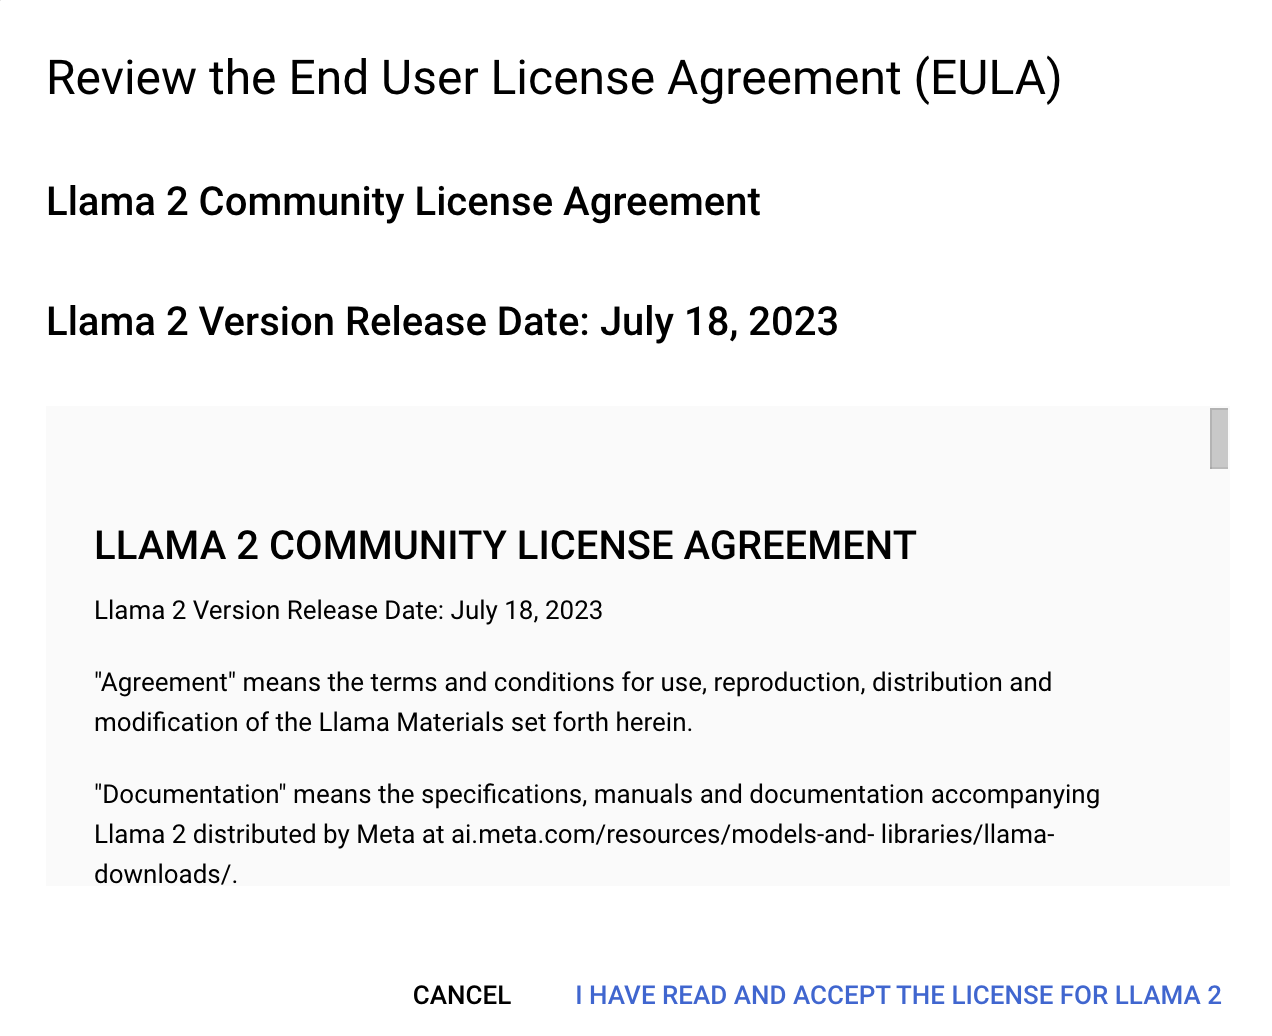
In the Google Cloud console, open the Llama2 EULA.
Accept the EULA for Llama 2 by clicking I HAVE READ AND ACCEPT THE LICENSE FOR LLAMA 2.

Download the model. In your home directory on the login node run the following command.
gcloud storage cp --recursive gs://vertex-model-garden-public-us-central1/llama2/llama2-7b-hf/ .
A directory is created in your home directory.
Run the Slurm sbatch command to submit your job
From the Slurm login node, you can now submit the job to the cluster.
The Slurm batch script is provided on the Cloud Storage bucket and is
run using the sbatch command.
sbatch /data_bucket/fine-tune-slurm.sh
You can validate the job is in queue with the squeue command.
squeue
The output is similar to the following.
JOBID PARTITION     NAME     USER ST       TIME  NODES NODELIST(REASON)
3        g2 llama2-f drj_gcp_  R       3:23      1 hpcslurmll-g2node-0
Job Status
If there is an "R" in the column labeled "ST" (for status), the job is running. Other statuses are explained on the SchedMD Slurm website.
A status of "CF" may indicate there are no resources available to run the job. The great thing about Slurm, is it will keep trying until a VM can is created. In this case you are trying to create a g2-standard-96 VM, which is in considerable demand.
View running job metrics with Cloud Monitoring
When squeue indicates the job is running (status "R"), you can view the
results at the Cloud Monitoring dashboard created by Cluster Toolkit.
In the Google Cloud console, go to the Monitoring > Dashboards page.
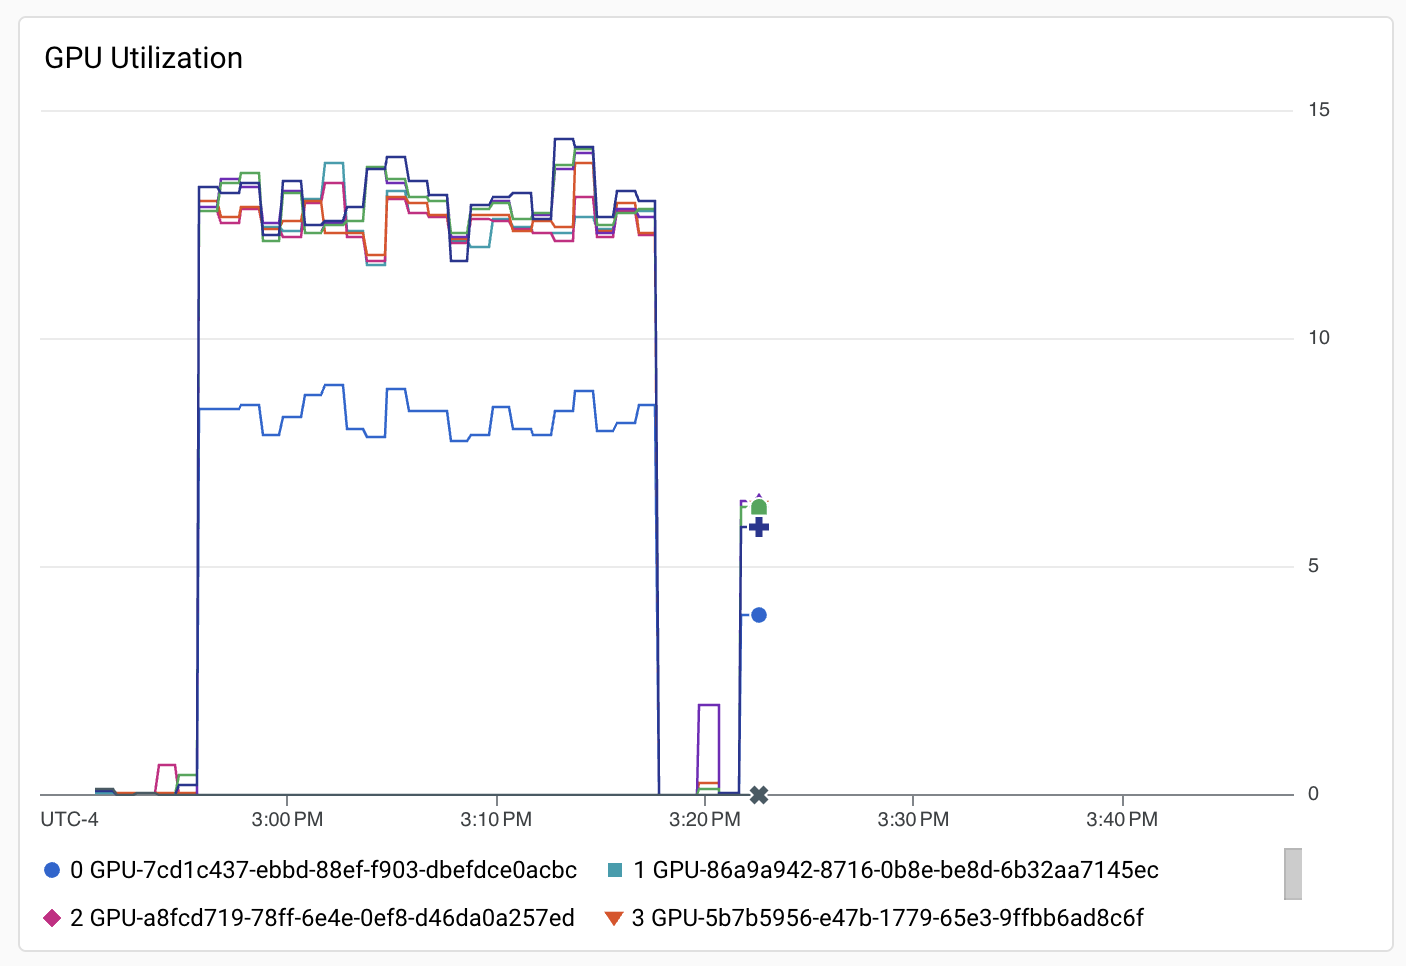
Select the dashboard with the name "GPU: hpc-slurm-llama2". This dashboard has GPU Utilization like the following.

View completed job
Once the job has completed, the activity is no longer be visible in the
squeue Slurm output. You will have an output file in your home directory,
slurm-N.out, where "N" is the job number as seen in the squeue output.
You can view the last 20 lines of the output file with the tail command:
tail -20 slurm-N.out
Where "N" is the value seen in the squeue output for JOBID.
The output is similar to the following.
$ tail -20 slurm-3.out
{'loss': 3.2061, 'grad_norm': 1.1988024711608887, 'learning_rate': 1.360544217687075e-06, 'epoch': 0.99}
{'loss': 3.4498, 'grad_norm': 3.532811403274536, 'learning_rate': 1.020408163265306e-06, 'epoch': 0.99}
{'loss': 3.472, 'grad_norm': 2.02884578704834, 'learning_rate': 6.802721088435375e-07, 'epoch': 1.0}
{'loss': 3.99, 'grad_norm': 1.4774787425994873, 'learning_rate': 3.4013605442176873e-07, 'epoch': 1.0}
{'loss': 3.5852, 'grad_norm': 1.2340481281280518, 'learning_rate': 0.0, 'epoch': 1.0}
{'train_runtime': 1326.2408, 'train_samples_per_second': 1.781, 'train_steps_per_second': 0.445, 'train_loss': 3.733814854136968, 'epoch': 1.0}
Output from test prompt

In the late action between Generals

Brown and Riall, it appears our men fought
with a courage and perseverance, that would
do honor to the best troops in the world. The
whole army, notwithstanding the repeated
attacks and repeated efforts, were repulsed
with great loss. The enemy, to whom it
was so difficult to get within the reach of our
guns, suffered severely in their
The output from the test prompt indicates output relevant to the fine-tuning of the Llama 2 model.
Clean up
To avoid incurring charges to your Google Cloud account for the resources used in this tutorial, either delete the project that contains the resources, or keep the project and delete the individual resources.
Destroy the cluster
To delete the cluster, run the following command:
ghpc destroy hpc-slurm-llama2 --auto-approve
When complete you will see output similar to the following:
Destroy complete! Resources: 23 destroyed.
Delete the project
The easiest way to eliminate billing is to delete the project that you created for the tutorial.
To delete the project:
- In the Google Cloud console, go to the Manage resources page.
- In the project list, select the project that you want to delete, and then click Delete.
- In the dialog, type the project ID, and then click Shut down to delete the project.
