Bulk import and exports with Cloud Data Fusion for Contact Center AI Insights made easy
Nidhi Modh
Product Manager, Data Analytics, Google Cloud
Prashant Jaikumar
Software Engineer
We are elated to announce [preview] of Contact Center AI (CCAI) Insights Accelerator in Cloud Data Fusion, an out-of-the-box approach to importing and exporting large amounts of data to and from Contact Center AI Insights.
Google Cloud has always focused on helping our customers derive value from their data. At Google Cloud, we also recognize that deriving value and insights from the data has to be easy and quick.This launch brings Cloud Data Fusion and CCAI Insights together. Google Cloud’s native data integration platform Cloud Data Fusion can allow up to 80% lower TCO for managing data pipelines. Data Fusion has a rich connector ecosystem including Cloud Storage, BigQuery, Cloud Spanner as well as Speech-to-text and Doc AI integrations. In 2021, Google Cloud launched many critical CCAI products, including CCAI Insights. CCAI Insights provides out-of-the-box and custom modeling techniques to make it easier for contact center teams to better understand customer interaction data.
With this launch of CCAI Accelerator for Cloud Data Fusion, our users will be able to import a large volume of historical data into Contact Center AI Insights for analysis. Users can easily schedule data imports for conversation data that needs to be loaded into Contact Center AI Insights on a regular basis and then scheduling exports out of Contact Center AI Insights and into BigQuery on a regular basis for frequent real time updates.
Let’s deep-dive into the CCAI accelerator in Data Fusion:
Install CCAI Insights plugins
Prerequisites
1. You must enable the CCAI Insights Accelerator before you can install plugins.Install plugins
1. Go to the project selector page.
2. Select the project with the Cloud Data Fusion instances you want to use and navigate to the Cloud Data Fusion Instances page.
3. In the table of available instances, select the View instance button next to the instance you would like to use. The Cloud Data Fusion UI landing page for this instance opens. Your chosen instance must already have the CCAI Insights Accelerator enabled.
5. In the Cloud Data Fusion UI landing page, click HUB in the upper right corner of the page. The Hub page opens.
5. Select the CCAI tab:
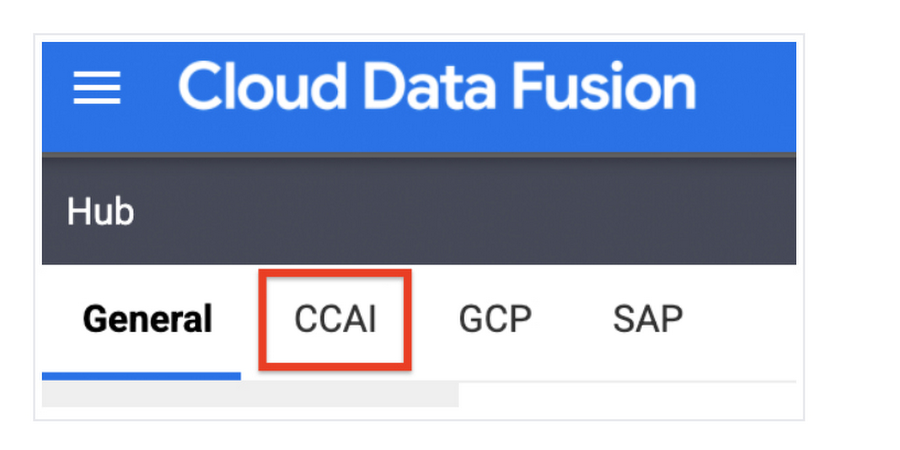

6. Click on the CCAI Plugins card and then click Deploy. Click Finish in the popup window that appears. You are then given the option to customize a pipeline or return to the homepage. Select the homepage option, then navigate back to the HUB page.
7. Select the GCP tab on the instance HUB page. Select the GCP plugins card and click Deploy to make sure that these plugins are deployed to your instance. If they are already deployed, the popup window will return an error message. If you see the error message you can navigate back to the main HUB page.
8. If the GCP plugins are not already deployed, click Finish. Select the homepage option to return to the main HUB page.
Import conversations using Cloud Data Fusion
Prerequisites
1. Enable the CCAI Insights Accelerator on a Cloud Data Fusion instance.
2. Install the CCAI Insights plugins.
3. Make sure that your conversation data is staged in a Google Cloud Storage bucket in a valid format. See the Cloud Storage documentation for information about creating a storage bucket.
- Both CCAI Insights P4SA and Compute Engine P4SA require access to your files on Cloud Storage. The formats for these are:
- <var>project-number</var>-compute@developer.gserviceaccount.com
service-<var>project-number</var>@gcp-sa-contactcenterinsights.iam.gserviceaccount.com
Create a pipeline
1. Go to the project selector page.
2. Navigate to the Cloud Data Fusion Instances page.
3. Select the View instance button next to the instance you want to use. Click on the HUB tab in the new window that pops up to bring up the instance's HUB main page.
4. Click on the CCAI tab, navigate to the CCAI Import Quickstart card, and click Create. Click Finish to create the pipeline, then click the Customize Pipeline button.


5. Hover over the CCAI Insights Import plugin card and click on the Properties button that appears:
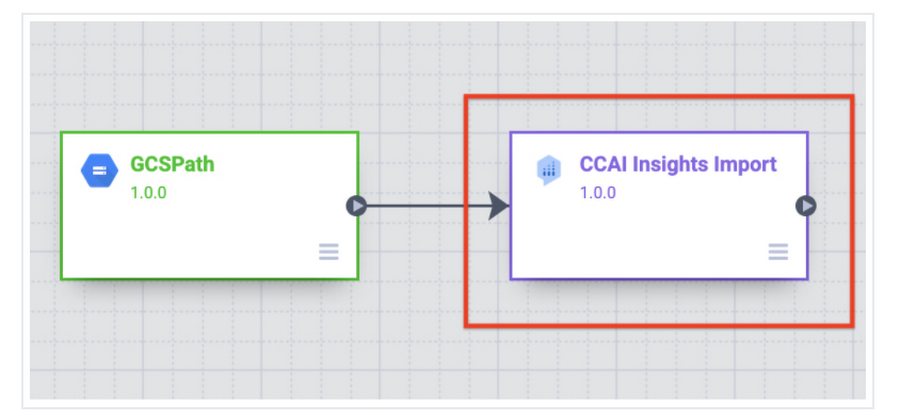

6. Configure the type of conversation data you are importing by selecting either Phone call or Chat in the Conversation Medium field. The default option is Phone call. Click the x in the upper right corner of the screen to close the Properties window.
7. On the Cloud Data Fusion Studio screen, enter a name and description for your pipeline by clicking on the pipeline's name in the upper left corner:
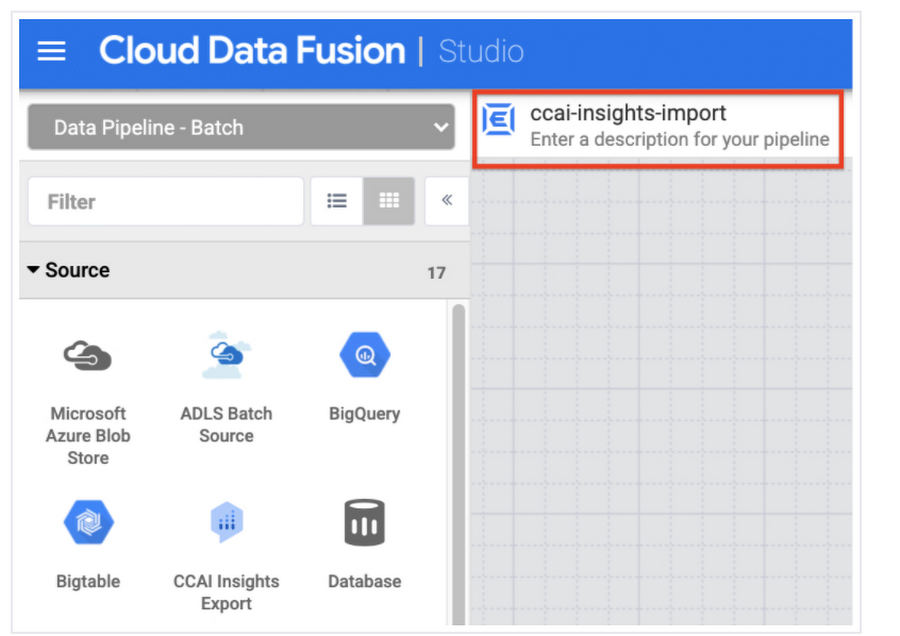

8. After naming your pipeline, Save and then Deploy it. Optionally, you can set other configurations such as running the pipeline on a schedule by clicking on the Schedule and Configure buttons.


Import conversation data
1. When the new pipeline is ready you will be redirected to the pipeline view. Click Run and fill in the name of your input Google Cloud Storage bucket in the Value field to the right of the inputBucket key. Your bucket name must be in the format BUCKET-NAME/PREFIX-NAME. If the conversation data files you want to import are not organized in a prefix (the Cloud Storage term for a folder in a storage bucket), you can enter the bucket name only (BUCKET-NAME). In this case, CCAI Insights will import all files in the bucket. Click Run.
2. Your pipeline has successfully completed when Status is Succeeded. This process can take several minutes to hours depending on how much data you are importing. In the CCAI Insights Console (https://ccai.cloud.google.com/insights/projects/PROJECT-NAME/conversations ), navigate to the Conversations section/button/tab to see your newly created conversations.
Export conversations to BigQuery
Prerequisites
1. Enable the CCAI Insights Accelerator on a Cloud Data Fusion instance.
2. Install the CCAI Insights plugins.
3. Import conversation data into CCAI Insights.
Note: Conversation data exports are subject to CCAI Insights request limits.
Create a pipeline
1. Go to the project selector page.
2. Navigate to the Cloud Data Fusion Instances page.
3. Select the View instance button next to the instance you want to use. Click on the HUB tab in the new window that pops up to bring up the instance's HUB main page.
4. Enable the RDD Partitioner plugin on your Cloud Data Fusion instance.Navigate to your instance's HUB page.
Click on the General tab.
Type "Repartitioner" into the search bar and select the RDD Repartitioner card, then click Deploy -> Finish.
If the plugin fails to deploy, it is already enabled for this instance. You can navigate back to the main HUB page and proceed to the next step.
If the plugin was not previously deployed, you will be presented with the option to either customize a pipeline or return to the homepage. Select the homepage option, navigate back to the main HUB page, and proceed to the next step.
5. Click on the CCAI tab, navigate to the CCAI Export Quickstart card, and click Create. Click Finish to create the pipeline, then click the Customize Pipeline button.
6. Enter a name and description for your pipeline by clicking on the pipeline's name in the upper left corner of the Cloud Data Fusion Studio screen:
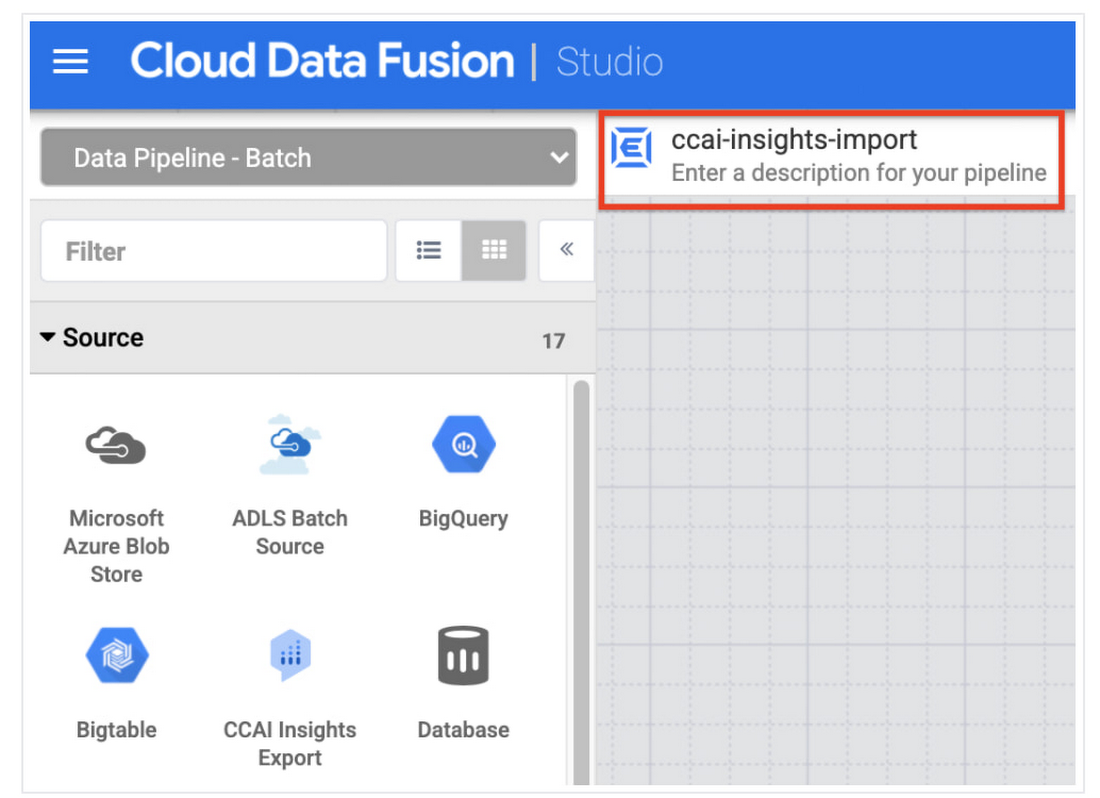

7. After naming your pipeline, Save and then Deploy it.


Optionally, you can set other configurations, such as running the pipeline on a schedule, by clicking on the Schedule or Properties buttons.


Export conversation data
1. When the new pipeline is ready you will be redirected to the pipeline view. Click Run. In the window that pops up, fill in your BigQuery dataset and table names in the Value fields to the right of their respective keys. Click Run.
2. Your pipeline has successfully completed when Status is Succeeded. This process can take minutes to hours depending on how much data you are exporting.
3. Navigate to the BigQuery dashboard in the Google Cloud Console to view your exported data.
