This page describes how to create a Confluence Data Center data store and search app in Gemini Enterprise.
After you set up your data source and import data the first time, you can choose how often the data store syncs with that source.
Before you begin
Before setting up your connection, do the following:
Verify that you have the
Confluence Administratorpermission to fetch the Access Control List (ACL) information.Install the Permission Accessor for Confluence Data Center plugin. This plugin provides REST endpoints to Gemini Enterprise. These endpoints enable Gemini Enterprise to retrieve space permission details, content restrictions, and email addresses of licensed users. This information is then used to ensure that the correct permissions are applied within the Gemini Enterprise search experience.
Publish a Private Service Connect producer service for your Confluence Data Center instance. For more information about using Private Service Connect to connect Gemini Enterprise to self-hosted data sources, see Introduction to self-hosted data sources.
Create a Confluence Data Center user and set up permissions
To enable Gemini Enterprise to obtain data from Confluence, you need to create a new user and assign administrator permission to the user. This is because only Confluence administrators can view and manage permissions across all spaces.
Sign in as an administrator:
- Go to your Atlassian domain site and open the Confluence Data Center instance.
- Enter the administrator username and password.
- Click Log In.
Create a new user:
When creating a data store, you must create a user to obtain data from the third-party instance.
- Click the settings icon.
- Select User management.
- Enter the administrator credentials, if prompted.
- In the Administration page, click Create user.
- Enter the email address, full name, username, and password.
- Click Create user.
Configure user permissions:
- In the Confluence administration page, navigate to the Users and security tab and click Groups.
- Search for the
confluence-administratorsgroup and add the newly created user to this group.
Create a Confluence Data Center data store
Console
In the Google Cloud console, go to the Gemini Enterprise page.
In the navigation menu, click Data Stores.
Click Create Data Store.
On the Select a data source page, scroll or search for Confluence data center to connect your third-party source.
Enter your authentication information and click Continue.
From the Destination type drop-down list, select Public or Private.
If you selected the Public destination type, for Domain URL, enter your public URL.
If you selected the Private destination type, enter the following information:
If the region of your Private Service Connect service attachment is different from the region of your data store, select Enable PSC Global Access.
For an instance with Domain URL:
- Service attachment: Enter your Private Service Connectservice attachment.
- Optional: Base domain name: Enter your base domain.
- Domain URL: Enter your domain URL.
- Optional: Destination port: Enter your destination port.
For an instance without Domain URL:
- Service attachment: Enter your Private Service Connect service attachment.
- Optional: Destination port: Enter your destination port.
Click Continue.
Optional: Advanced options: Select and enable Proxy settings and SSL settings, if required.
Under the Entities to sync, select all the required entities to sync and click Continue.
Select the Sync frequency for Full sync and the Incremental sync frequency for Incremental data sync. For more information, see Sync schedules.
If you want to schedule separate full syncs of entity and identity data, expand the menu under Full sync and then select Custom options.
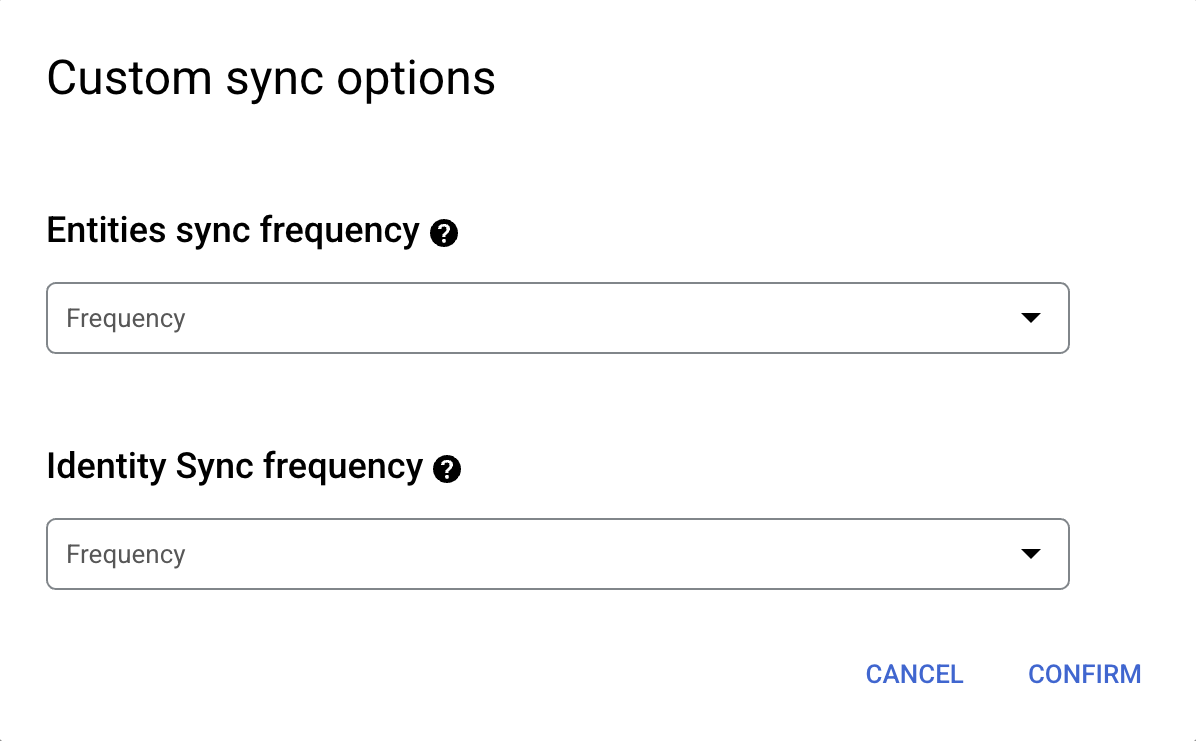
Setting separate schedules for full entity sync and full identity sync. Select a region for your data store and enter a name for your data store.
Click Create.
If you selected the Private destination type and configured your Private Service Connect producer service to Accept connections for selected projects (explicit approval), do the following:
In the Google Cloud console, go to Network Services > Private Service Connect.
Click the Published services tab.
Click the name of the Private Service Connect service corresponding to your Confluence Data Center data store.
In the Connected projects section, select the checkbox next to the Gemini Enterprise tenant project for the data store, and then click Accept project. The Gemini Enterprise tenant project ID ends in
-tp.
The data store status remains as Creating until you accept the connection request in the Private Service Connect settings. After you accept the connection request, the data store status changes to Active during the next sync run.
To verify the state of the data store and the ingestion activity, do the following:
Navigate to the connector in the data store list and monitor its state until it changes to Active.
After the connector state changes to Active, click the required entity and confirm that all selected entities are ingested. The data store state transitions from Creating to Running when synchronization begins and changes to Active once ingestion completes, indicating that the data store is set up. Depending on the size of your data, ingestion can take several hours.
Next steps
To attach your data store to an app, create an app and select your data store following the steps in Create a search app.
To preview how your search results appear after your app and data store are set up, see Get search results. If you used third-party access control, see Preview results for apps with third-party access control.
To enable alerts for the data store, see Configure alerts for third-party data stores.