En esta página, se describe cómo agregar la función de búsqueda a un sitio web con el widget de búsqueda.
Antes de comenzar
Antes de agregar un widget de búsqueda a tu página web, asegúrate de configurarlo. Para ello, comienza con Cómo configurar los resultados para el widget de búsqueda. Ten en cuenta que no es posible ajustar el diseño del widget de búsqueda en tu página web.
Procedimientos
El procedimiento para agregar el widget de búsqueda a tu página web varía según el tipo de autorización que elijas:
Token de autorización: El widget utiliza un token OAuth o JWT proporcionado por tu base de código. Debes tener tu propio servidor que puedas usar para generar un token. El token de autorización se usa para realizar una llamada a la API en nombre del usuario o la cuenta de servicio. Cuando generes el token de autorización, usa el permiso de OAuth
https://www.googleapis.com/auth/cloud-platform.Para interacciones de servidor a servidor con cuentas de servicio: Consulta Uso de OAuth 2.0 para aplicaciones de servidor a servidor en la documentación de autorización.
Para aplicaciones web con JavaScript: Consulta OAuth 2.0 para aplicaciones web del lado del cliente en la documentación de autorización.
Acceso público: El widget no restringirá quiénes pueden obtener resultados de una búsqueda.
Agrega un widget que use un token de autorización
En la consola de Google Cloud , ve a la página AI Applications.
Haz clic en el nombre de la app que deseas editar.
Haz clic en Integration.
Haz clic en la pestaña Widget.
Selecciona Basado en JWT o OAuth como el tipo de autorización del widget.
Especifica el nombre de dominio de la página del widget:
Ingresa el nombre de dominio de la página en la que aparecerá el widget.
Por ejemplo, si quieres copiar el widget en las páginas
example.com/ai.htmlycymbal.example.com/search.html, ingresaexample.comcomo dominio. Si solo quieres que el widget funcione en una página del subdominio, ingresacymbal.example.com.Si quieres probar el widget en tu localhost, ingresa
localhost.Haz clic en Agregar.
Repite el paso 6 para cada dominio en el que aparecerá el widget.
Haz clic en Guardar.
Copia el fragmento de código proporcionado en la sección Copia el siguiente código en tu aplicación web.
Opcional: Realiza los siguientes cambios para personalizar el comportamiento del widget de búsqueda:
Para abrir los resultados de la Web en pestañas nuevas, agrega lo siguiente al fragmento de código copiado. De forma predeterminada, los resultados de documentos no estructurados se abren en pestañas nuevas, mientras que los resultados de la Web se abren en la misma página que el widget.
anchorsTarget="_blank"Por ejemplo:
<gen-search-widget configId="..." anchorsTarget="_blank"></gen-search-widget>Para personalizar el texto de marcador de posición dentro de la barra de búsqueda, agrega lo siguiente al fragmento de código copiado:
placeholder="CUSTOM_PLACEHOLDER"Por ejemplo:
<gen-search-widget configId="..." placeholder="Start your search here"></gen-search-widget>Para mostrar siempre el widget sin un activador, agrega lo siguiente al fragmento de código copiado:
alwaysOpenedPor ejemplo:
<gen-search-widget alwaysOpened></gen-search-widget>
En tu base de código, genera un token de autorización.
Para pasar el token de autorización a tu widget, usa el segundo fragmento de código, "
// Set authorization token", que se proporciona en la sección Copia el siguiente código en tu aplicación web y reemplaza el texto<JWT or OAuth token provided by you backend>por tu token de autorización.Establece periódicamente un token nuevo repitiendo el paso anterior antes de que caduque el token actual.
Agrega un widget que tenga acceso público
En la consola de Google Cloud , ve a la página AI Applications.
Haz clic en el nombre de la app que deseas editar.
Para el acceso público, asegúrate de que la app de búsqueda no esté asociada a ningún almacén de datos en control de acceso.
Haz clic en Integration.
Haz clic en la pestaña Widget.
Selecciona Acceso público como el tipo de autorización del widget.
Especifica el nombre de dominio de la página del widget:
Ingresa el nombre de dominio de la página en la que aparecerá el widget.
Por ejemplo, si quieres copiar el widget en las páginas
example.com/ai.htmlycymbal.example.com/search.html, ingresaexample.comcomo dominio. Si solo quieres que el widget funcione en las páginas del subdominio, ingresacymbal.example.com.Si quieres probar el widget en tu localhost, ingresa
localhost.Haz clic en Agregar.
Repite el paso 6 para cada dominio en el que aparecerá el widget.
Haz clic en Guardar.
Copia el fragmento de código proporcionado en la sección Copia el siguiente código en tu aplicación web.
Opcional: Realiza los siguientes cambios para personalizar el comportamiento del widget de búsqueda:
Para abrir los resultados de la Web en pestañas nuevas, agrega lo siguiente al fragmento de código copiado. De forma predeterminada, los resultados de documentos no estructurados se abren en pestañas nuevas, mientras que los resultados de la Web se abren en la misma página que el widget.
anchorsTarget="_blank"Por ejemplo:
<gen-search-widget configId="..." anchorsTarget="_blank"></gen-search-widget>Para personalizar el texto de marcador de posición dentro de la barra de búsqueda, agrega lo siguiente al fragmento de código copiado:
placeholder="CUSTOM_PLACEHOLDER"Por ejemplo:
<gen-search-widget configId="..." placeholder="Start your search here"></gen-search-widget>Para mostrar siempre el widget sin un activador, agrega lo siguiente al fragmento de código copiado:
<gen-search-widget alwaysOpened></gen-search-widget>
Pega el fragmento de código en tu página web.
Ejemplo de un widget integrado de acceso público
Para ver un widget de búsqueda incorporado en una página web pública, consulta Prueba Vertex AI Search.
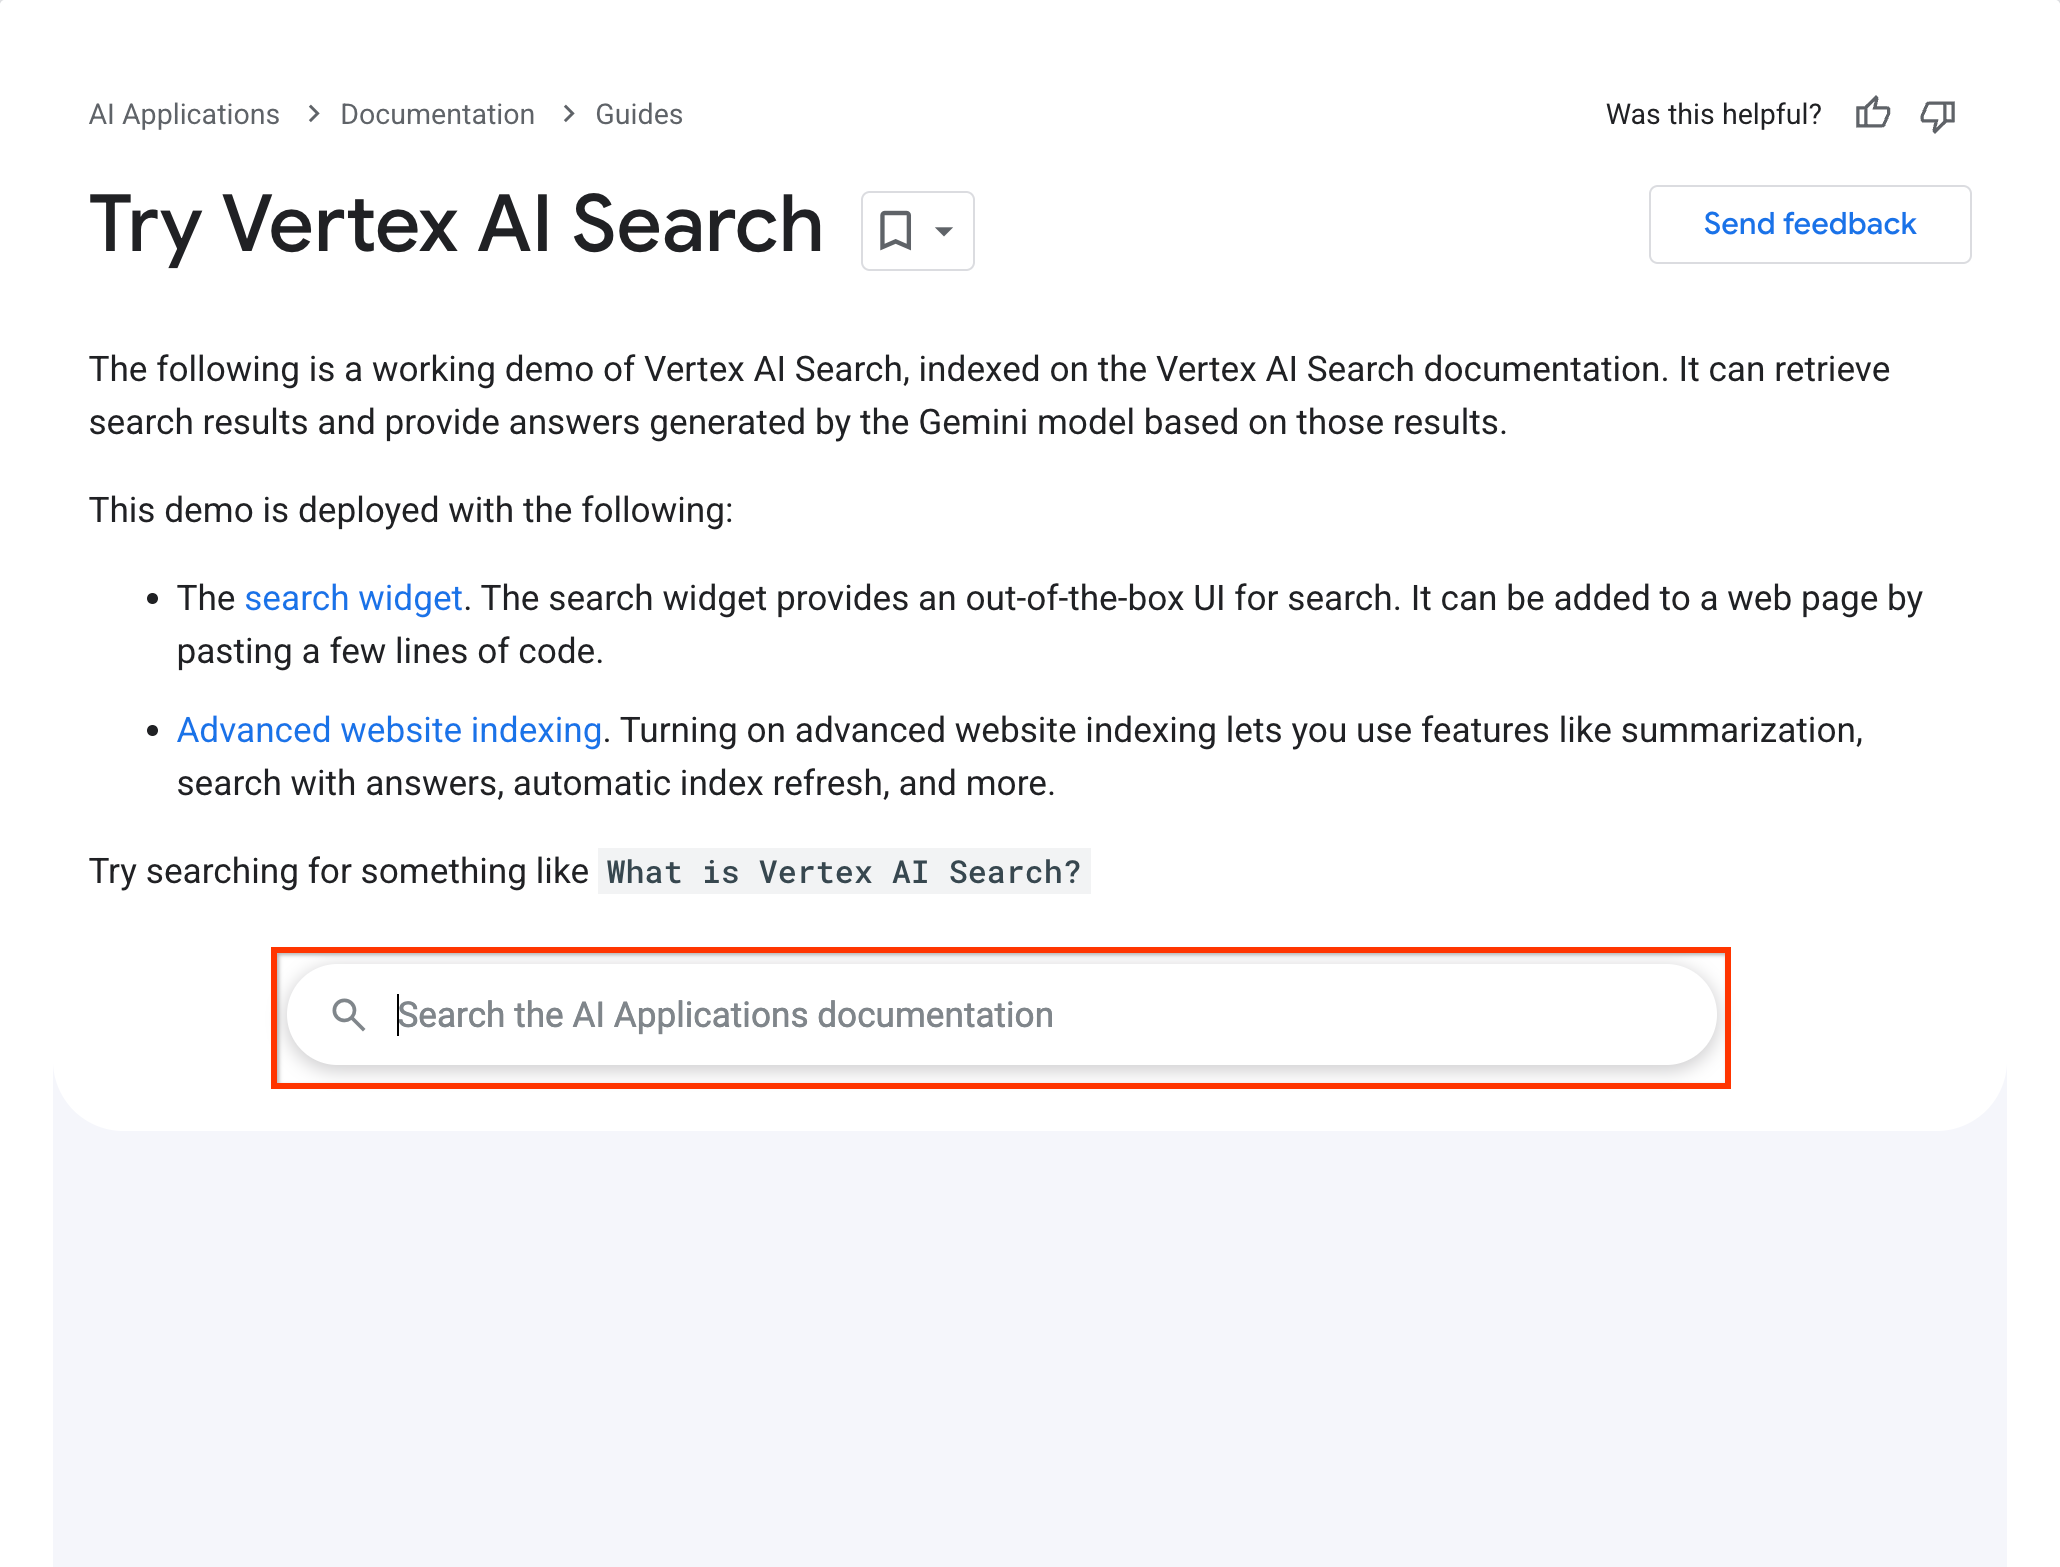
Este widget de búsqueda funciona con la siguiente configuración:
  <gen-search-widget
    configId="123456"
    anchorsTarget="_blank"
    placeholder="Search the Vertex AI Search documentation"
    alwaysOpened>
  </gen-search-widget>