This document describes how you can use Gemini Code Assist Standard and Enterprise, an AI-powered collaborator in your IDE, to help you do the following in VS Code or IntelliJ and other supported JetBrains IDEs:
- Generate code for your project with code transformation.
- Receive code completions while you're coding.
- Use smart actions.
If you're using Gemini Code Assist Enterprise, you can use Code customization, which lets you get code suggestions based on your organization's private codebase directly from Gemini Code Assist Enterprise. Learn how to configure code customization.
This document is intended for developers of all skill levels. It assumes you have working knowledge of VS Code or IntelliJ and other supported JetBrains IDEs, and are familiar with Google Cloud. If you prefer, you can also explore Gemini Code Assist in Cloud Shell Editor, Cloud Workstations, and Android Studio.
Before you begin
VS Code
Set up Gemini Code Assist Standard or Enterprise, if you haven't already.
Before testing Gemini Code Assist capabilities in your code file, make sure your file's coding language is supported. For more information on supported coding languages, see Supported coding languages.
If you prefer to use your IDE behind a proxy, see Network Connections in Visual Studio Code.
IntelliJ
Set up Gemini Code Assist Standard or Enterprise, if you haven't already.
Before testing Gemini Code Assist capabilities in your code file, make sure your file's coding language is supported. For more information on supported coding languages, see Supported coding languages.
If you prefer to use your IDE behind a proxy, see HTTP Proxy.
Generate code with prompts
The following sections show you how to use Gemini Code Assist to
generate code with the example prompt Function to create a Cloud Storage
bucket inside your code file. You can also select a part of your code and then
prompt Gemini Code Assist for help through the chat feature, and
receive and accept or reject code suggestions while you code.
Prompt Gemini Code Assist with code transformation
Code transformation allows you to use commands or natural language prompts in the Quick Pick menu to request modifications to your code, and provides you with a diff view to show pending changes to your code. To prompt Gemini Code Assist with code transformation, follow these steps:
VS Code
In your code file, on a new line, press Control+I (for Windows and Linux) or Command+I (for macOS) to open the Gemini Code Assist Quick Pick menu.
In the menu, using the
/generatecommand, enter/generate function to create a Cloud Storage bucketand then press Enter (for Windows and Linux) or Return (for macOS).
Gemini Code Assist generates the code based on your prompt in a diff view.

Optional: To accept these changes, click Accept.
IntelliJ
In your code file, on a new line, press Alt+\ (for Windows and Linux) or Cmd+\ (for macOS) to open the Gemini Code Assist Quick Pick menu.
In the menu, using the
/generatecommand, enter/generate function to create a Cloud Storage bucketand then press Enter (for Windows and Linux) or Return (for macOS).
Gemini Code Assist generates the code based on your prompt in a diff view.

Optional: To accept these changes, click Accept Changes.
You can use the following code transformation commands in your IDE:
/fix: Fix issues or errors in your code. Example:/fix potential NullPointerExceptions in my code./generate: Generate code. Example:/generate a function to get the current time./doc: Add documentation to your code. Example:/doc this function./simplify: Simplify your code. Example:/simplify if statement in this code.
Prompt Gemini Code Assist in a code file with a comment
If you prefer, you can also prompt Gemini Code Assist in your code file with a comment by following these steps:
VS Code
On a new line, enter the comment
Function to create a Cloud Storage bucket, and then press Enter (for Windows and Linux) or Return (for macOS).To generate code, press Control+Enter (for Windows and Linux) or Control+Return (for macOS).
Next to your prompt text in your code file, Gemini Code Assist generates the code in the form of ghost text.
Optional: To accept the generated code, press Tab.
IntelliJ
In your code file, on a new line, enter the comment
Function to create a Cloud Storage bucket.To generate code, press Alt+G (for Windows and Linux) or Option+G (for macOS). Alternatively, you can right-click next to the comment and select Generate Code.
Gemini Code Assist generates the code below your comment in the form of ghost text.
Optional: To accept the generated code, press Tab.
Optional: Change keyboard shortcut for generating code
If the default keyboard shortcut for generating code isn't working as outlined in the previous section, you can change the keyboard shortcut.
Get code completions
While you write code, Gemini Code Assist makes inline code suggestions, also known as code completions, that you can either accept or ignore. To get code completions, follow these steps:
VS Code
In your code file, on a new line, start writing a function. For example, if you're in a Python file, write
def.Gemini Code Assist suggests code in the form of ghost text.
To accept the code suggestion from Gemini Code Assist, press Tab. Otherwise, to ignore the suggestion, press Esc or continue writing your code.
IntelliJ
In your code file, on a new line, start writing a function. For example, if you're in a Python file, write
def.Gemini Code Assist suggests code in the form of an inline suggestion.
To accept the code suggestion from Gemini Code Assist, press Tab. Otherwise, to ignore the suggestion, press Esc or continue writing your code.
Optional: If you prefer to use a different shortcut key to accept the inline suggestion, hold your pointer over the inline suggestion and click the Tab dropdown that appears. Then, select your preferred shortcut or click Custom to enter your own shortcut.

Optional: Disable code completion
Code completion is enabled by default. If you want to disable code completion, follow these steps:
VS Code
In your IDE, click Code (for macOS) or File (for Windows and Linux), and then navigate to Preferences > Settings.
On the User tab of the Settings dialog, navigate to Extensions > Gemini Code Assist.
Scroll until you find the Geminicodeassist > Inline Suggestions: Enable Auto list, and then select Off.
This turns off the inline suggestions. You can still press Control+Enter (for Windows and Linux) or Control+Return (for macOS) to manually trigger inline suggestions.
IntelliJ
In the status bar of your IDE, click spark Gemini Code Assist: Active and select Enable AI Code Completion.

This disables the code completion setting, and Gemini Code Assist no longer makes inline suggestions until you enable the setting again.
Use Next Edit Predictions
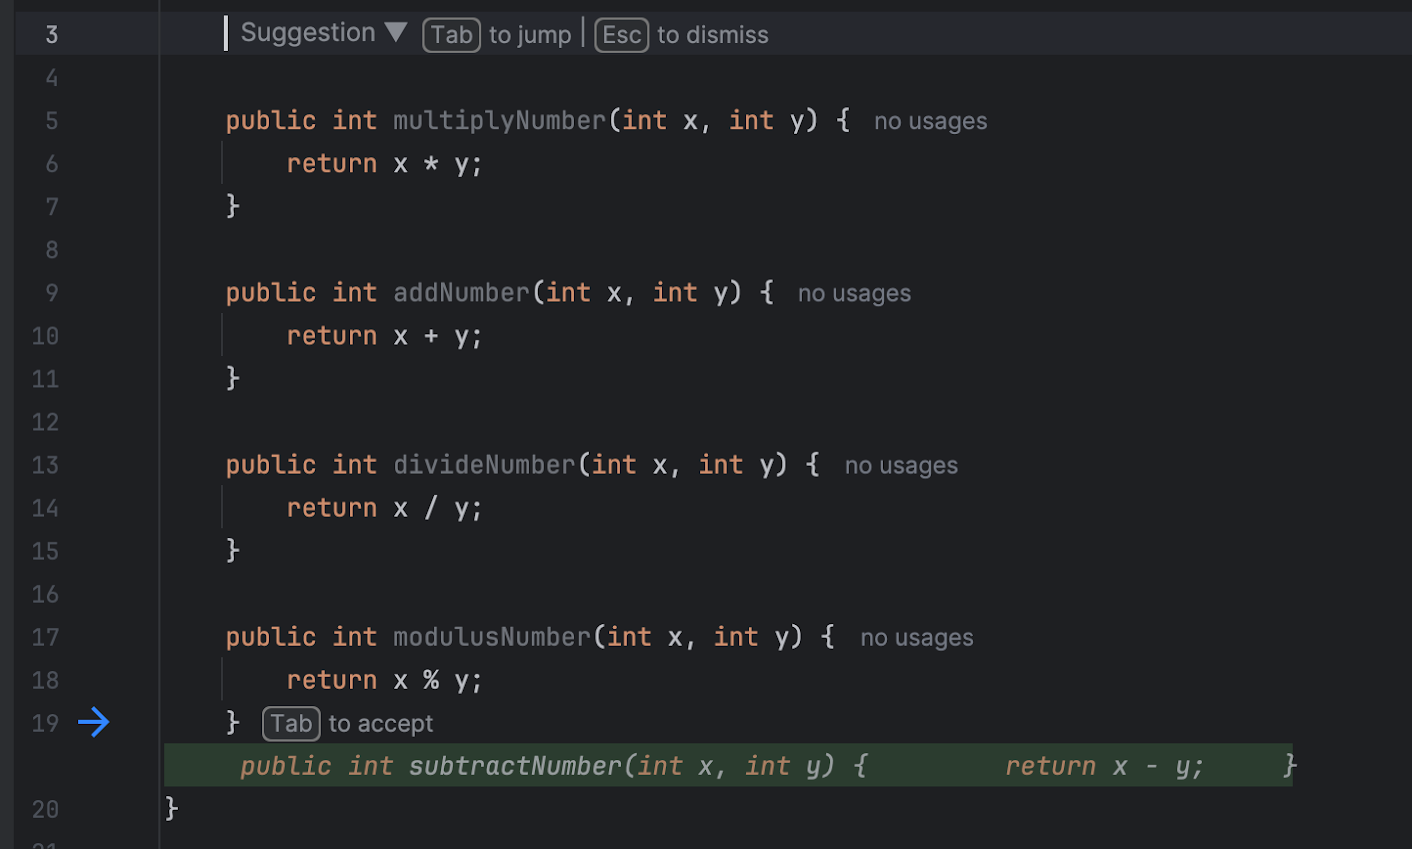
While code completion only suggests changes at your cursor in a code file, Next Edit Predictions provide predicted code suggestions throughout the file, even in locations away from the cursor.
You can enable Next Edit Predictions in the settings of your IDE.
To use Next Edit Predictions in your IDE, follow these steps:
VS Code
To begin using Next Edit Predictions, enable the setting:
Navigate to settings Manage > Settings.
In the User tab of the settings window, navigate to Extensions > Gemini Code Assist.
Scroll until you find Geminicodeassist > Inline Suggestions: Next Edit Predictions.
Select the checkbox to enable Next Edit Predictions in VS Code.
Now that you've enabled the setting, you can start using Next Edit Predictions in a code file by performing these steps:
In your code file, start writing code. Next Edit Predictions appear when you pause or stop typing.

Press Tab to accept the provided Next Edit suggestion.

If you want to accept the next suggestion, press Tab again. A further suggestion may appear and the process can again be repeated. Otherwise, press Esc to dismiss, or continue typing to ignore the suggestion.
When you press Tab to enter the suggestion, you can hold your pointer over the suggestion to see the other suggestions, if applicable. If there are multiple suggestions, you can click the left and right arrows to cycle through the other suggestions.

Whenever you press Esc to dismiss the suggestion, Gemini Code Assist stops suggesting Next Edit Predictions for that specific code block. You continue to receive suggestions when you move to another section of your code.
IntelliJ
To begin using Next Edit Predictions, enable the setting:
Navigate to File > Settings > Tools > Gemini.
In the Completion section, select the Next Edit Predictions checkbox to enable the feature.
Now that you've enabled the setting, you can start using Next Edit Predictions in a code file by performing these steps:
In your code file, start writing code. Next Edit Predictions appear when you pause or stop typing.
Press Tab to accept the provided Next Edit suggestion.

If you want to accept the next suggestion, press Tab again. A further suggestion may appear and the process can again be repeated. Otherwise, press Esc to dismiss, or continue typing to ignore the suggestion.
Whenever you press Esc to dismiss the suggestion, Gemini Code Assist stops suggesting Next Edit Predictions for that specific code block. You continue to receive suggestions when you move to another section of your code.
Get more relevant suggestions with remote repository context
You can get more contextually aware and relevant code suggestions by directing Gemini Code Assist to focus on specific remote repositories. This is useful when your task centers on a specific set of microservices, libraries, or modules.
Before you begin
Before you use a remote repository as context, you must first index and configure it for code customization.
Use a remote repository as context
To direct Gemini Code Assist to use one or more repositories as the primary context for your prompts:
- In your IDE's chat, start your prompt with the @ symbol. A list of your available indexed remote repositories appears.
- Select the repository (or repositories) you want to use for context from the list. You can also start typing the repository name to filter the list.
- After selecting the repositories, write the rest of your prompt.
Gemini Code Assist then prioritizes the selected repositories when generating a response.
Example prompts
This section includes examples of how you can get more relevant suggestions with remote repository context.
- Understand a repository
@REPOSITORY_NAME What is the overall structure of this repository?@REPOSITORY_NAME I'm a new team member. Can you give me an overview of this repository's purpose and key modules?
- Generate and modify code
@REPOSITORY_NAME Implement an authentication function similar to the one
in this repository.
@REPOSITORY_NAME Refactor the following code to follow the conventions in the selected repository.Use the library-x in @REPOSITORY_A_NAME-A and implement the function-x
- Test
@UNIT_TEST_FILE_NAME Generate unit tests for module-x based on the examples
in the selected file.
By using remote repositories as a focused source of context, you can get more accurate and relevant suggestions from Gemini Code Assist, which can help you code faster and more efficiently.
Use smart actions
To help you be more productive while minimizing context switching, Gemini Code Assist provides AI-powered smart actions directly in your code editor. When you select your code in your code editor, you can view and select from a list of actions relevant to your context.
To use smart actions in your code, follow these steps:
VS Code
In your code file, select a block of code.
Next to the selected code block, click lightbulb Show Code Actions.

Select an action such as Generate unit tests.
Gemini Code Assist generates a response that's based on the action you selected.
IntelliJ
In your code file, select a line or block of code.
Right-click the selected code and select a smart action, like Generate unit tests.
Selecting the smart action will automatically prompt Gemini Code Assist to generate a response to the prompt in the Gemini Code Assist tool window.
Use code transformation quick fix
If there's an error in your code, Gemini Code Assist gives you the option to apply a quick fix to the error with code transformation.
To apply a quick fix in your code file, follow these steps:
VS Code
In your code file, hold your pointer over the squiggly error line and select Quick Fix, and then select /fix.

When the quick fix is applied, a diff view appears. To accept these changes, click Accept.
IntelliJ
In your code file, click the red error bulb icon, which indicates an error in your code, and select Fix with Gemini.

When the fix is applied, a diff view appears. To accept these changes, click Accept.
Exclude files from local context
By default, Gemini Code Assist excludes files from local use in
the context for code completion, code generation, code transformation, and chat
if the files are specified in a .aiexclude or .gitignore file.
To learn how to exclude files from local use, see Exclude files from Gemini Code Assist use.
Disable code suggestions that match cited sources
Gemini Code Assist provides citation information when it directly quotes at length from another source, such as existing open source code. For more information, see How and when Gemini cites sources.
To prevent code that matches cited sources from being suggested to you, do the following:
VS Code
In the activity bar of your IDE, click Manage > Settings.
In the User tab of the settings window, navigate to Extensions > Gemini Code Assist.
Scroll until you find Geminicodeassist > Recitation: Max Cited Length.
Set the value to
0.
Gemini Code Assist no longer suggests code to you that matches cited sources.
IntelliJ
In the status bar of your IDE, click spark Gemini Code Assist: Active and select then select Configure Gemini.
Expand the Advanced settings section, and then select Block selections that match external cited sources.
Click OK.
Gemini Code Assist no longer suggests code to you that matches cited sources.
Known issues
This section outlines the known issues of Gemini Code Assist:
VS Code
Chat responses may be truncated when they include an updated version of a large open file
To work around this issue, select a smaller section of code and include an additional directive in the chat prompt, such as
only output the selected
code.
Vim: Cannot accept or dismiss code generation suggestions unless in insert mode
When using the Vim plugin in normal mode, you can't accept or dismiss code suggestions.
To work around this issue, press i to enter insert mode, and then press Tab to accept the suggestion.
Vim: Inconsistent behavior when pressing Esc to dismiss suggestions
When you press Esc, both the IDE and Gemini Code Assist suggestions are dismissed. This behavior is different from the non-Vim behavior where pressing Esc re-triggers Gemini Code Assist.
Sign-in attempts keep timing out
If your sign-in attempts keep timing out, try adding the
cloudcode.beta.forceOobLoginsetting to yoursettings.jsonfile:"cloudcode.beta.forceOobLogin": trueLicense recitation warnings don't persist across sessions
If license recitation warnings don't persist across sessions, refer to the persistent logs:
Click View > Output.
Select Gemini Code Assist - Citations.
Connectivity issues in the Gemini Code Assist output window
If you see a connection error or other connectivity problems in the Gemini Code Assist output window, try the following:
Configure your firewall to allow access to
oauth2.googleapis.comandcloudaicompanion.googleapis.com.Configure your firewall to allow communication over HTTP/2, which gRPC uses.
You can use the
grpc-health-probetool to test connectivity. A successful check results in the following output:$ grpc-health-probe -addr cloudaicompanion.googleapis.com:443 -tls error: this server does not implement the grpc health protocol (grpc.health.v1.Health): GRPC target method can't be resolvedAn unsuccessful check results in the following output:
timeout: failed to connect service "cloudaicompanion.googleapis.com:443" within 1sTo obtain more details, run the following before
grpc-health-probe:export GRPC_GO_LOG_SEVERITY_LEVEL=info
'Activate Gemini Code Assist' still appears after selecting Gemini Code Assist project
If you selected your project per the instructions in this guide, which includes enabling the Gemini for Google Cloud API, then there may be an issue with the LS server.
To find out more details about your issue, perform the following actions:
In the status bar, click spark Gemini Code Assist and then select Send feedback.
Click Show for any of the log files to see more details and to help troubleshoot the issue.
IntelliJ
There are no known issues for Gemini Code Assist for IntelliJ and other supported JetBrains IDEs.
Leave feedback
To leave feedback of your experience, see Provide Gemini for Google Cloud feedback.
What's next
- Learn how to write better prompts.
- Learn how Gemini for Google Cloud uses your data.
- Learn about Gemini Code Assist pricing.
- Learn more about Google Cloud compliance.