Esta página descreve como adicionar a funcionalidade de pesquisa a um Website através do widget de pesquisa.
Antes de começar
Antes de adicionar um widget de pesquisa à sua página Web, certifique-se de que configura o widget de pesquisa, começando por Configurar resultados para o widget de pesquisa. Tenha em atenção que não é possível ajustar o estilo do widget de pesquisa na sua página Web.
Procedimentos
O procedimento para adicionar o widget de pesquisa à sua página Web difere consoante o tipo de autorização que escolher:
Símbolo de autorização: o widget usa um JWT ou um símbolo OAuth fornecido pelo seu código base. Tem de ter o seu próprio servidor que possa usar para gerar um token. O token de autorização é usado para fazer uma chamada à API em nome do utilizador ou da conta de serviço. Quando gerar o símbolo de autorização, use o âmbito do OAuth
https://www.googleapis.com/auth/cloud-platform.Para interações de servidor a servidor com contas de serviço: consulte o artigo Usar o OAuth 2.0 para aplicações de servidor a servidor na documentação de autorização.
Para apps Web JavaScript: consulte o artigo OAuth 2.0 para apps Web do lado do cliente na documentação de autorização.
Acesso público: o widget não restringe quem pode obter resultados de uma consulta de pesquisa.
Adicione um widget que use um token de autorização
Na Google Cloud consola, aceda à página Aplicações de IA.
Clique no nome da app que quer editar.
Clique em Integração.
Clique no separador Widget.
Selecione Com base em JWT ou OAuth como o tipo de autorização do widget.
Especifique o nome do domínio da página do widget:
Introduza o nome do domínio da página onde o widget vai aparecer.
Por exemplo, se for copiar o widget para as páginas
example.com/ai.htmlecymbal.example.com/search.html, introduzaexample.comcomo o domínio. Se quiser que o widget funcione apenas numa página do subdomínio, introduzacymbal.example.com.Se quiser testar o widget no seu localhost, introduza
localhost.Clique em Adicionar.
Repita o passo 6 para cada domínio onde o widget vai aparecer.
Clique em Guardar.
Copie o fragmento do código fornecido na secção Copie o seguinte código para a sua aplicação Web.
Opcional: faça as seguintes alterações para personalizar o comportamento do widget de pesquisa:
Em alternativa, para abrir os resultados da Web em novos separadores, adicione o seguinte ao fragmento de código copiado. Por predefinição, os resultados de documentos não estruturados são abertos em novos separadores, enquanto os resultados da Web são abertos na mesma página que o widget.
anchorsTarget="_blank"Por exemplo:
<gen-search-widget configId="..." anchorsTarget="_blank"></gen-search-widget>Para personalizar o texto do marcador de posição na barra de pesquisa, adicione o seguinte ao fragmento do código copiado:
placeholder="CUSTOM_PLACEHOLDER"Por exemplo:
<gen-search-widget configId="..." placeholder="Start your search here"></gen-search-widget>Para mostrar sempre o widget sem um acionador, adicione o seguinte ao fragmento de código copiado:
alwaysOpenedPor exemplo:
<gen-search-widget alwaysOpened></gen-search-widget>
No seu código base, gere um token de autorização.
Para transmitir o token de autorização ao seu widget, use o segundo fragmento de código, "
// Set authorization token", fornecido na secção Copie o seguinte código para a sua aplicação Web e substitua o texto<JWT or OAuth token provided by you backend>pelo seu token de autorização.Defina periodicamente um novo token repetindo o passo anterior antes de o token atual expirar.
Adicione um widget com acesso público
Na Google Cloud consola, aceda à página Aplicações de IA.
Clique no nome da app que quer editar.
Para acesso público, certifique-se de que a app de pesquisa não está associada a nenhuma loja de dados em controlo de acesso.
Clique em Integração.
Clique no separador Widget.
Selecione Acesso público como o tipo de autorização do widget.
Especifique o nome do domínio da página do widget:
Introduza o nome do domínio da página onde o widget vai aparecer.
Por exemplo, se for copiar o widget para as páginas
example.com/ai.htmlecymbal.example.com/search.html, introduzaexample.comcomo o domínio. Se quiser que o widget funcione apenas em páginas do subdomínio, introduzacymbal.example.com.Se quiser testar o widget no seu localhost, introduza
localhost.Clique em Adicionar.
Repita o passo 6 para cada domínio onde o widget vai aparecer.
Clique em Guardar.
Copie o fragmento do código fornecido na secção Copie o seguinte código para a sua aplicação Web.
Opcional: faça as seguintes alterações para personalizar o comportamento do widget de pesquisa:
Em alternativa, para abrir os resultados da Web em novos separadores, adicione o seguinte ao fragmento de código copiado. Por predefinição, os resultados de documentos não estruturados são abertos em novos separadores, enquanto os resultados da Web são abertos na mesma página que o widget.
anchorsTarget="_blank"Por exemplo:
<gen-search-widget configId="..." anchorsTarget="_blank"></gen-search-widget>Para personalizar o texto do marcador de posição na barra de pesquisa, adicione o seguinte ao fragmento do código copiado:
placeholder="CUSTOM_PLACEHOLDER"Por exemplo:
<gen-search-widget configId="..." placeholder="Start your search here"></gen-search-widget>Para mostrar sempre o widget sem um acionador, adicione o seguinte ao fragmento de código copiado:
<gen-search-widget alwaysOpened></gen-search-widget>
Cole o fragmento do código na sua página Web.
Exemplo de um widget de acesso público incorporado
Para ver um widget de pesquisa incorporado numa página Web pública, consulte o artigo Experimente o Vertex AI Search.
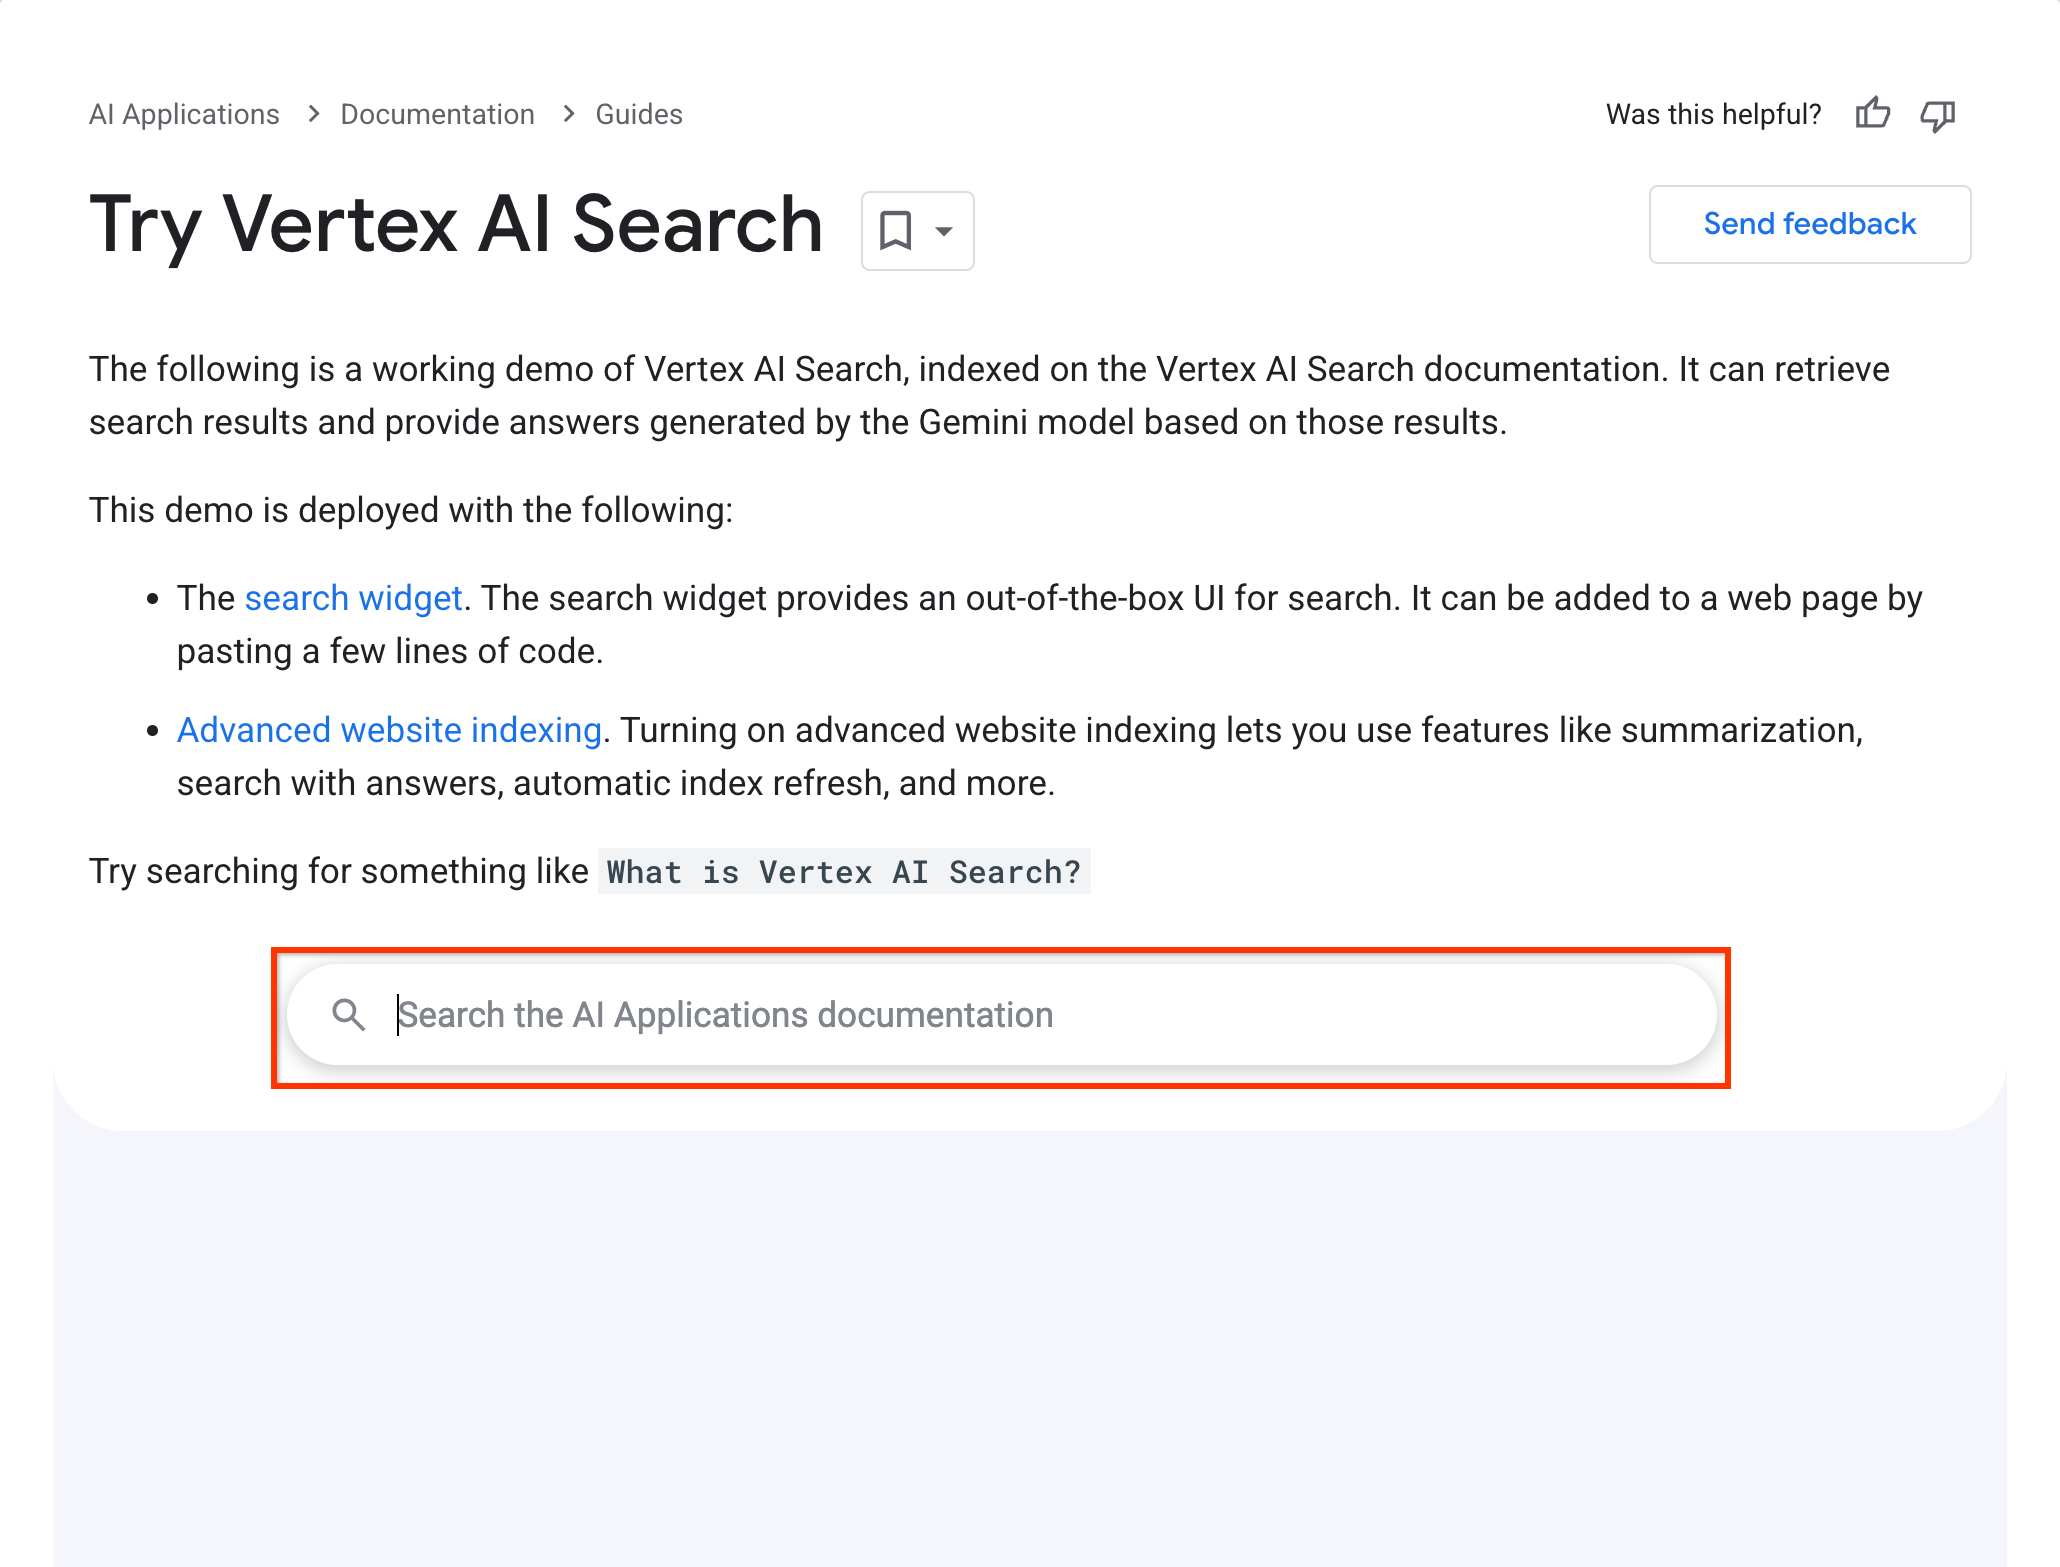
Este widget de pesquisa funciona com a seguinte configuração:
  <gen-search-widget
    configId="123456"
    anchorsTarget="_blank"
    placeholder="Search the Vertex AI Search documentation"
    alwaysOpened>
  </gen-search-widget>