Stay organized with collections
Save and categorize content based on your preferences.
This page describes how to add search functionality to a website using the
search widget.
Before you begin
Before you add a search widget to your web page, be sure to configure your
search widget, starting with Configure results for the search
widget. Note that it's not possible to adjust the
styling of the search widget in your web page.
Procedures
The procedure for adding the search widget to your web page differs depending on
the authorization type you choose:
Authorization token: The widget uses a JWT or OAuth token provided by
your codebase. You must have your own server that you can use to generate a
token. The auth token is used to make an API call on behalf of the user or
service account. When generating the auth token, use the OAuth scope
https://www.googleapis.com/auth/cloud-platform.
Select JWT or OAuth based as the widget authorization type.
Specify the domain name for the widget page:
Enter the domain name for the page where the widget will appear.
For example, if you are going to copy the widget to the pages
example.com/ai.html and cymbal.example.com/search.html, enter
example.com as the domain. If you only want the widget to work on a page
in the subdomain, enter cymbal.example.com.
If you want to test the widget on your localhost, enter localhost.
Click Add.
Repeat step 6 for each domain where the widget will appear.
Click Save.
Copy the code snippet provided in the Copy the following code to your
web application section.
Optional: Make the following changes to customize the search widget
behavior:
To open the results from the web in new tabs instead, add the following
to the copied code snippet. By default, results from unstructured
documents open in new tabs, while results from the web open in the same
page as the widget.
anchorsTarget="_blank"
For example:
<gen-search-widget configId="..." anchorsTarget="_blank"></gen-search-widget>
To customize the placeholder text inside the search bar, add the following
to the copied code snippet:
placeholder="CUSTOM_PLACEHOLDER"
For example:
<gen-search-widget configId="..." placeholder="Start your search here"></gen-search-widget>
To always show the widget without a trigger, add the following
to the copied code snippet:
alwaysOpened
For example:
<gen-search-widget alwaysOpened></gen-search-widget>
In your codebase, generate an authorization token.
To pass the authorization token to your widget, use the second code snippet,
"// Set authorization token", provided in the Copy the following code
to your web application section and replace the text <JWT or OAuth token
provided by you backend> with your authorization token.
Periodically set a fresh token by repeating the previous step before the
current token expires.
Add a widget that has public access
In the Google Cloud console, go to the AI Applications page.
For public access, make sure that the search app isn't associated with any
data store under access control.
Click Integration.
Click the Widget tab.
Select Public Access as the widget authorization type.
Specify the domain name for the widget page:
Enter the domain name for the page where the widget will appear.
For example, if you are going to copy the widget to the pages
example.com/ai.html and cymbal.example.com/search.html, enter
example.com as the domain. If you only want the widget to work on pages
in the subdomain, enter cymbal.example.com.
If you want to test the widget on your localhost, enter localhost.
Click Add.
Repeat step 6 for each domain where the widget will appear.
Click Save.
Copy the code snippet provided in the Copy the following code to your
web application section.
Optional: Make the following changes to customize the search widget
behavior:
To open the results from the web in new tabs instead, add the following
to the copied code snippet. By default, results from unstructured
documents open in new tabs, while results from the web open in the same
page as the widget.
anchorsTarget="_blank"
For example:
<gen-search-widget configId="..." anchorsTarget="_blank"></gen-search-widget>
To customize the placeholder text inside the search bar, add the following
to the copied code snippet:
placeholder="CUSTOM_PLACEHOLDER"
For example:
<gen-search-widget configId="..." placeholder="Start your search here"></gen-search-widget>
To always show the widget without a trigger, add the following
to the copied code snippet:
[[["Easy to understand","easyToUnderstand","thumb-up"],["Solved my problem","solvedMyProblem","thumb-up"],["Other","otherUp","thumb-up"]],[["Hard to understand","hardToUnderstand","thumb-down"],["Incorrect information or sample code","incorrectInformationOrSampleCode","thumb-down"],["Missing the information/samples I need","missingTheInformationSamplesINeed","thumb-down"],["Other","otherDown","thumb-down"]],["Last updated 2025-09-04 UTC."],[[["\u003cp\u003eThis page provides instructions on how to integrate a search widget into your website, enabling search functionality for your users.\u003c/p\u003e\n"],["\u003cp\u003eBefore adding the widget, you must first configure the search widget attributes, but note that you can not modify the styling of the widget.\u003c/p\u003e\n"],["\u003cp\u003eThere are two authorization methods for the search widget: using an authorization token (JWT or OAuth) or public access, with the token method requiring a server to generate the token and public access not restricting results.\u003c/p\u003e\n"],["\u003cp\u003eAdding the widget involves selecting the authorization type, specifying the domains where the widget will appear, and then copying and pasting the provided code snippet into your webpage.\u003c/p\u003e\n"],["\u003cp\u003eIf using an authorization token, you must also include a separate code snippet in your website's code to pass the token to the widget, as well as periodically refresh it, and an optional parameter can be added to make the web results open in new tabs.\u003c/p\u003e\n"]]],[],null,["# Add the search widget to a web page\n\nThis page describes how to add search functionality to a website using the\nsearch widget.\n\nBefore you begin\n----------------\n\nBefore you add a search widget to your web page, be sure to configure your\nsearch widget, starting with [Configure results for the search\nwidget](/generative-ai-app-builder/docs/configure-widget-attributes). Note that it's not possible to adjust the\nstyling of the search widget in your web page.\n\nProcedures\n----------\n\nThe procedure for adding the search widget to your web page differs depending on\nthe authorization type you choose:\n\n- **Authorization token** : The widget uses a JWT or OAuth token provided by\n your codebase. You must have your own server that you can use to generate a\n token. The auth token is used to make an API call on behalf of the user or\n service account. When generating the auth token, use the OAuth scope\n `https://www.googleapis.com/auth/cloud-platform`.\n\n - **For server-to-server interactions with service accounts:** See [Using OAuth\n 2.0 for Server to Server\n Applications](https://developers.google.com/identity/protocols/oauth2/service-account)\n in the authorization documentation.\n\n - **For JavaScript web applications:** See [OAuth 2.0 for Client-side Web\n Applications](https://developers.google.com/identity/protocols/oauth2/javascript-implicit-flow)\n in the authorization documentation.\n\n | **Note:** If you selected a workforce pool to control access to your app's data, then [obtain short-lived tokens for workforce identity\n | federation](/iam/docs/workforce-obtaining-short-lived-credentials).\n- **Public access**: The widget won't restrict who can get results from a\n search query.\n\n### Add a widget that uses an authorization token\n\n1. In the Google Cloud console, go to the **AI Applications** page.\n\n [AI Applications](https://console.cloud.google.com/gen-app-builder/start)\n2. Click the name of the app that you want to edit.\n\n3. Click **Integration**.\n\n4. Click the **Widget** tab.\n\n5. Select **JWT or OAuth based** as the widget authorization type.\n\n6. Specify the domain name for the widget page:\n\n 1. Enter the domain name for the page where the widget will appear.\n\n For example, if you are going to copy the widget to the pages\n `example.com/ai.html` and `cymbal.example.com/search.html`, enter\n `example.com` as the domain. If you only want the widget to work on a page\n in the subdomain, enter `cymbal.example.com`.\n\n If you want to test the widget on your localhost, enter `localhost`.\n 2. Click **Add**.\n\n7. Repeat step 6 for each domain where the widget will appear.\n\n8. Click **Save**.\n\n9. Copy the code snippet provided in the **Copy the following code to your\n web application** section.\n\n10. Optional: Make the following changes to customize the search widget\n behavior:\n\n - To open the results from the web in new tabs instead, add the following\n to the copied code snippet. By default, results from unstructured\n documents open in new tabs, while results from the web open in the same\n page as the widget.\n\n anchorsTarget=\"_blank\"\n\n For example:\n `\u003cgen-search-widget configId=\"...\" anchorsTarget=\"_blank\"\u003e\u003c/gen-search-widget\u003e`\n - To customize the placeholder text inside the search bar, add the following\n to the copied code snippet:\n\n placeholder=\"\u003cvar translate=\"no\"\u003eCUSTOM_PLACEHOLDER\u003c/var\u003e\"\n\n For example:\n `\u003cgen-search-widget configId=\"...\" placeholder=\"Start your search here\"\u003e\u003c/gen-search-widget\u003e`\n - To always show the widget without a trigger, add the following\n to the copied code snippet:\n\n alwaysOpened\n\n For example:\n `\u003cgen-search-widget alwaysOpened\u003e\u003c/gen-search-widget\u003e`\n11. In your codebase, generate an authorization token.\n\n | **Note:** If you selected a workforce pool to control access to your app's data, then [obtain short-lived tokens for workforce identity federation](/iam/docs/workforce-obtaining-short-lived-credentials).\n12. To pass the authorization token to your widget, use the second code snippet,\n \"`// Set authorization token`\", provided in the **Copy the following code\n to your web application** section and replace the text `\u003cJWT or OAuth token\n provided by you backend\u003e` with your authorization token.\n\n13. Periodically set a fresh token by repeating the previous step before the\n current token expires.\n\n### Add a widget that has public access\n\n| **Note:** If your organization requires VPC Service Controls enforcement to protect data, then don't use public access for widget authorization.\n\n1. In the Google Cloud console, go to the **AI Applications** page.\n\n [AI Applications](https://console.cloud.google.com/gen-app-builder/start)\n2. Click the name of the app that you want to edit.\n\n For public access, make sure that the search app isn't associated with any\n data store under [access control](/generative-ai-app-builder/docs/data-source-access-control).\n3. Click **Integration**.\n\n4. Click the **Widget** tab.\n\n5. Select **Public Access** as the widget authorization type.\n\n6. Specify the domain name for the widget page:\n\n 1. Enter the domain name for the page where the widget will appear.\n\n For example, if you are going to copy the widget to the pages\n `example.com/ai.html` and `cymbal.example.com/search.html`, enter\n `example.com` as the domain. If you only want the widget to work on pages\n in the subdomain, enter `cymbal.example.com`.\n\n If you want to test the widget on your localhost, enter `localhost`.\n 2. Click **Add**.\n\n7. Repeat step 6 for each domain where the widget will appear.\n\n8. Click **Save**.\n\n9. Copy the code snippet provided in the **Copy the following code to your\n web application** section.\n\n10. Optional: Make the following changes to customize the search widget\n behavior:\n\n - To open the results from the web in new tabs instead, add the following\n to the copied code snippet. By default, results from unstructured\n documents open in new tabs, while results from the web open in the same\n page as the widget.\n\n anchorsTarget=\"_blank\"\n\n For example:\n `\u003cgen-search-widget configId=\"...\" anchorsTarget=\"_blank\"\u003e\u003c/gen-search-widget\u003e`\n - To customize the placeholder text inside the search bar, add the following\n to the copied code snippet:\n\n placeholder=\"\u003cvar translate=\"no\"\u003eCUSTOM_PLACEHOLDER\u003c/var\u003e\"\n\n For example:\n `\u003cgen-search-widget configId=\"...\" placeholder=\"Start your search here\"\u003e\u003c/gen-search-widget\u003e`\n - To always show the widget without a trigger, add the following\n to the copied code snippet:\n\n `\u003cgen-search-widget alwaysOpened\u003e\u003c/gen-search-widget\u003e`\n11. Paste the code snippet into your web page.\n\nExample of an embedded public-access widget\n-------------------------------------------\n\nTo see a search widget embedded in a public webpage, see the\n[Try Vertex AI Search](/generative-ai-app-builder/docs/try-it) page.\nThe Try Vertex AI Search search widget\n\n\u003cbr /\u003e\n\n
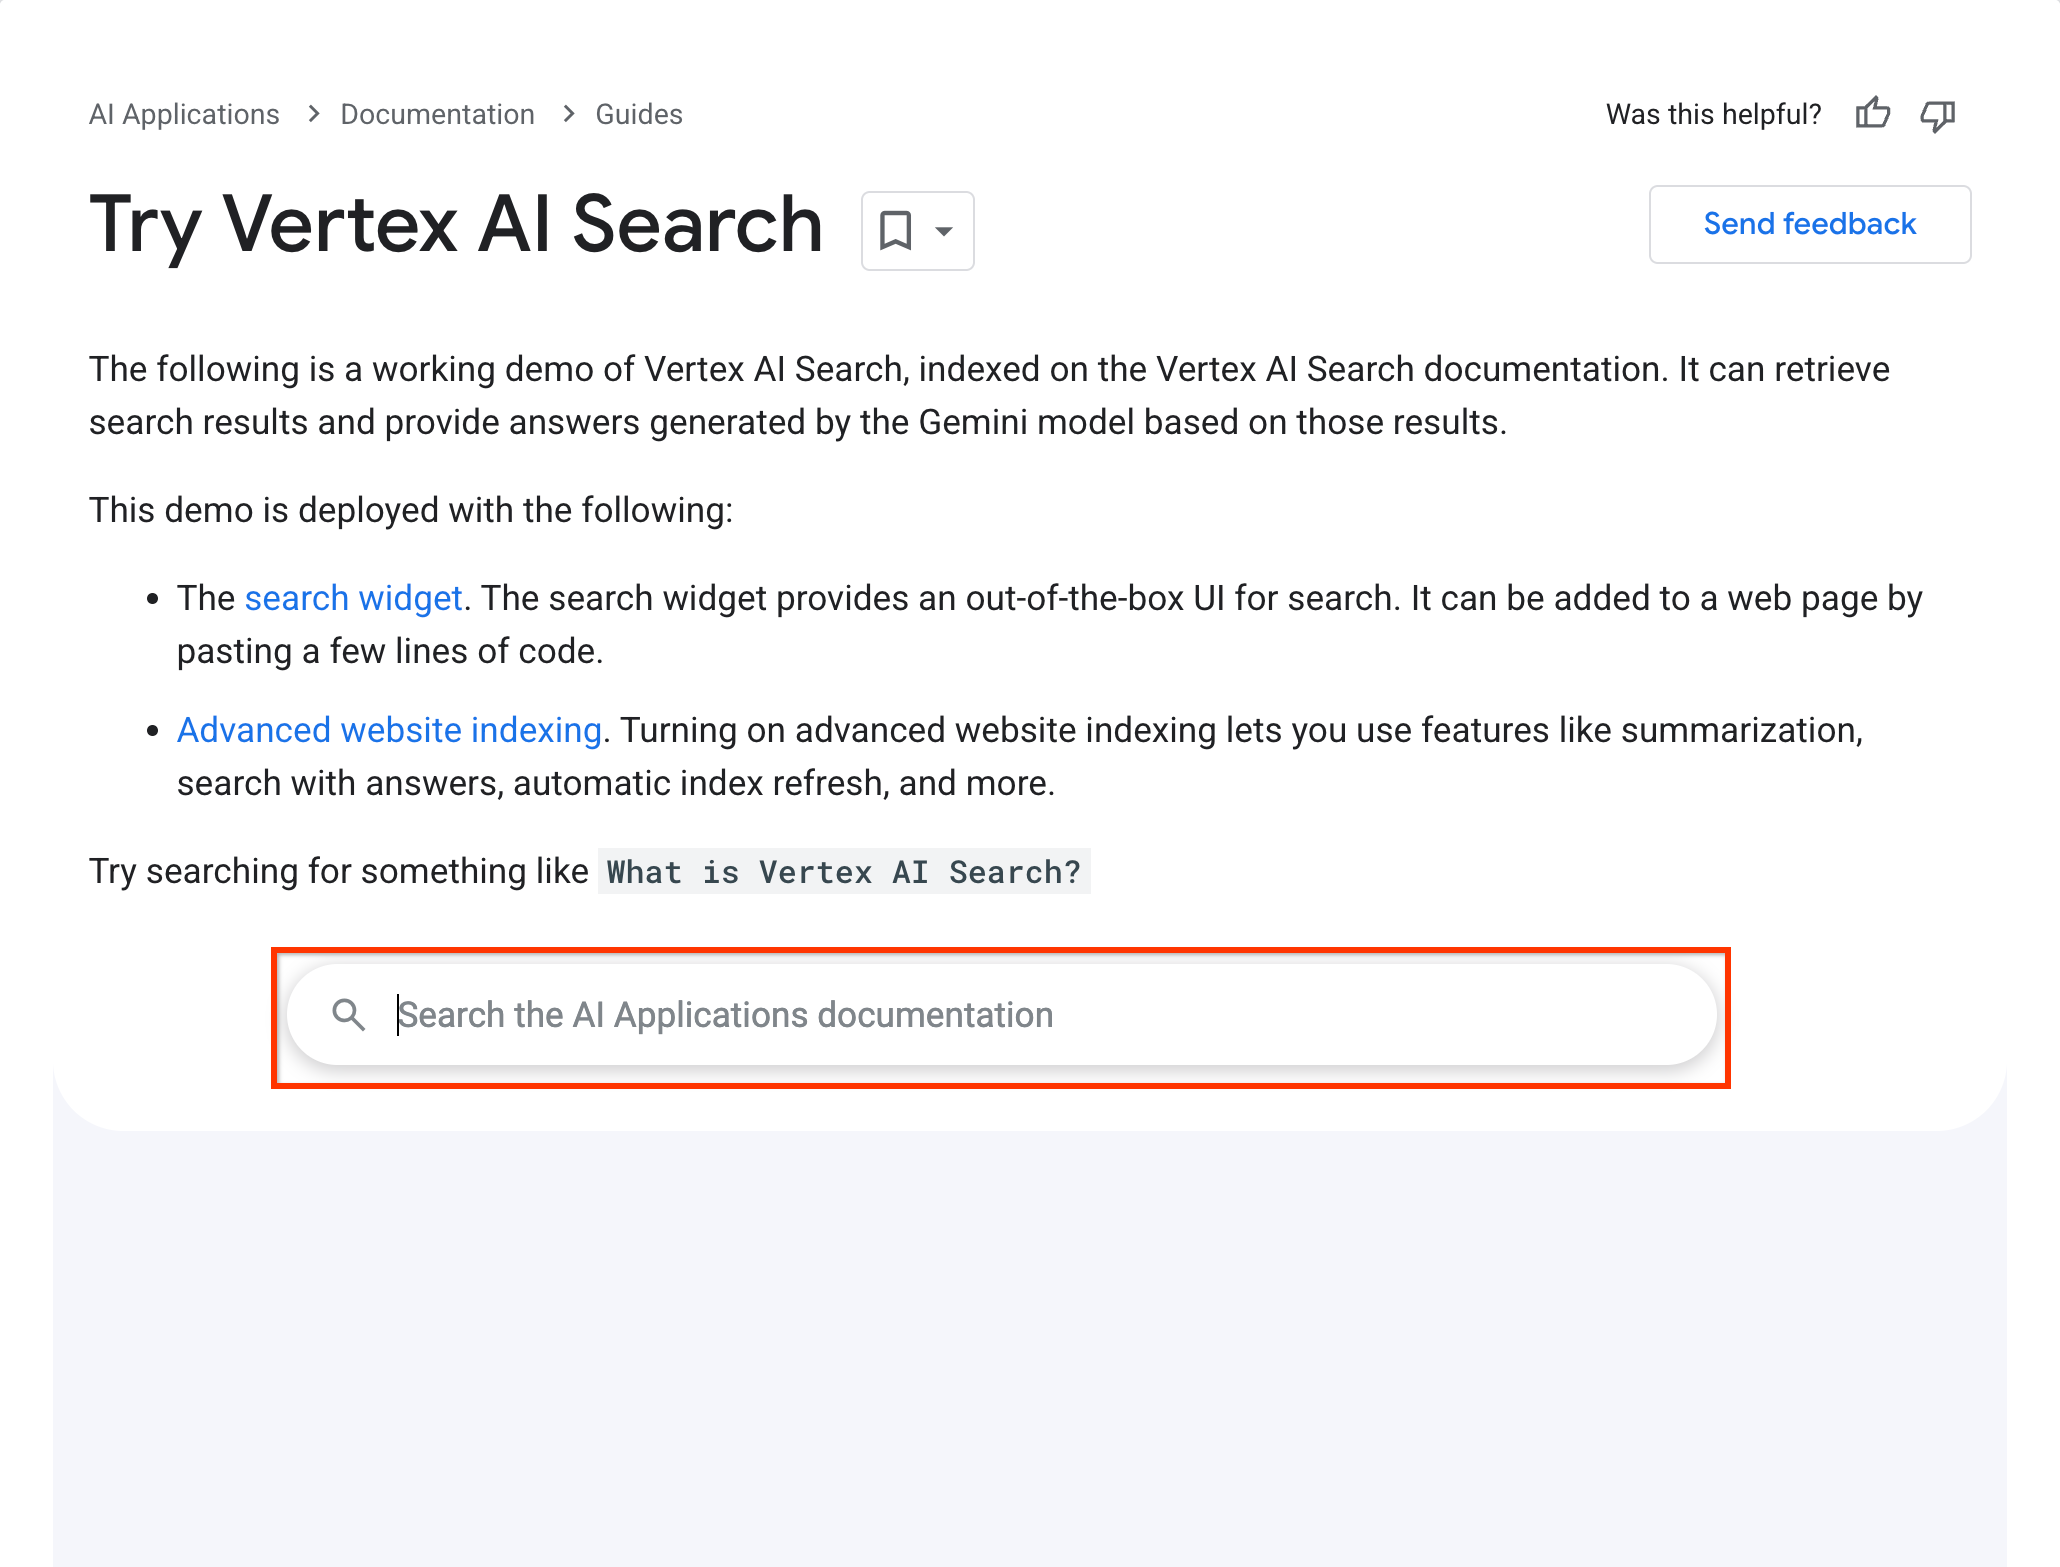
This search widget works with the following configuration: \n\n \u003cgen-search-widget\n configId=\"123456\"\n anchorsTarget=\"_blank\"\n placeholder=\"Search something about AI Applications\"\n alwaysOpened\u003e\n \u003c/gen-search-widget\u003e"]]