Auf dieser Seite wird beschrieben, wie Sie einer Website mithilfe des Such-Widgets eine Suchfunktion hinzufügen.
Hinweise
Bevor Sie ein Such-Widget auf Ihrer Webseite einfügen, müssen Sie es konfigurieren. Beginnen Sie mit Ergebnisse für das Such-Widget konfigurieren. Das Design des Such-Widgets auf Ihrer Webseite kann nicht angepasst werden.
Prozeduren
Die Vorgehensweise zum Hinzufügen des Such-Widgets zu Ihrer Webseite hängt von der von Ihnen gewählten Autorisierungsart ab:
Autorisierungstoken: Das Widget verwendet ein von Ihrer Codebasis bereitgestelltes JWT- oder OAuth-Token. Sie benötigen einen eigenen Server, mit dem Sie ein Token generieren können. Das Autorisierungstoken wird verwendet, um im Namen des Nutzers oder Dienstkontos einen API-Aufruf auszuführen. Verwenden Sie beim Generieren des Autorisierungstokens den OAuth-Bereich
https://www.googleapis.com/auth/cloud-platform.Für Server-zu-Server-Interaktionen mit Dienstkonten:Weitere Informationen finden Sie in der Autorisierungsdokumentation unter OAuth 2.0 für Server-zu-Server-Anwendungen verwenden.
Für JavaScript-Webanwendungen:Weitere Informationen finden Sie in der Autorisierungsdokumentation unter OAuth 2.0 für clientseitige Webanwendungen.
Öffentlicher Zugriff: Das Widget schränkt nicht ein, wer Ergebnisse aus einer Suchanfrage erhalten kann.
Widget hinzufügen, das ein Autorisierungstoken verwendet
Rufen Sie in der Google Cloud Console die Seite KI-Anwendungen auf.
Klicken Sie auf den Namen der App, die Sie bearbeiten möchten.
Klicken Sie auf Integration.
Klicken Sie auf den Tab Widget.
Wählen Sie als Widget-Autorisierungstyp JWT- oder OAuth-basiert aus.
Geben Sie den Domainnamen für die Widget-Seite an:
Geben Sie den Domainnamen für die Seite ein, auf der das Widget angezeigt werden soll.
Wenn Sie beispielsweise das Widget auf die Seiten
example.com/ai.htmlundcymbal.example.com/search.htmlkopieren, geben Sieexample.comals Domain ein. Wenn das Widget nur auf einer Seite in der Subdomain funktionieren soll, geben Siecymbal.example.comein.Wenn Sie das Widget auf Ihrem Localhost testen möchten, geben Sie
localhostein.Klicken Sie auf Hinzufügen.
Wiederholen Sie Schritt 6 für jede Domain, in der das Widget angezeigt werden soll.
Klicken Sie auf Speichern.
Kopieren Sie das Code-Snippet im Abschnitt Kopieren Sie den folgenden Code in Ihre Webanwendung.
Optional: Sie können das Verhalten des Such-Widgets so anpassen:
Wenn Sie die Ergebnisse aus dem Web stattdessen in neuen Tabs öffnen möchten, fügen Sie dem kopierten Code-Snippet Folgendes hinzu. Standardmäßig werden Ergebnisse aus unstrukturierten Dokumenten in neuen Tabs geöffnet, während Ergebnisse aus dem Web auf derselben Seite wie das Widget geöffnet werden.
anchorsTarget="_blank"Beispiel:
<gen-search-widget configId="..." anchorsTarget="_blank"></gen-search-widget>Wenn Sie den Platzhaltertext im Suchfeld anpassen möchten, fügen Sie dem kopierten Code-Snippet Folgendes hinzu:
placeholder="CUSTOM_PLACEHOLDER"Beispiel:
<gen-search-widget configId="..." placeholder="Start your search here"></gen-search-widget>Wenn das Widget immer ohne Trigger angezeigt werden soll, fügen Sie dem kopierten Code-Snippet Folgendes hinzu:
alwaysOpenedBeispiel:
<gen-search-widget alwaysOpened></gen-search-widget>
Generieren Sie in der Codebasis ein Autorisierungstoken.
Um das Autorisierungstoken an Ihr Widget zu übergeben, verwenden Sie das zweite Code-Snippet „
// Set authorization token“ im Abschnitt Kopieren Sie den folgenden Code in Ihre Webanwendung und ersetzen Sie den Text<JWT or OAuth token provided by you backend>durch Ihr Autorisierungstoken.Legen Sie regelmäßig ein neues Token fest, indem Sie den vorherigen Schritt wiederholen, bevor das aktuelle Token abläuft.
Widget mit öffentlichem Zugriff hinzufügen
Rufen Sie in der Google Cloud Console die Seite KI-Anwendungen auf.
Klicken Sie auf den Namen der App, die Sie bearbeiten möchten.
Für den öffentlichen Zugriff muss die Suchanwendung unter Zugriffssteuerung mit keinem Datenspeicher verknüpft sein.
Klicken Sie auf Integration.
Klicken Sie auf den Tab Widget.
Wählen Sie als Widget-Autorisierungstyp Öffentlicher Zugriff aus.
Geben Sie den Domainnamen für die Widget-Seite an:
Geben Sie den Domainnamen für die Seite ein, auf der das Widget angezeigt werden soll.
Wenn Sie beispielsweise das Widget auf die Seiten
example.com/ai.htmlundcymbal.example.com/search.htmlkopieren, geben Sieexample.comals Domain ein. Wenn das Widget nur auf Seiten in der Subdomain funktionieren soll, geben Siecymbal.example.comein.Wenn Sie das Widget auf Ihrem Localhost testen möchten, geben Sie
localhostein.Klicken Sie auf Hinzufügen.
Wiederholen Sie Schritt 6 für jede Domain, in der das Widget angezeigt werden soll.
Klicken Sie auf Speichern.
Kopieren Sie das Code-Snippet im Abschnitt Kopieren Sie den folgenden Code in Ihre Webanwendung.
Optional: Sie können das Verhalten des Such-Widgets so anpassen:
Wenn Sie die Ergebnisse aus dem Web stattdessen in neuen Tabs öffnen möchten, fügen Sie dem kopierten Code-Snippet Folgendes hinzu. Standardmäßig werden Ergebnisse aus unstrukturierten Dokumenten in neuen Tabs geöffnet, während Ergebnisse aus dem Web auf derselben Seite wie das Widget geöffnet werden.
anchorsTarget="_blank"Beispiel:
<gen-search-widget configId="..." anchorsTarget="_blank"></gen-search-widget>Wenn Sie den Platzhaltertext im Suchfeld anpassen möchten, fügen Sie dem kopierten Code-Snippet Folgendes hinzu:
placeholder="CUSTOM_PLACEHOLDER"Beispiel:
<gen-search-widget configId="..." placeholder="Start your search here"></gen-search-widget>Wenn das Widget immer ohne Trigger angezeigt werden soll, fügen Sie dem kopierten Code-Snippet Folgendes hinzu:
<gen-search-widget alwaysOpened></gen-search-widget>
Fügen Sie das Code-Snippet in Ihre Webseite ein.
Beispiel für ein eingebettetes Widget für den öffentlichen Zugriff
Ein Beispiel für ein Such-Widget, das in eine öffentliche Webseite eingebettet ist, finden Sie unter Vertex AI Search ausprobieren.
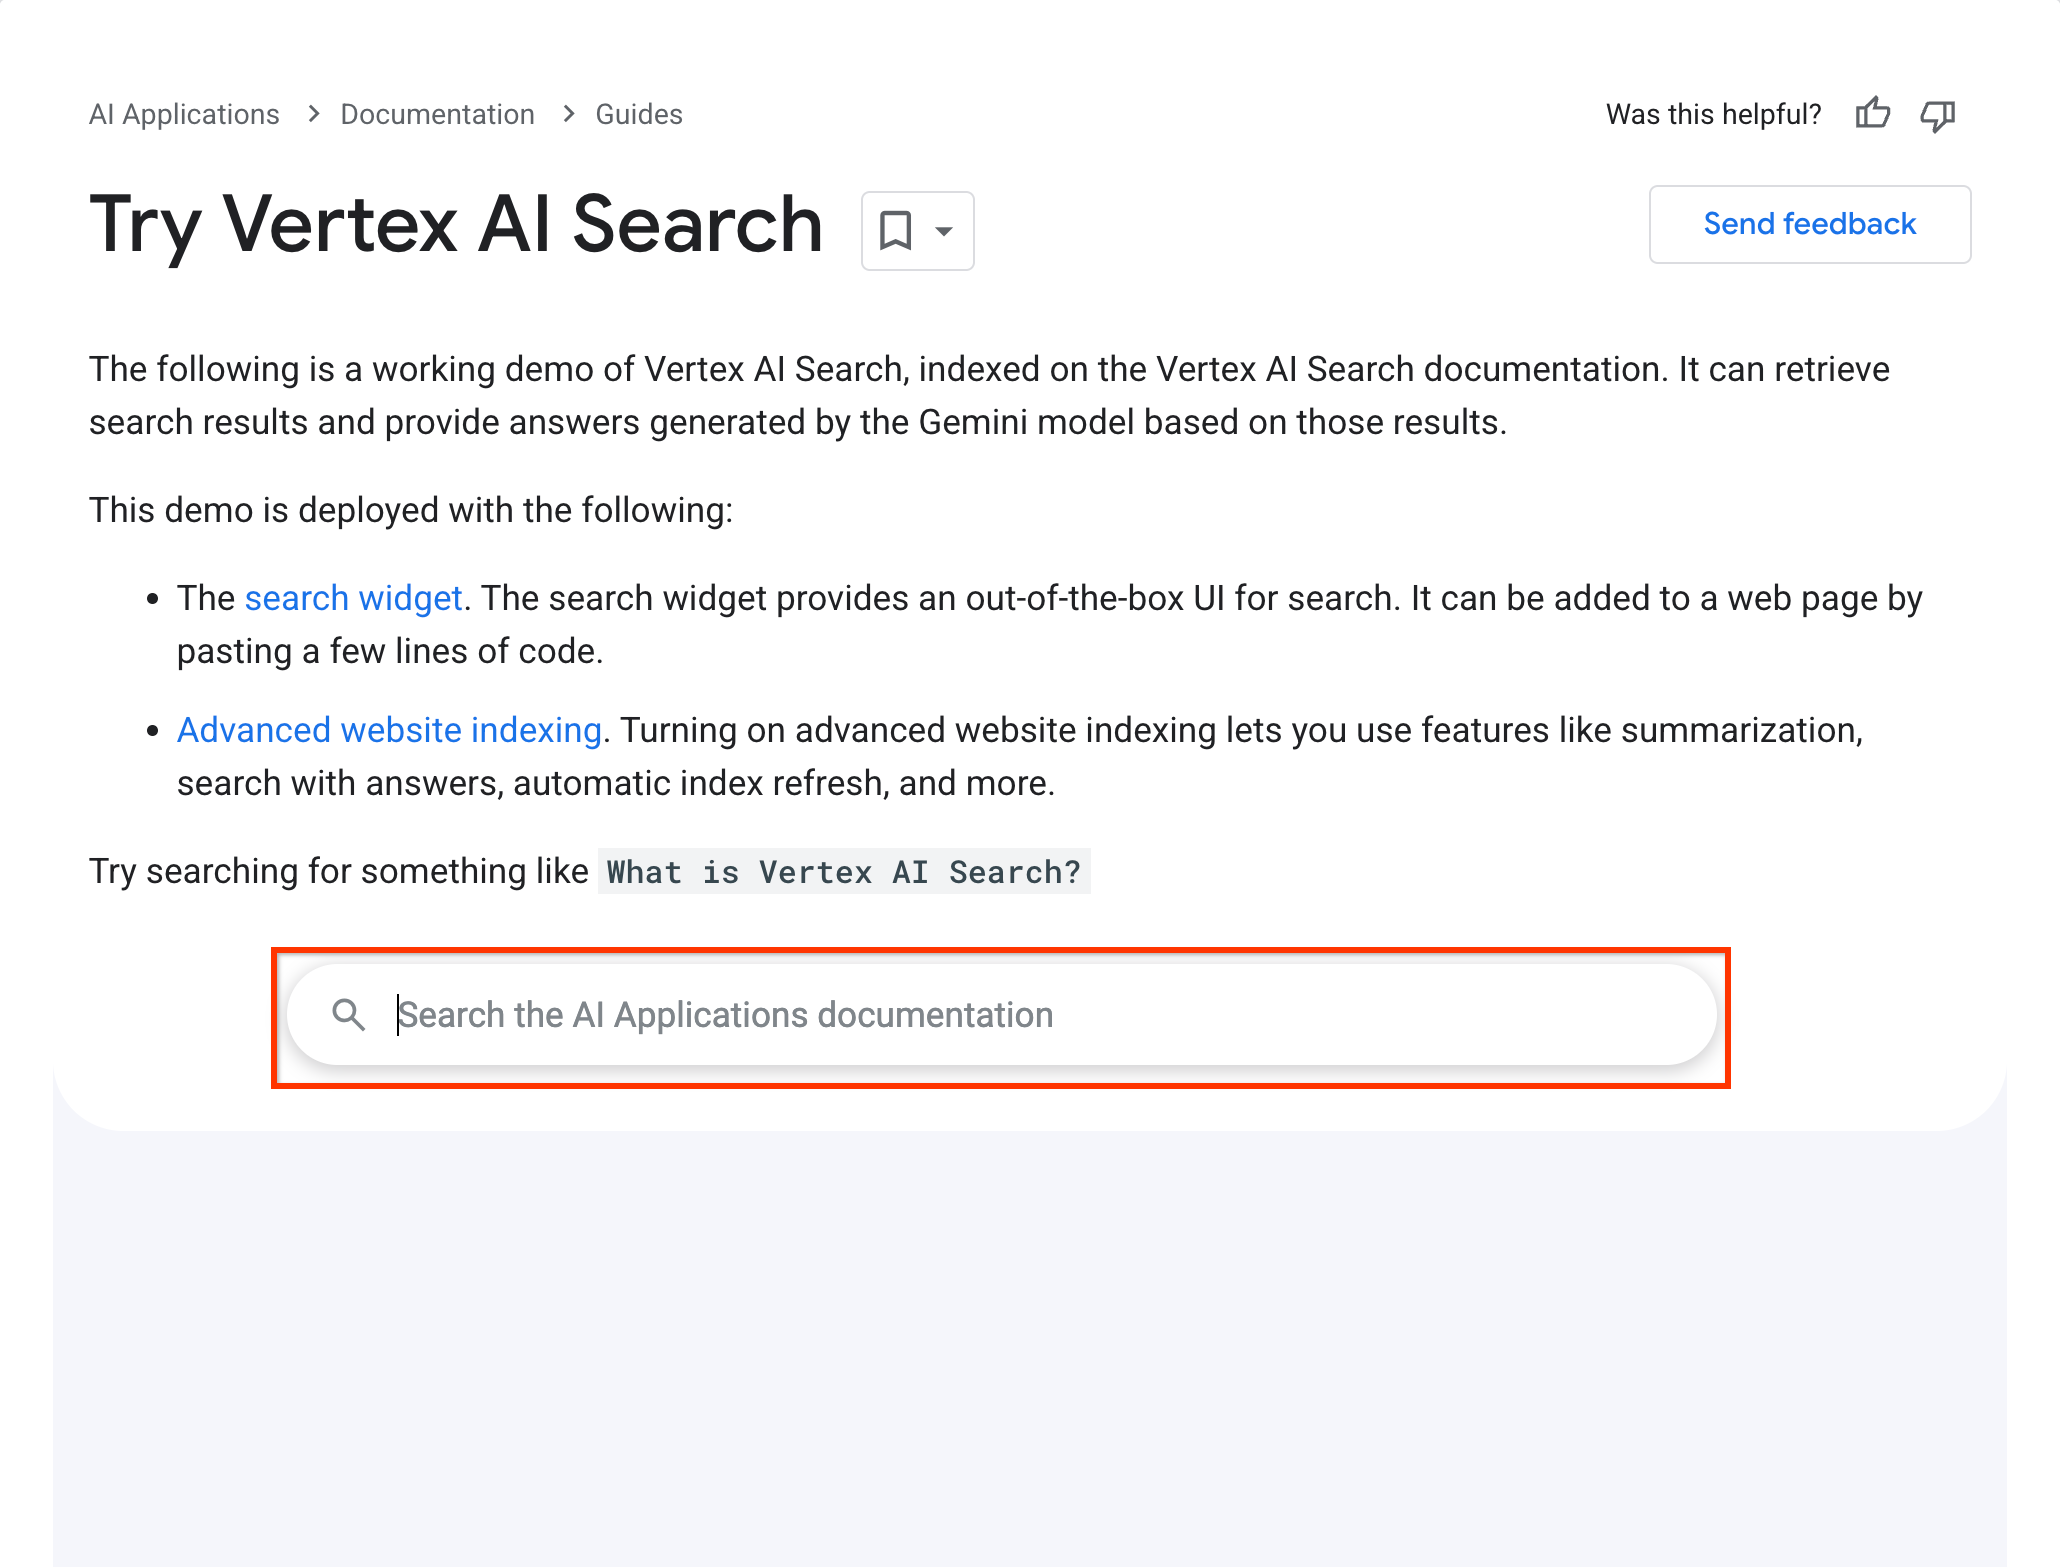
Dieses Such-Widget funktioniert mit der folgenden Konfiguration:
  <gen-search-widget
    configId="123456"
    anchorsTarget="_blank"
    placeholder="Search the Vertex AI Search documentation"
    alwaysOpened>
  </gen-search-widget>