How to build and push a Docker image with Cloud Build
Bukola Ayodele
Developer Advocate
If you want to create a serverless service, you’ll want to check out Cloud Build.
Cloud Build is a popular Google Cloud service that allows you to execute your builds on Google Cloud. Cloud Build can import source code from various repositories or cloud storage spaces, execute a build to your specifications, and produce artifacts such as Docker containers or Java archives. Cloud Build is serverless, which means it scales up and down with no infrastructure to set up, upgrade, or scale. In this blog post, we’ll learn how to build and push a Docker image with Cloud Build. If you want to follow along with this blog post, check out this tutorial.
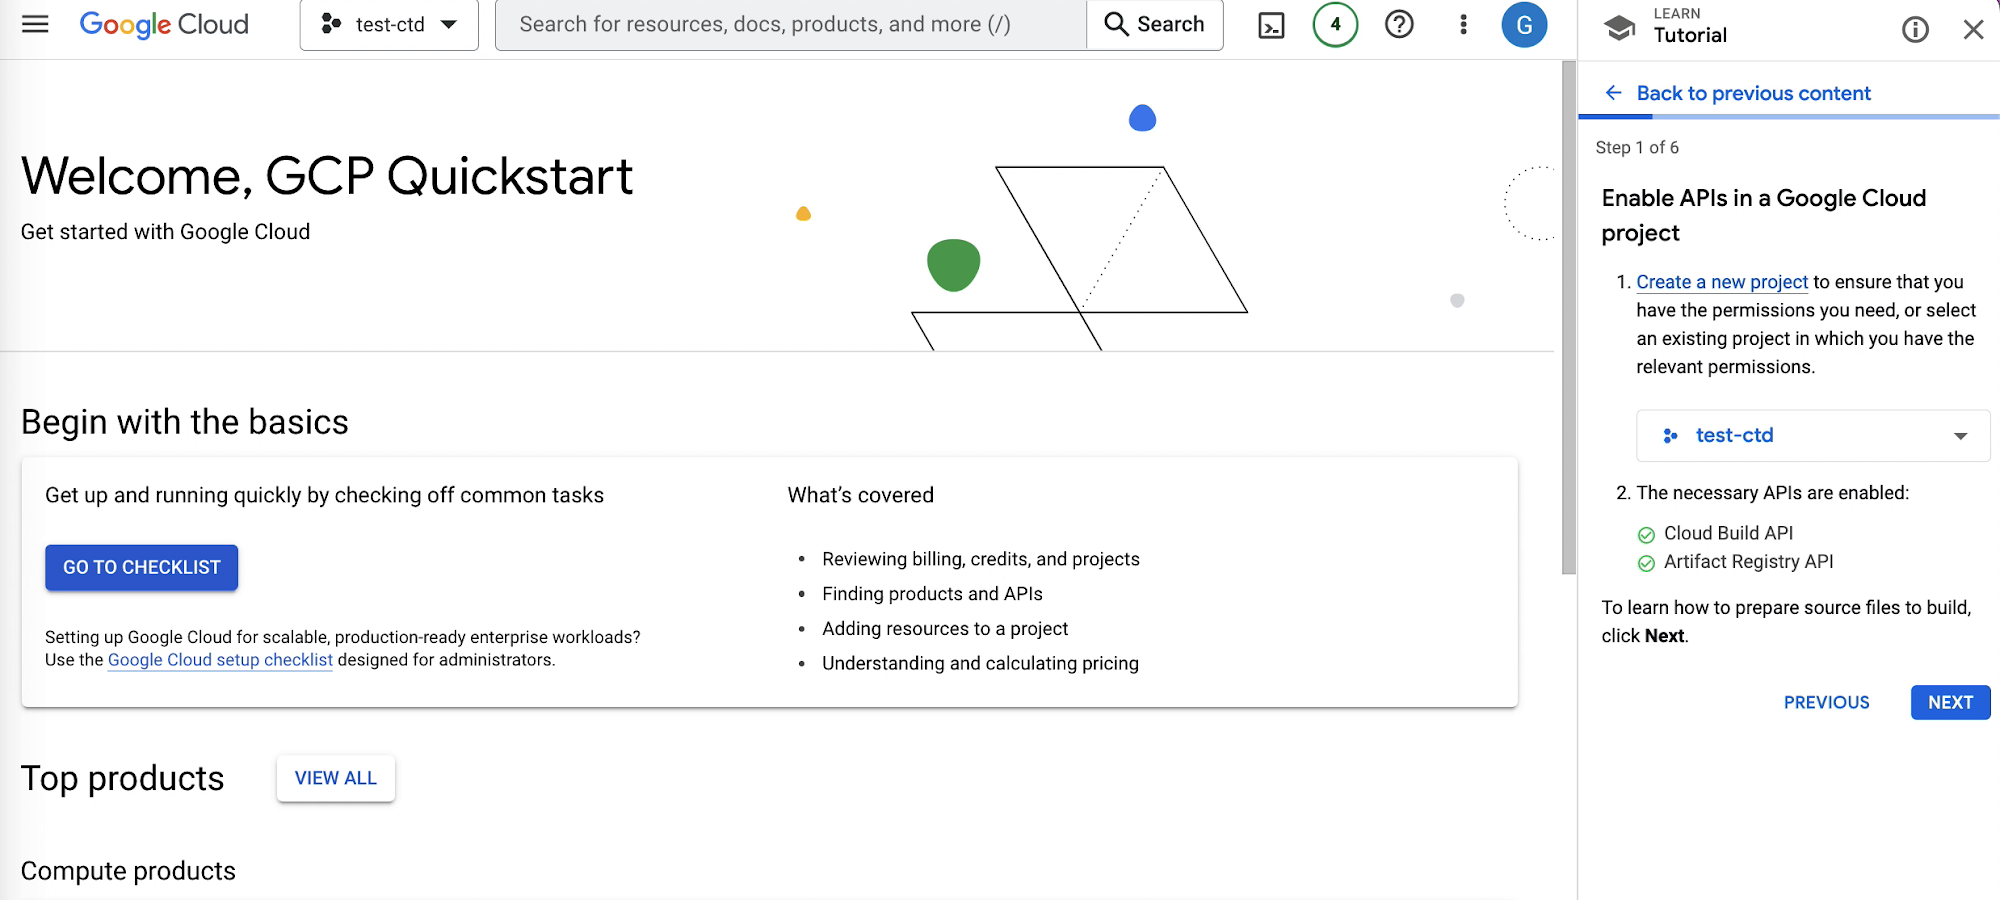
Step 1
The first step is to create a new project, we’ll use an existing project called “test-ctd” and enable Google Cloud APIs like Cloud Build API, Artifact Registry API. If you have billing enabled and or are in your free trial mode you’ll be able to enable the necessary APIs.
Step 2
The second step is to prepare the source files. We’ll open the Cloud Shell, where we’ll be able to create a directory called “quickstart-docker” with the commands in the image below

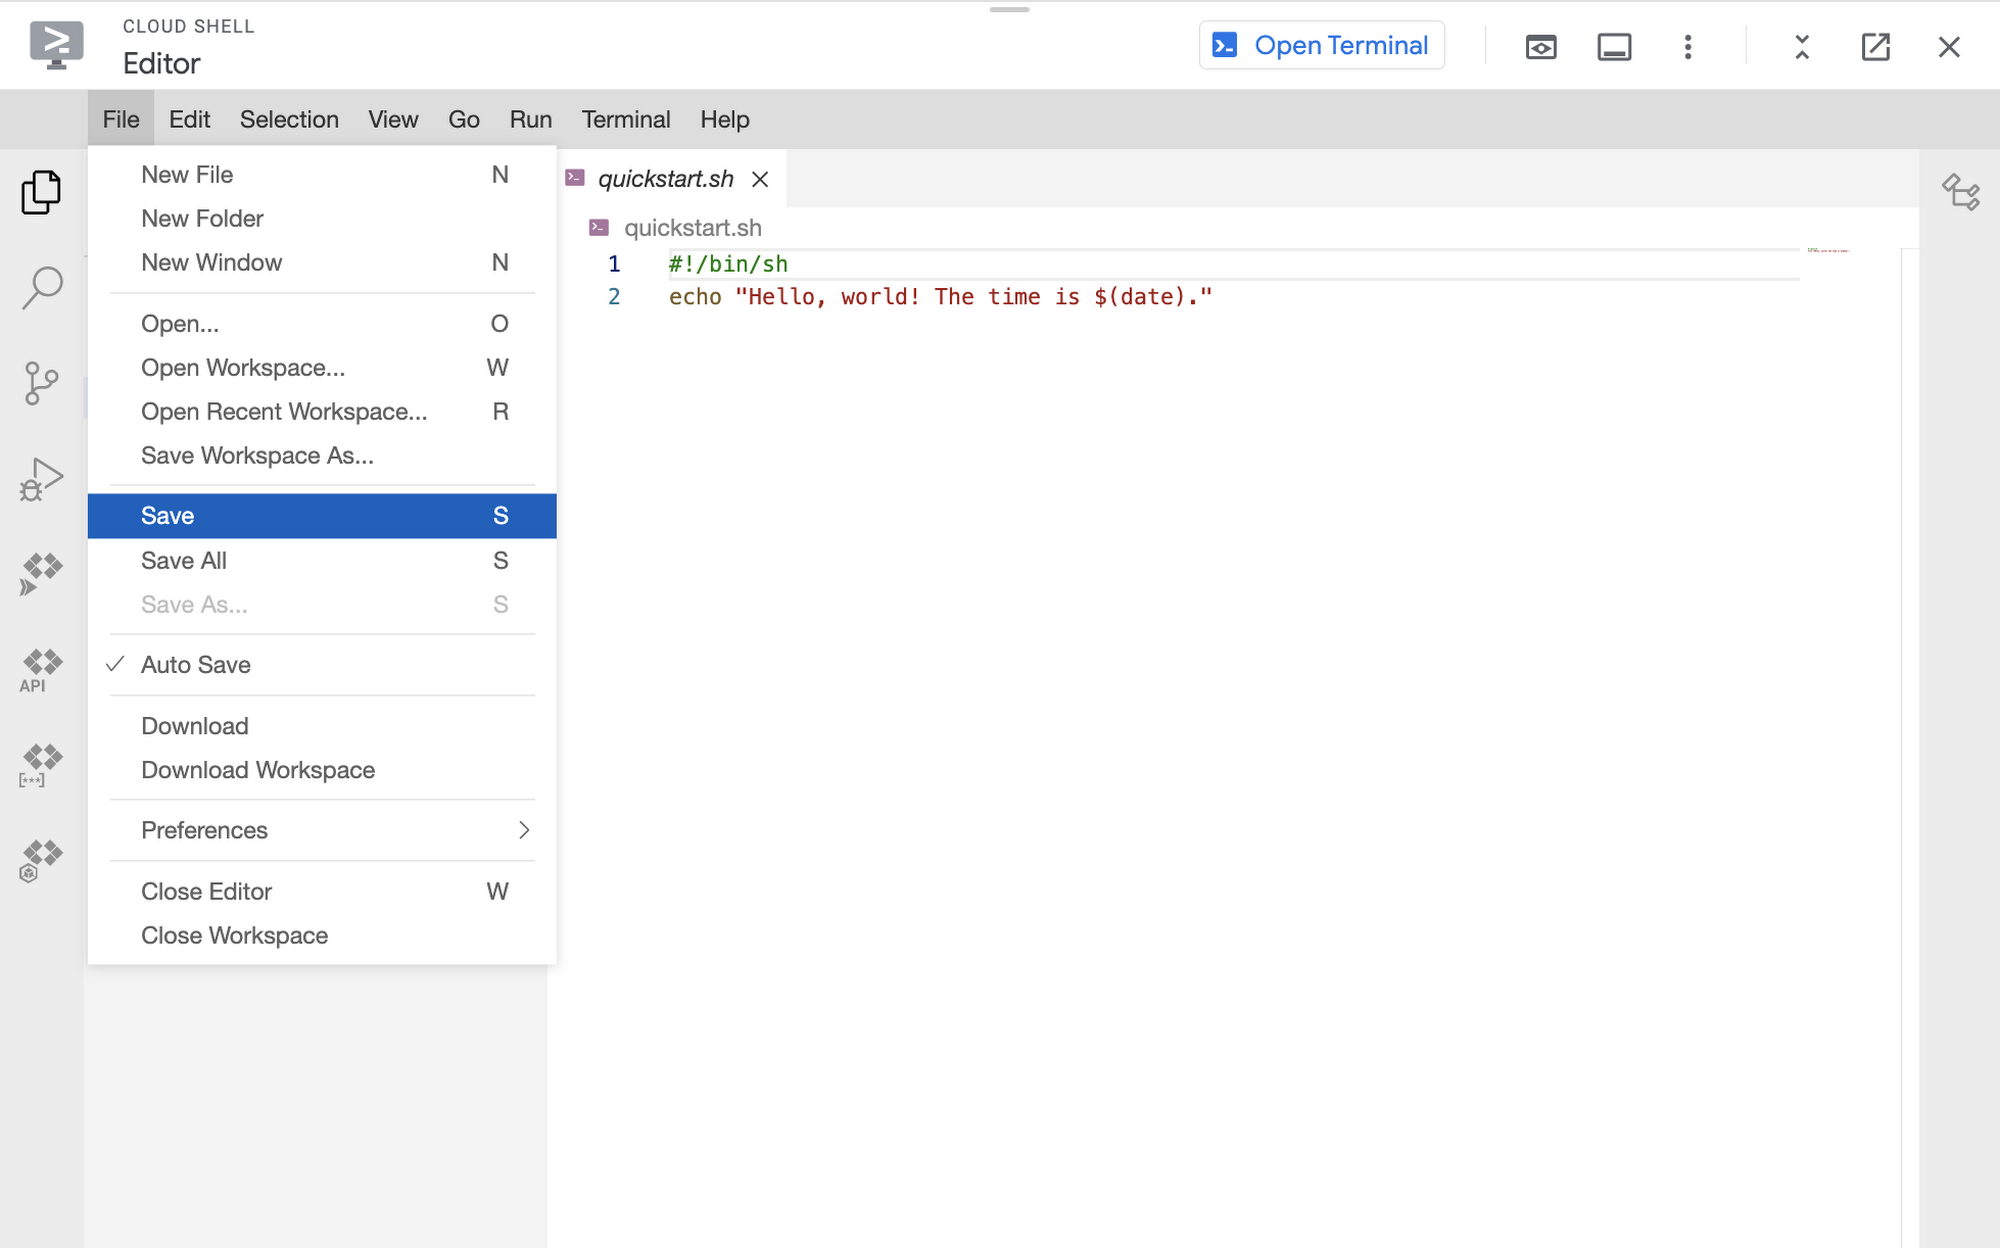
Running this command brings us to the Cloud Shell Editor, where we’ll create a file named quickstart.sh in the quickstart-docker folder we previously created. The file will hold a small command, which you’ll see in the image below.
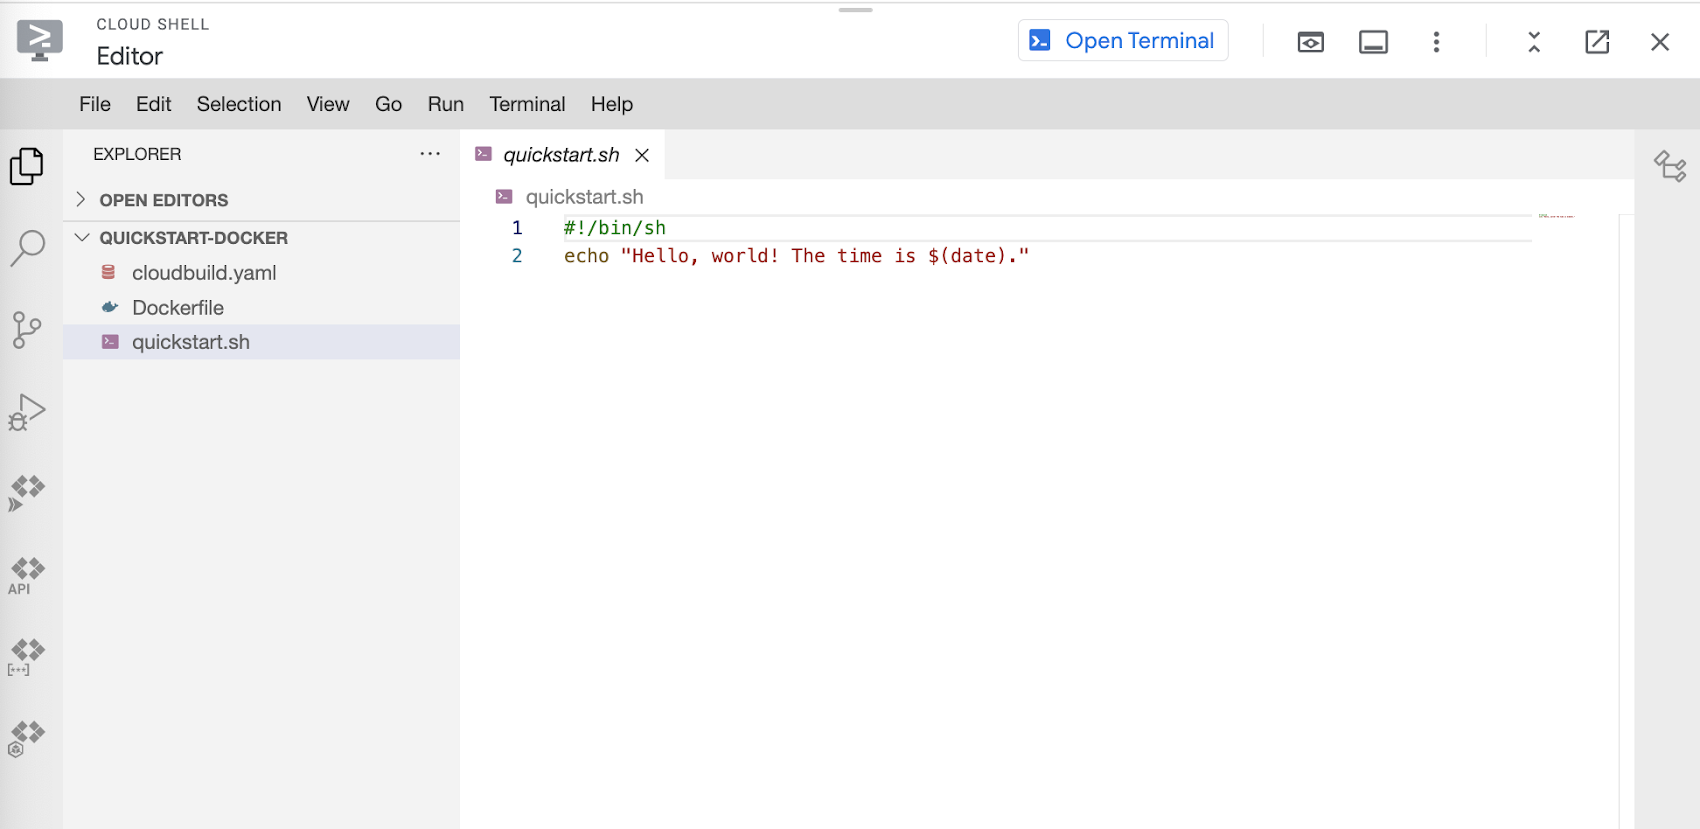
Make sure to save the file, by clicking File > Save in the top navigation bar.
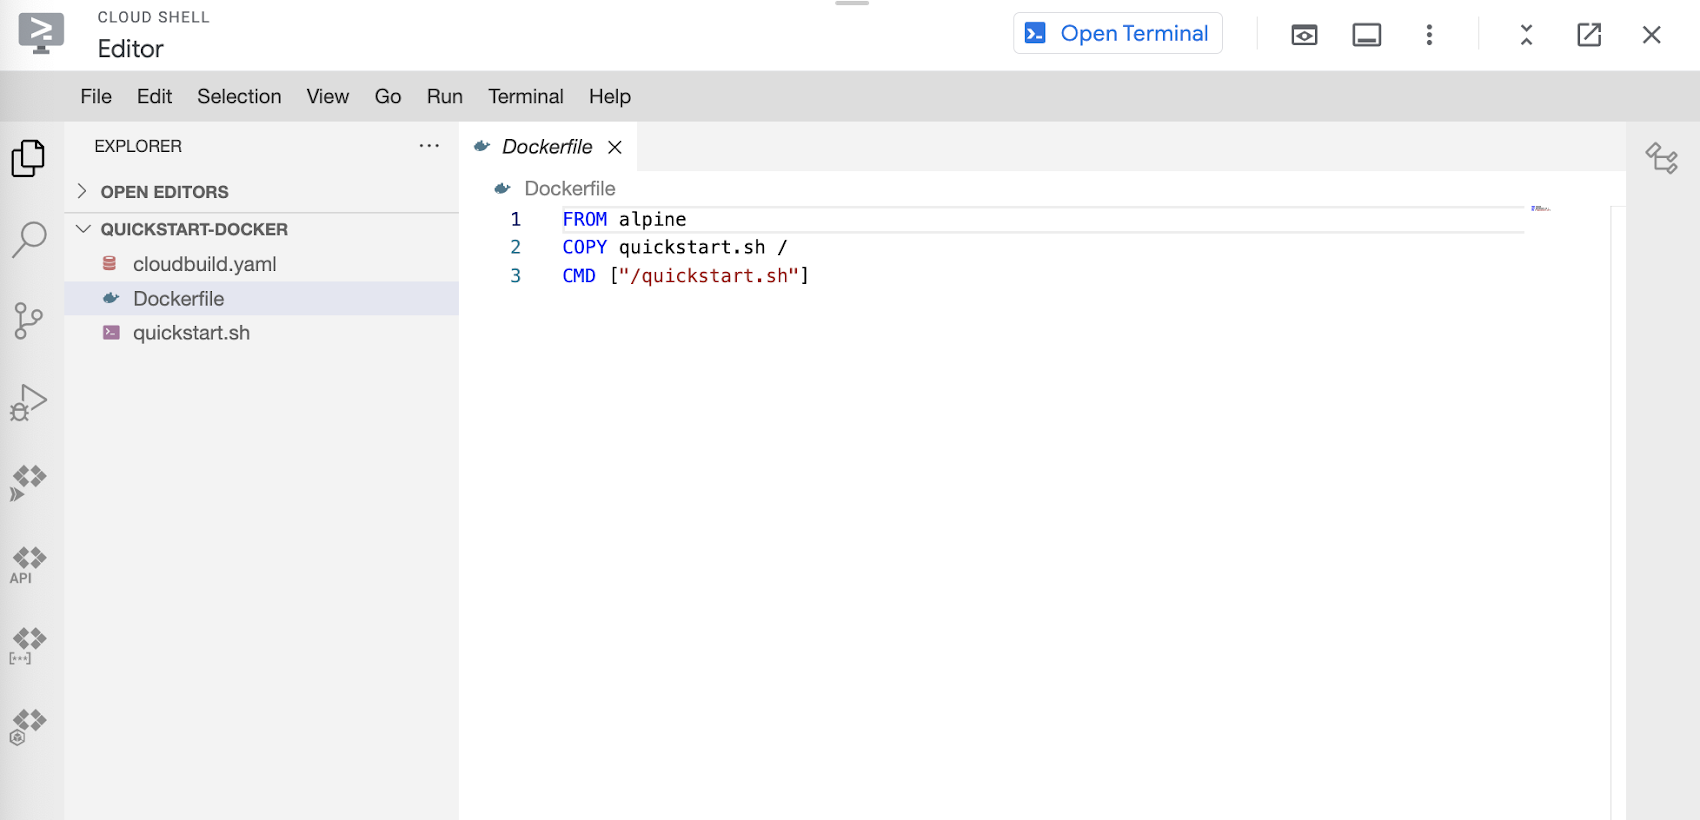
Next we’ll create the Dockerfile, which Cloud build will execute. In the dockerfile we’ll add a small script to run quickstart.sh. Make sure to save this file as well.
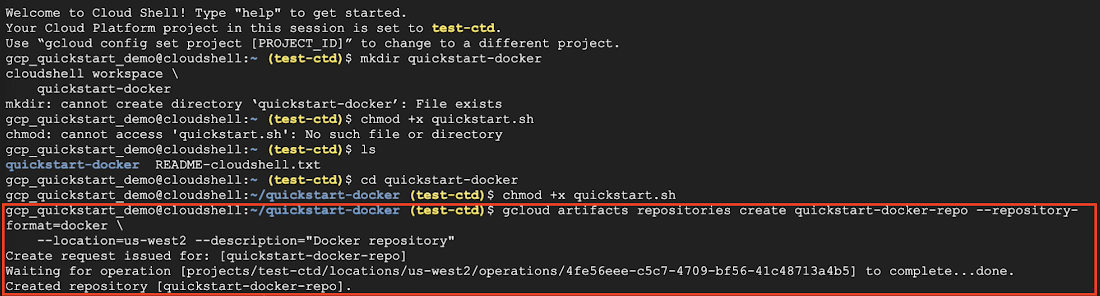
We’ll return to the terminal where we’ll run the command in the image below, to make quickstart.sh executable.

Step 3
We’ll move on to the third step, which is to create a new Docker repository in the repository in Artifact Registry.
We’ll start by creating a new Docker repo named quickstart-docker-repo in the location us-west2 with the description "Docker repository". The command to run this action is depicted below
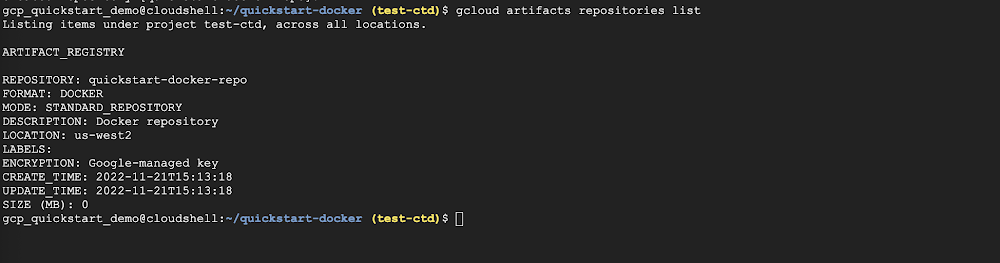
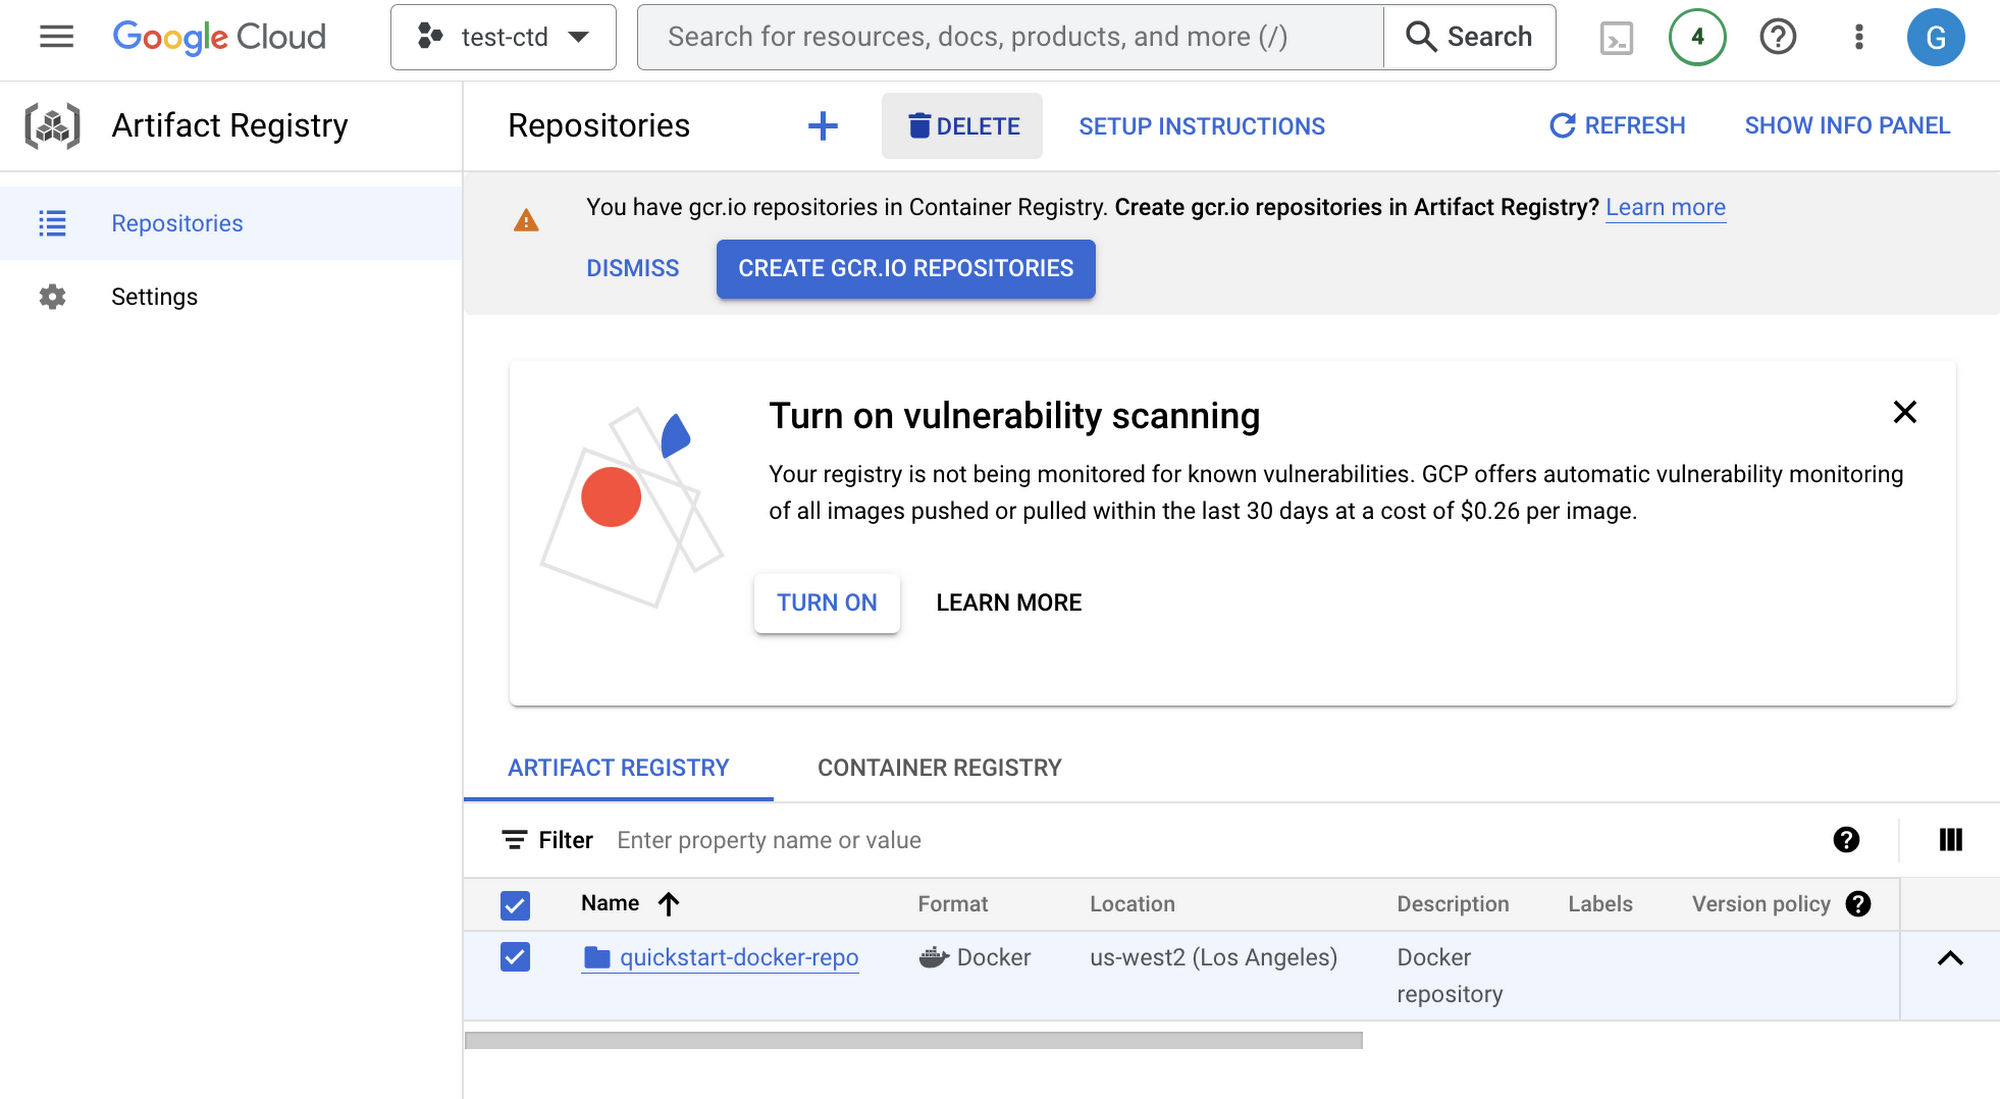
Next we’ll verify that the repository was created by running the command below. After running the command we see quickstart-docker repo is in the Artifact Registry.
Step 4
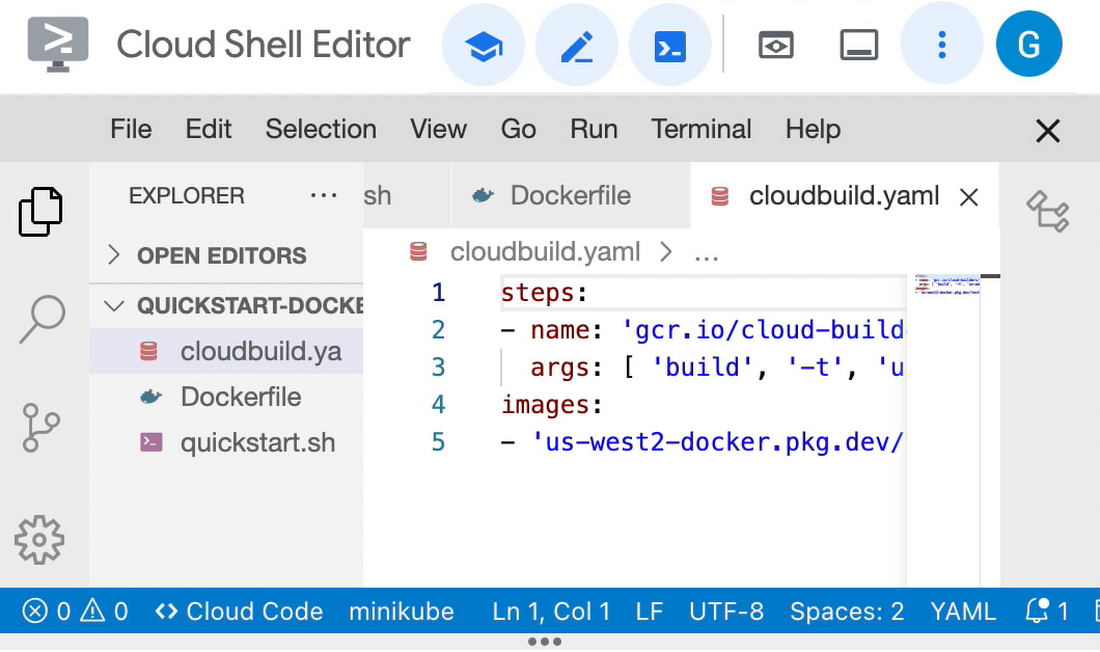
In the same directory that contains quickstart.sh and the Dockerfile, create a file named cloudbuild.yaml with the following contents
Next we’ll start the build by running the command below. With this command we built a quickstart-image using a build config file and pushed the image to Artifact Registry.
Step 5
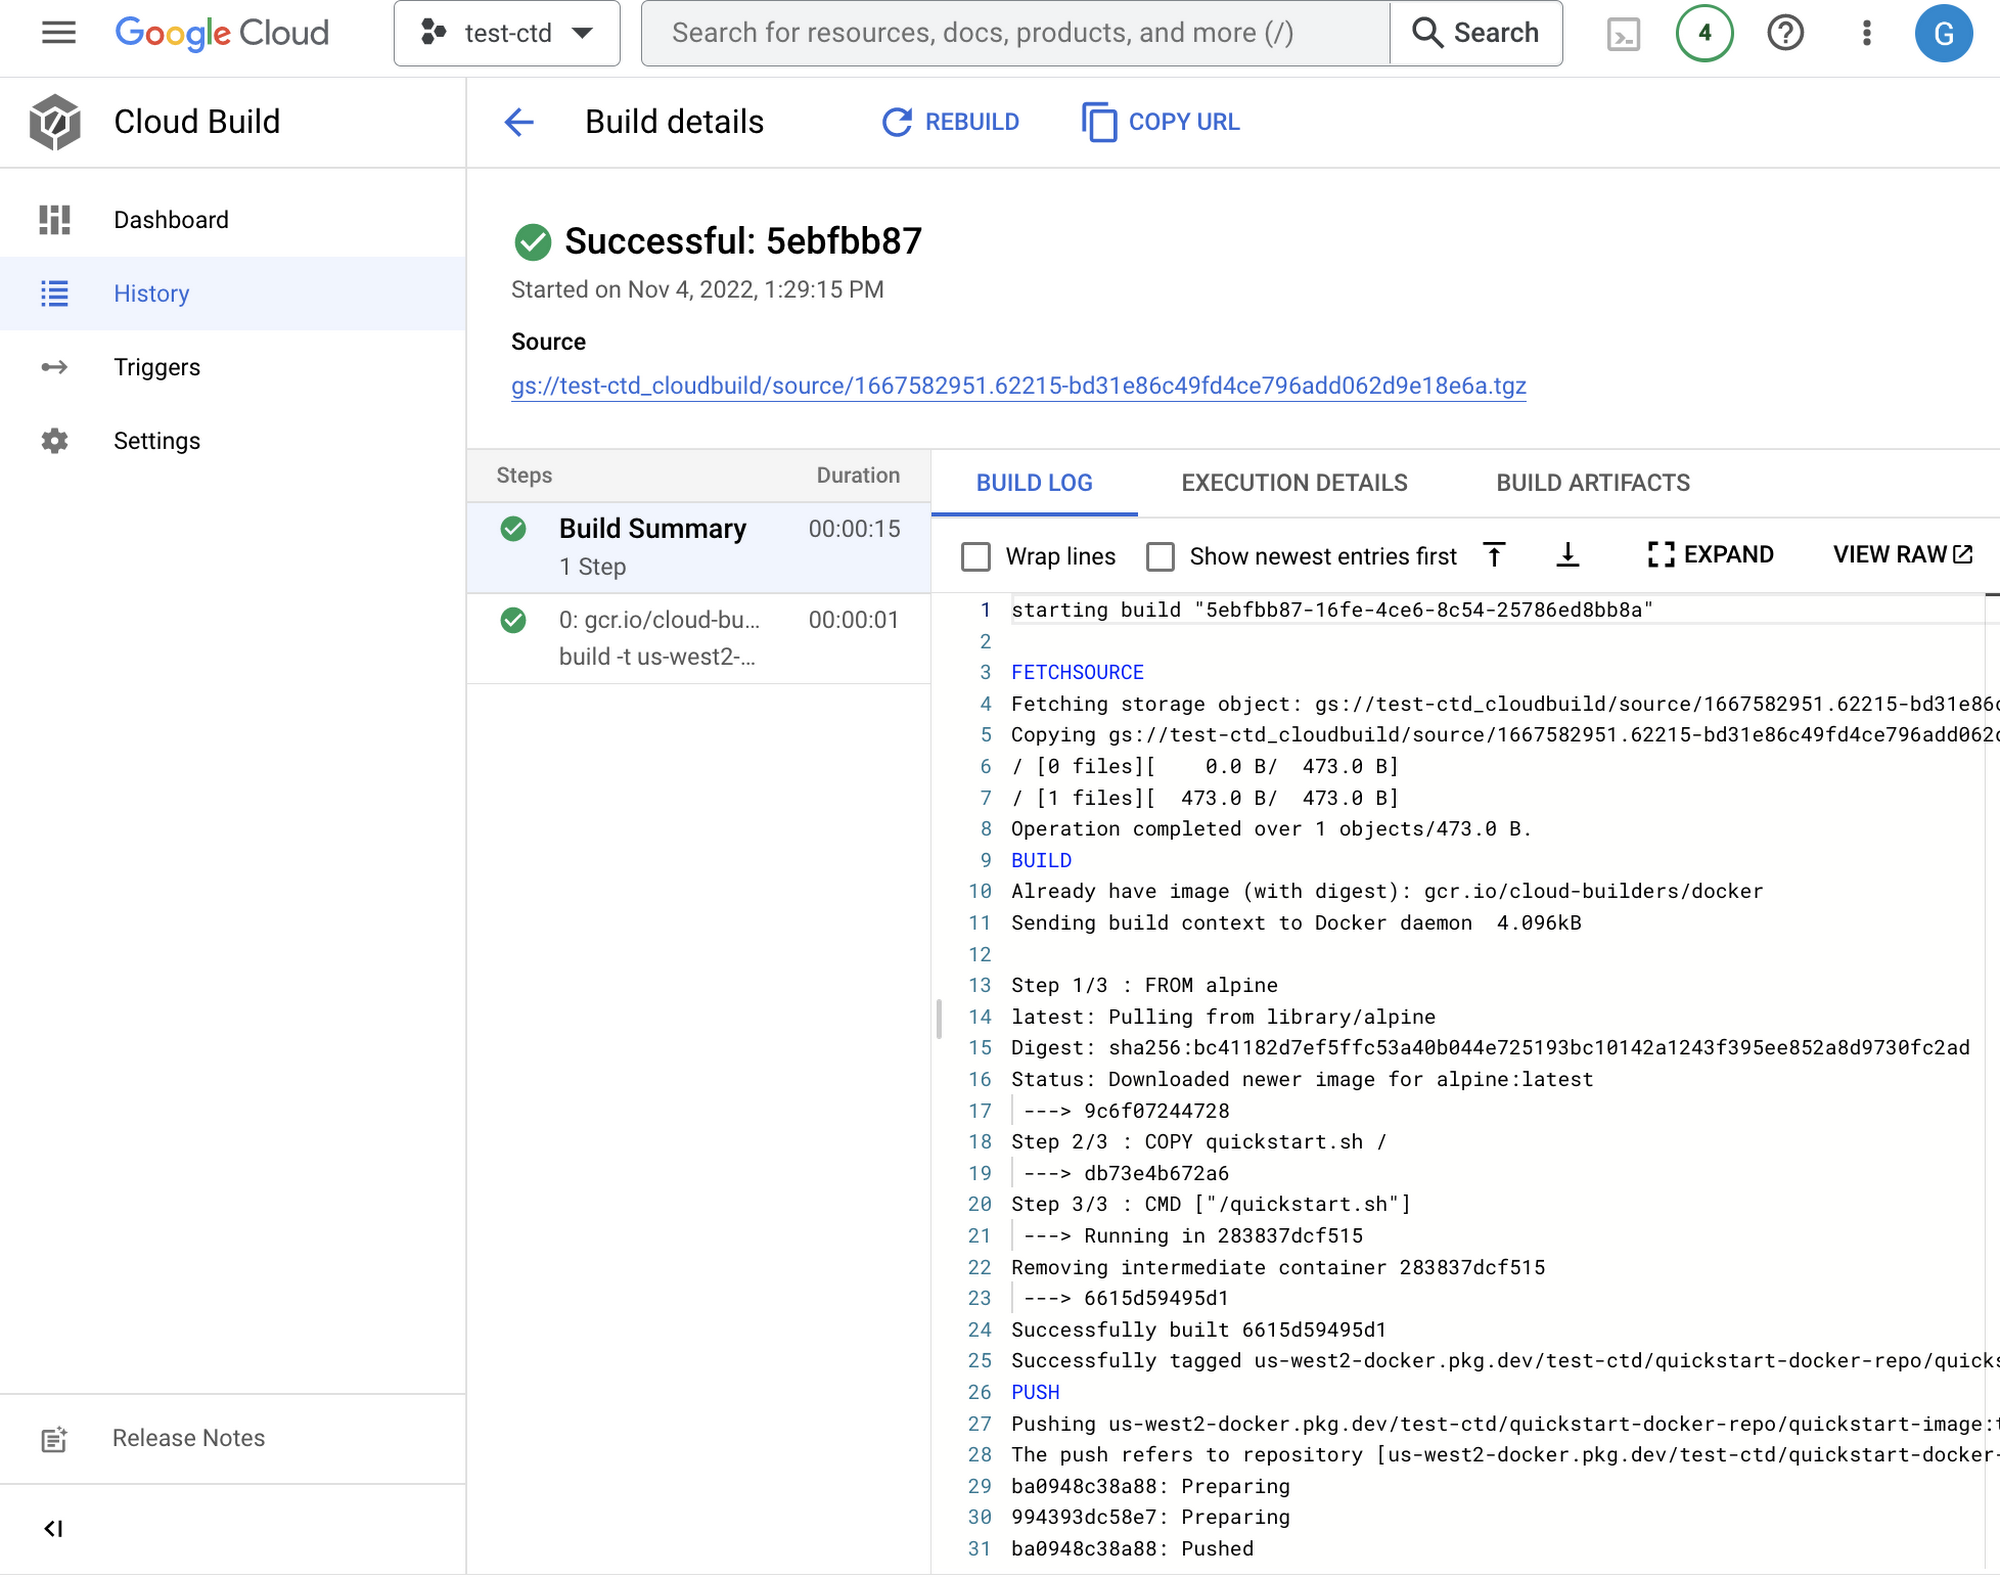
Next we’ll navigate to Cloud Build > History to see the build we executed. If you click on the particular build you’ll be able to see the details of the build summary like the build log, execution details, and build artifacts.
Step 6
For the final step, we will delete the resources created to prevent incurring charges. Go back to the navigation bar and visit Artifact Registry Next we’ll select our recently created quickstart-docker-repo and click DELETE.
In Conclusion
There you have it! Now you’ve learned how easy it is to build and push a Docker image with Cloud Build. If you’d like to follow another Google Cloud tutorial visit this blog post.