How to Create a Linux VM instance In Compute Engine
Bukola Ayodele
Developer Advocate
There is a new way to supercharge your learning of Google Cloud! Next time you are interested in learning Google Cloud skills or features, check out embedded interactive tutorials. Interactive tutorials are step by step tutorials that help you learn about Google Cloud. They are embedded directly into the Google Cloud console, so there is no context switching. These tutorials integrate with Cloud Shell and Cloud Code to provide a preconfigured development environment to allow you to learn quickly.
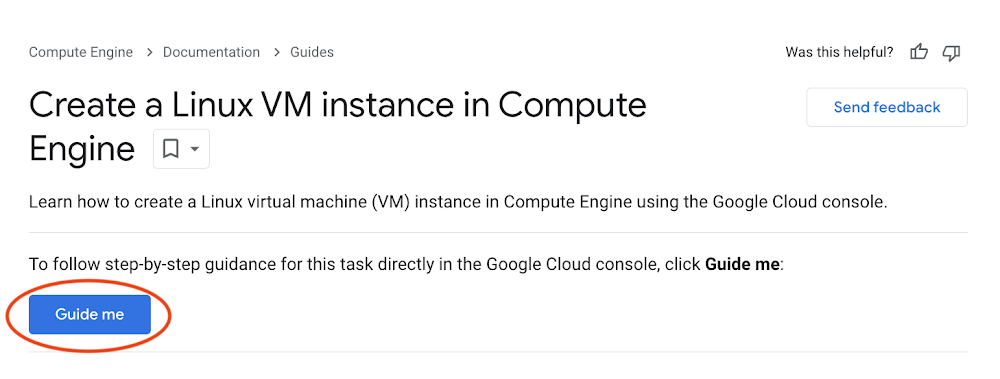
In this blog post we’ll walk through how to Create a Linux VM instance In Compute Engine interactive tutorial together. You can find Interactive tutorials directly in the Google Cloud documentation via a "Guide Me" button. This button takes you directly to the tutorial.
Walk Through
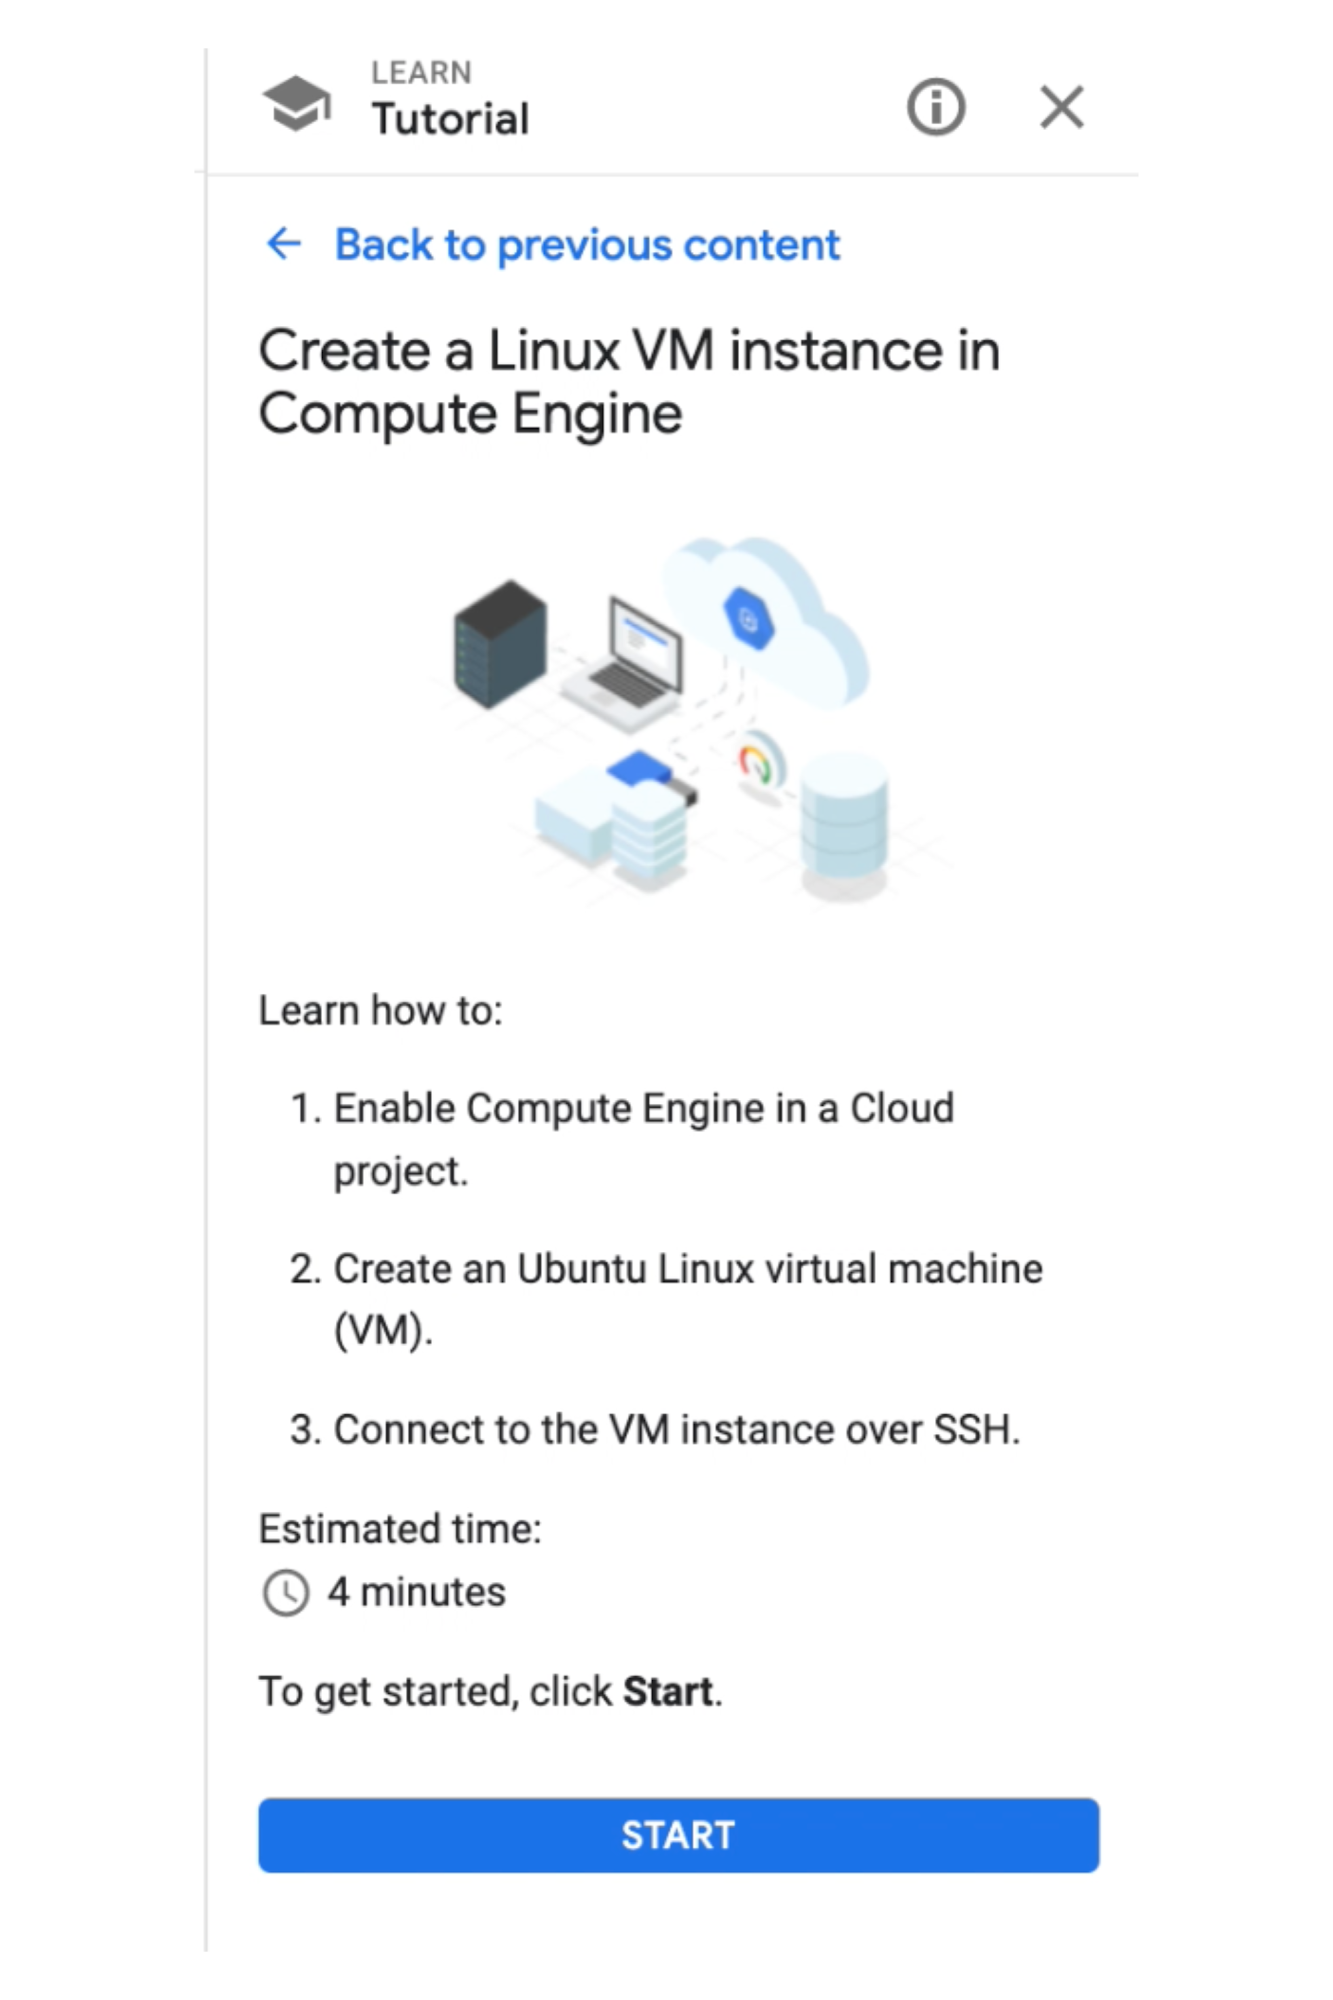
On the first panel of all interactive tutorials users will learn the specific steps of each tutorial and the estimated time to complete this tutorial! We’ll click Start to begin the tutorial.
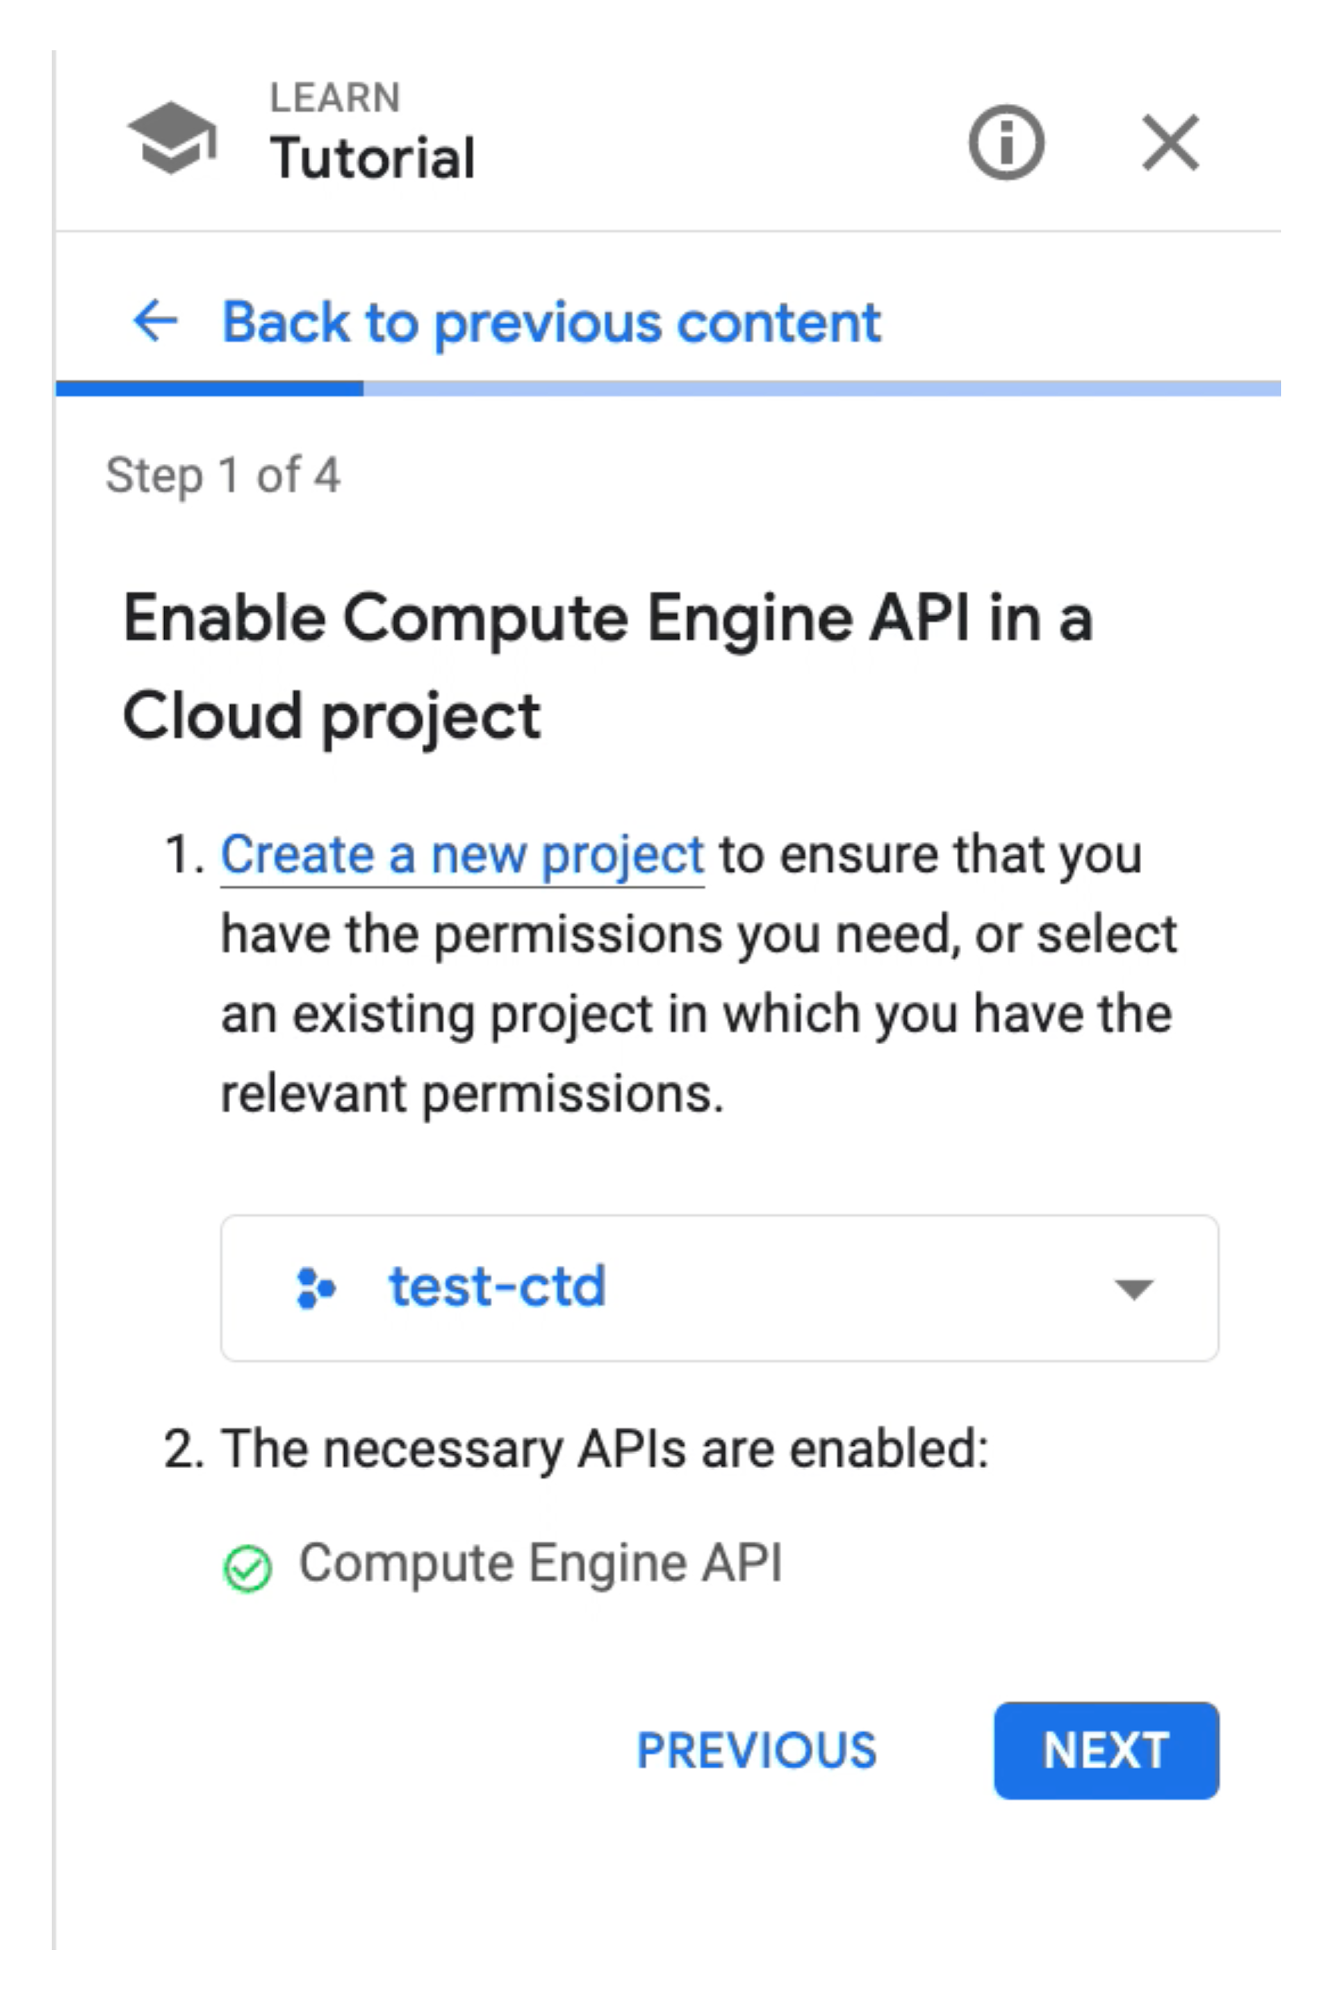
The first step is to enable the Compute Engine API in a Cloud Project. According to the instructions, we’ll need to first select a project or create a new one. I’ll use an existing project called test-ctd. The next step is to enable the necessary APIs, because the project test-ctd already has this API enabled, which is reflected in the green check mark.
Step 2
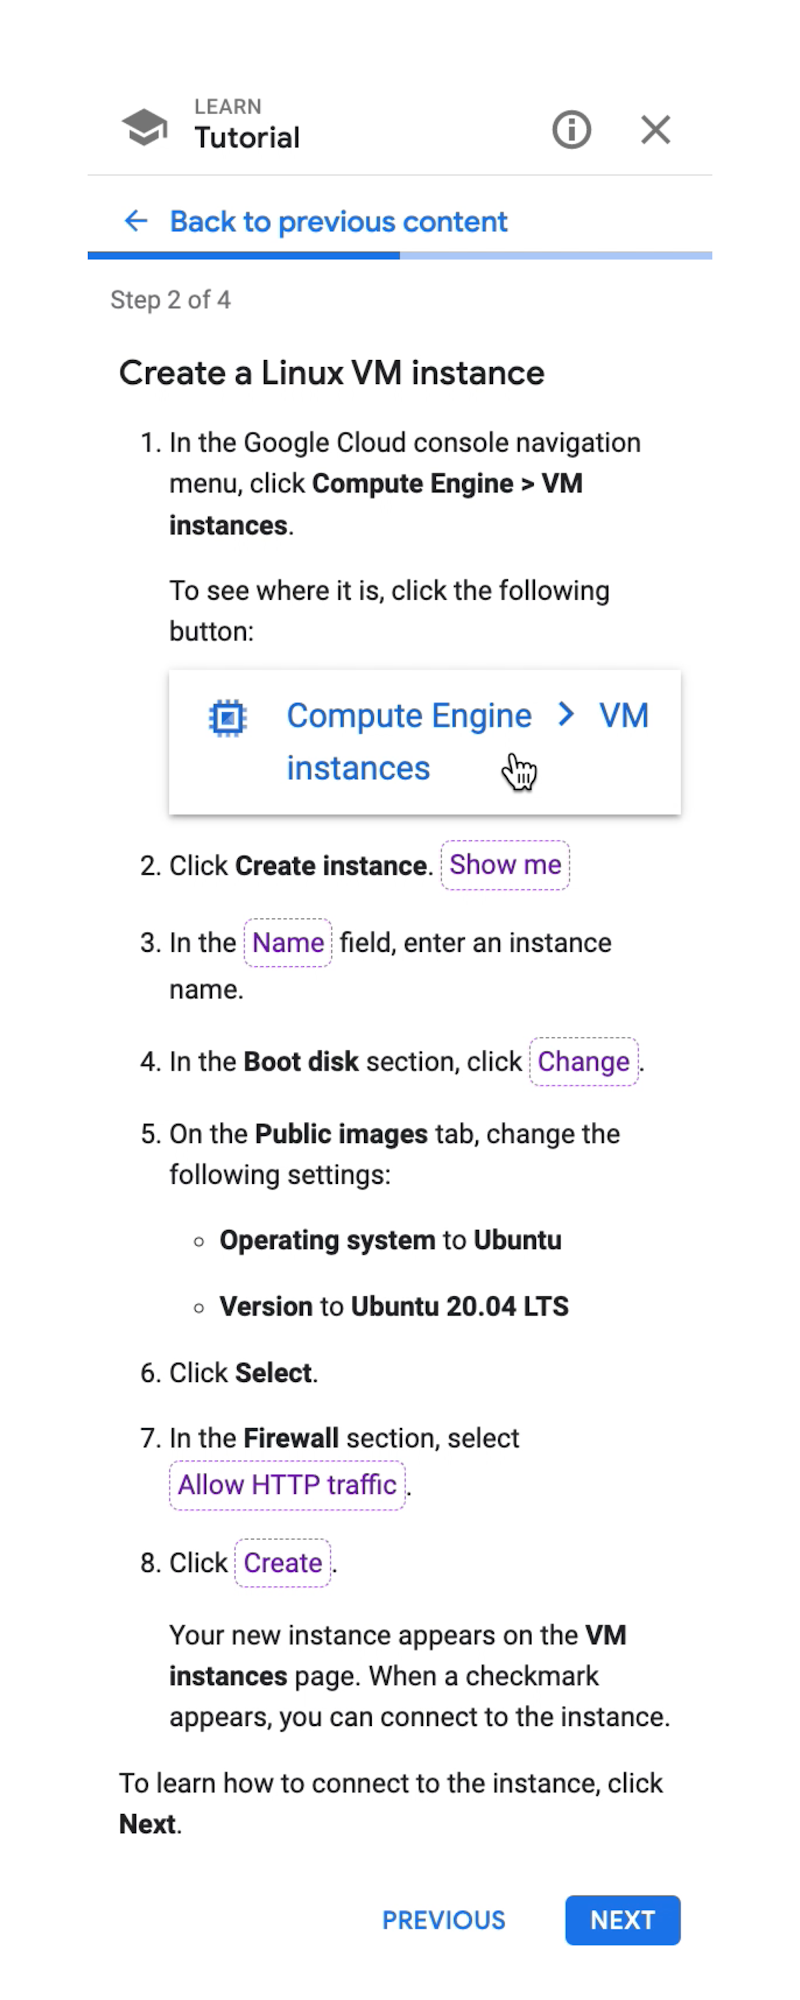
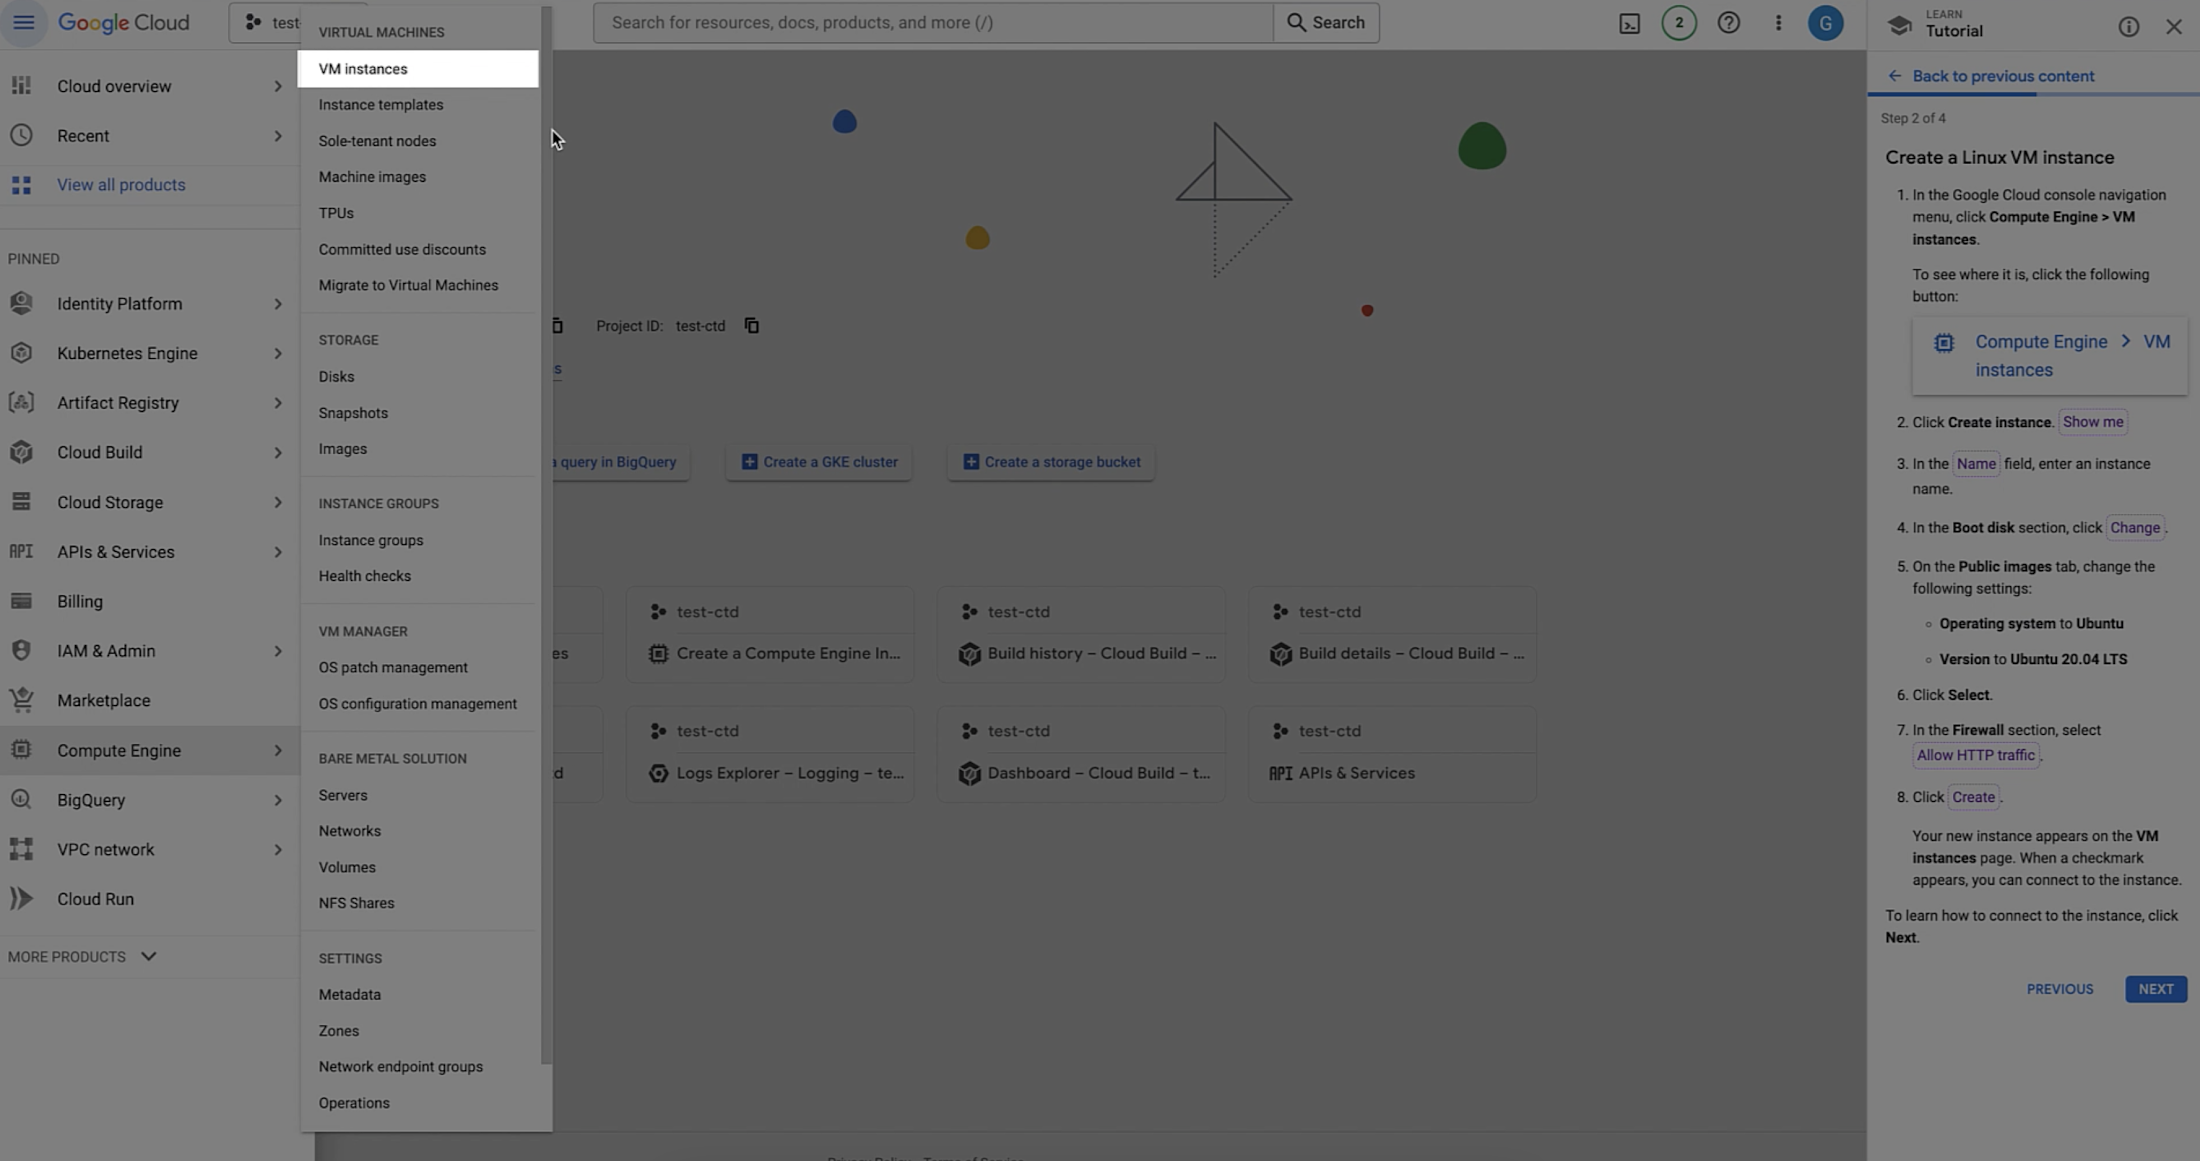
The second step walks us through how to create a Linux VM instance. First starting with navigating to the menu and clicking "VM instances", which appears under "Compute Engine". If you are having difficulties finding specific buttons or knowing where to navigate, use the spotlight feature. The spotlight feature is a common feature in interactive tutorials that helps highlight different sections of the web page detailed in the tutorial. Spotlight buttons are either purple or blue buttons. Use them to guide you through the tutorial.
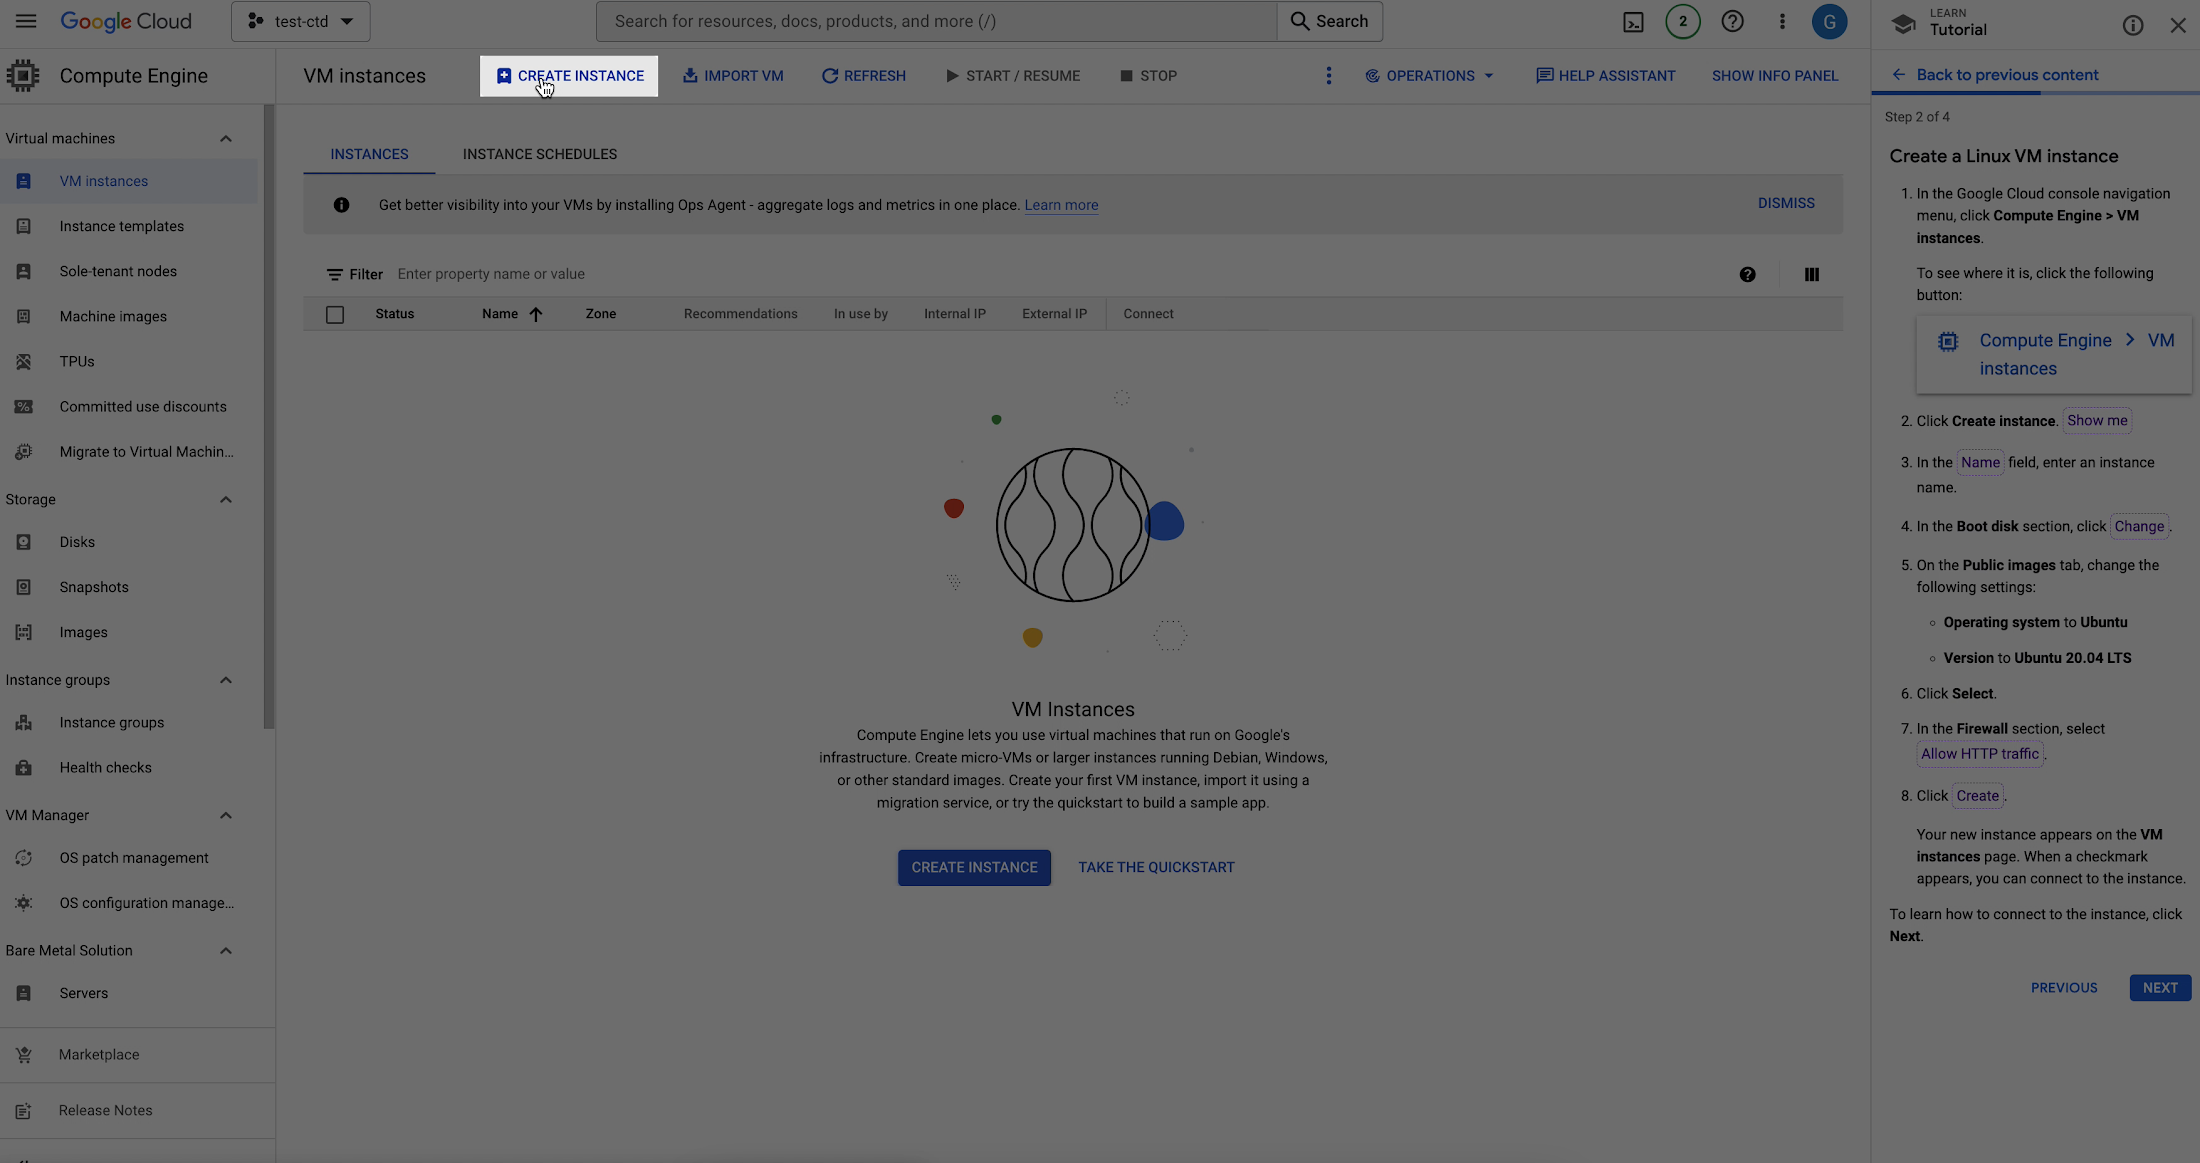
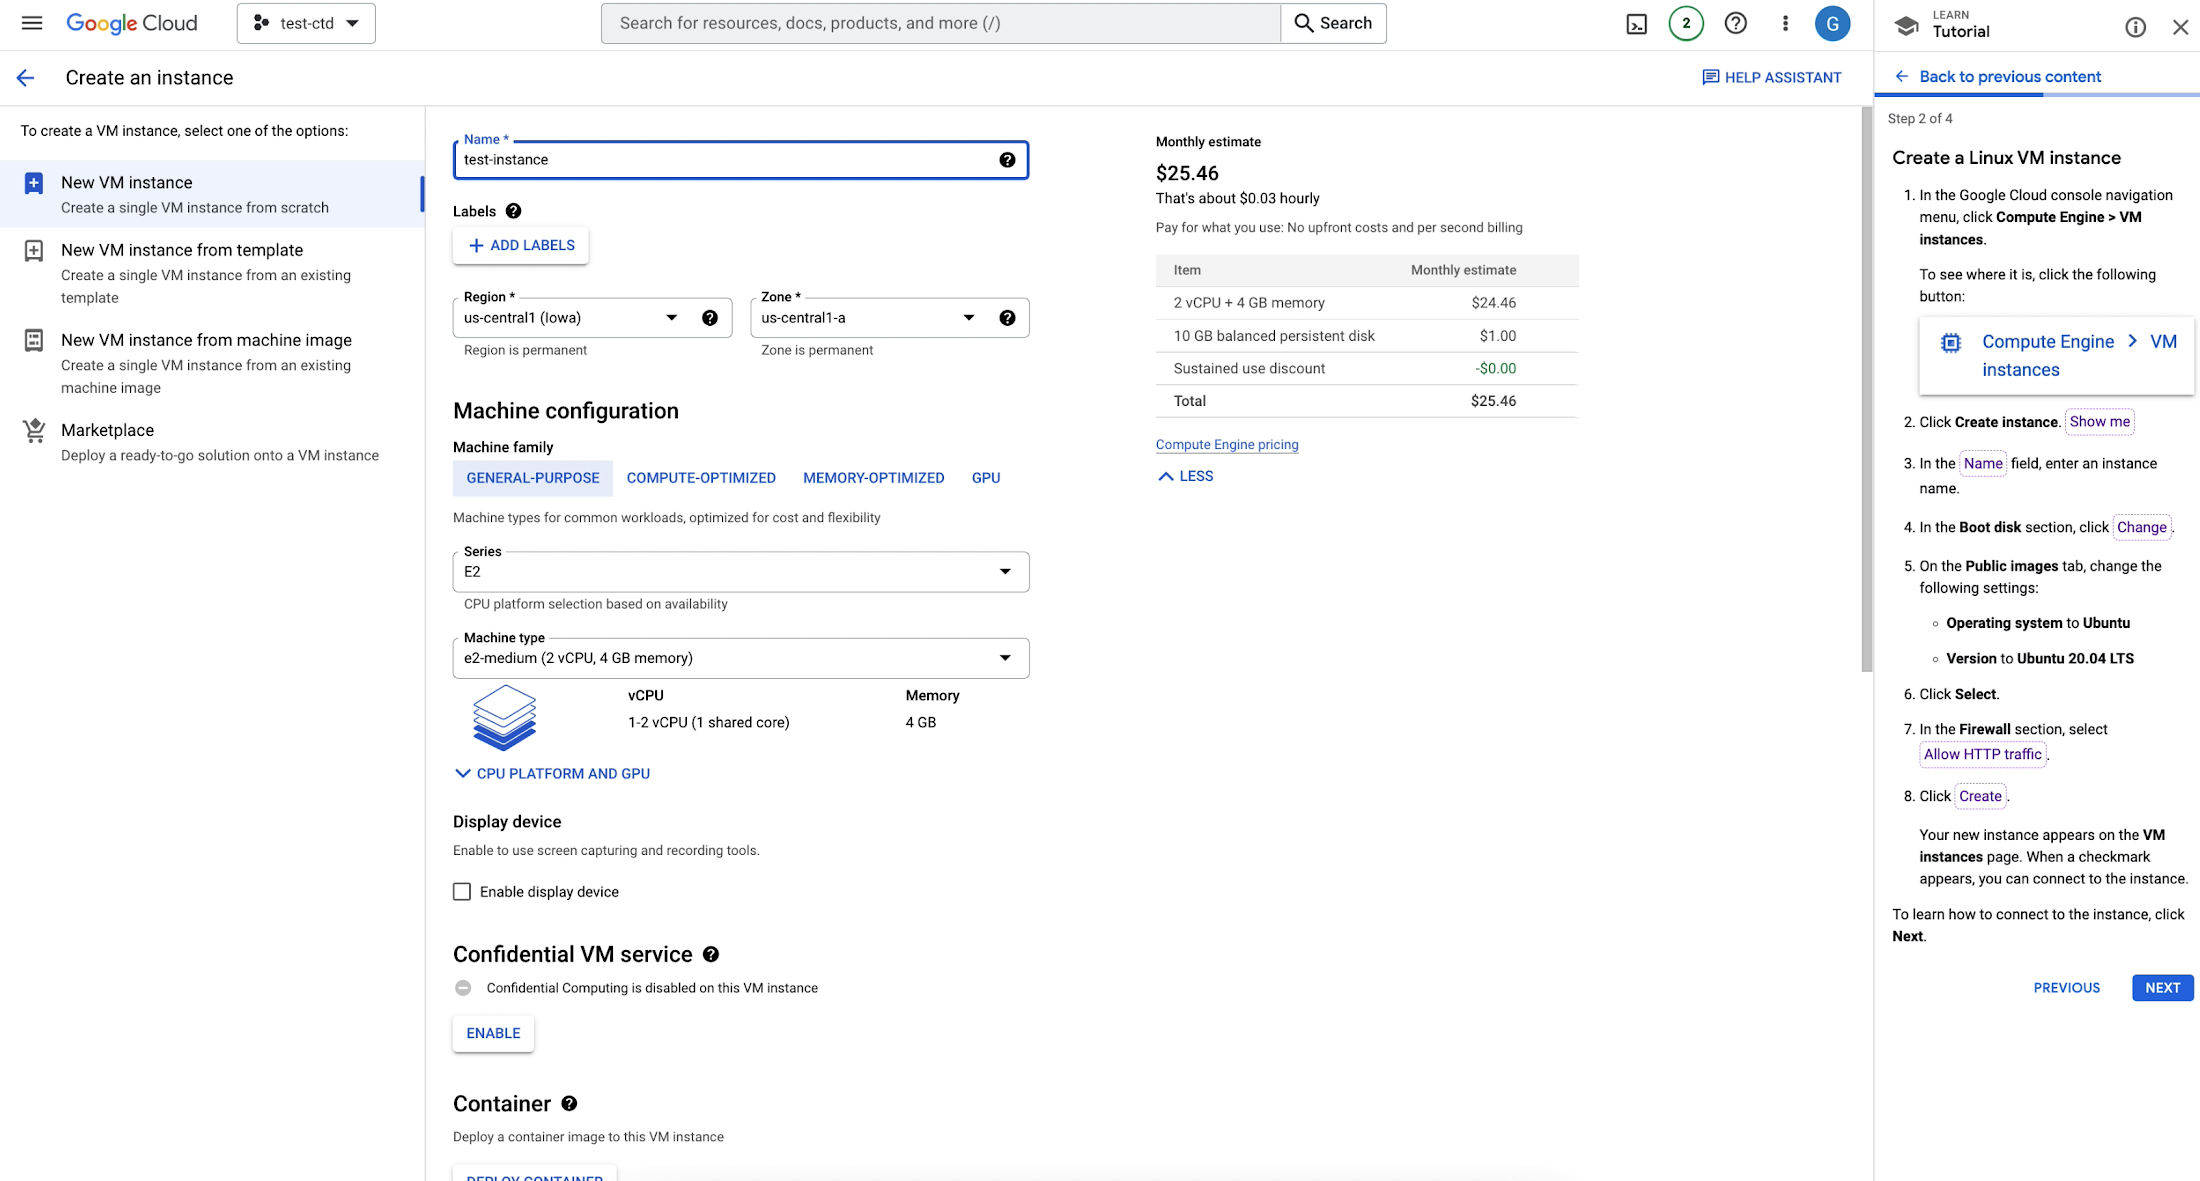
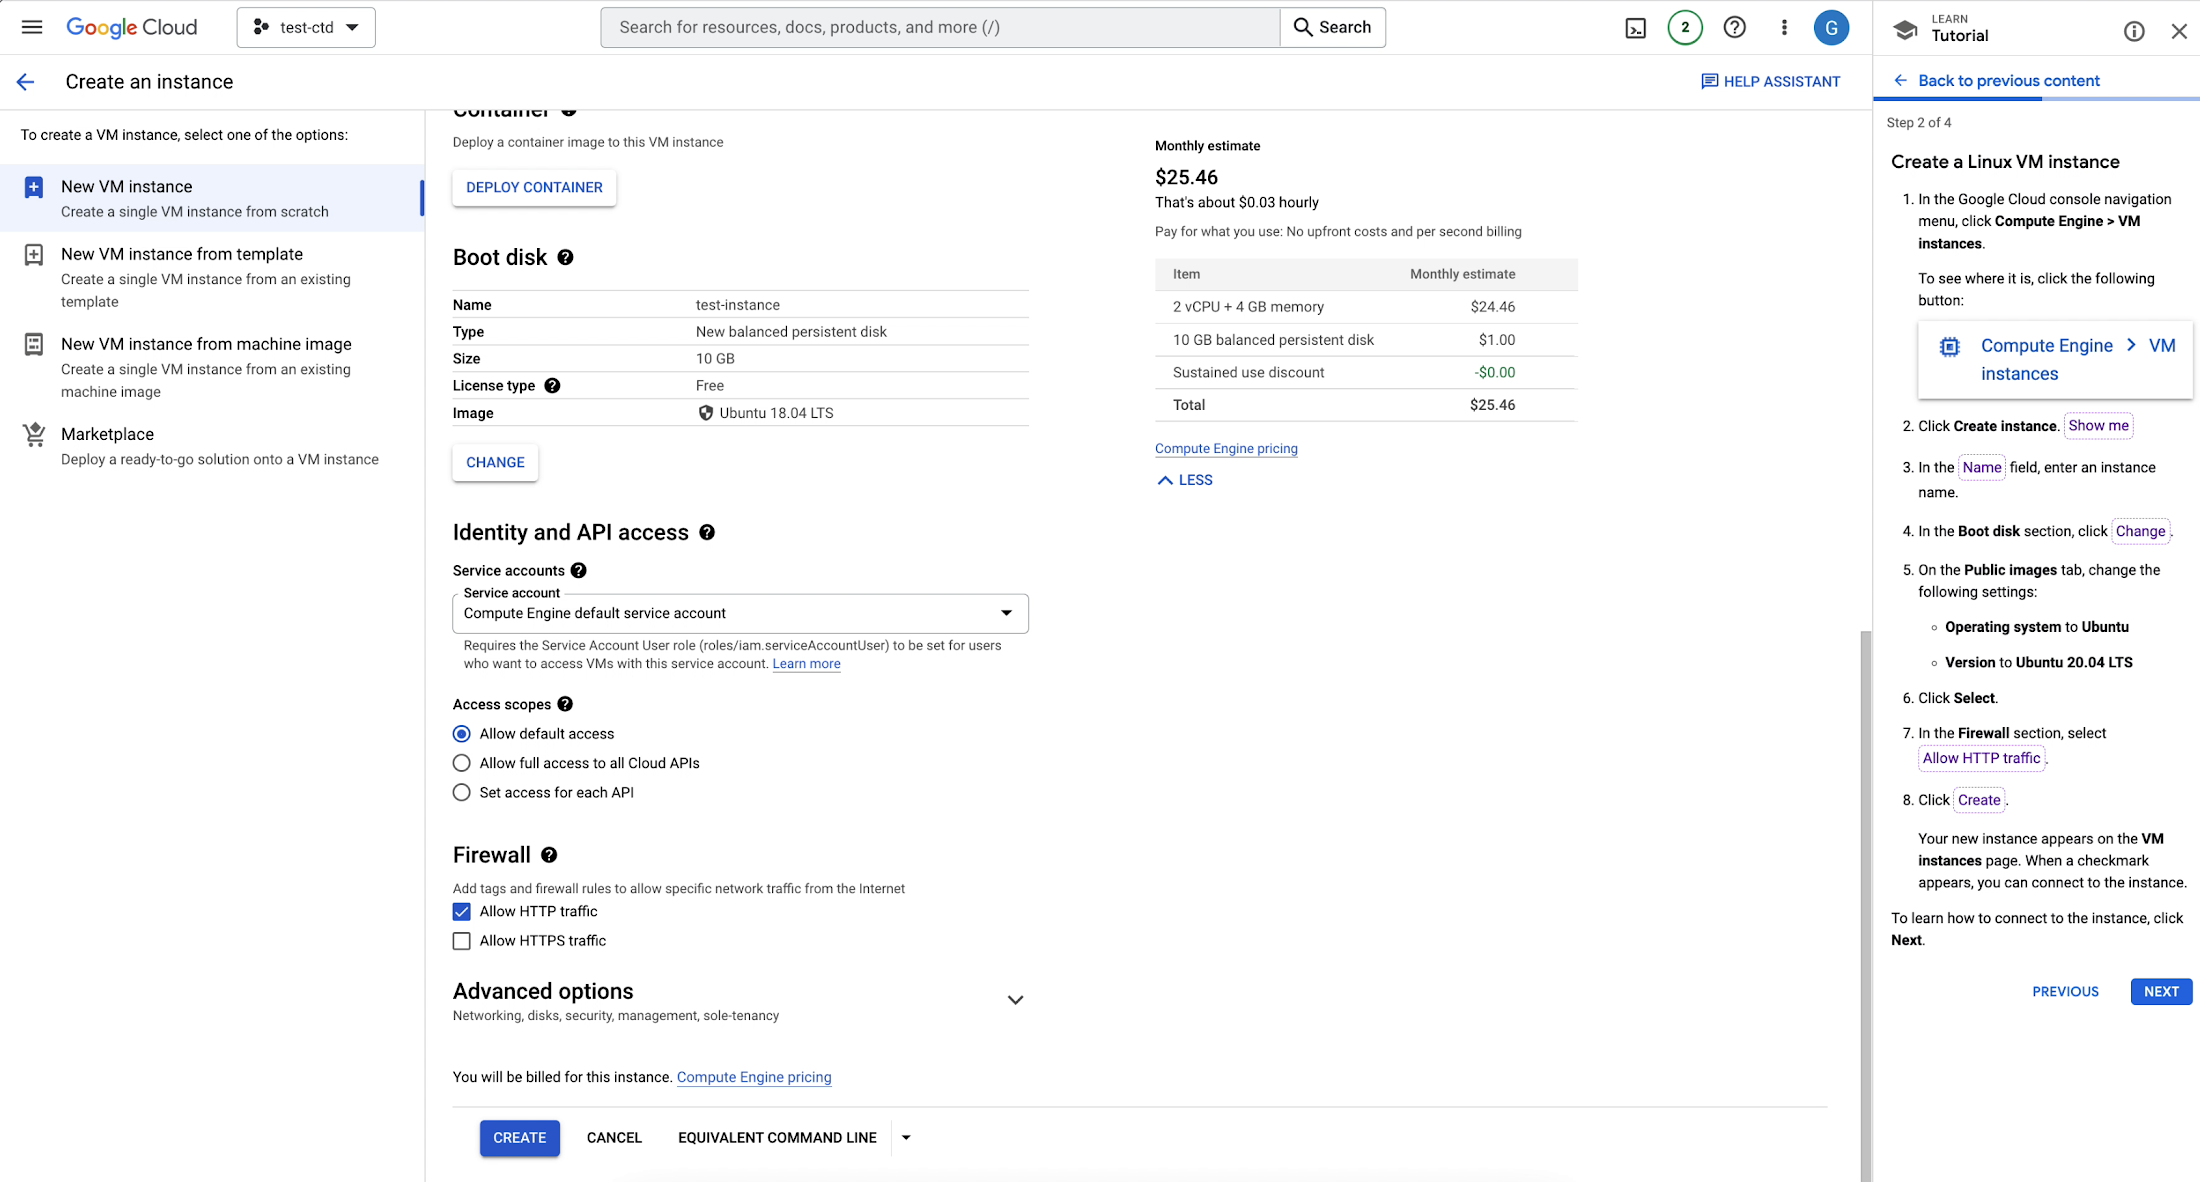
For the next instruction “Create Instance '', we’ll use the spotlight feature and click on the highlighted show me button. Next we’ll enter an instance name, I’ll use the the name ‘test-instance’
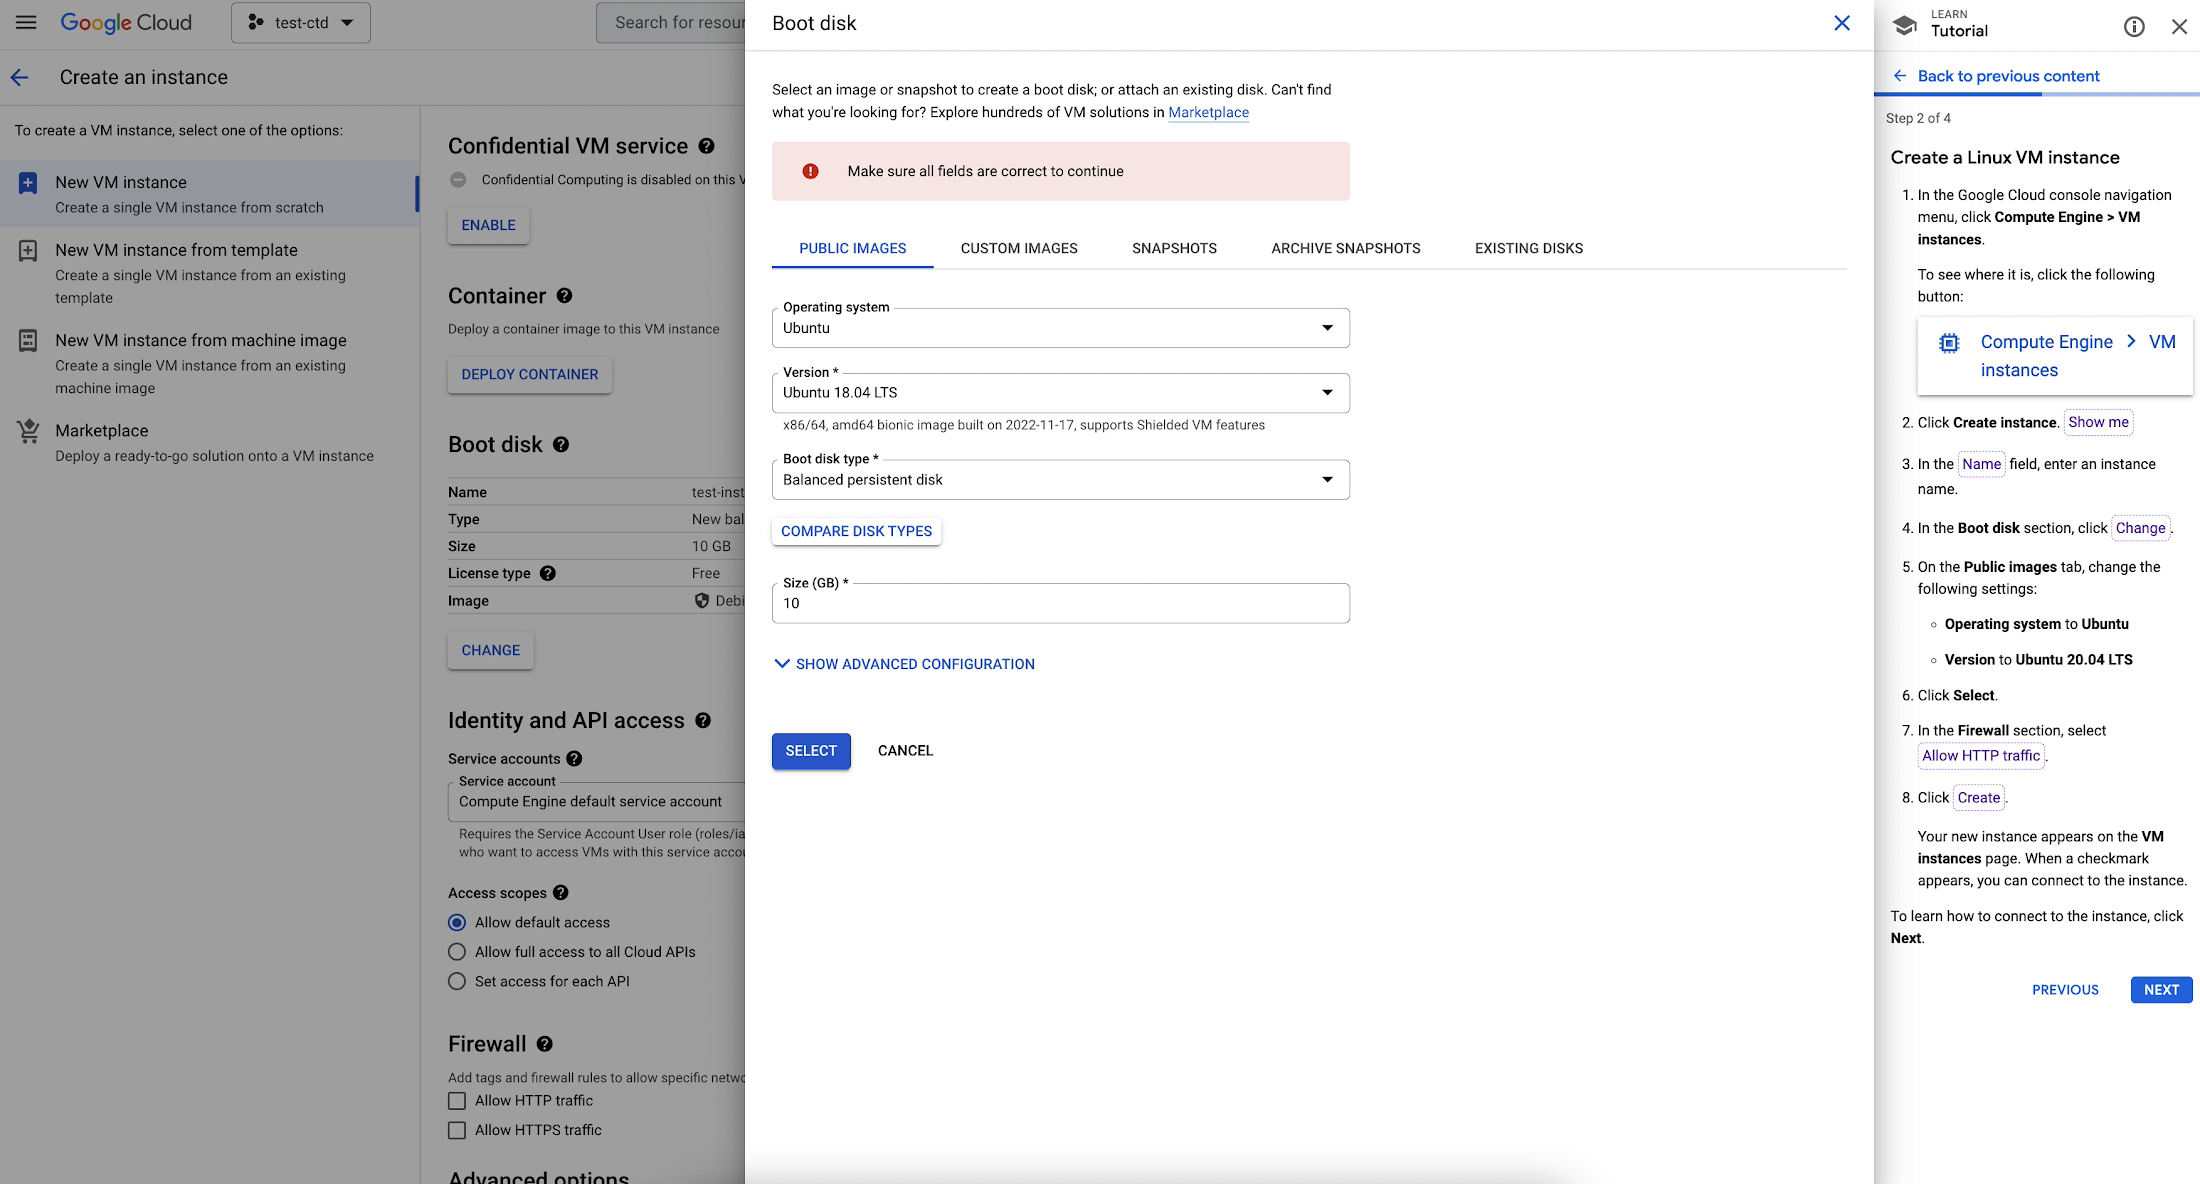
We’ll change the following setting on the Public Images tab, to the operating system listed in the tutorial which is Ubuntu 20.04 LTS and click the select button.
In the firewall section, we’ll tick the box Allow HTTP traffic and clicking create
Now we see our new instance on the VM instances page. Let’s click next to move on to the next instructions
Step 3
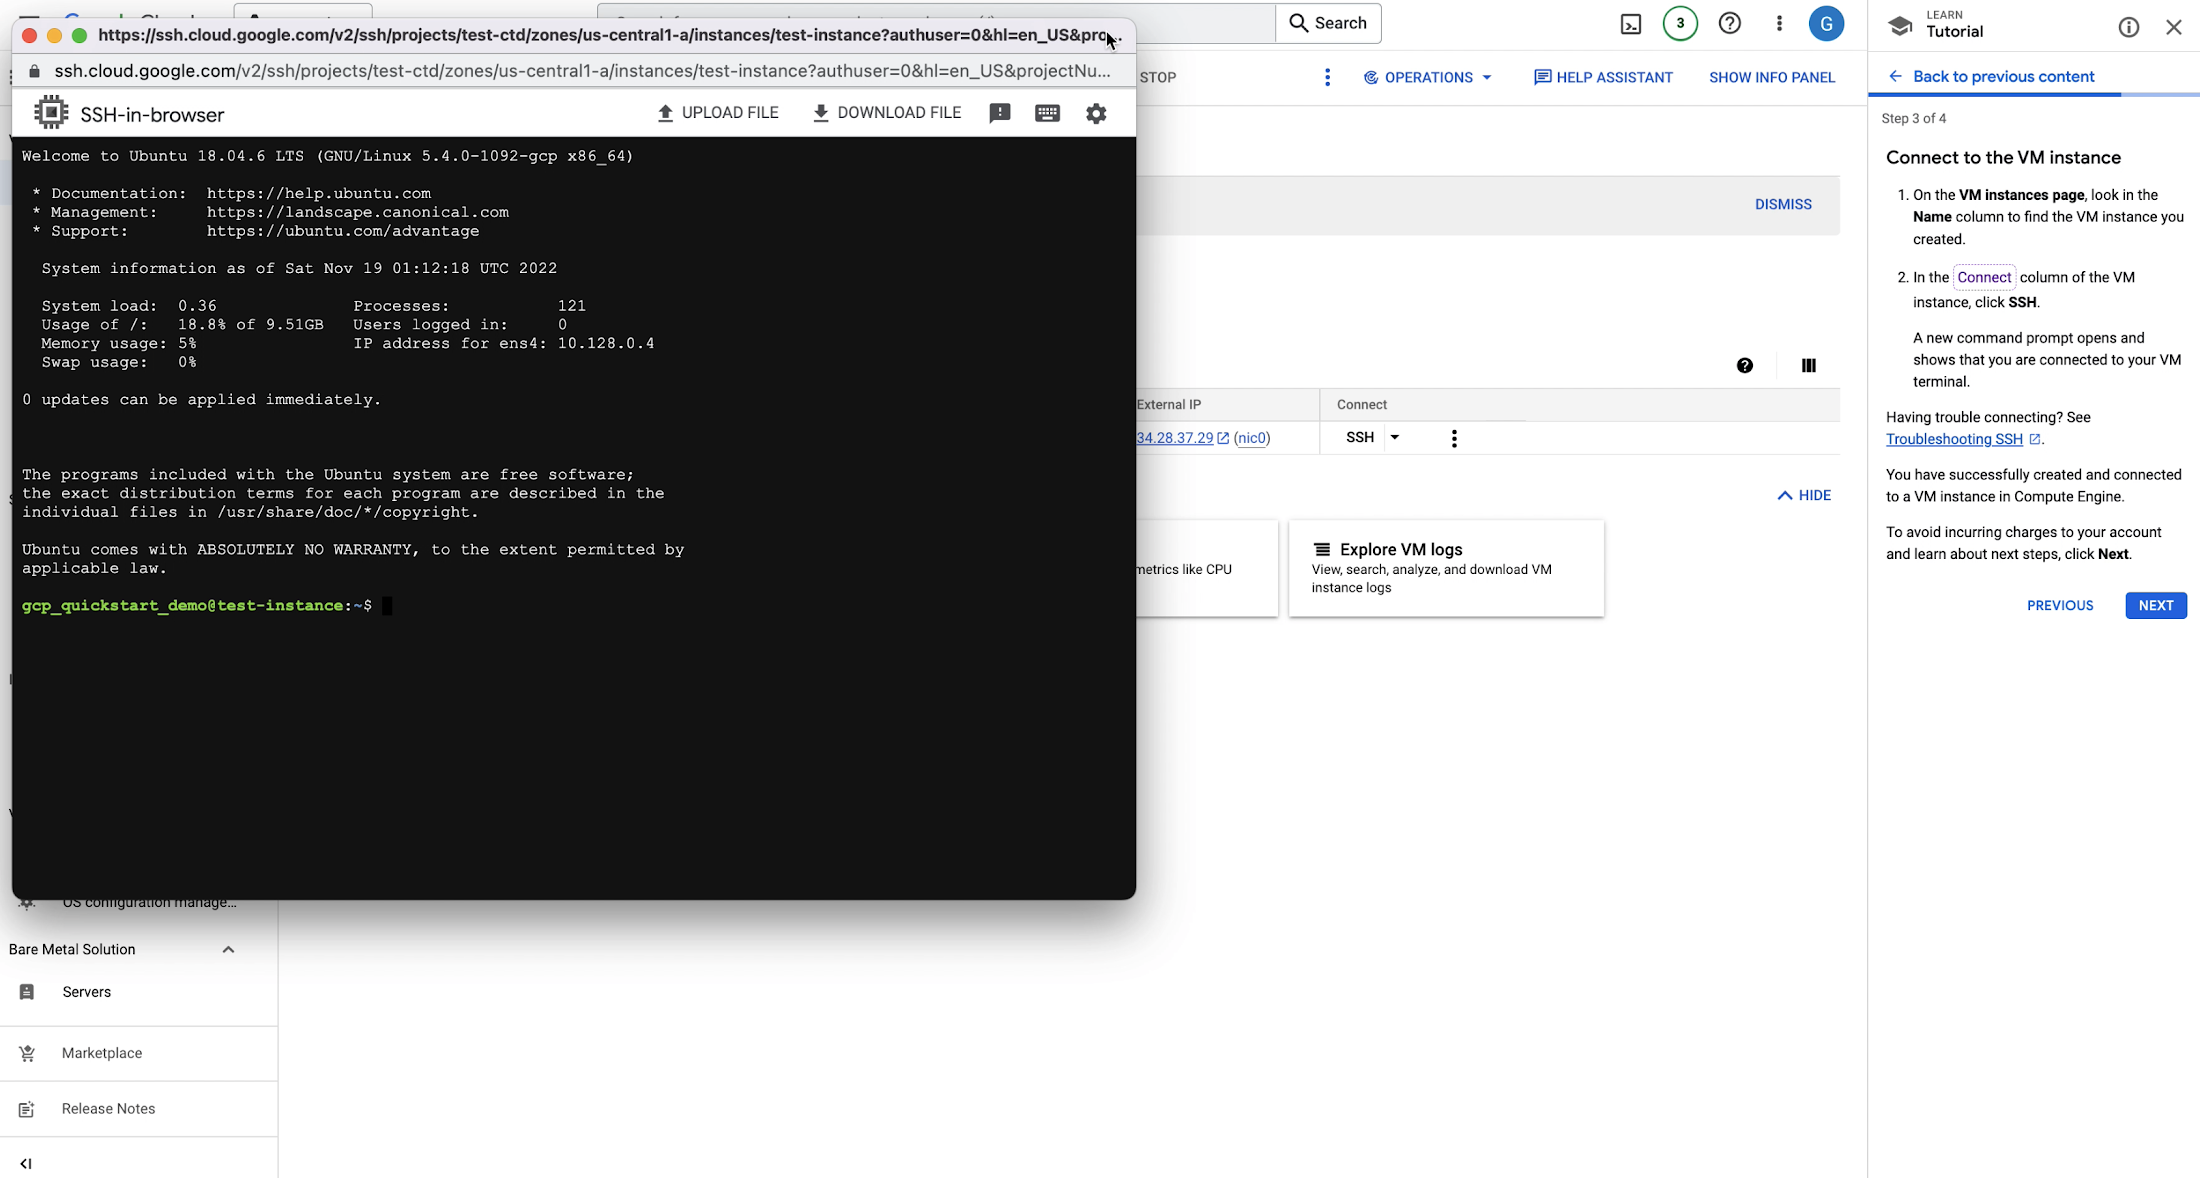
The third step is to Connect to the VM instance. To find the Connect column, we’ll use a spotlight to highlight SSH, by clicking it a new cmd dialog opens and shows that we are connected to the VM terminal!
Step 4
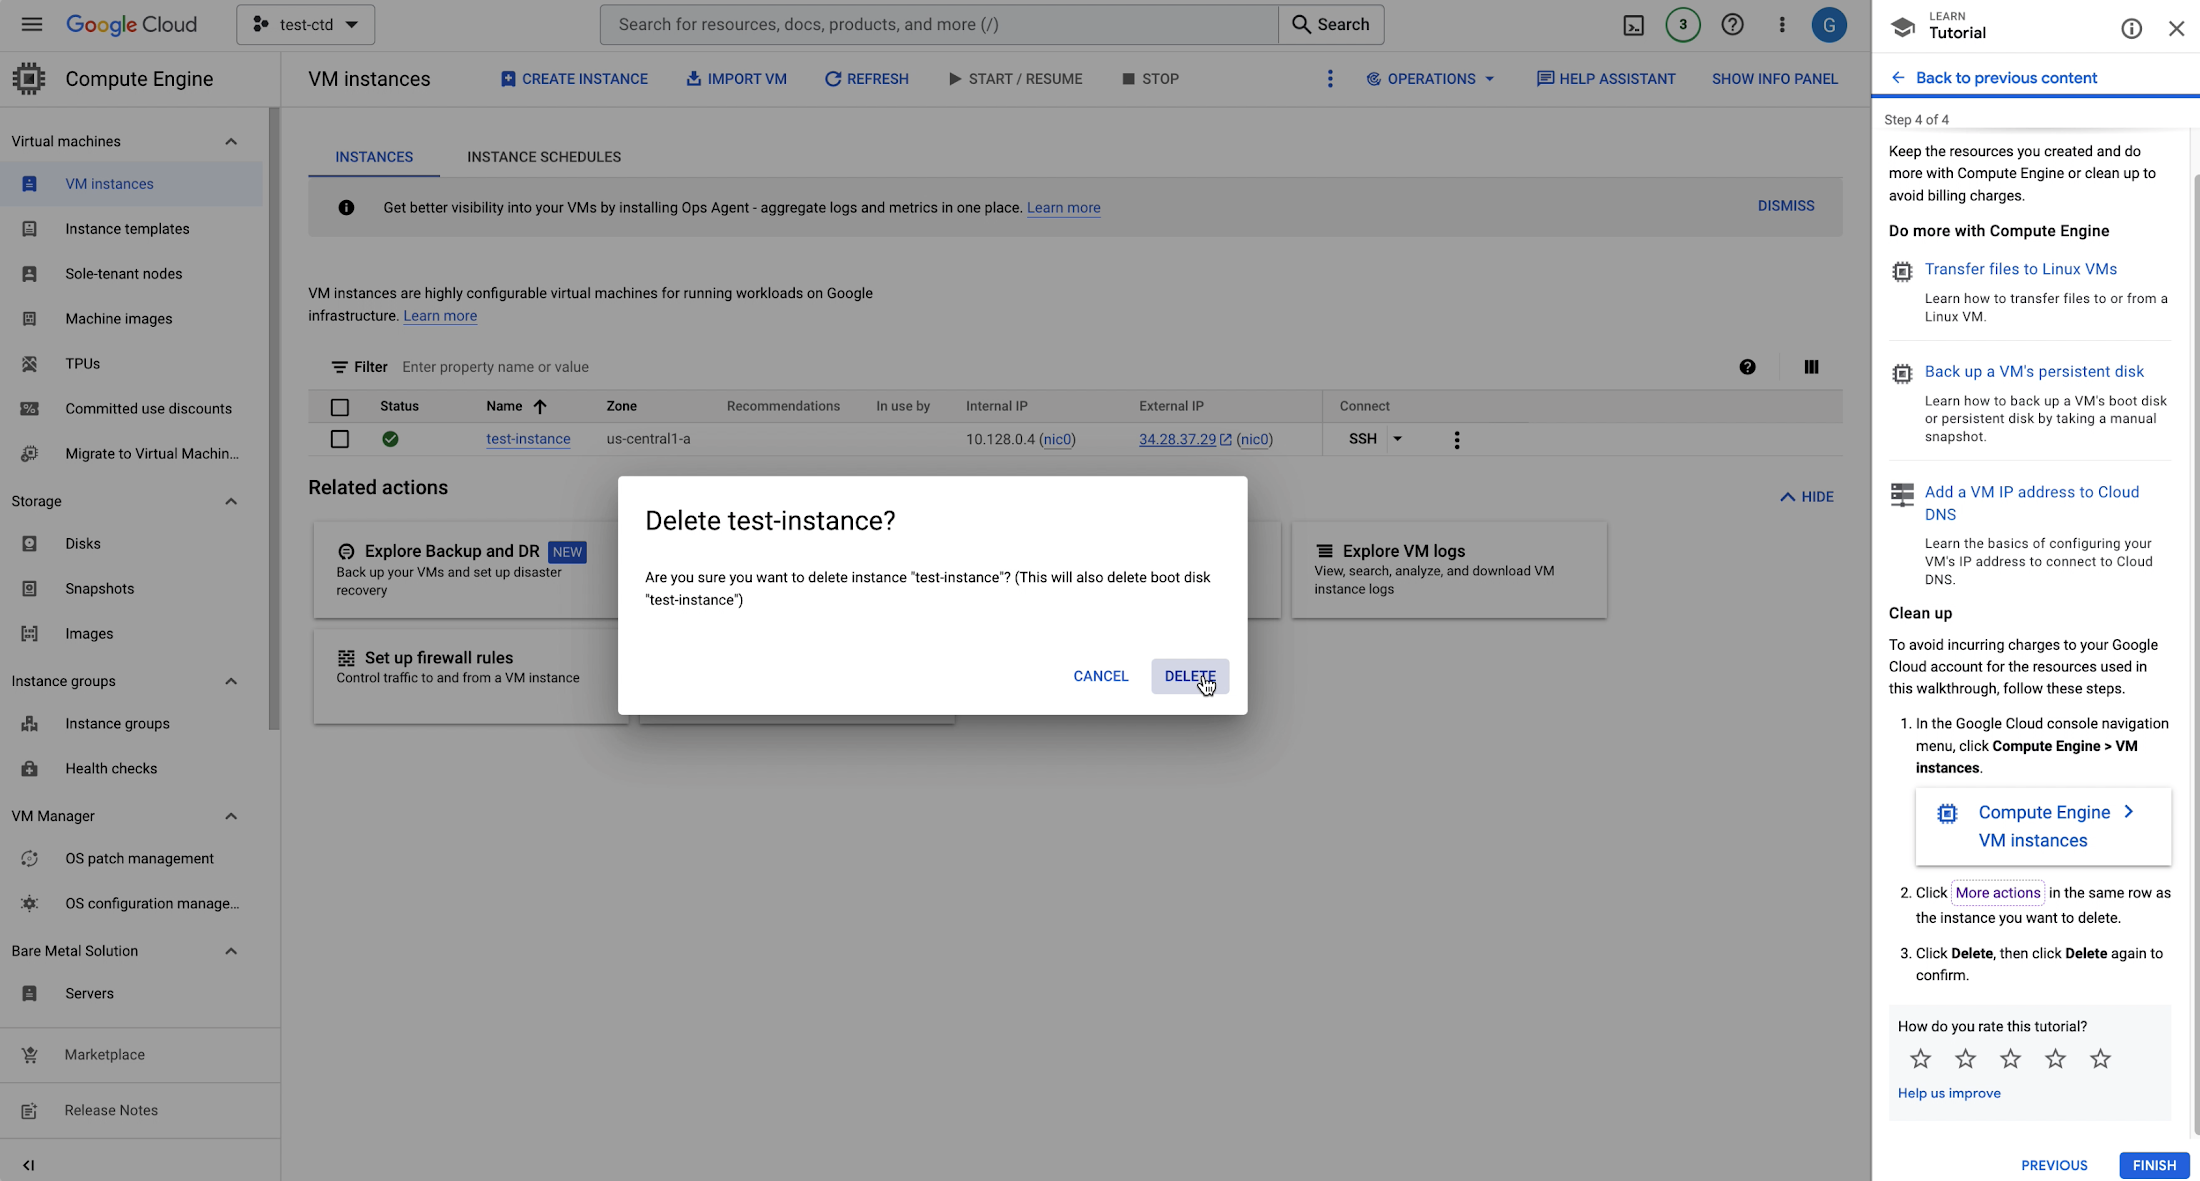
On the final panel you’ll see other interactive tutorials to learn more about Compute Engine. Finally you’ll see information to clean up the instances so you don’t incur additional charges. We can click FINISH to wrap up this tutorial.
Next Steps
There you have it! You’ve created a Linux VM Instance in Compute Engine with the help of interactive tutorials. If you’d like to follow another interactive tutorial, check out this Create a Windows Server VM instance in Compute Engine tutorial.