Compute Engine で Linux VM インスタンスを作成する方法
Google Cloud Japan Team
※この投稿は米国時間 2022 年 11 月 30 日に、Google Cloud blog に投稿されたものの抄訳です。
Google Cloud の学習を強化するための新しい方法があります。Google Cloud のスキルや機能を学びたいときは、埋め込み型のインタラクティブなチュートリアルをご覧ください。インタラクティブなチュートリアルには手順が詳しく記載されており、Google Cloud について学ぶときに役立ちます。チュートリアルは Google Cloud コンソールに直接埋め込まれているので、コンテキストの切り替えが不要です。また、チュートリアルは Cloud Shell や Cloud Code と統合されていて、事前構成済みの開発環境が用意されているため、短期間で学習できます。
このブログ投稿では、Compute Engine で Linux VM インスタンスを作成する方法についてのインタラクティブなチュートリアルをご紹介します。Google Cloud のドキュメントにある [ガイドを表示] ボタンをクリックして、インタラクティブなチュートリアルをご覧ください。このボタンをクリックすると、チュートリアルに直接アクセスできます。![https://storage.googleapis.com/gweb-cloudblog-publish/images/Guide_Me_Button_1.max-1000x1000.png](https://storage.googleapis.com/gweb-cloudblog-publish/images/Guide_Me_Button_1.max-1000x1000.png)
![https://storage.googleapis.com/gweb-cloudblog-publish/images/Guide_Me_Button_1.max-1000x1000.png](https://storage.googleapis.com/gweb-cloudblog-publish/images/Guide_Me_Button_1.max-1000x1000.png)
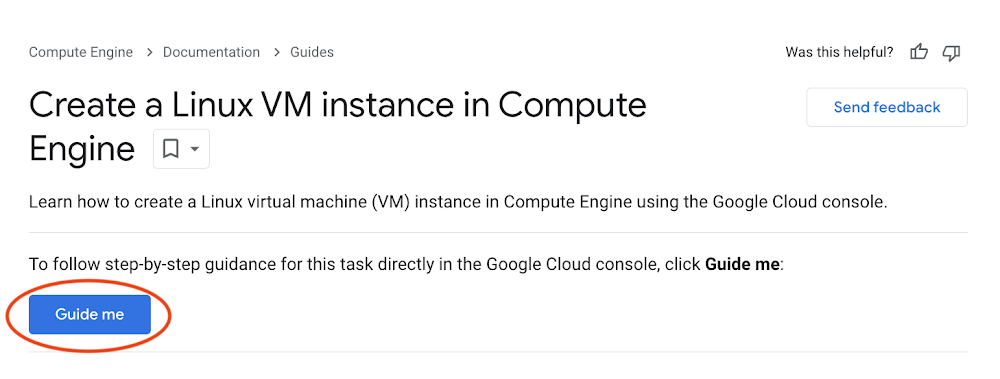
「Compute Engine で Linux VM インスタンスを作成する」ドキュメントの [Guide me](ガイドを表示)ボタン
チュートリアル
![https://storage.googleapis.com/gweb-cloudblog-publish/images/Introduction.max-600x600.png](https://storage.googleapis.com/gweb-cloudblog-publish/images/Introduction.max-600x600.png)
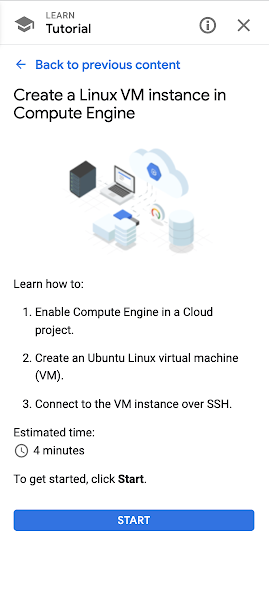
すべてのインタラクティブなチュートリアルの最初のパネルで、開発者は各チュートリアルの具体的なステップと、このチュートリアルを完了するまでの推定所要時間を確認できます。[START](開始)をクリックしてチュートリアルを開始します。
![https://storage.googleapis.com/gweb-cloudblog-publish/images/Step_1_Panel__2000__3000_px.max-2000x2000.png](https://storage.googleapis.com/gweb-cloudblog-publish/images/Step_1_Panel__2000__3000_px.max-2000x2000.png)
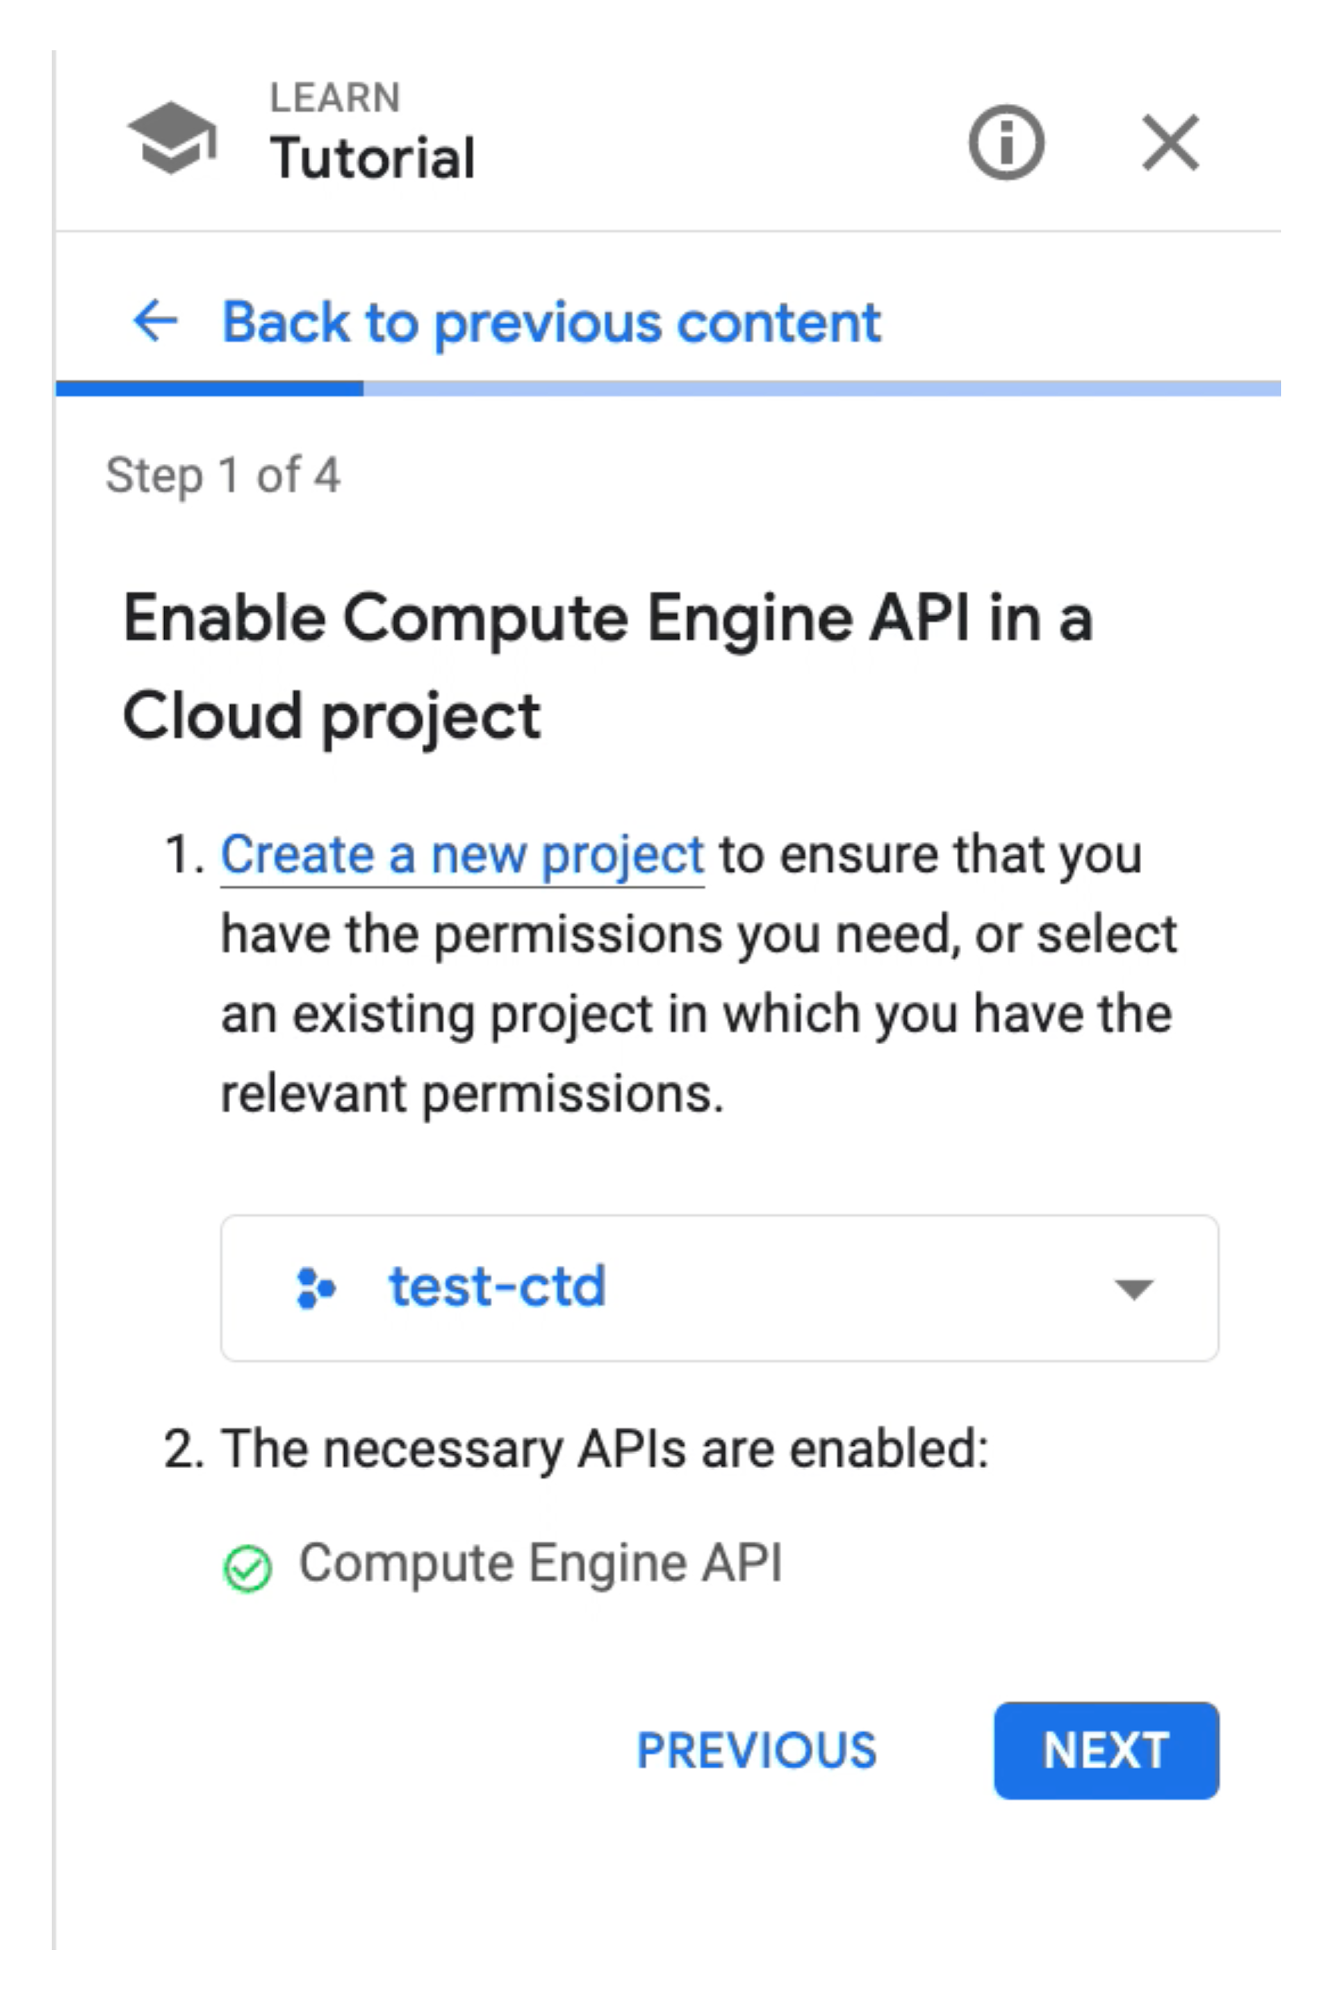
最初に、Cloud プロジェクトで Compute Engine API を有効にします。指示に沿って、既存のプロジェクトを選択するか、新規プロジェクトを作成する必要があります。ここでは、test-ctd
という既存のプロジェクトを使います。次のステップは、必要な API の有効化です。これは、test-ctd
プロジェクトで Compute Engine API がすでに有効になっているためです(緑色のチェックマークが付いています)。
ステップ 2
![https://storage.googleapis.com/gweb-cloudblog-publish/images/Step_2_Panel_2000__5000_px.max-2000x2000.png](https://storage.googleapis.com/gweb-cloudblog-publish/images/Step_2_Panel_2000__5000_px.max-2000x2000.png)
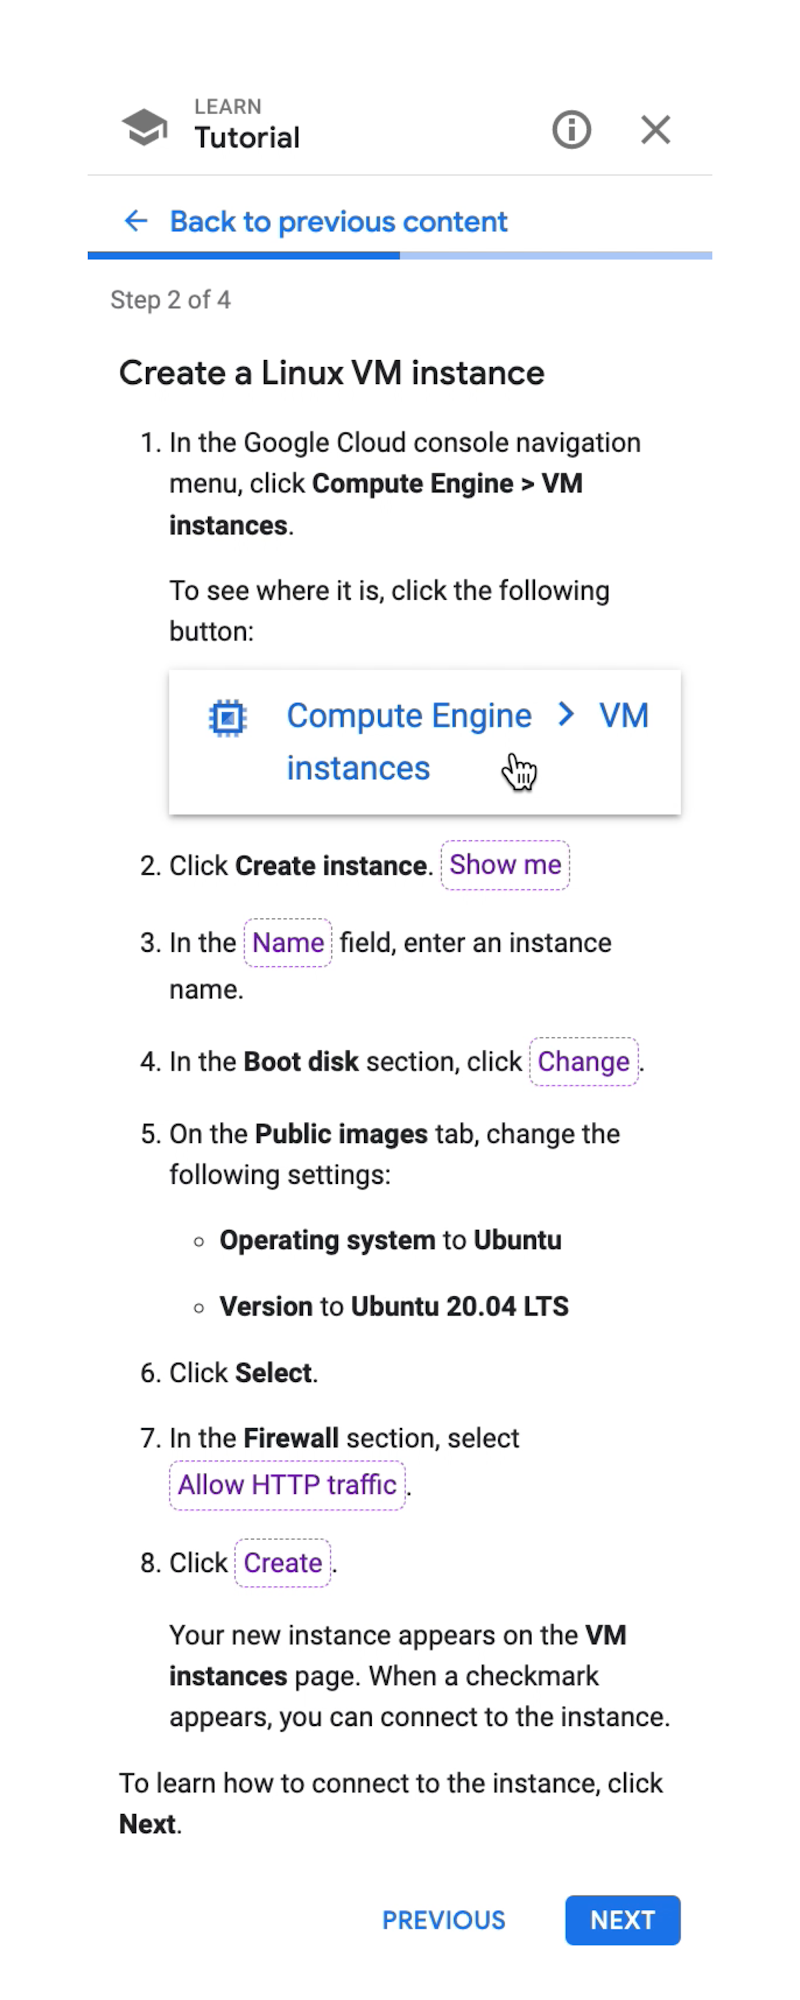
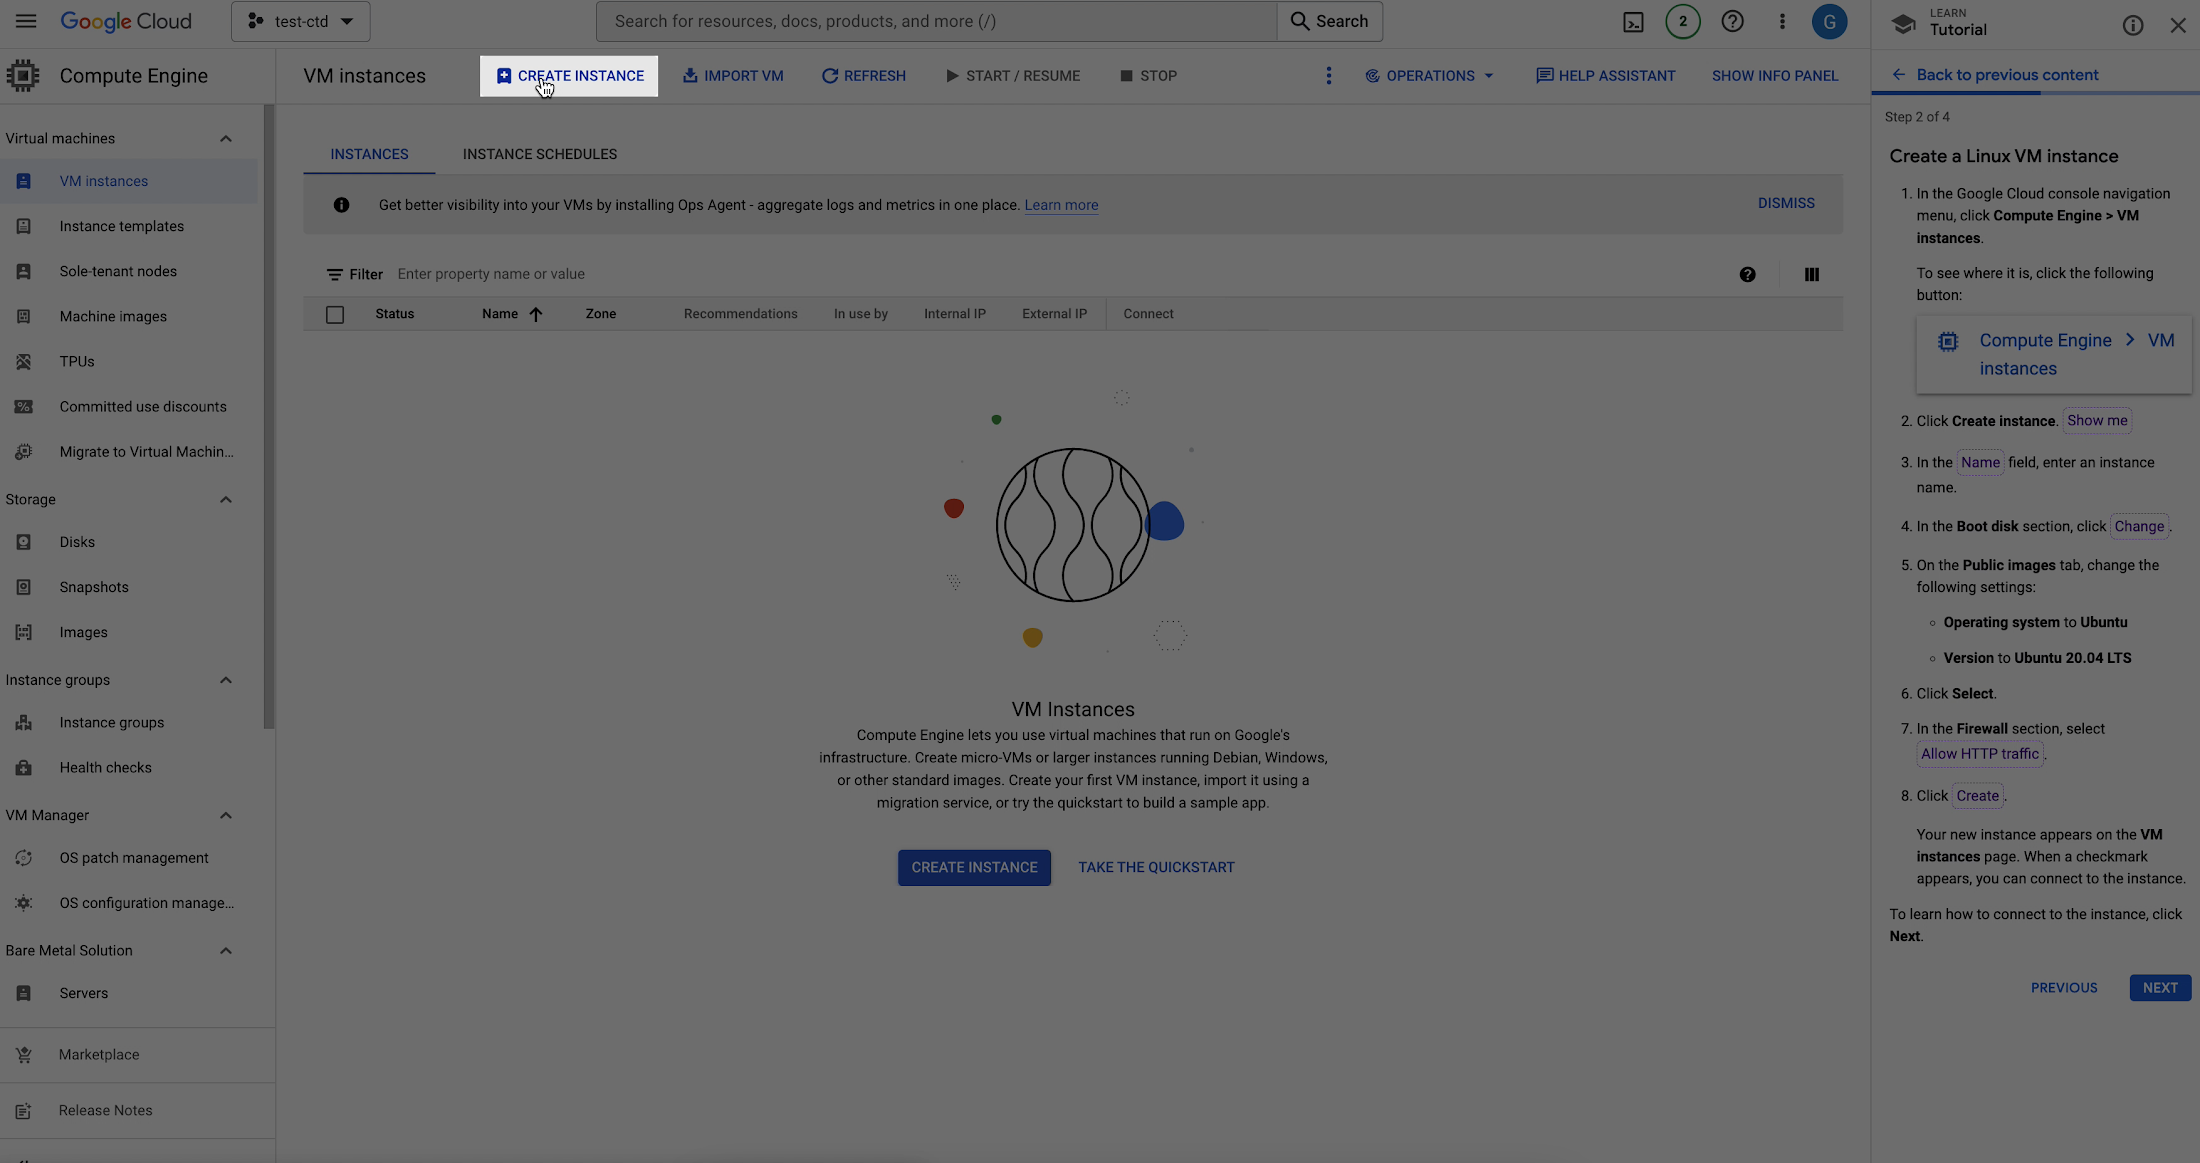
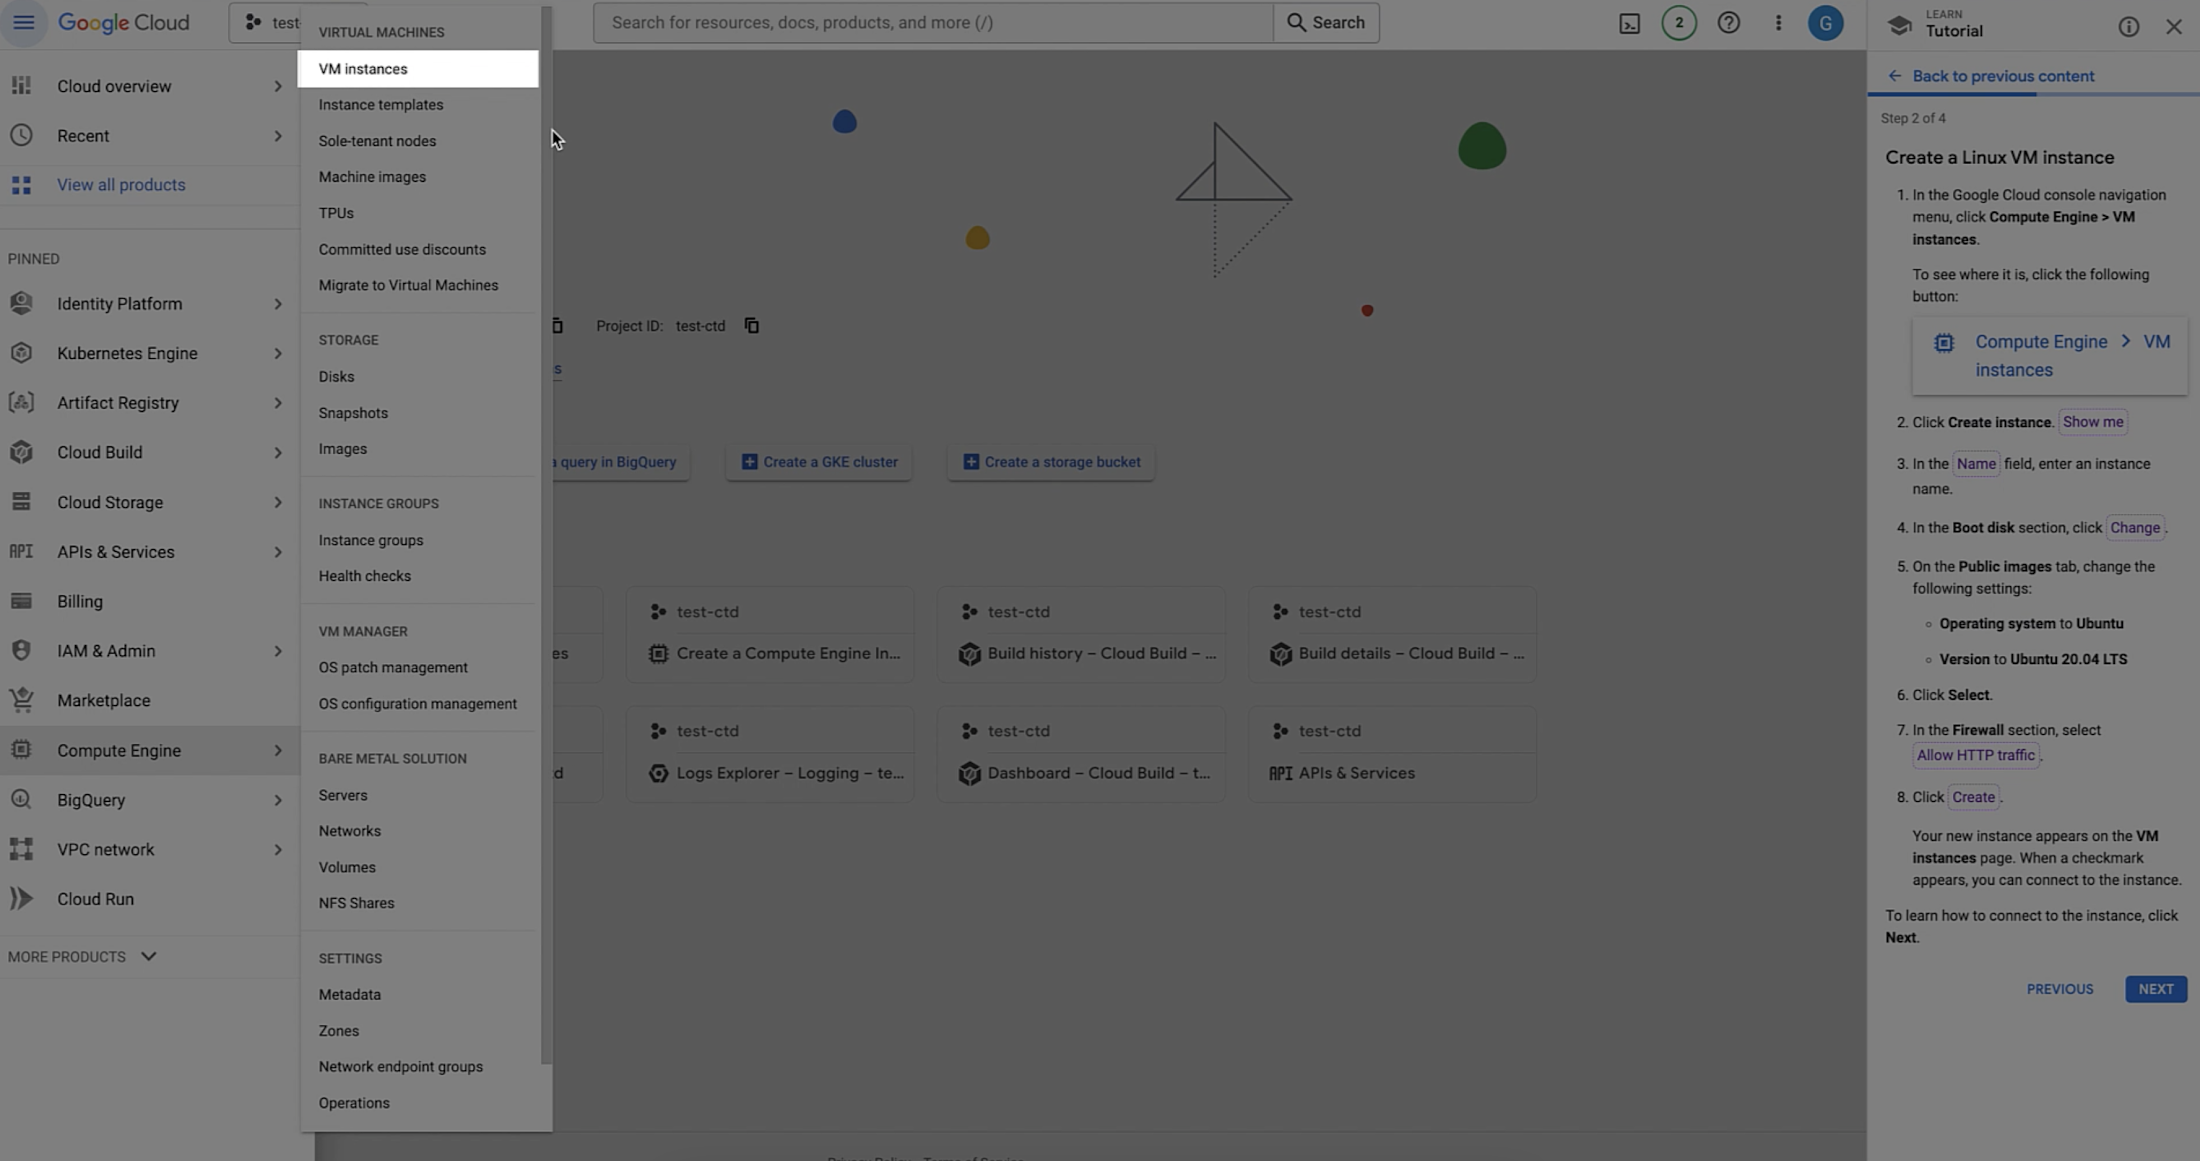
2 つ目のステップでは、Linux VM インスタンスを作成する方法を説明します。まず、メニューを開き、[Compute Engine] 内の [VM instances](VM インスタンス)をクリックします。ボタンが見つからない場合や、どこに移動したらよいかわからない場合は、スポットライト機能を使用します。スポットライト機能はインタラクティブなチュートリアルでよく使われる機能で、チュートリアルで詳述されているウェブページのさまざまなセクションをハイライト表示するために役立ちます。スポットライト ボタンは紫色または青色のいずれかです。チュートリアル内のガイド機能としてご利用ください。
![https://storage.googleapis.com/gweb-cloudblog-publish/images/Spotlight_Example_1_1.max-2200x2200.png](https://storage.googleapis.com/gweb-cloudblog-publish/images/Spotlight_Example_1_1.max-2200x2200.png)
![https://storage.googleapis.com/gweb-cloudblog-publish/images/Spotlight_Example_2.max-2200x2200.png](https://storage.googleapis.com/gweb-cloudblog-publish/images/Spotlight_Example_2.max-2200x2200.png)
次の手順である「インスタンスの作成」のために、スポットライト機能を使用し、ハイライト表示された [Show me](表示)ボタンをクリックします。そして、インスタンス名を入力します。ここでは「test-instance」という名前を使用します。
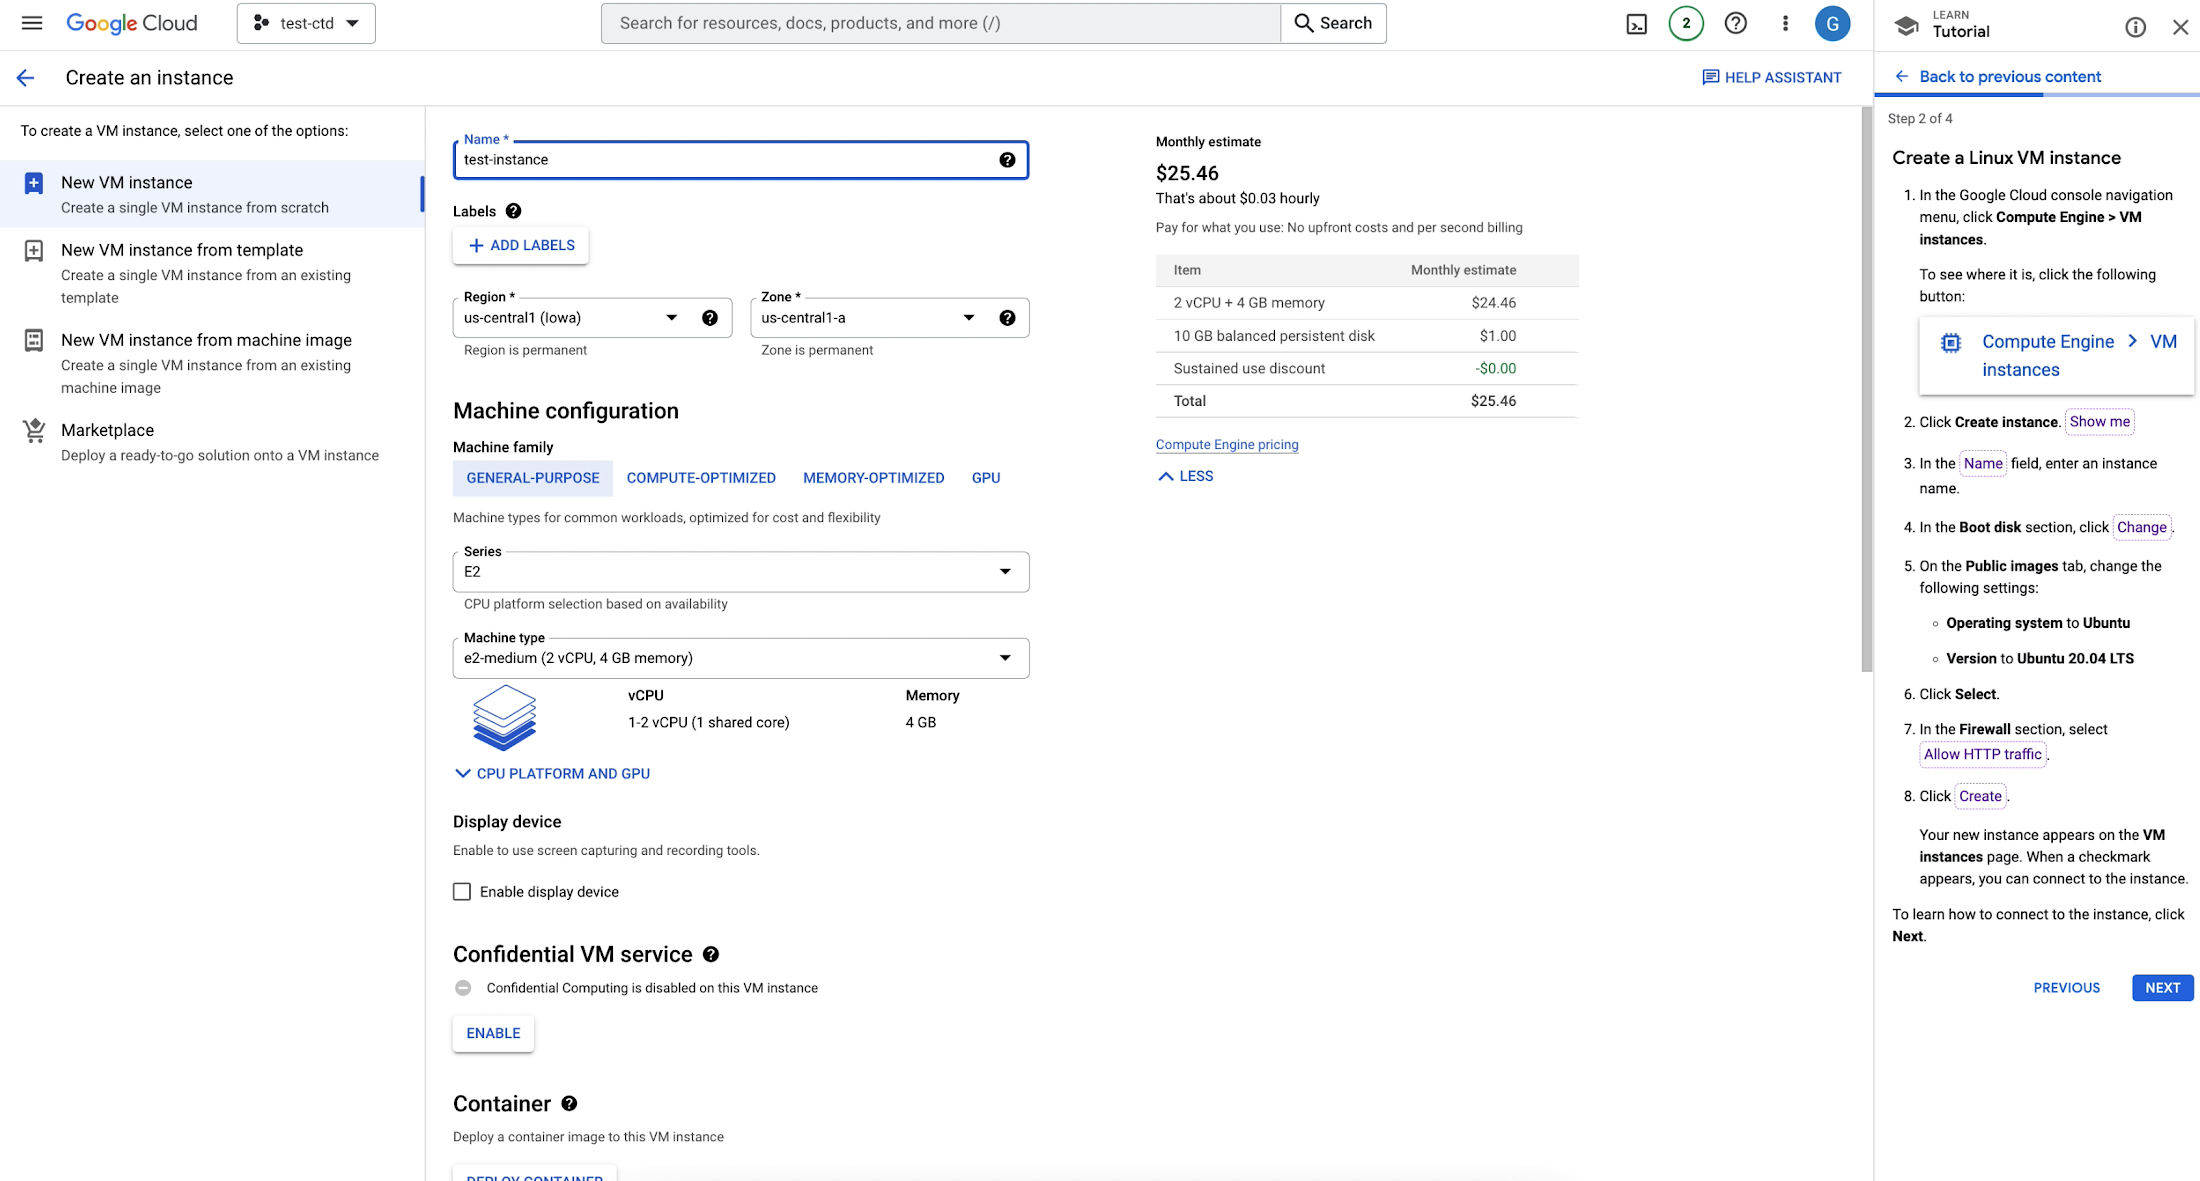
![https://storage.googleapis.com/gweb-cloudblog-publish/images/Naming_Instance.max-2200x2200.png](https://storage.googleapis.com/gweb-cloudblog-publish/images/Naming_Instance.max-2200x2200.png)
VM インスタンスの命名
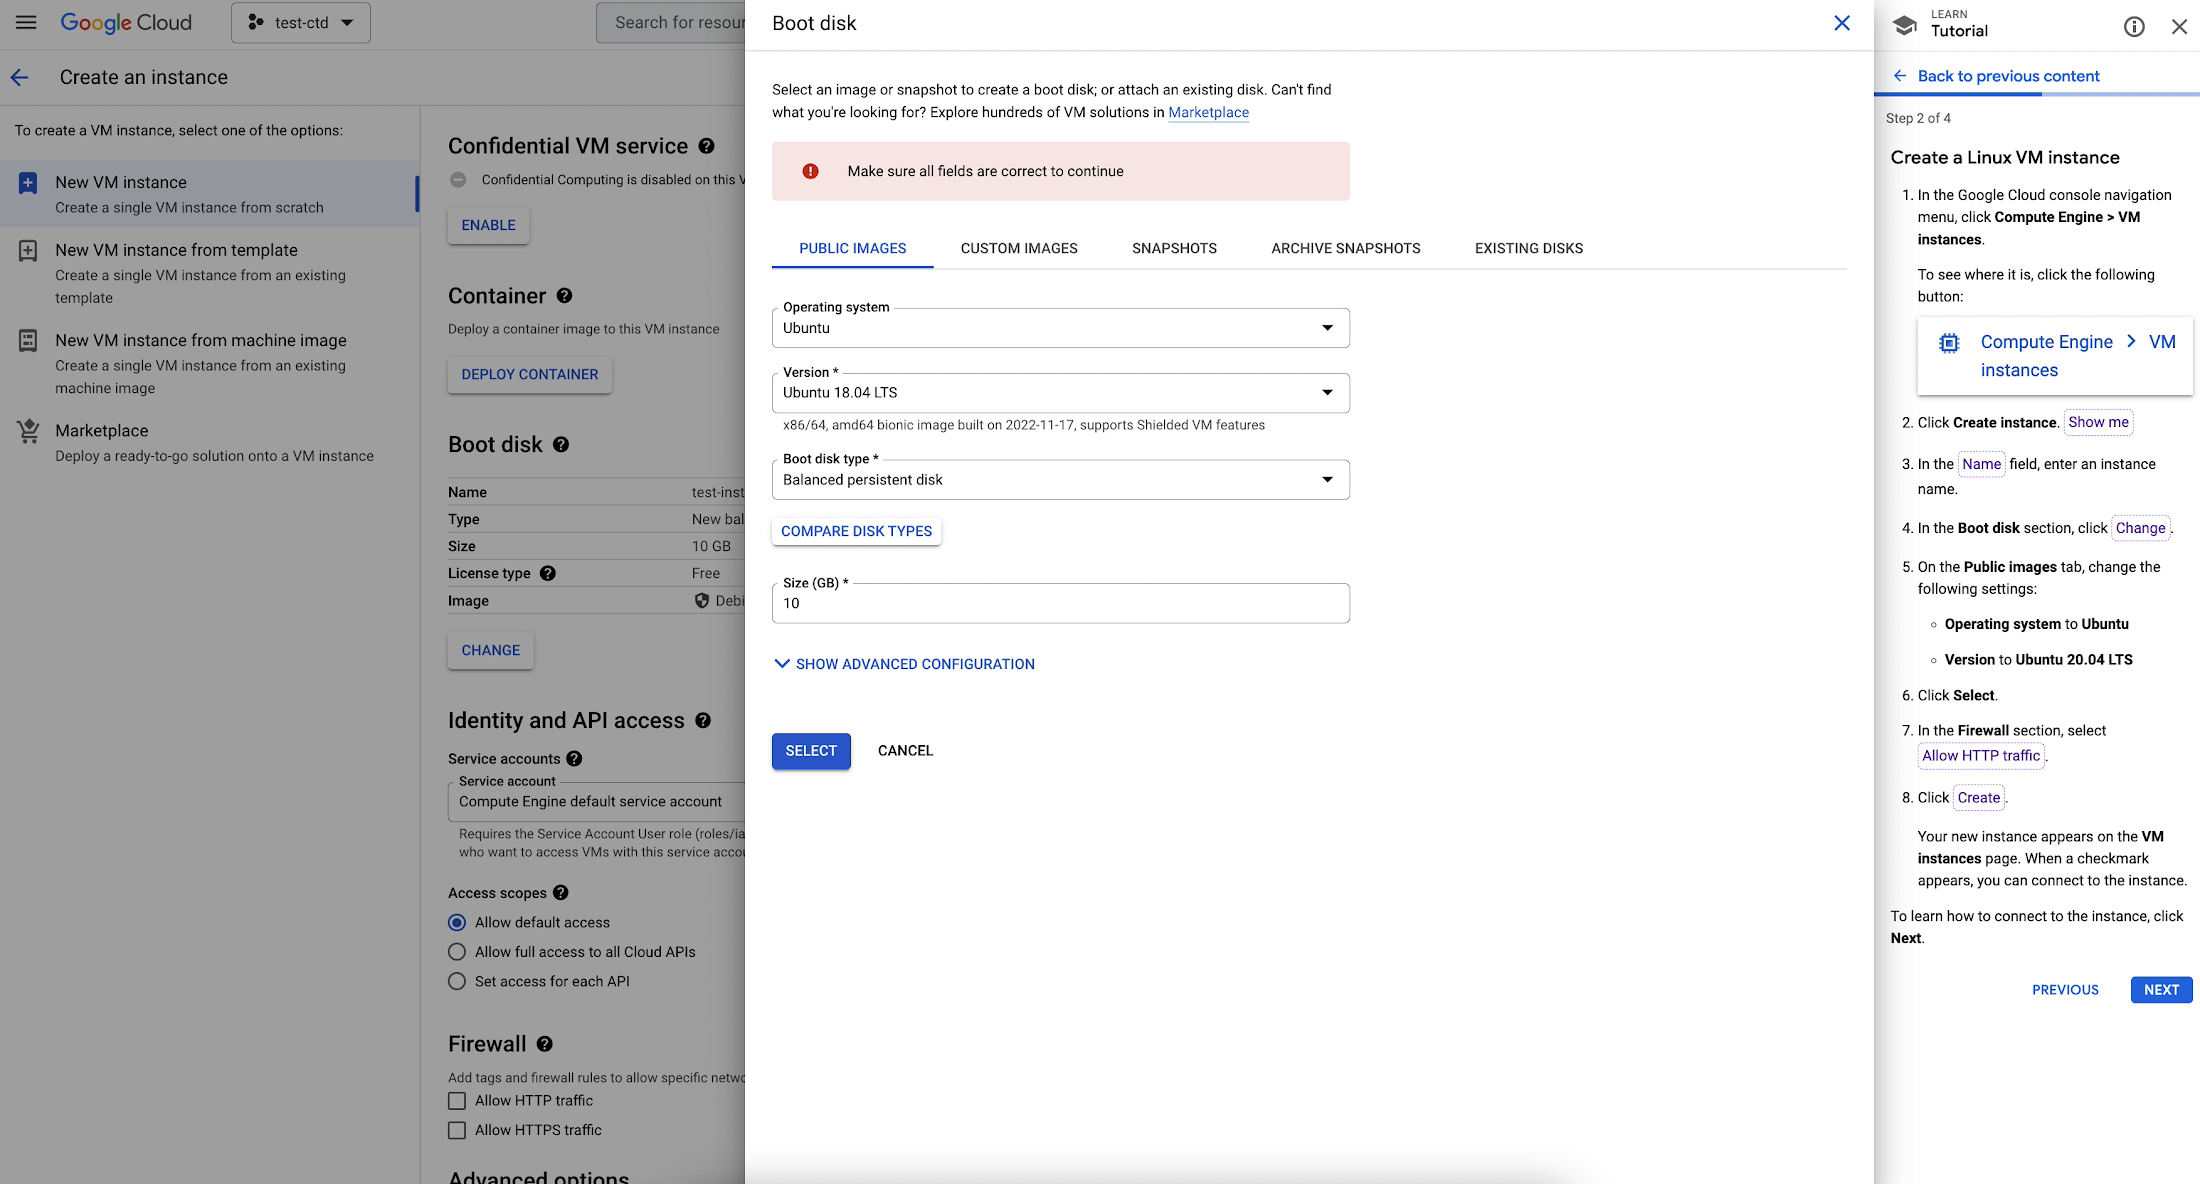
[Public images](公開イメージ)タブの以下の設定を、チュートリアルに記載されているオペレーティング システムである Ubuntu 20.04 LTS に変更し、[Select](選択)ボタンをクリックします。
![https://storage.googleapis.com/gweb-cloudblog-publish/images/Select_Boot_Disk.max-2200x2200.png](https://storage.googleapis.com/gweb-cloudblog-publish/images/Select_Boot_Disk.max-2200x2200.png)
[Firewall](ファイアウォール)のセクションで、[Allow HTTP traffic](HTTP トラフィックを許可する)にチェックを入れ、[Create](作成)をクリックします。
これで、[VM instances](VM インスタンス)ページに新しいインスタンスが表示されます。[NEXT](次へ)をクリックして次の手順に進みます。
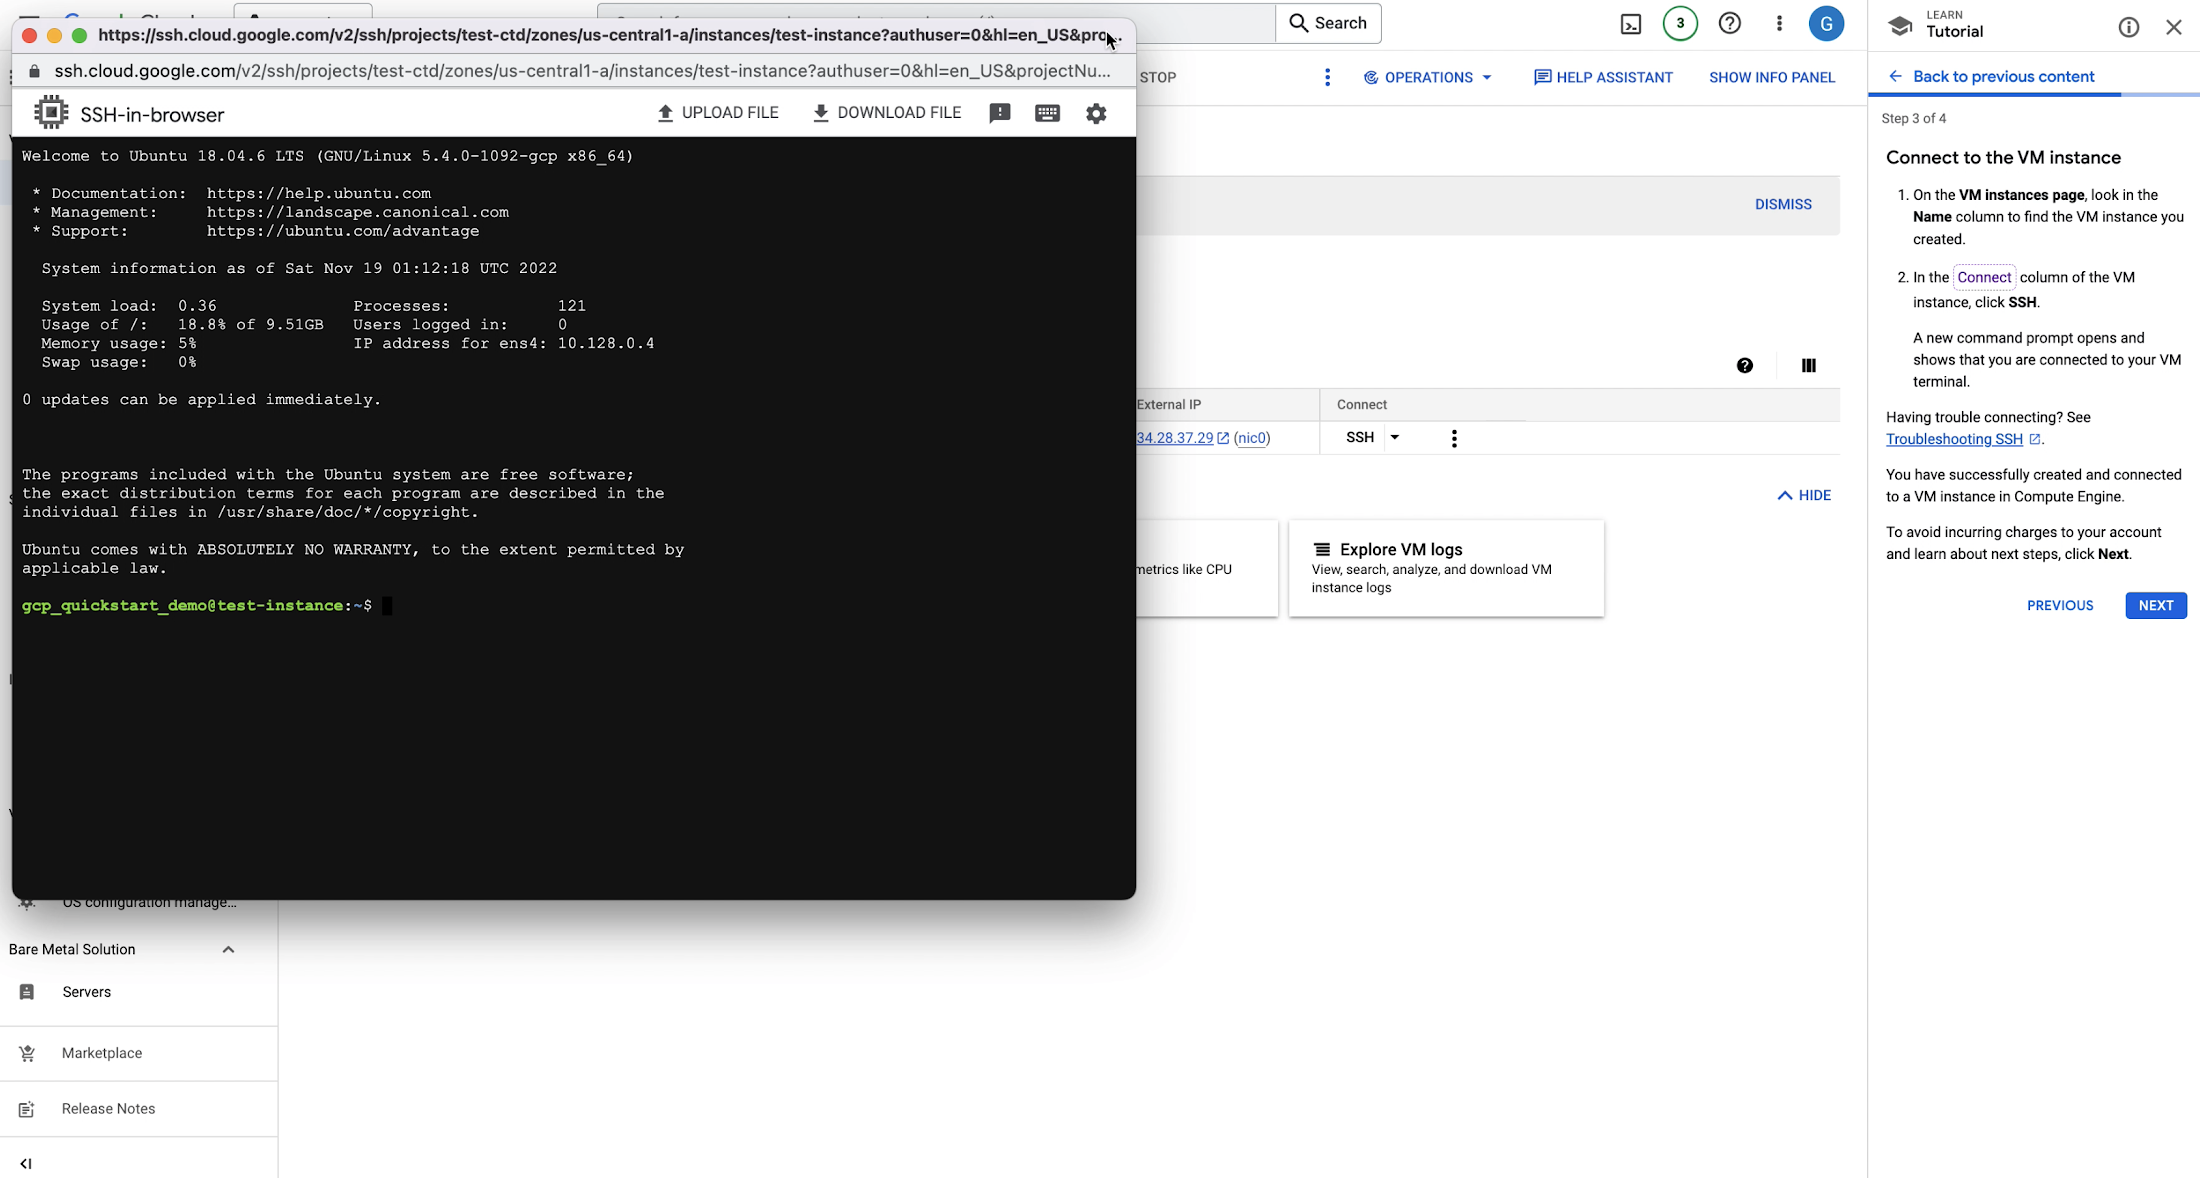
![https://storage.googleapis.com/gweb-cloudblog-publish/images/Allow_HTTP_Traffic.max-1600x1600.png](https://storage.googleapis.com/gweb-cloudblog-publish/images/Allow_HTTP_Traffic.max-1600x1600.png)
ステップ 3
3 つ目のステップは、VM インスタンスへの接続です。[Connect](接続)列を見つけるため、スポットライト機能を使って [SSH] をハイライト表示します。[SSH] をクリックすると新しいコマンド ダイアログが開き、VM ターミナルに接続されていることがわかります。
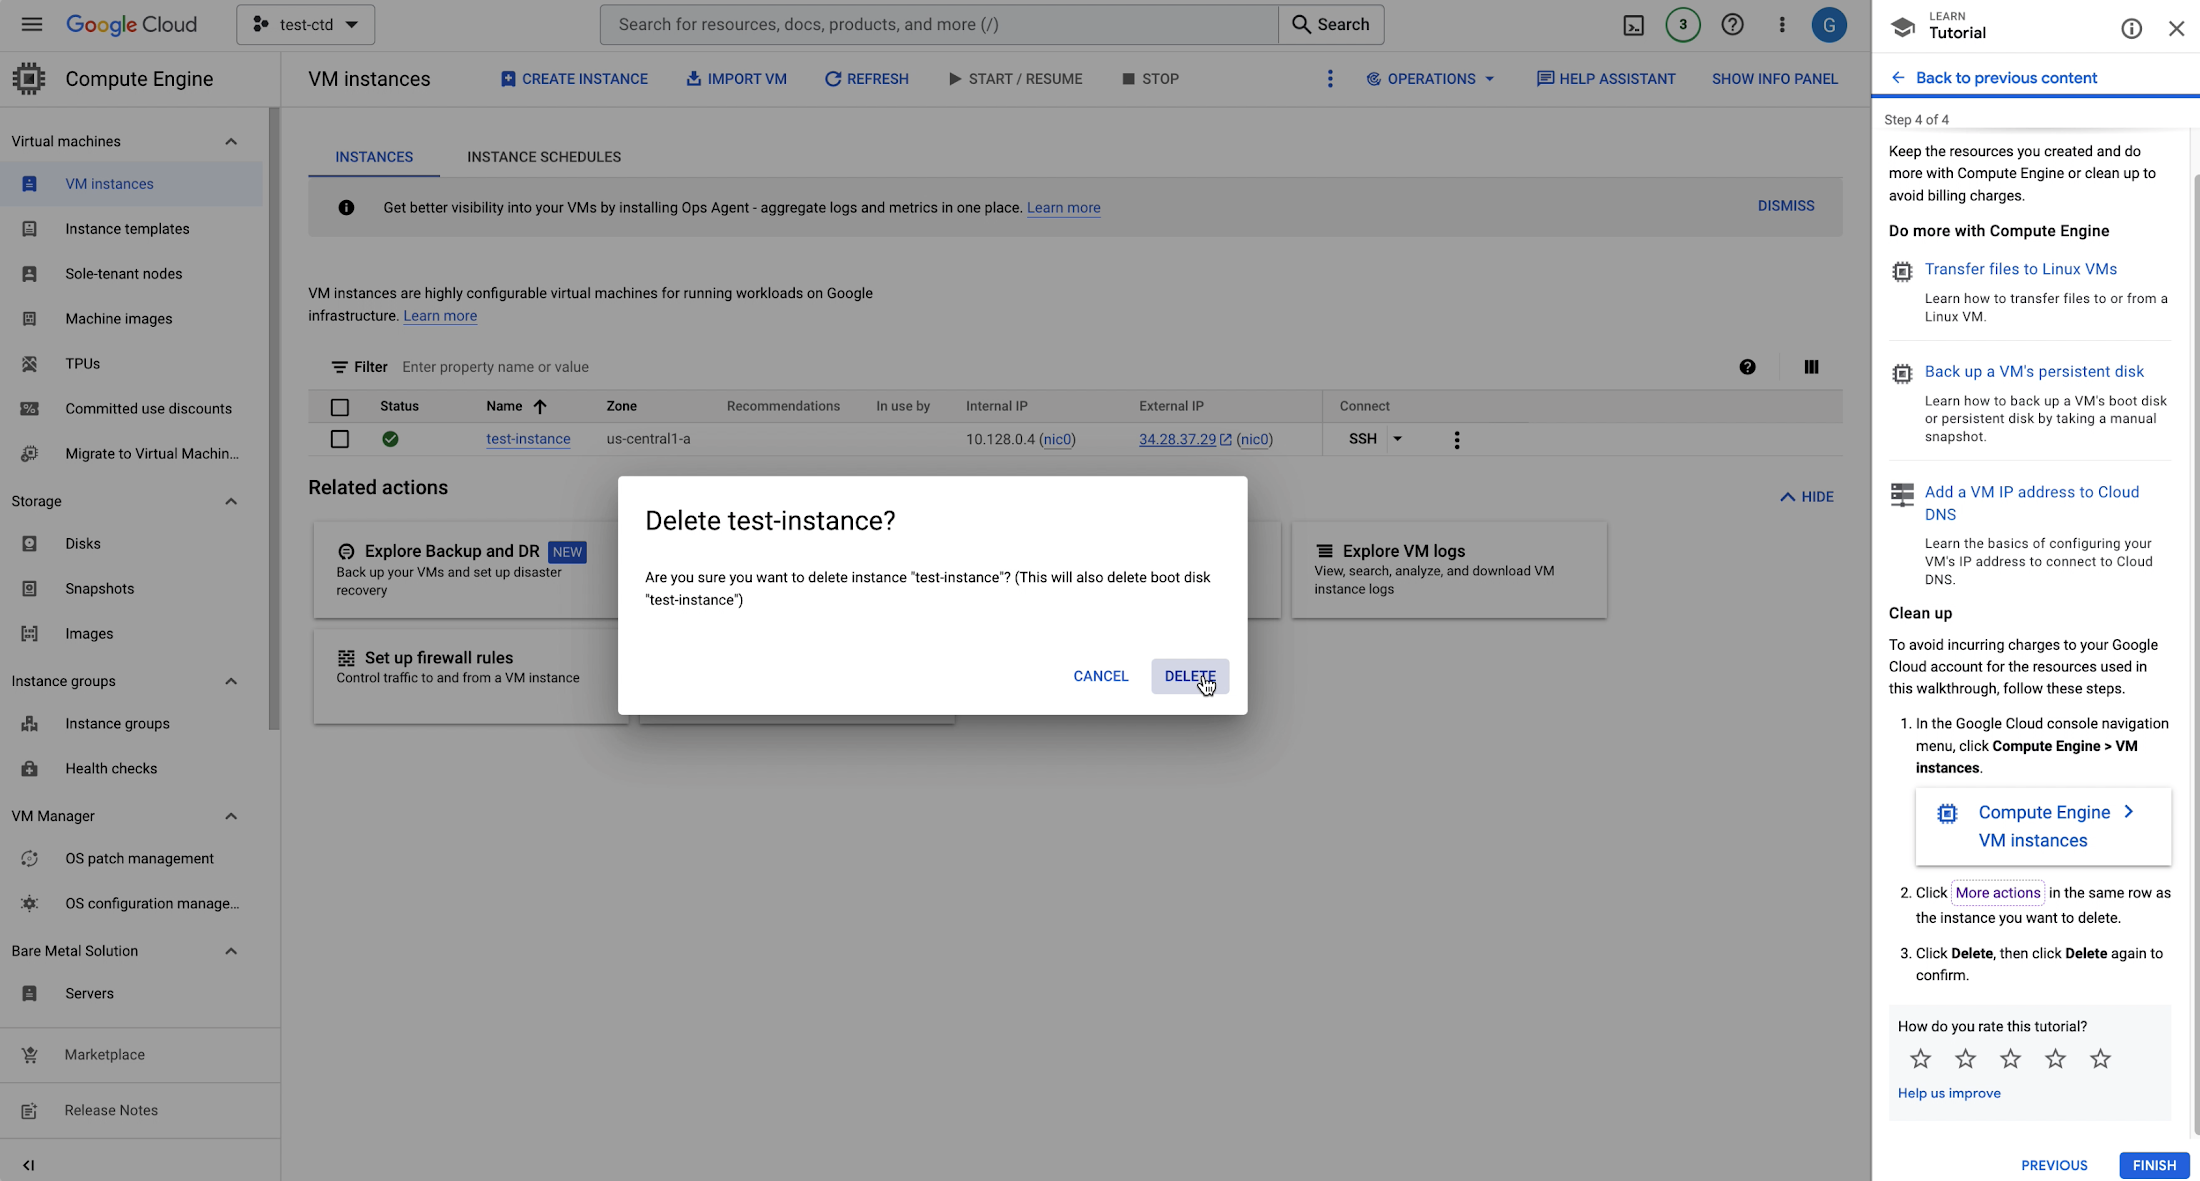
![https://storage.googleapis.com/gweb-cloudblog-publish/images/Showing_Connection_To_VM_Instance.max-2200x2200.png](https://storage.googleapis.com/gweb-cloudblog-publish/images/Showing_Connection_To_VM_Instance.max-2200x2200.png)
ステップ 4
最後のパネルには、Compute Engine をより深く知るための、他のインタラクティブなチュートリアルが表示されます。また、追加料金が発生しないようにインスタンスをクリーンアップするための情報がチュートリアルの終了前に表示されます。[FINISH](終了)をクリックしてこのチュートリアルを終了します。
![https://storage.googleapis.com/gweb-cloudblog-publish/images/Delete_Instance.max-2200x2200.png](https://storage.googleapis.com/gweb-cloudblog-publish/images/Delete_Instance.max-2200x2200.png)
次のステップ
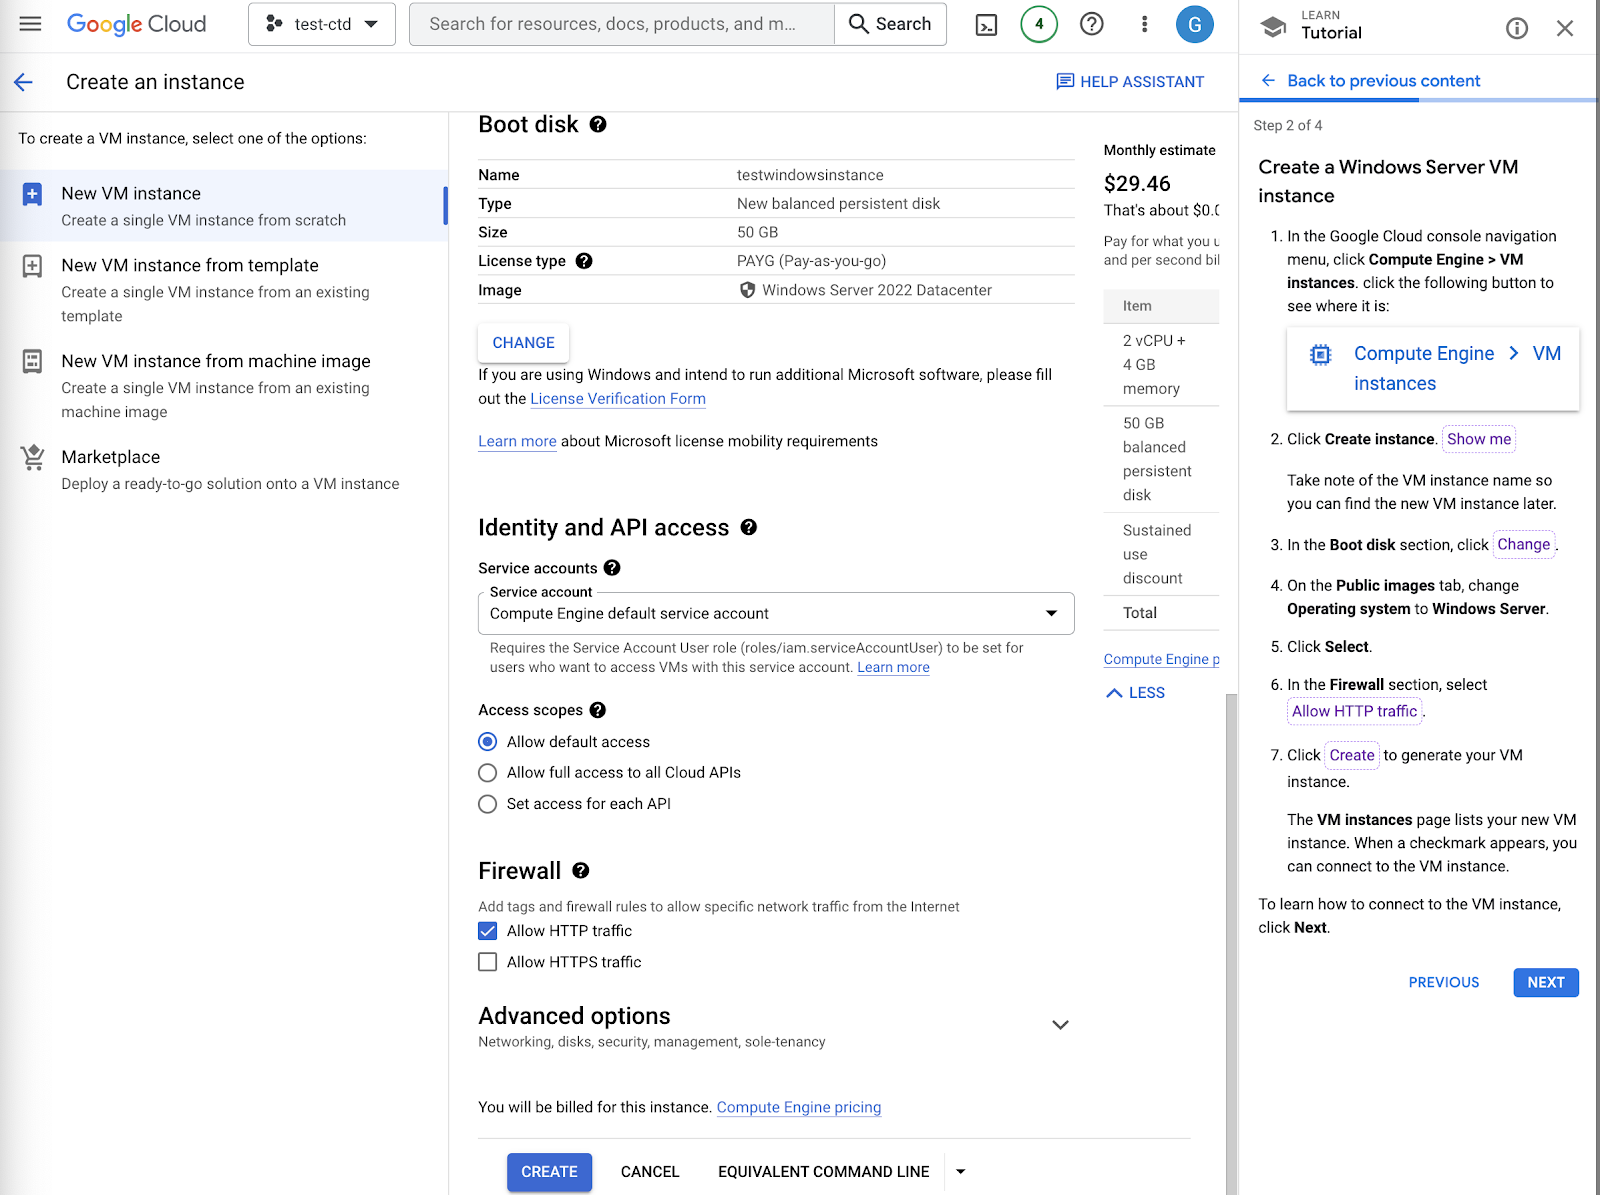
説明は以上です。インタラクティブなチュートリアルを使用して、Compute Engine で Linux VM インスタンスを作成しました。次のインタラクティブなチュートリアルに進みたい場合は、こちらのチュートリアル「Compute Engine で Windows Server VM インスタンスを作成する」をご覧ください。
- デベロッパー アドボケイト Bukola Ayodele