Cloud Build を使用して Docker イメージをビルドし、push する方法
Google Cloud Japan Team
※この投稿は米国時間 2022 年 12 月 8 日に、Google Cloud blog に投稿されたものの抄訳です。
サーバーレス サービスを作成する場合は、Cloud Build をご確認ください。
Cloud Build は、Google Cloud でビルドを実行できる人気の高い Google Cloud サービスです。また、さまざまなリポジトリやクラウド ストレージ スペースからソースコードをインポートし、仕様に合わせてビルドを実行し、Docker コンテナや Java アーカイブなどのアーティファクトを生成できます。Cloud Build はサーバーレスであるため、インフラストラクチャの設定、アップグレード、スケールを行うことなく、スケールアップやスケールダウンが可能です。このブログ投稿では、Cloud Build を使用して Docker イメージをビルドし、push する方法を説明します。ここで説明する手順に従う際は、こちらのチュートリアルもあわせてご覧ください。
ステップ 1
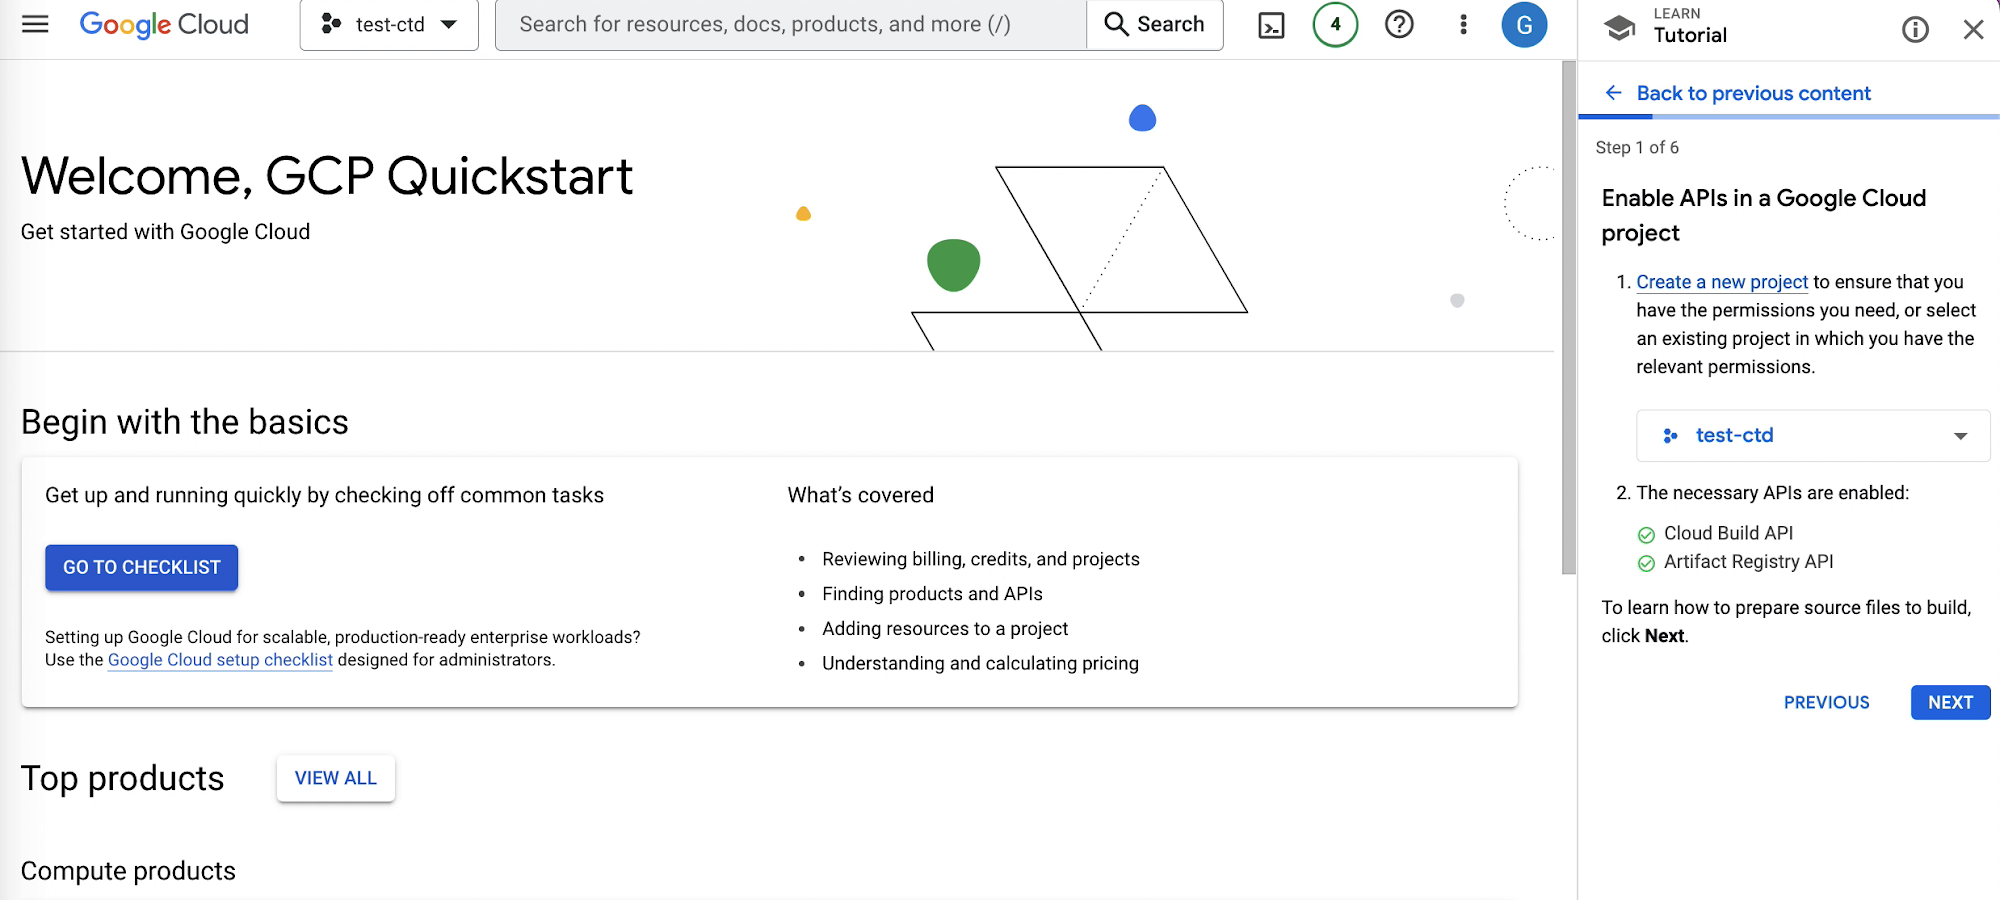
まず最初に、新しいプロジェクトを作成します。この例では、「test-ctd」という既存のプロジェクトを使用して、Cloud Build API、Artifact Registry API などの Google Cloud API を有効にします。課金を有効にしているか、無料試用モードを使用している場合は、必要な API を有効にすることができます。
![https://storage.googleapis.com/gweb-cloudblog-publish/images/Enable_APIs_In_Google_Cloud_Project.max-2000x2000.png](https://storage.googleapis.com/gweb-cloudblog-publish/images/Enable_APIs_In_Google_Cloud_Project.max-2000x2000.png)
ステップ 2
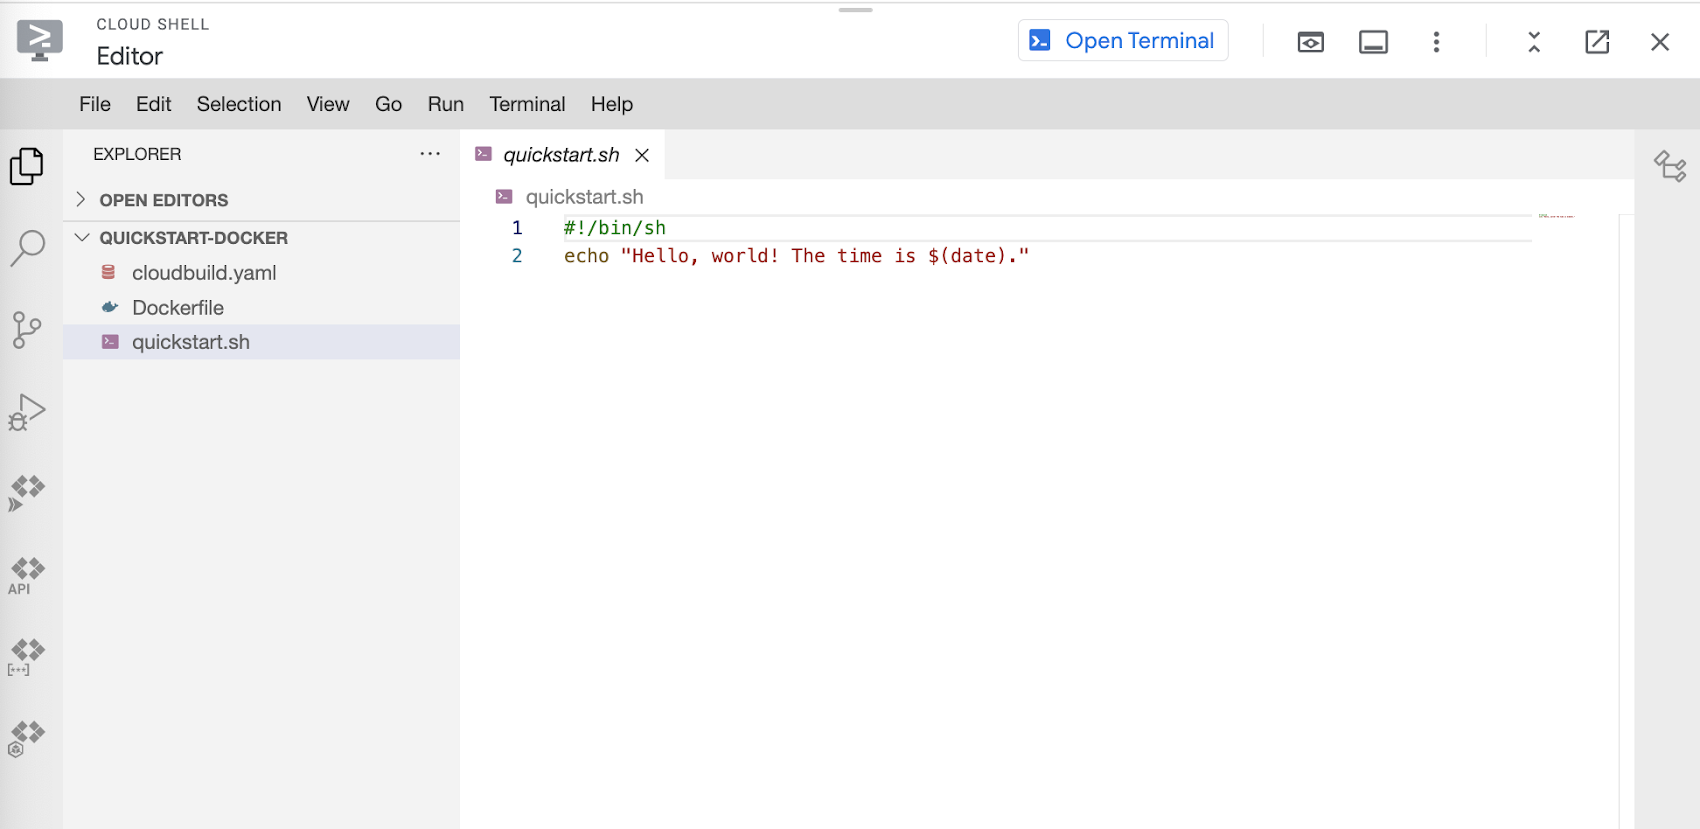
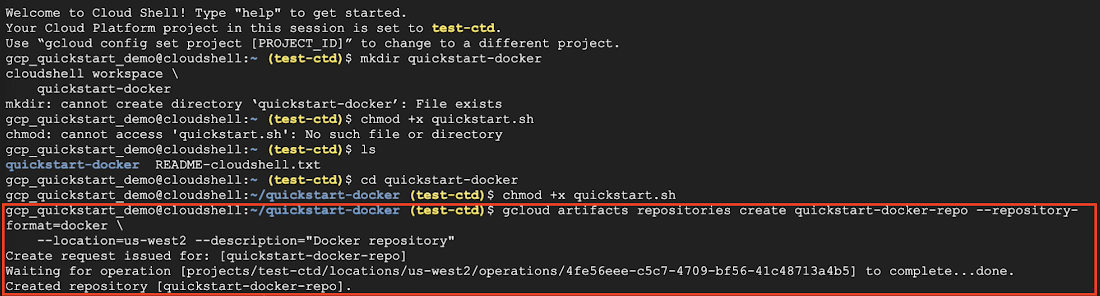
次は、ソースファイルの準備です。Cloud Shell を開き、下の画像のコマンドを使用して「quickstart-docker」というディレクトリを作成します。
![https://storage.googleapis.com/gweb-cloudblog-publish/images/Create_Directory_Quick_Start_Docker.max-700x700.png](https://storage.googleapis.com/gweb-cloudblog-publish/images/Create_Directory_Quick_Start_Docker.max-700x700.png)
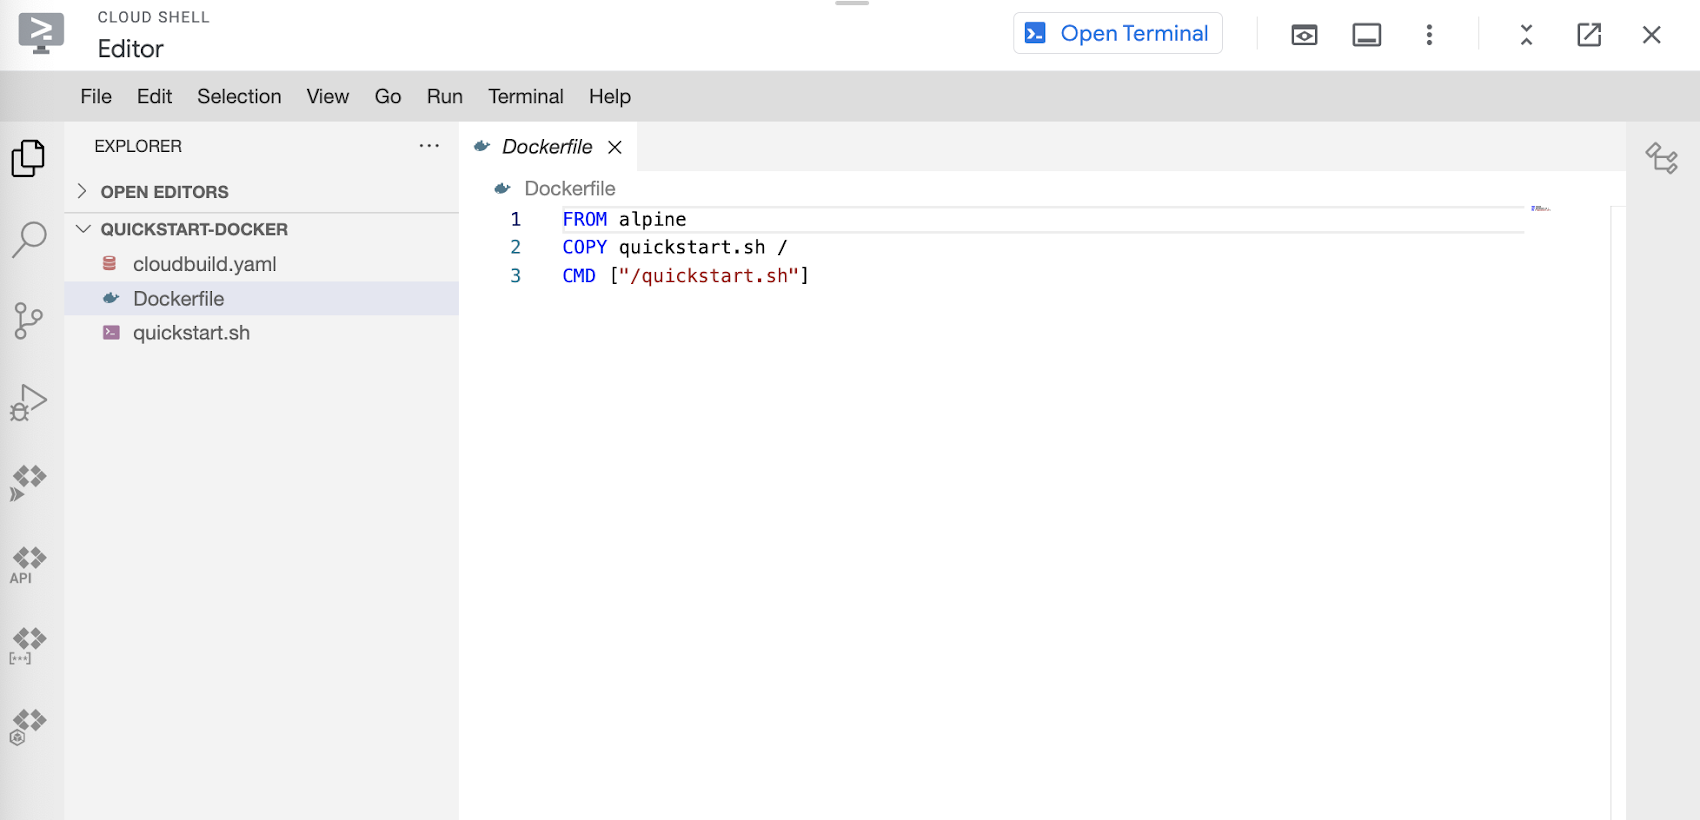
このコマンドを実行すると Cloud Shell エディタが表示されるので、先ほど作成した quickstart-docker フォルダに quickstart.sh という名前のファイルを作成します。このファイルには、下の画像にあるような小さなコマンドが格納されます。
![https://storage.googleapis.com/gweb-cloudblog-publish/images/quickstart_sh_file.max-1700x1700.png](https://storage.googleapis.com/gweb-cloudblog-publish/images/quickstart_sh_file.max-1700x1700.png)
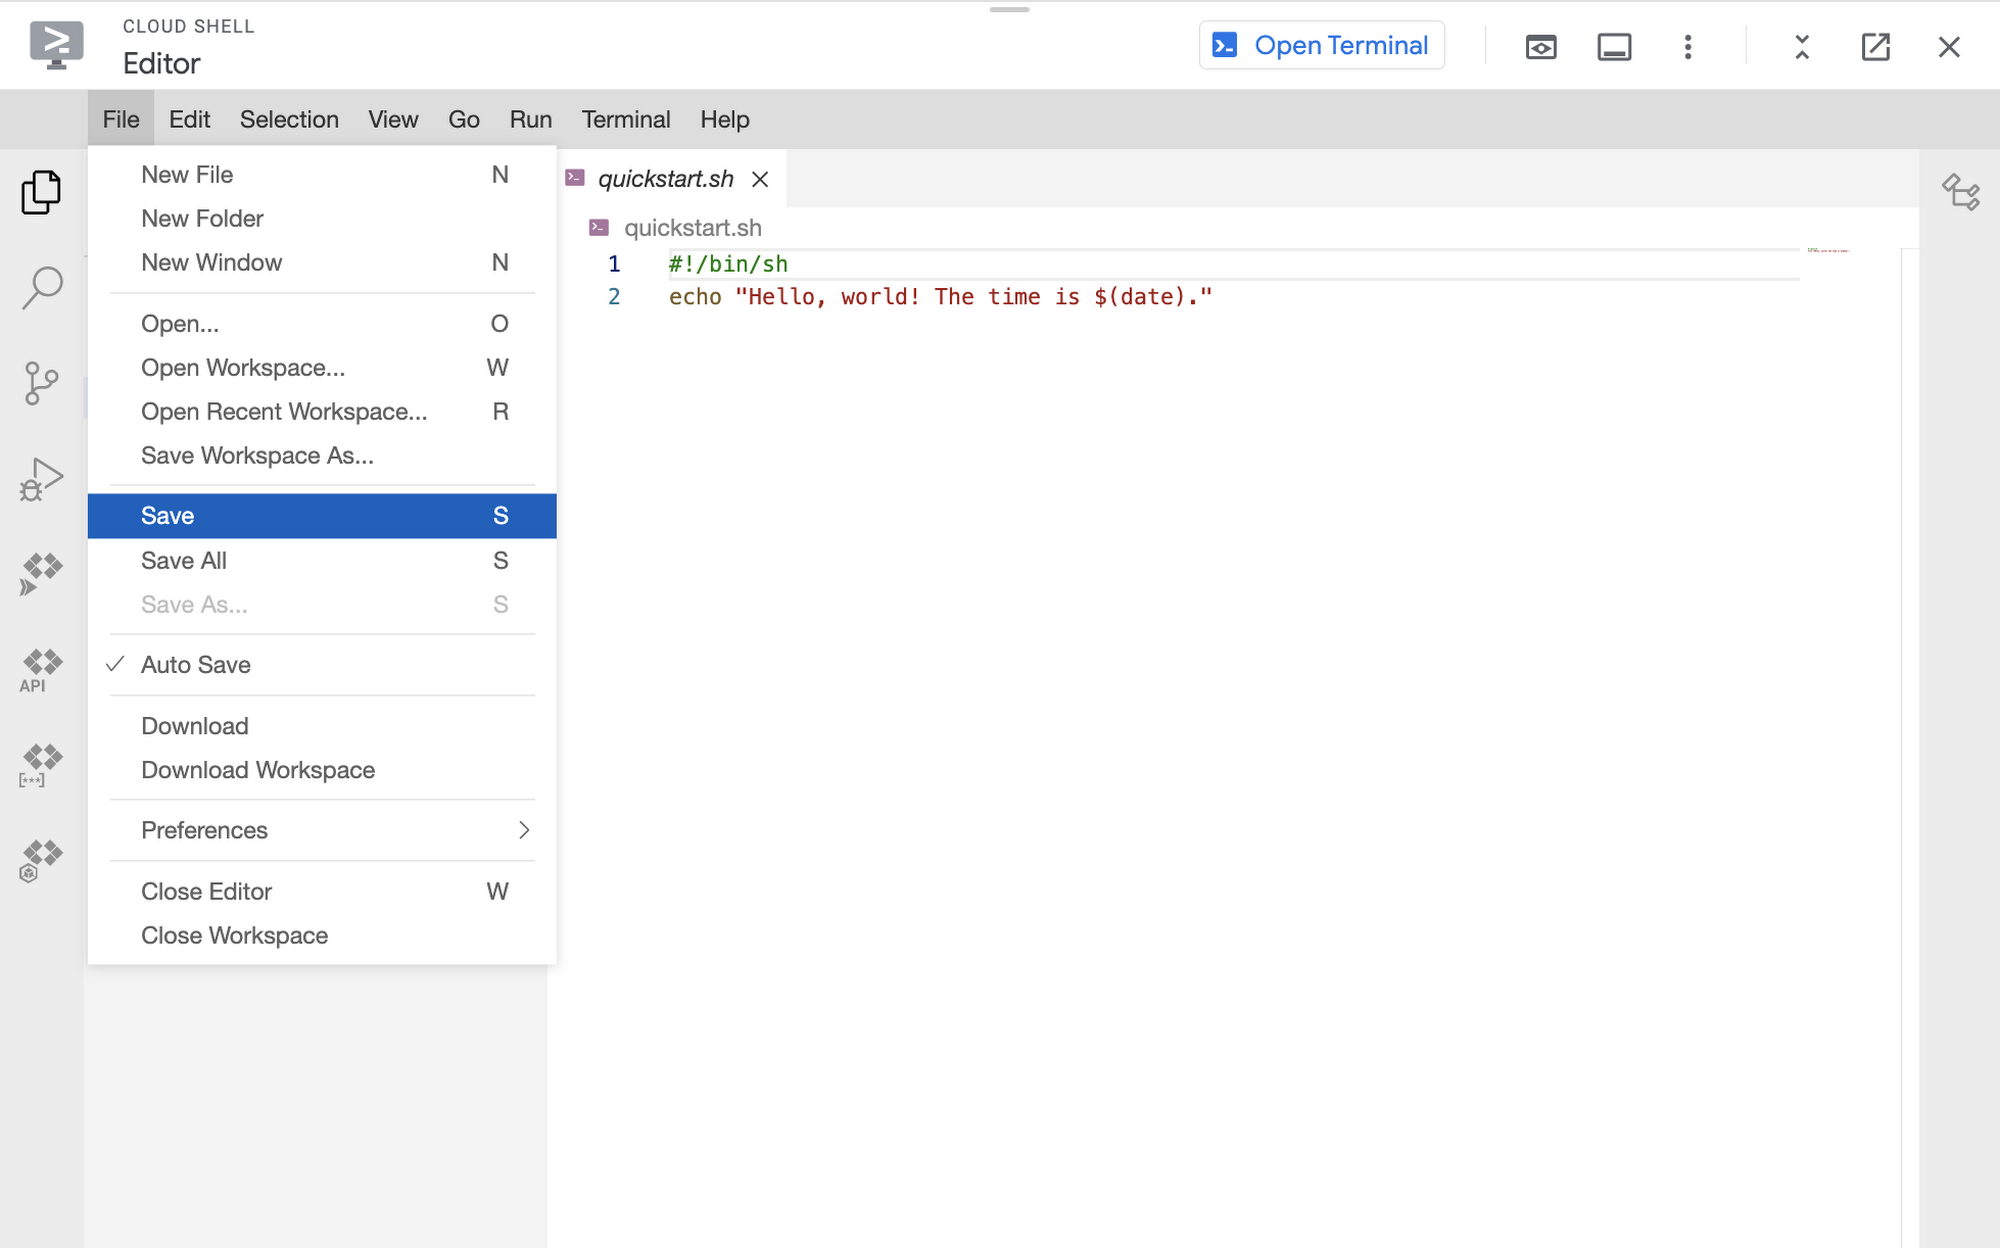
上部のナビゲーション バーの [File] > [Save] をクリックしてファイルを保存します。
![https://storage.googleapis.com/gweb-cloudblog-publish/images/How_To_Save.max-2000x2000.png](https://storage.googleapis.com/gweb-cloudblog-publish/images/How_To_Save.max-2000x2000.png)
続けて、Cloud Build が実行する Dockerfile を作成します。Dockerfile には、quickstart.sh を実行するための小さなスクリプトを追加します。このファイルも必ず保存してください。
![https://storage.googleapis.com/gweb-cloudblog-publish/images/dockerfile_.max-1700x1700.png](https://storage.googleapis.com/gweb-cloudblog-publish/images/dockerfile_.max-1700x1700.png)
ターミナルに戻り、下の画像のコマンドを実行して、quickstart.sh を実行可能にします。
![https://storage.googleapis.com/gweb-cloudblog-publish/images/Executable.max-1200x1200.png](https://storage.googleapis.com/gweb-cloudblog-publish/images/Executable.max-1200x1200.png)
ステップ 3
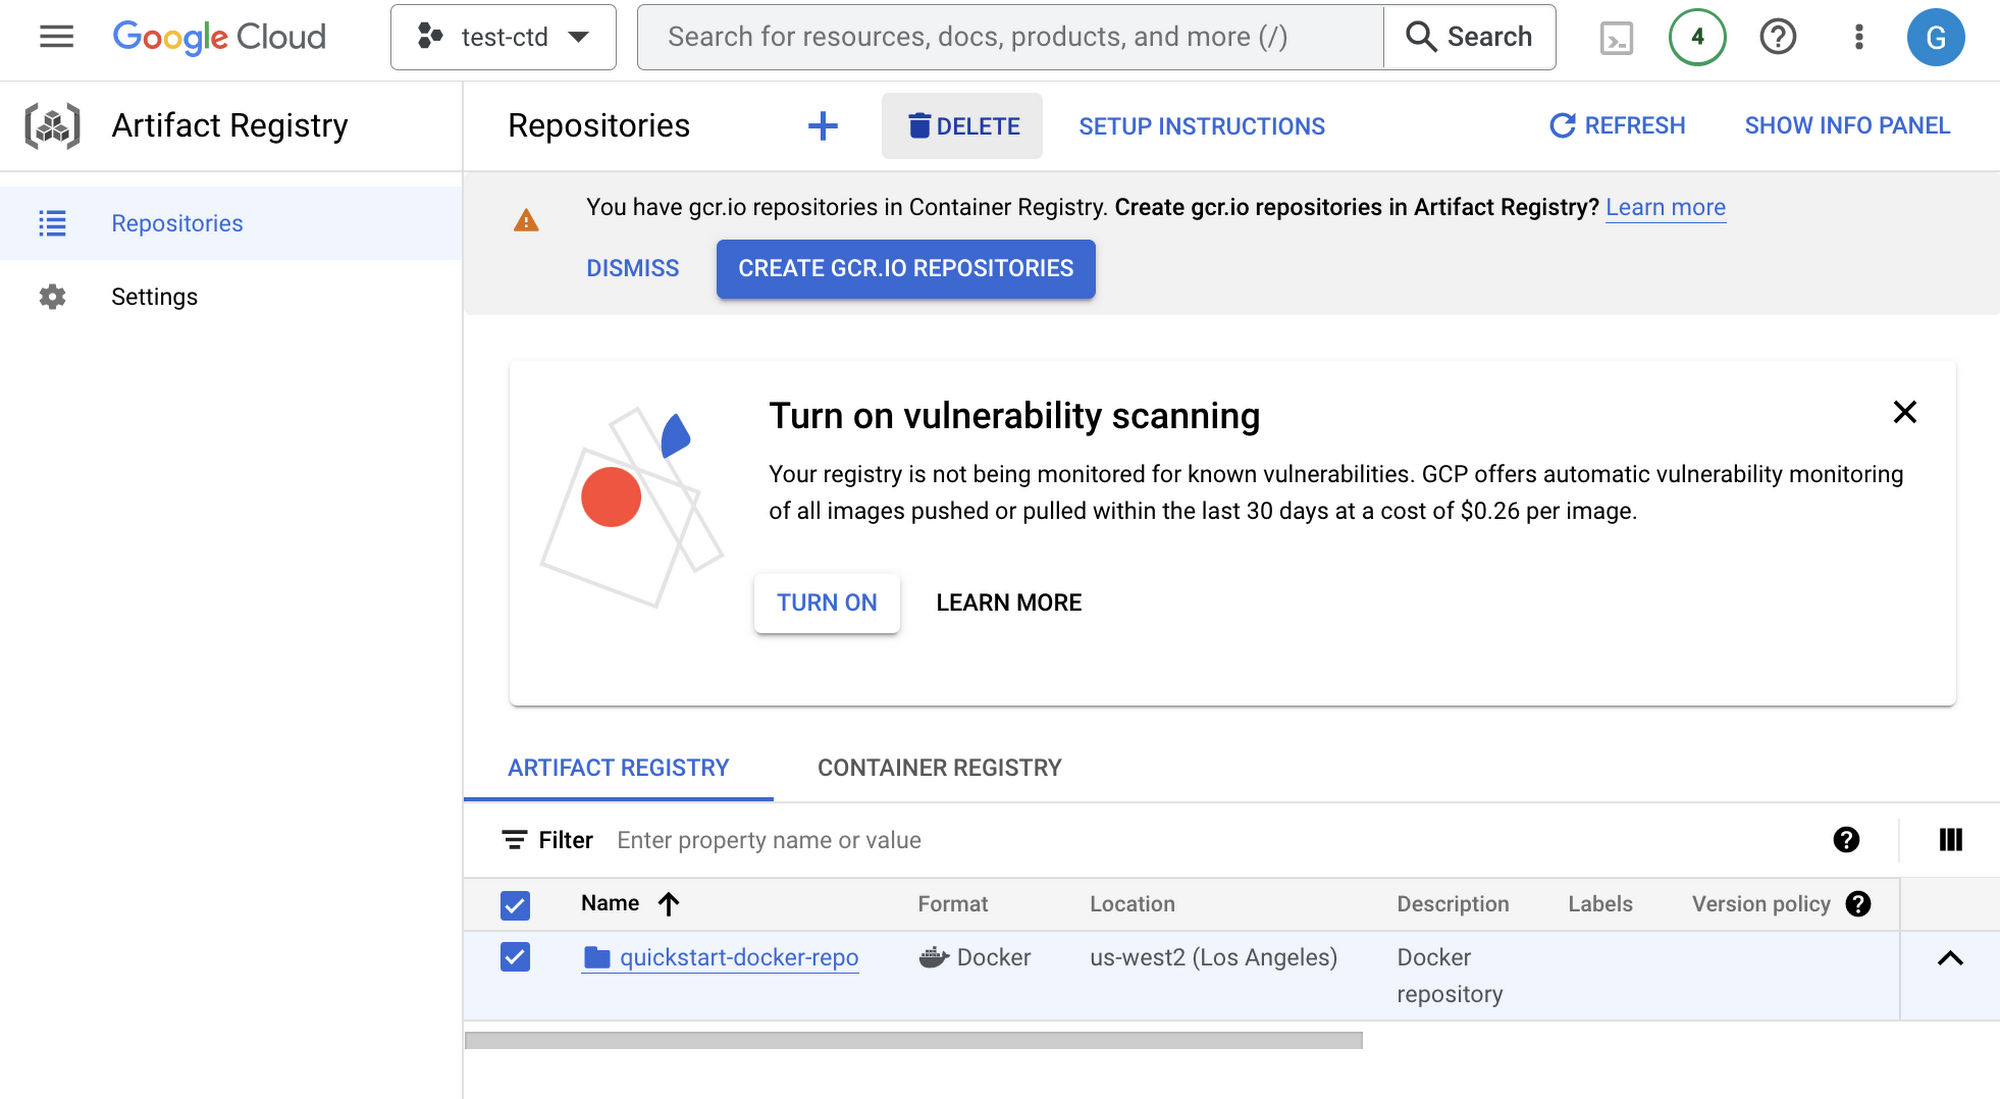
3 つ目のステップに進み、Artifact Registry のリポジトリに新しい Docker リポジトリを作成します。
ロケーション us-west2 に quickstart-docker-repo という名前の新しい Docker リポジトリを作成し、「Docker repository」という説明を指定します。このアクションを実行するためのコマンドを下図に示します。
![https://storage.googleapis.com/gweb-cloudblog-publish/images/Screen_Shot_2022-12-06_at_11.06.36_AM.max-1100x1100.png](https://storage.googleapis.com/gweb-cloudblog-publish/images/Screen_Shot_2022-12-06_at_11.06.36_AM.max-1100x1100.png)
Artifact Registry へのファイルの追加
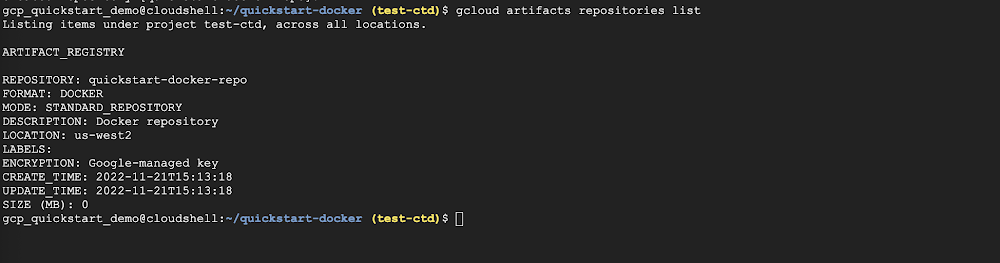
次に、以下のコマンドを実行して、リポジトリが作成されたことを確認します。コマンドを実行すると、quickstart-docker-repo が Artifact Registry に作成されていることがわかります。
![https://storage.googleapis.com/gweb-cloudblog-publish/images/Artifact_Registry_CROPPED_1.max-1000x1000.png](https://storage.googleapis.com/gweb-cloudblog-publish/images/Artifact_Registry_CROPPED_1.max-1000x1000.png)
ステップ 4
次に、実行したビルドを確認するために、[Cloud Build] > [履歴] に移動します。特定のビルドをクリックすると、ビルドログ、実行の詳細、ビルド アートファクトなどのビルドの概要の詳細を確認できます。
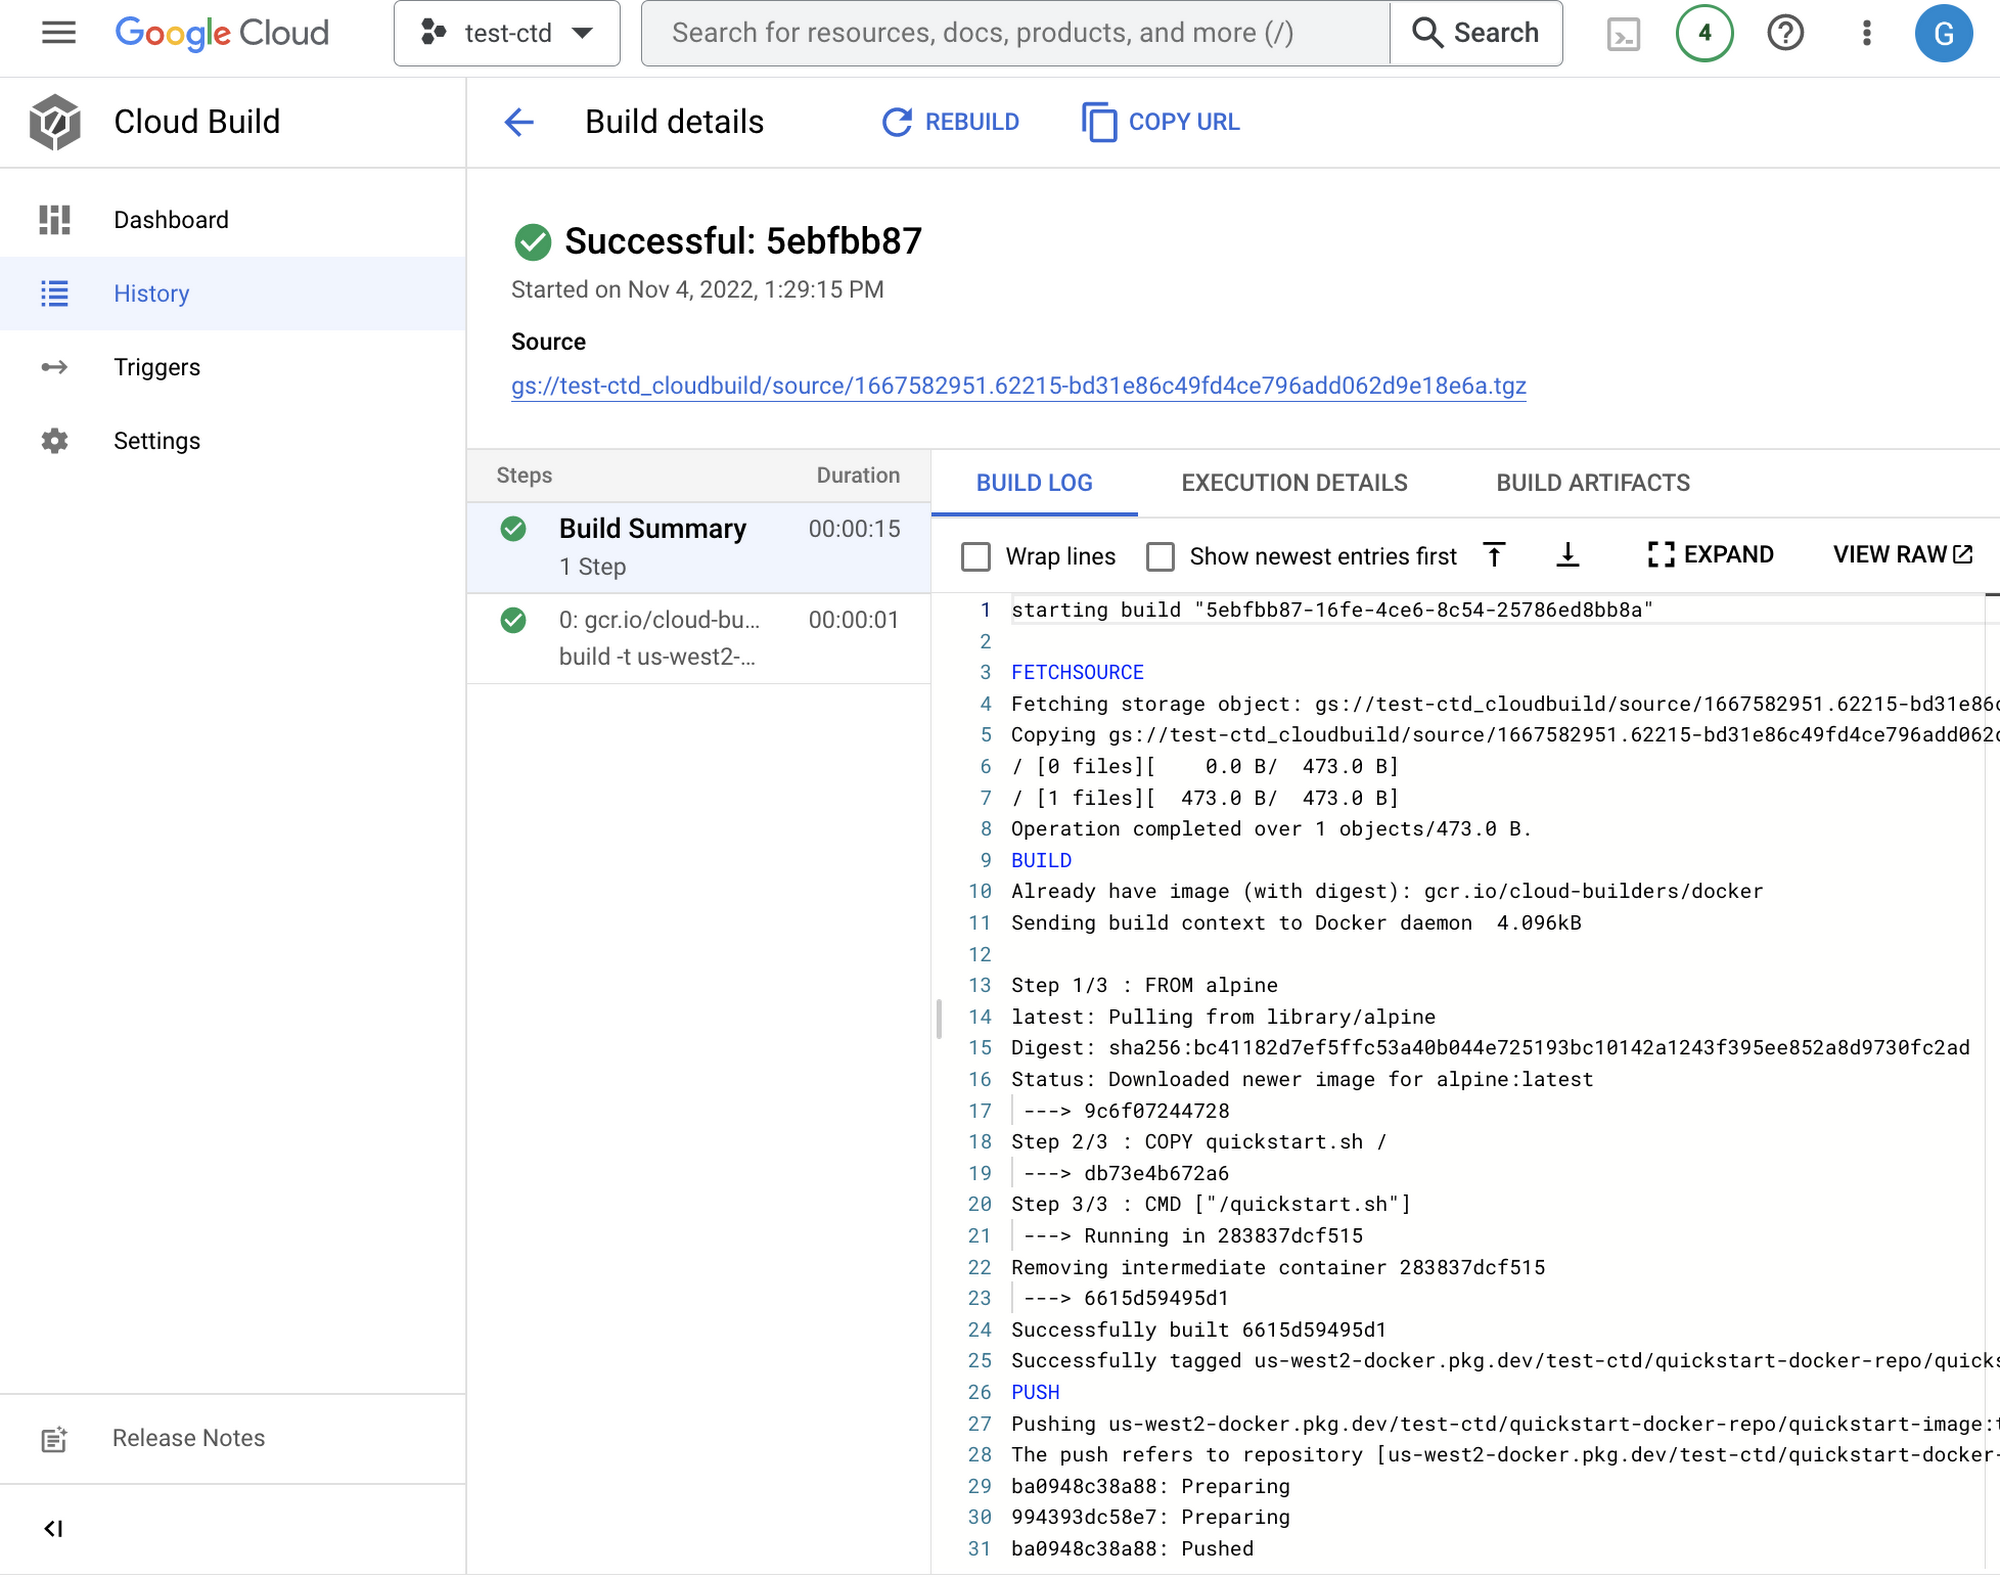
![https://storage.googleapis.com/gweb-cloudblog-publish/images/BUILD_HISTORY.max-2000x2000.png](https://storage.googleapis.com/gweb-cloudblog-publish/images/BUILD_HISTORY.max-2000x2000.png)
ビルド履歴
ステップ 5
最後に、課金が発生しないよう、例として作成したリソースを削除しておきましょう。ナビゲーション バーに戻り、Artifact Registry にアクセスします。続けて、先ほど作成した quickstart-docker-repo を選択して [DELETE] をクリックします。
![https://storage.googleapis.com/gweb-cloudblog-publish/images/DELETE_REPO.max-2000x2000.png](https://storage.googleapis.com/gweb-cloudblog-publish/images/DELETE_REPO.max-2000x2000.png)
まとめ
説明は以上です。いかに簡単に、Cloud Build を使用して Docker イメージをビルドし push できるのかご理解いただけたのではないでしょうか。Google Cloud の別のチュートリアルをお試しになりたい場合は、こちらのブログ投稿をご覧ください。
- デベロッパー アドボケイト Bukola Ayodele