Using the Node.js Cloud Client Libraries
Tony Pujals
Developer Relations Engineer
Using the Node.js Cloud Client Libraries
Beyond running your mission-critical serverless apps at global scale, Google Cloud provides a vast array of products that you can leverage to add valuable features to your apps. Use Node.js Cloud Client Libraries to reduce and simplify the amount of JavaScript or TypeScript code you need to write for accessing a product through its Application Programming Interface (API).
Problem
You want to create a Node.js service that uses a Google Cloud API.
Solution
Use the appropriate library from a list of more than a hundred available Node.js Cloud Client Libraries for connecting to a specific API.
Explanation
The Google Cloud Client Libraries team crafts libraries for Node.js to:
Efficiently handle low-level communication details (including authenticating API requests)
Provide an idiomatic and consistent "best-practices" JavaScript and TypeScript programming experience
Getting started
You can access a Cloud API with just a few lines of code using one of the Node.js Cloud Client Libraries. Each library for each Cloud API follows the same pattern for initialization.
1. Find the Cloud API you want to use
Start with the Node.js Cloud Client Libraries reference page to find the library for a specific API.
For this demo, use the Cloud Translation library. You can find the link in the Libraries table or in the left sidebar (shortened to "translate") to navigate to the specific reference page.
2. Follow the first three steps in the Before you begin section
Each library reference page will have a Before you begin section. Here are the first three steps:
Enable billing for your project (learn more about Google's Free Tier).
Skip step #4. We won't cover local testing in this article.
3. Enable Cloud Build and Cloud Run APIs
Enable the following APIs to be able to build and store the container image for your app, and then run the app container on Cloud Run.
Tip You can find and enable Cloud APIs for your project on this console page. |
4. Install the specific API client library
The library reference page tells you which library you need to install. For the Translate client enter the following:
npm install @google-cloud/translate
5. Add the client library to your code
const {Translate} = require('@google-cloud/translate').v2;
Or using import syntax with TypeScript (or modern JavaScript modules support):
import {v2} from '@google-cloud/translate';
const {Translate} = v2;
6. Use the client library
You'll need the Project ID from the Google Cloud project you created above in Step 2.1. If you need to find it again, go to your cloud project dashboard.
Create an API client instance.
const projectId = 'tpujals-node-client-demo';
const client = new Translate({projectId});
Now you can invoke methods on the client. For the Translate client, there are a number of translate methods. Here's a very simple translate method you can try:
const text = 'Hello, world!';
const targetLanguage = 'ja';
const [translation] = await client.translate(text, target);
console.log(`${text} => ${translation}`);
Tip It might not be immediately obvious, but whenever you're looking for reference documentation for different versions of clients and any related classes, go to the specific API reference page and look at the items under the expanded library selection in the left sidebar. Aside from Quickstart and Overview, the other items are the class documentation for each client version. Cloud Translation is available in a Basic edition (v2) and an Advanced edition (v3). To demonstrate using the client library, we're using the Basic edition. If you want to know more, see Compare Basic and Advanced. |
As you can see from the reference documentation, the translate method returns a Promise (all of the client's methods do) for obtaining a result asynchronously.
In this example, the result you're interested in is the first element of a tuple (the translated string). You await completion of the promise and use destructuring assignment syntax to set the translation variable.
There are a number of things that can go wrong here (from being unable to connect, failing authentication, to passing bad arguments). For production code, you'll want to wrap your calls in appropriate try/catch statements.
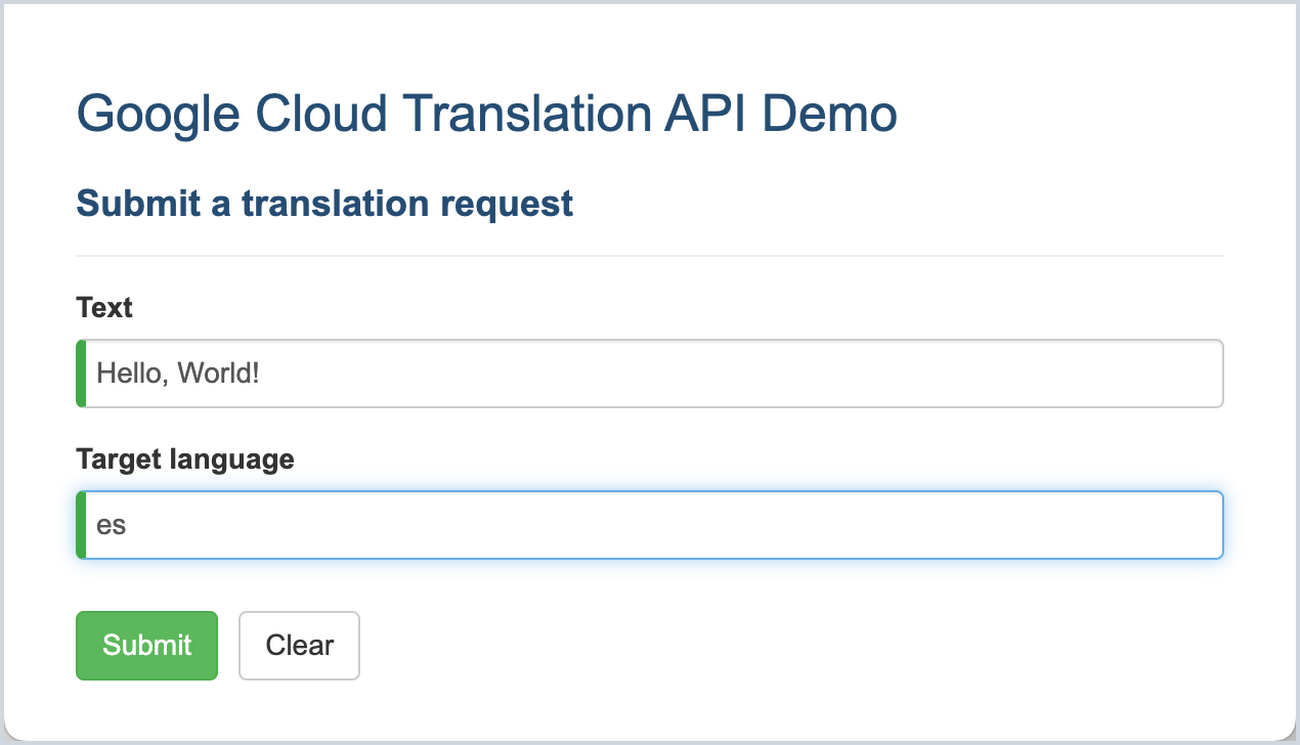
Launching the demo (Node.js + Express + Angular app deployed on Cloud Run)
After following the getting started steps in the previous section, you're ready to launch the demo. This GitHub repo for the demo shows how to build an app that uses the Node.js client library for the Translation API.
The app backend (under src/server) is a Node.js server that uses the Express framework and the frontend (under src/client) is an Angular client.
The bulk of the application is standard boilerplate. The essential parts to understand are the following:
The Express server serves the user interface and also an API (/api/translate) for making translation requests. Aside from API request handling boilerplate, the translation code is essentially the same that was shown in the Getting started section.
- The frontend implements an Angular service (translate.service.ts) used by the user interface to communicate with the backend to request translations. The frontend is served as a static Single Page Application (SPA) from the backend server's public directory. Note the use of location.origin to build the actual URL for requesting a translation so that the app works whether served from localhost or Cloud Run.
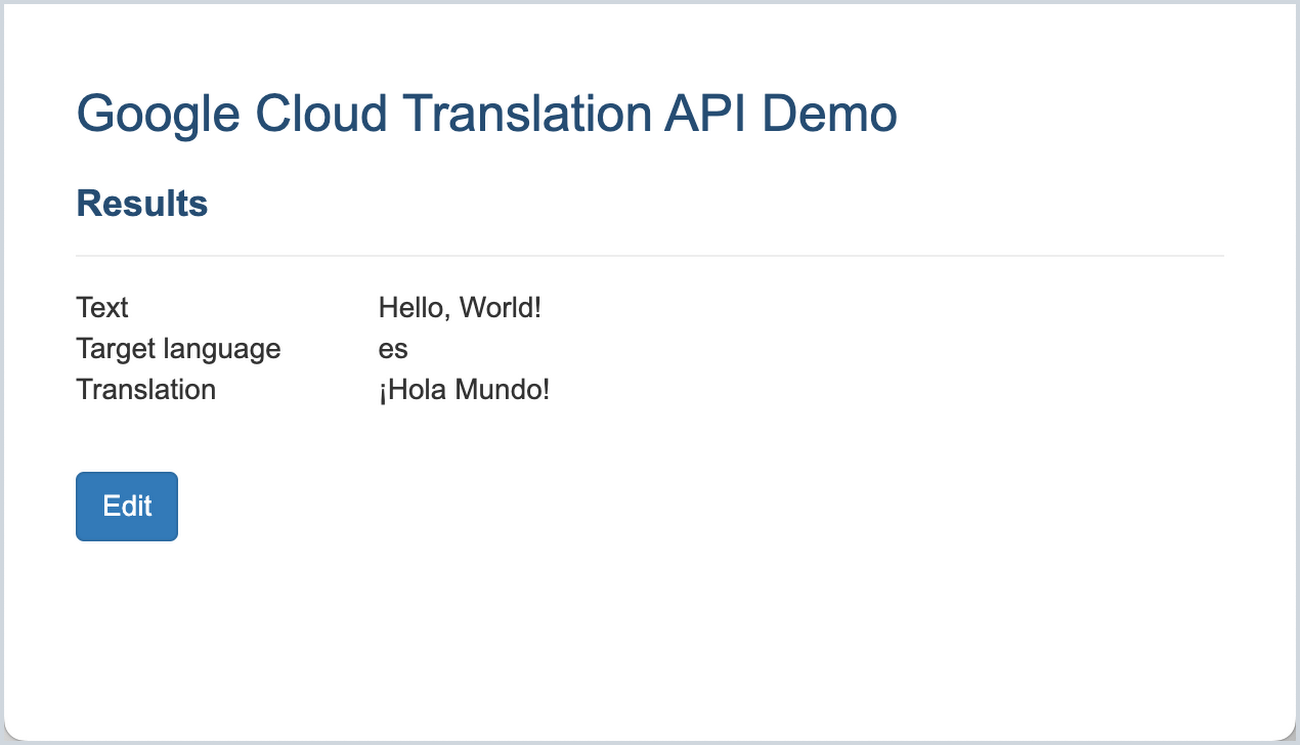
The arguments posted from the frontend are the text and the target (language code) for translation. Depending on the response status, the response data contains the translation or an error message.
Clone the demo repo
Using your terminal, clone the demo repo and then change directory into it.
git clone https://github.com/subfuzion/demo-nodejs-cloud-client.git
cd demo-nodejs-cloud-client
Build the Angular client
You only need to enter the following command if you modify the client UI. Otherwise, you can skip this step.
./scripts/ng-build
Deploy the service to Cloud Run
You need the Project ID, region, and service name that you want to use. For example, to deploy to demo-project in us-central1 to create a Cloud Run service called translate-demo, enter the following commands in your terminal:
export PROJECT=demo-project
export REGION=us-central1
export SERVICE=translate-demo
./scripts/run-deploy
You will be prompted to create an Artifact Registry for storing your app image:
Deploying from source requires an Artifact Registry Docker repository to store built containers. A repository named [cloud-run-source-deploy] in region
[us-central1] will be created.
Do you want to continue (Y/n)?
Answer Y (or just press Enter) to continue.
You should see output that looks something like this:
Building using Dockerfile and deploying container to Cloud Run service [translate-demo] in project [demo-project] region [us-central1]
✓ Building and deploying new service... Done.
✓ Uploading sources...
✓ Building Container...
Logs are available at
[https://console.cloud.google.com/cloud-build/builds/f9eeb697-...?project=...].
✓ Creating Revision...
✓ Routing traffic...
✓ Setting IAM Policy... Done.
Service [translate-demo] revision [translate-demo-00001-pid] has been deployed and is serving 100 percent of traffic.
Service URL: https://translate-demo-ao23awv5ca-uc.a.run.app
The Service URL contains the link to the running app, where you should now be able to see it in action.
Are there other ways to access Google Cloud APIs?
Yes. However, using the appropriate library from the Node.js Cloud Client Libraries is the recommended way to access a Google Cloud API. A dedicated team at Google Cloud focuses on optimizing, testing, and maintaining these libraries.
These libraries can access Google Cloud APIs using gRPC under the hood for communication efficiency, while simplifying authentication and communication details. Most Cloud APIs offer significantly better performance in throughput and CPU usage over a gRPC interface. Accessing an API using gRPC can increase throughput per CPU by as much as a factor of ten compared to the standard REST API. Using the Node.js Cloud Client Libraries is the easiest way to leverage these peformance gains.
Google APIs Node.js Client
If you need to access an API not available as one of the supported Cloud Client Libraries (such as Maps or YouTube), then you might be able to use the Google APIs Node.js Client instead. This is an older (but still actively maintained) client that is auto-generated from Google API endpoint specifications (see Google APIs Explorer).
However, keep in mind that the Google APIs Node.js Client only supports communication over REST, not gRPC, interfaces. Furthermore, since the REST interface code is auto-generated, working with this client is generally not quite as intuitive or idiomatic as working with dedicated, hand-crafted Cloud Client Libraries.
Access Cloud APIs directly
You can write your own JSON over HTTP code to access the REST interface exposed by different Cloud APIs. For gRPC-enabled Cloud APIs, you can generate your own gRPC client using the API's protocol buffers service definition (check the GitHub repository).
However, since Cloud APIs only accept secure requests using TLS encryption, you will be responsible for authenticating with Google and handling many of the low level communication details that are automatically handled for you by Cloud Client Libraries. See HTTP guidelines and gRPC Authentication for relevant details.
Summary
Node.js Cloud Client Libraries are tuned for performance and simplify underlying low level protocol, authentication, reliability, and error handling management.
Pro tip Using the Node.js Cloud Client Libraries is a best practice for accessing Google Cloud APIs. They generally offer the best performance, while saving you coding time and effort. |