体験して理解しよう!マイクロサービスの開発、ビルド、デプロイ、運用

Kimihiko Kitase
Head of Enterprise Marketing, Google Cloud Japan
デモ用のマイクロサービスアプリケーションを使って実際に、マイクロサービスアプリケーションの開発、ビルド、デプロイ、運用を体験してみましょう。
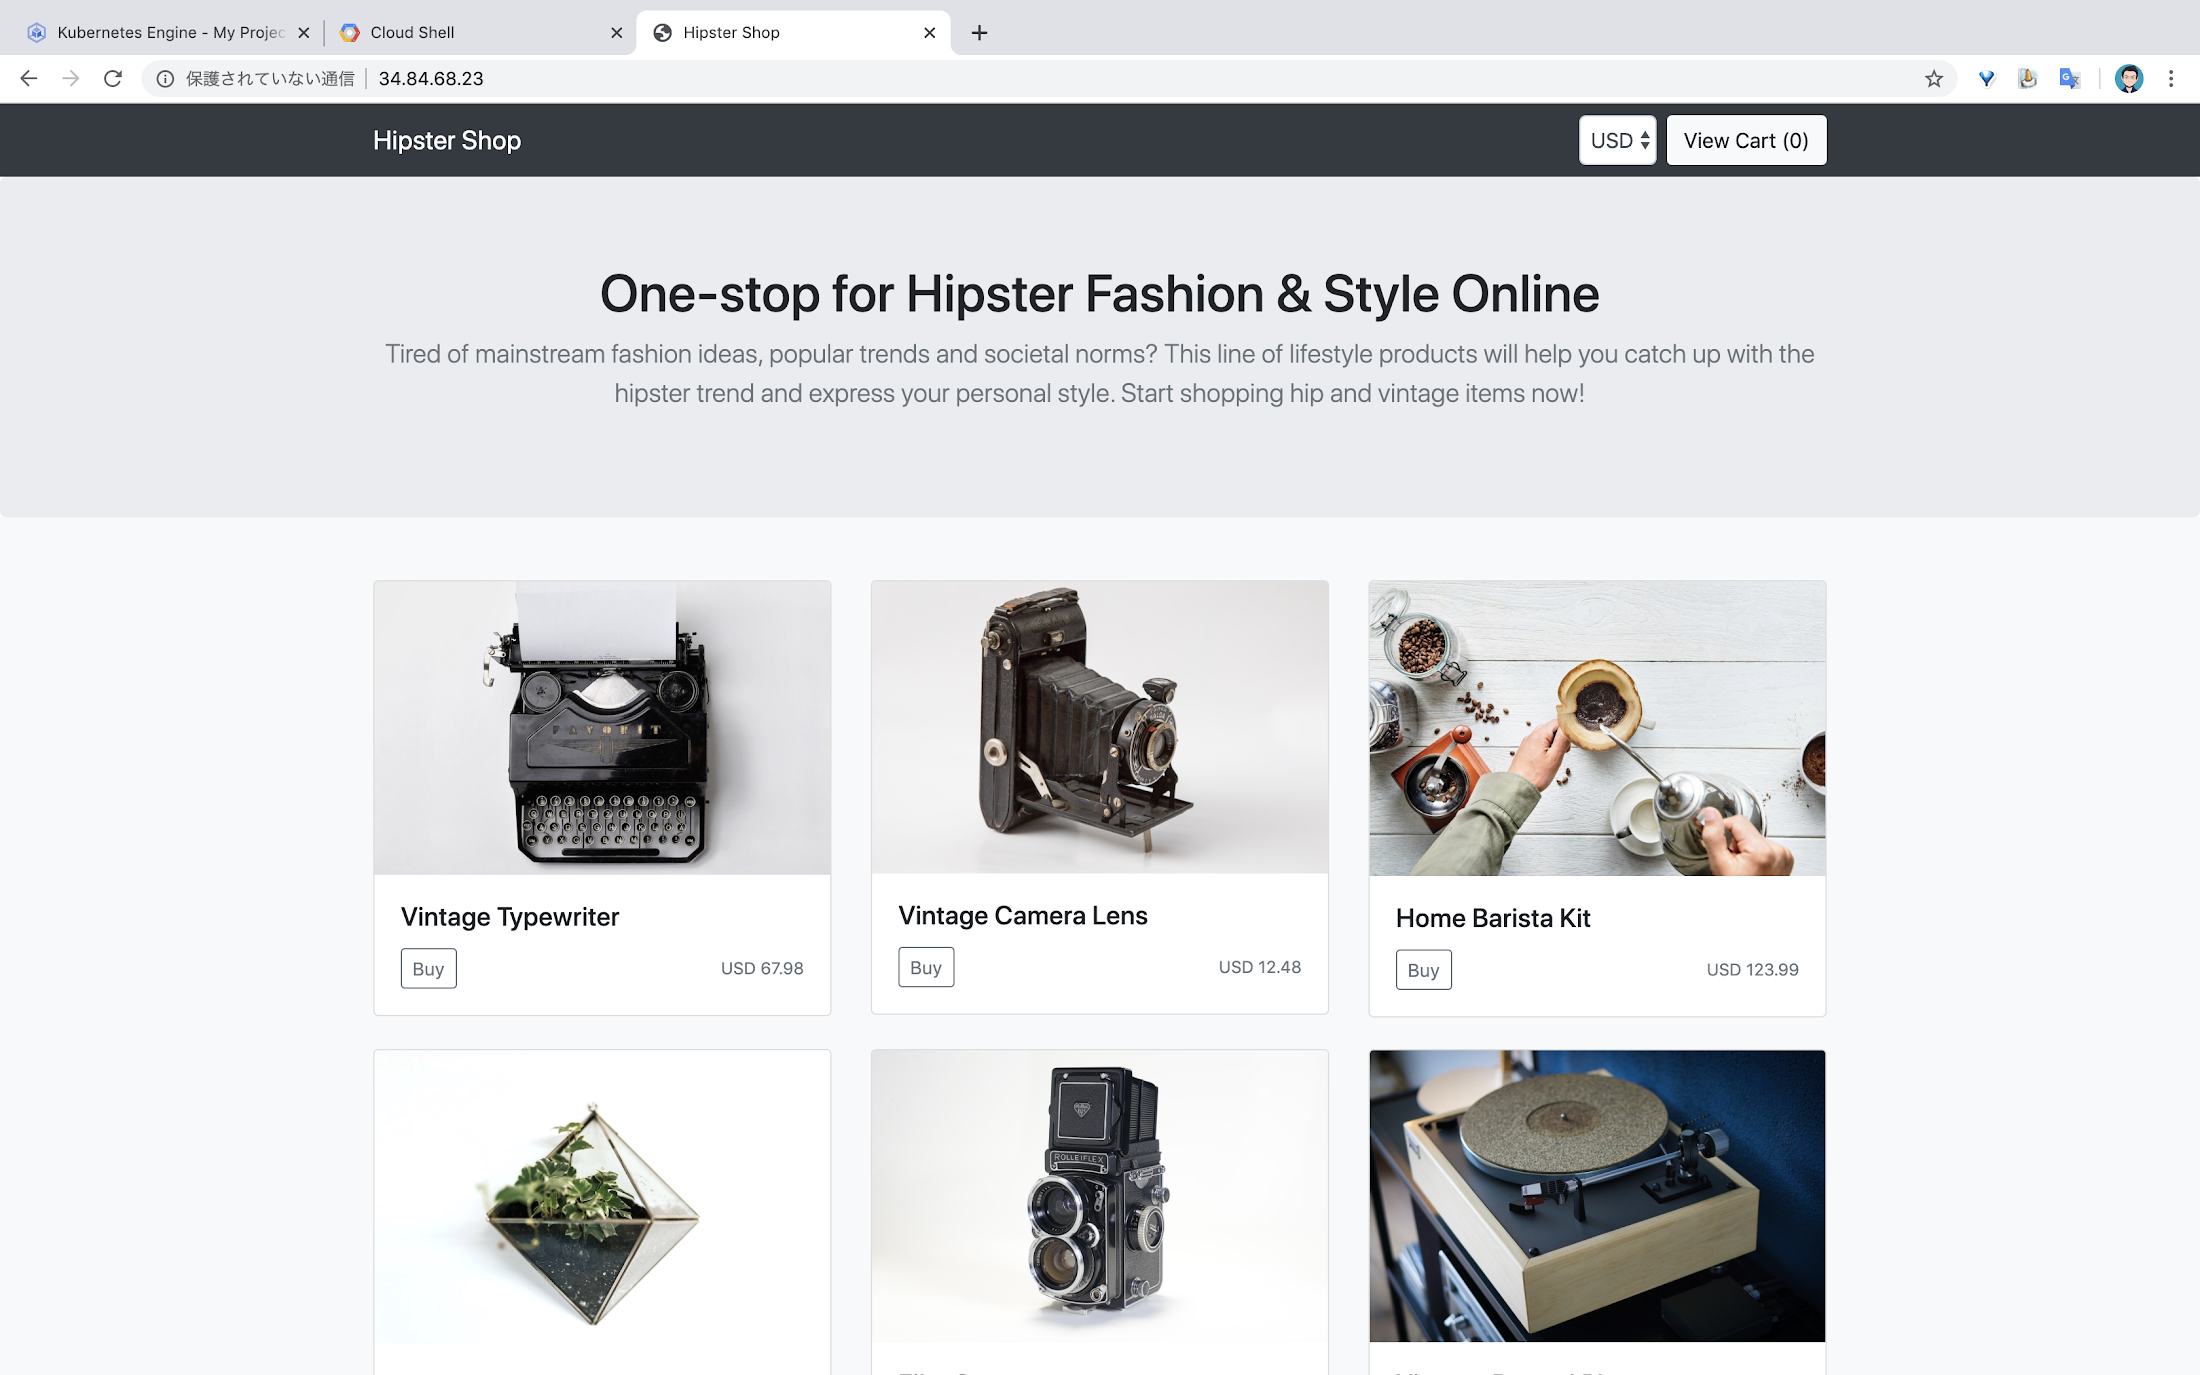
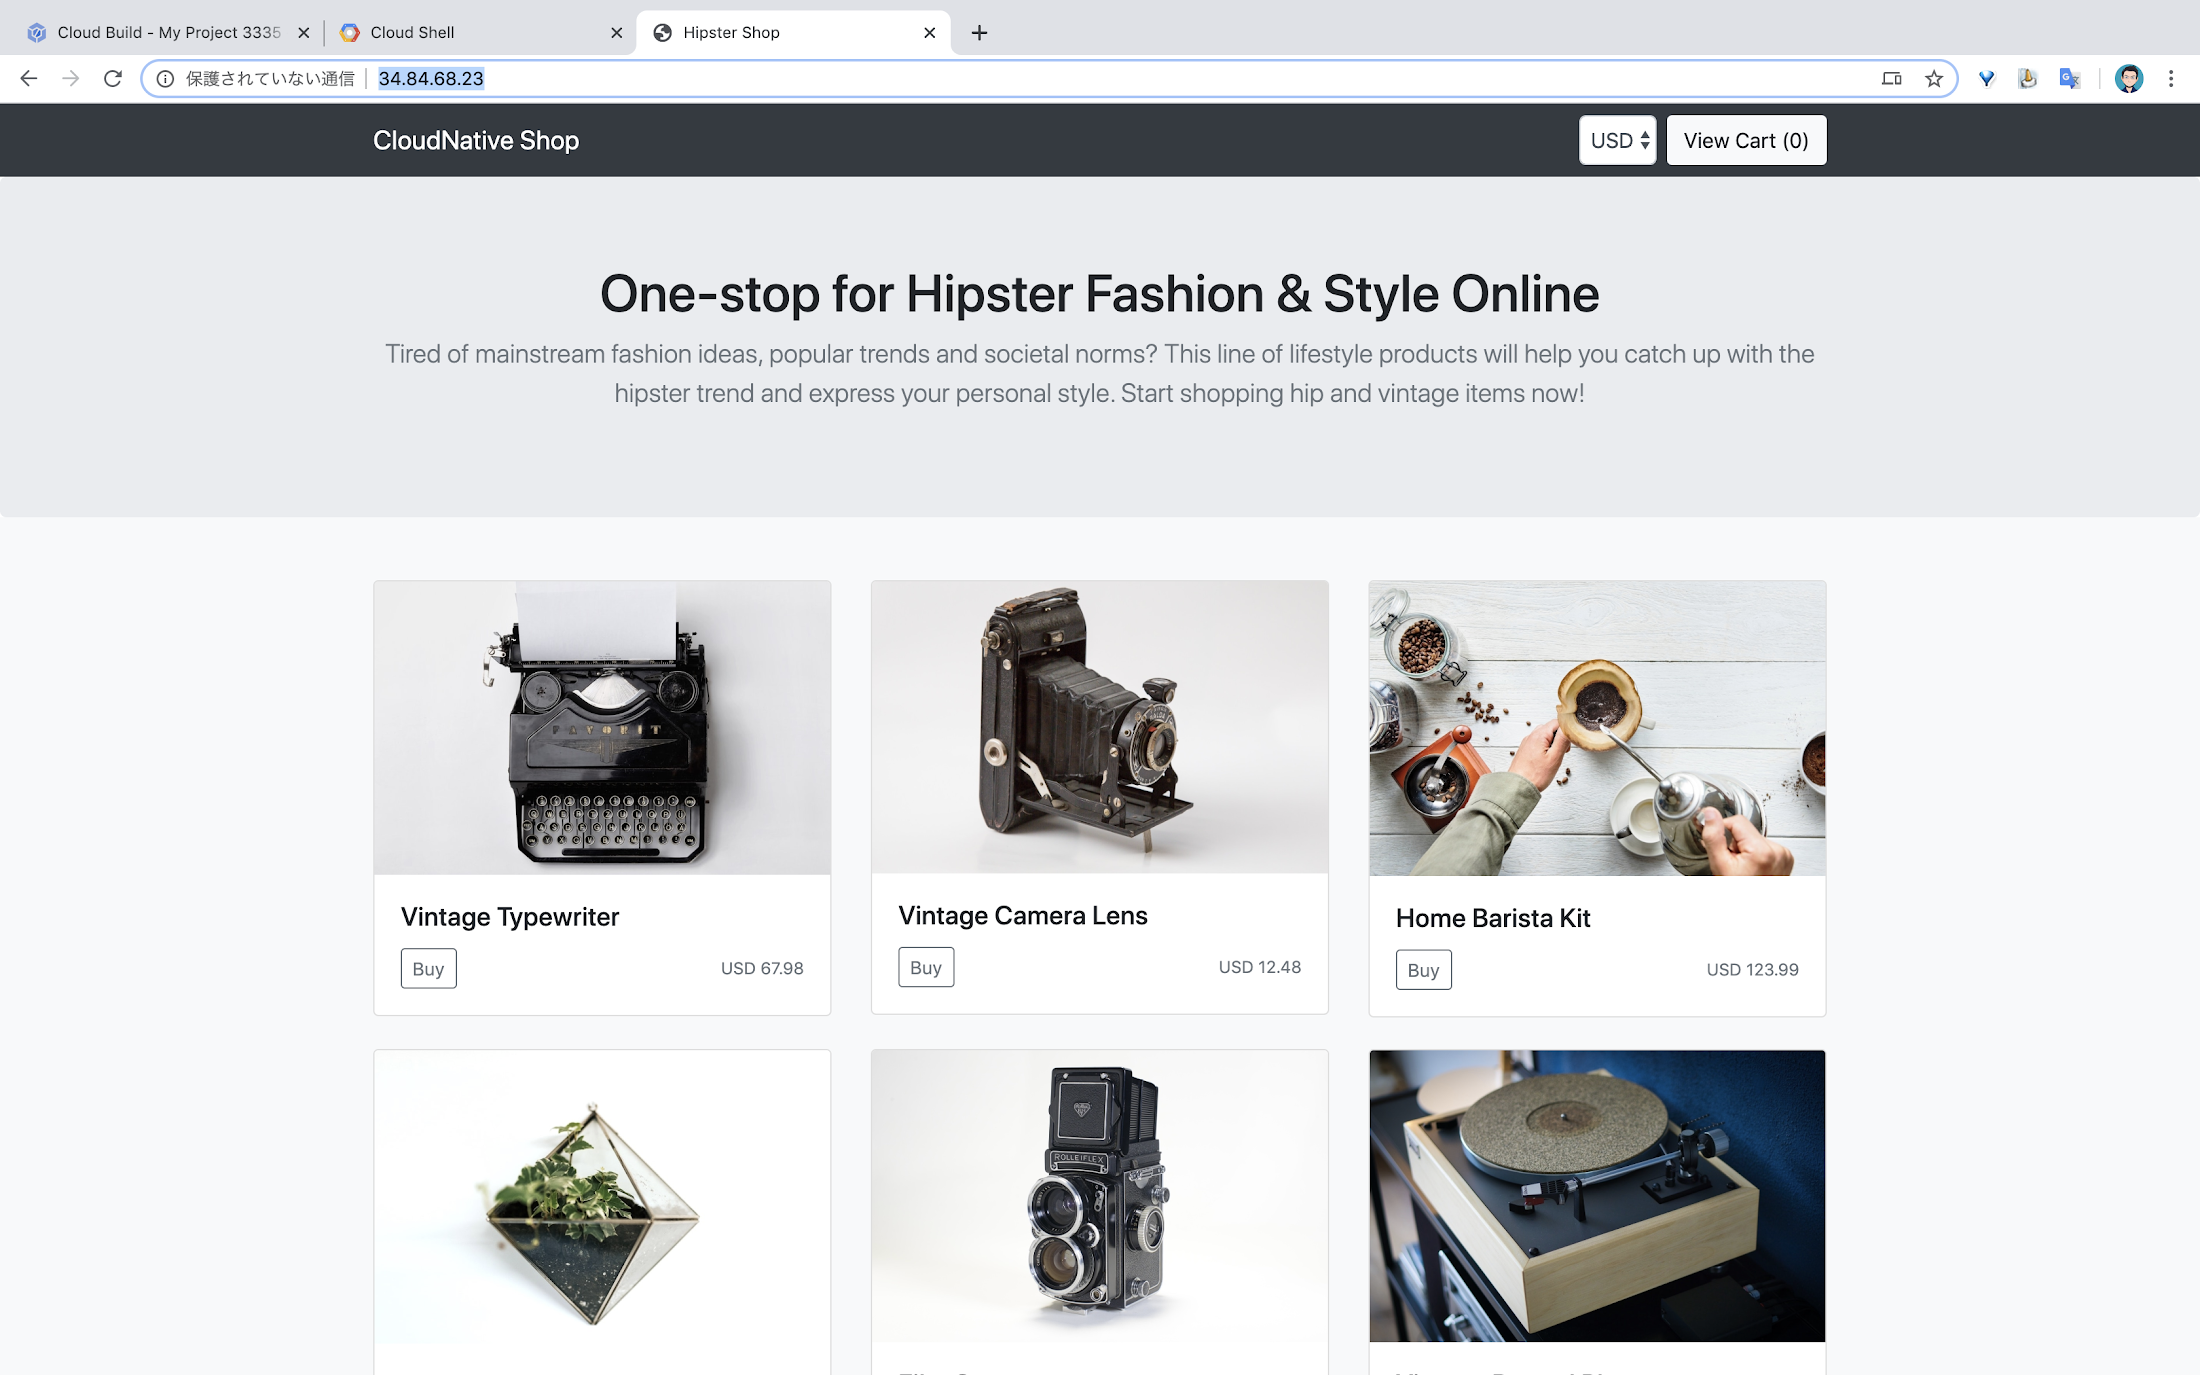
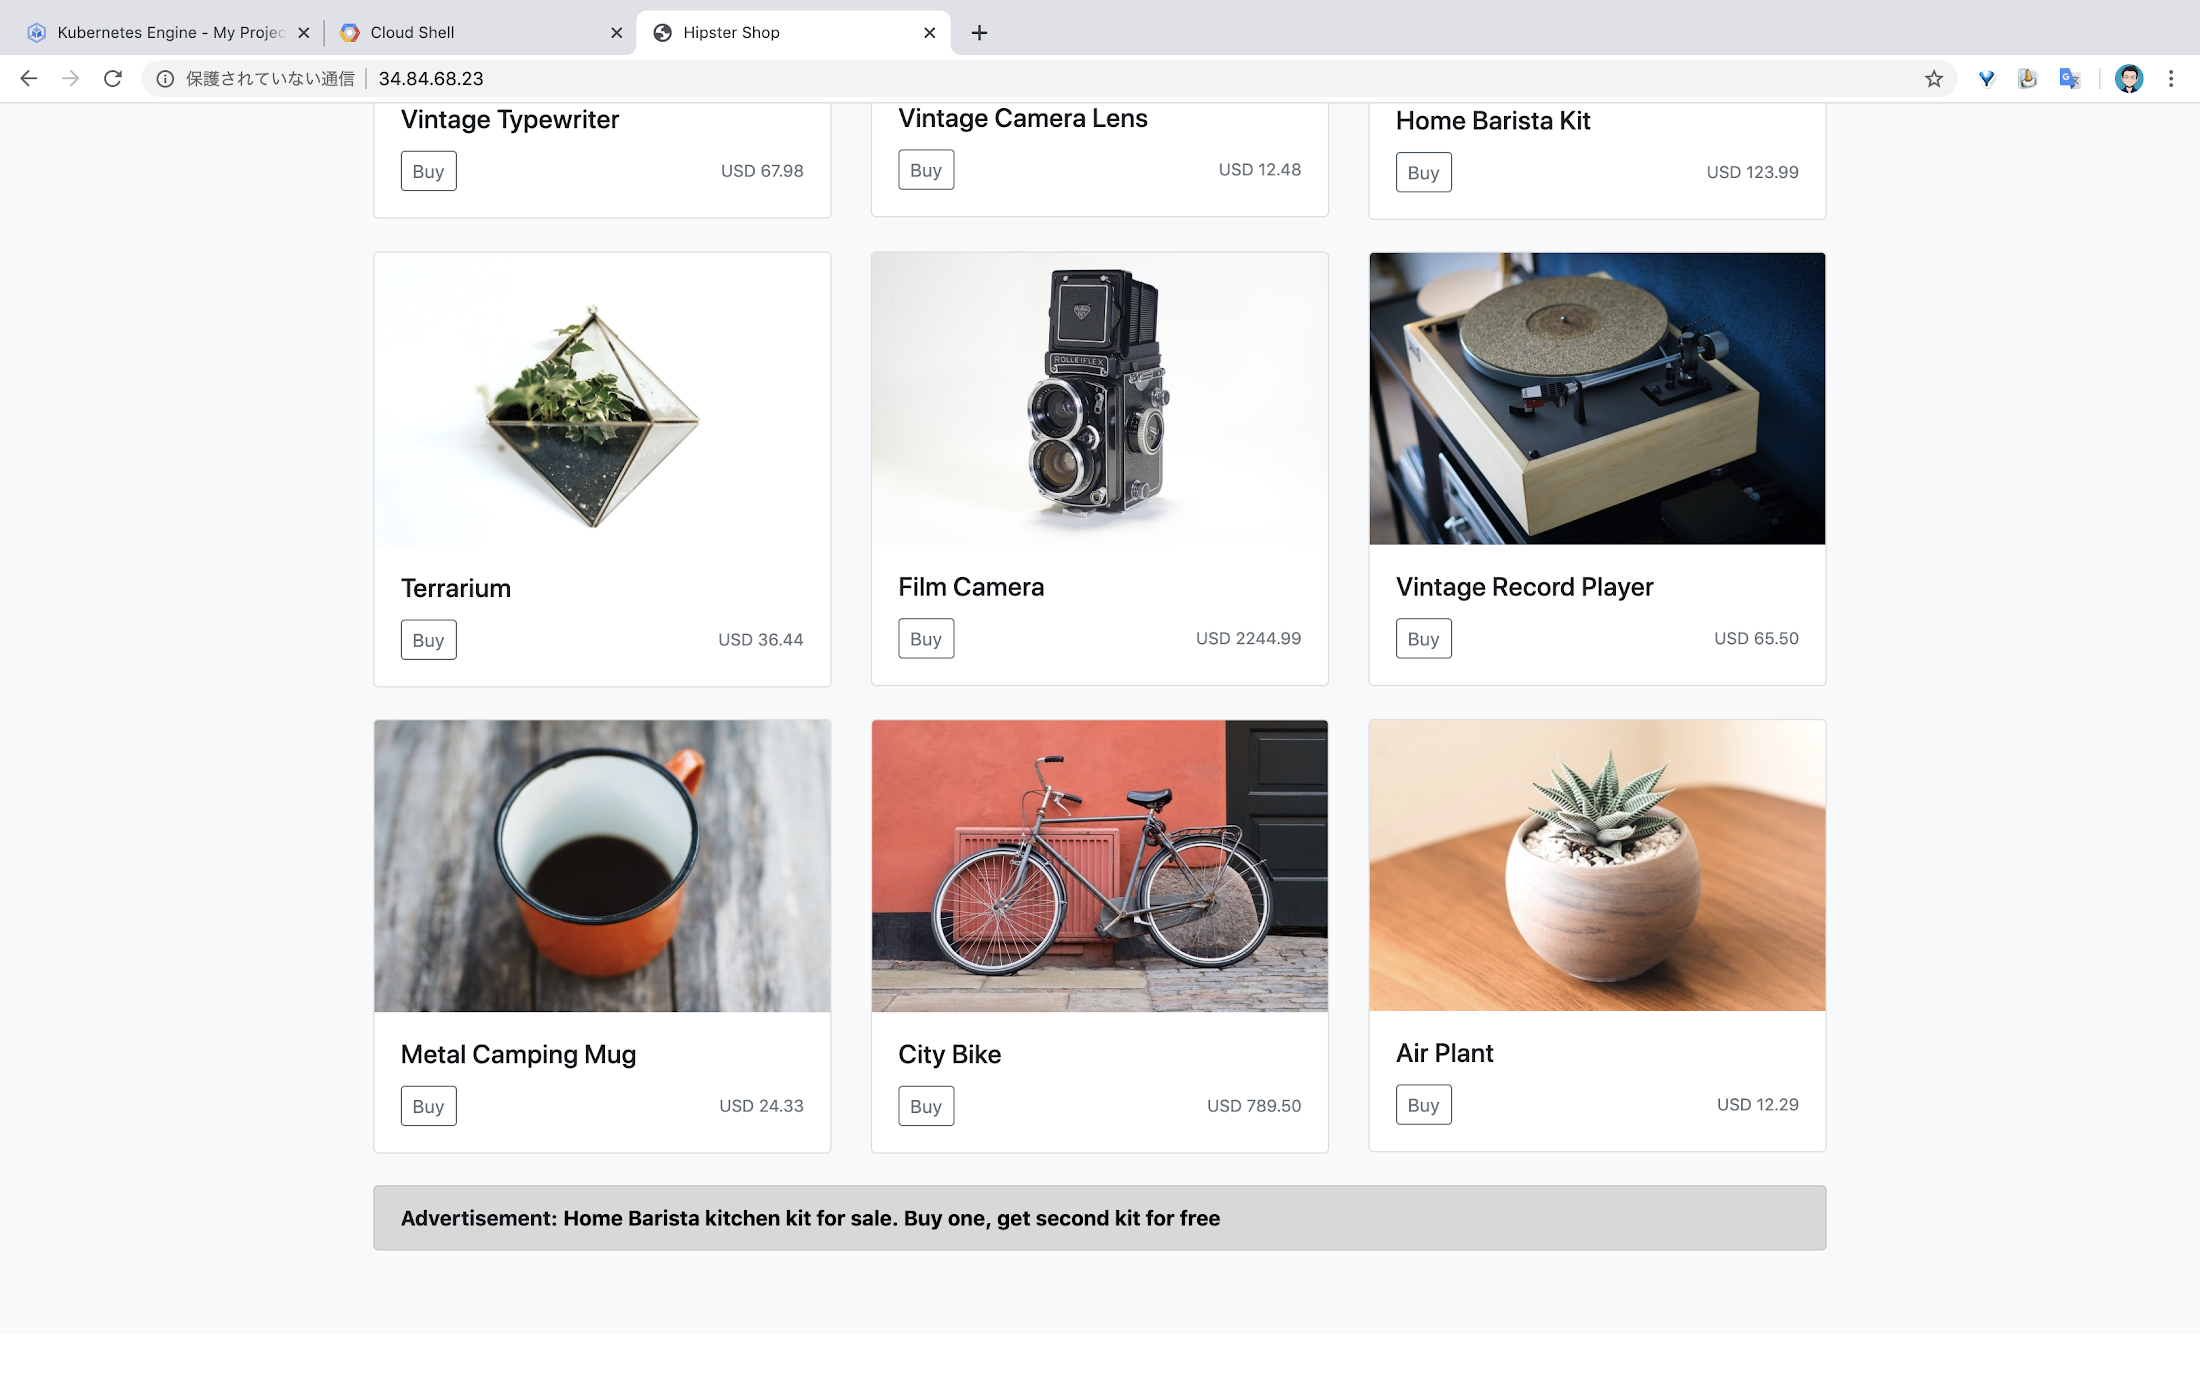
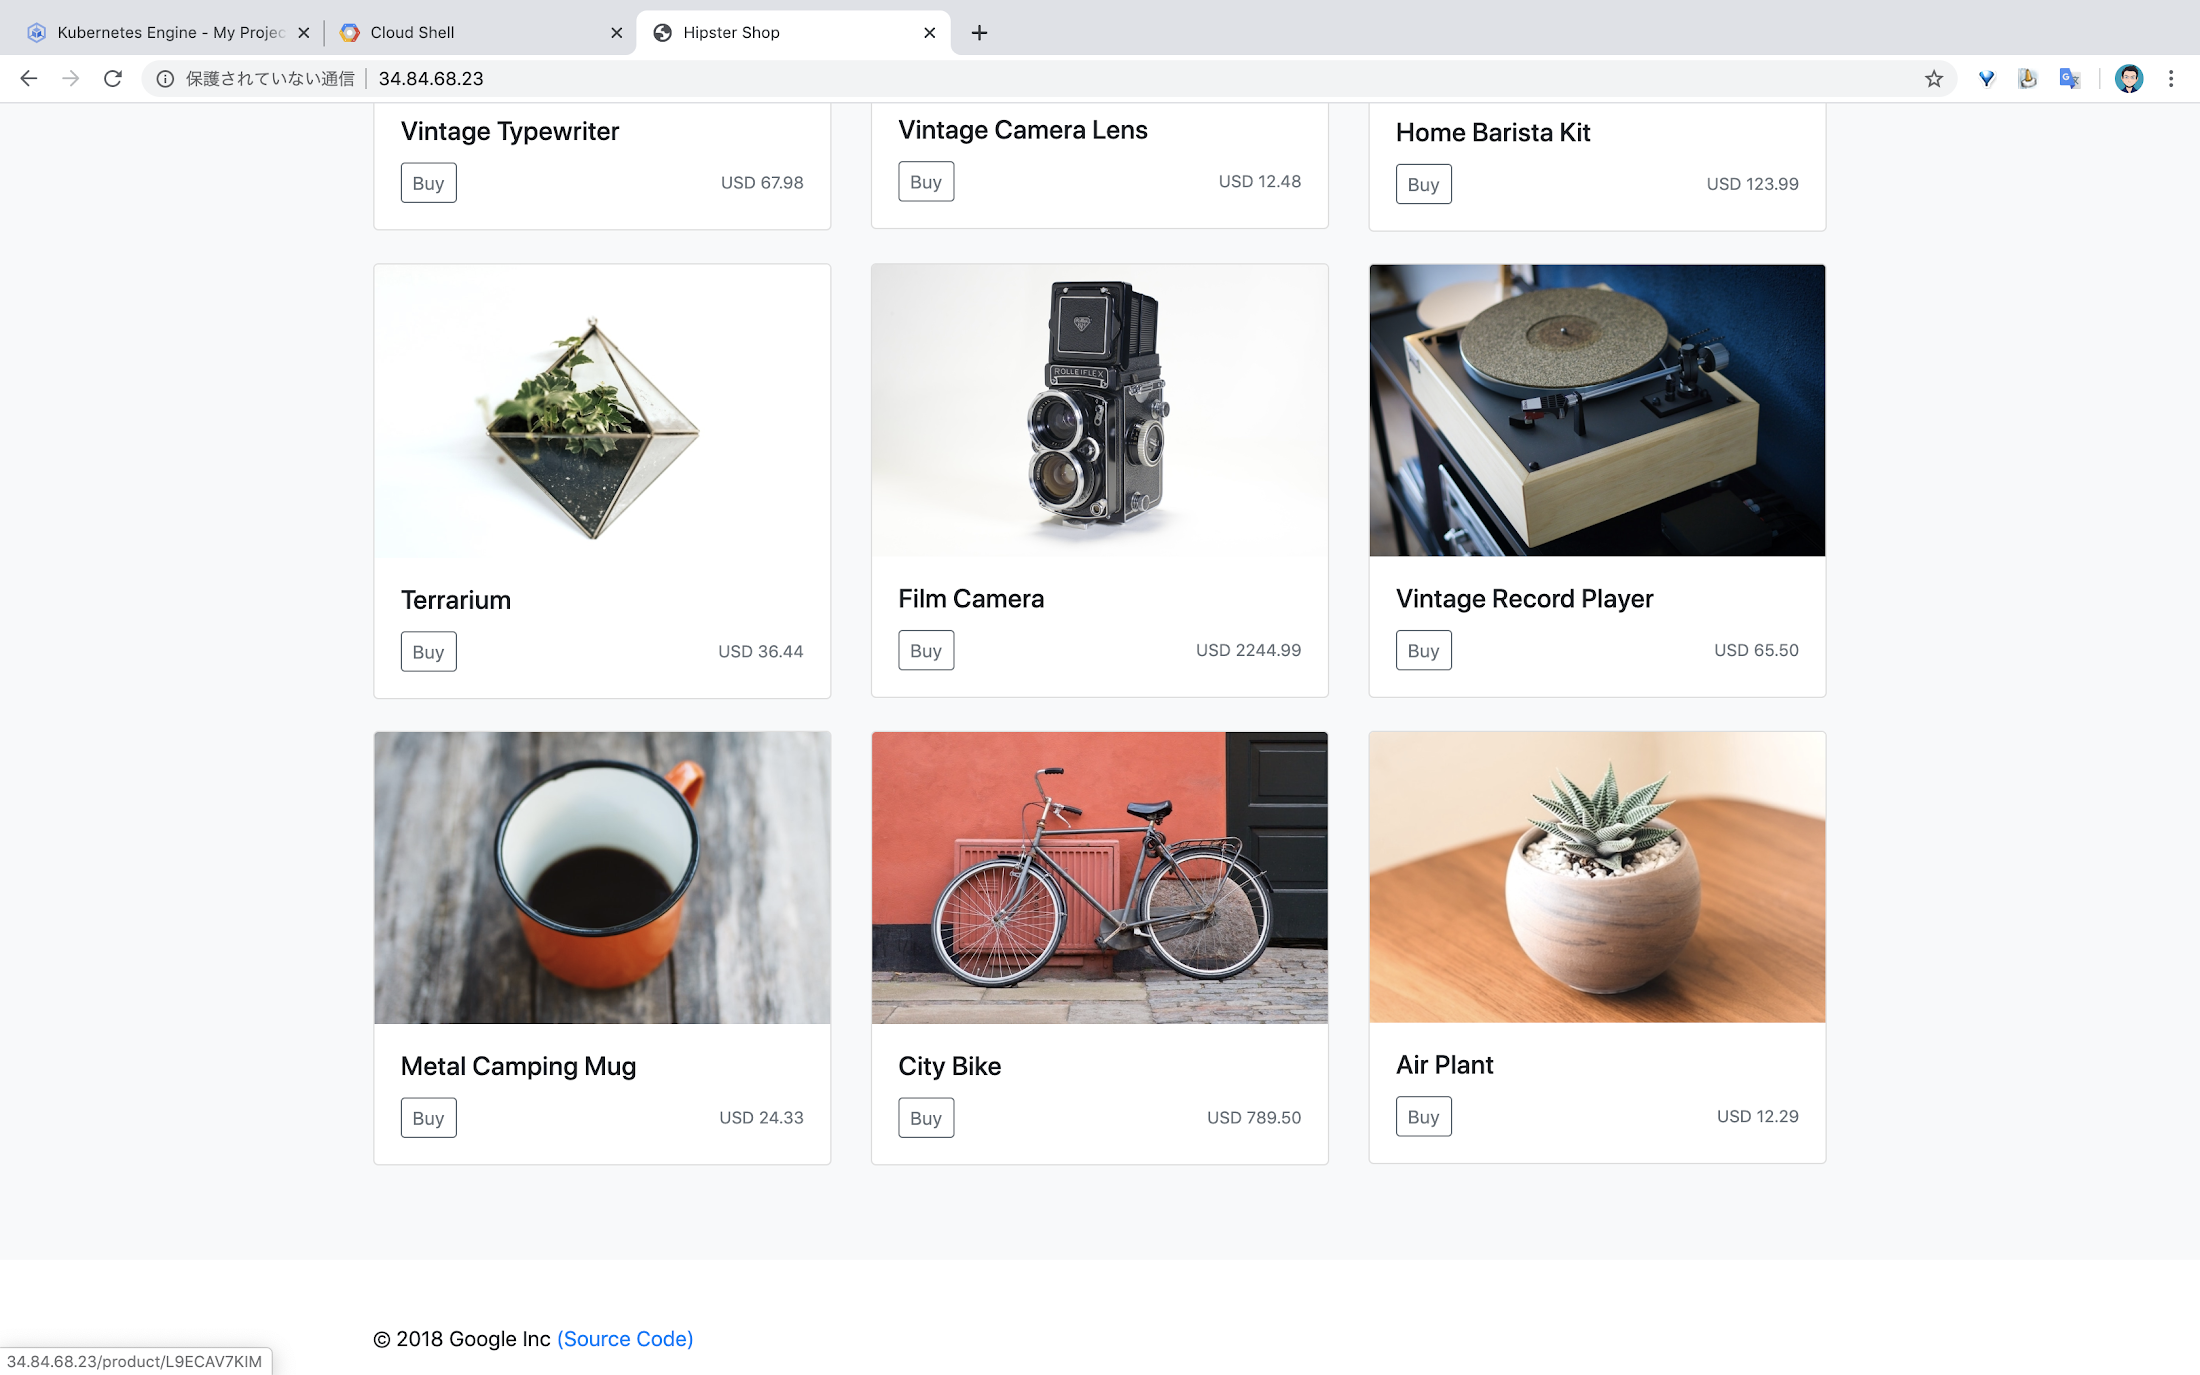
このアプリケーションは、10 のサービスで構成されている「Hipster Shop」と呼ばれるデモ用の EC サイトです。ユーザーは、製品を選択し、カートに追加し購入することができます。各サービスは、Go, C#, Node.js, Python, Java といった言語で独自に書かれおり、下記のように、gRPC でコミュニケーションします。また、開発者は skaffold を使用し、1 コマンドでアプリケーションのビルド、デプロイが可能です。実行環境は、Google Kubernetes Engine (GKE) や、Local の Kubernetes 環境を選択することができます。今回は、GKE 環境を使って体験してみたいと思います。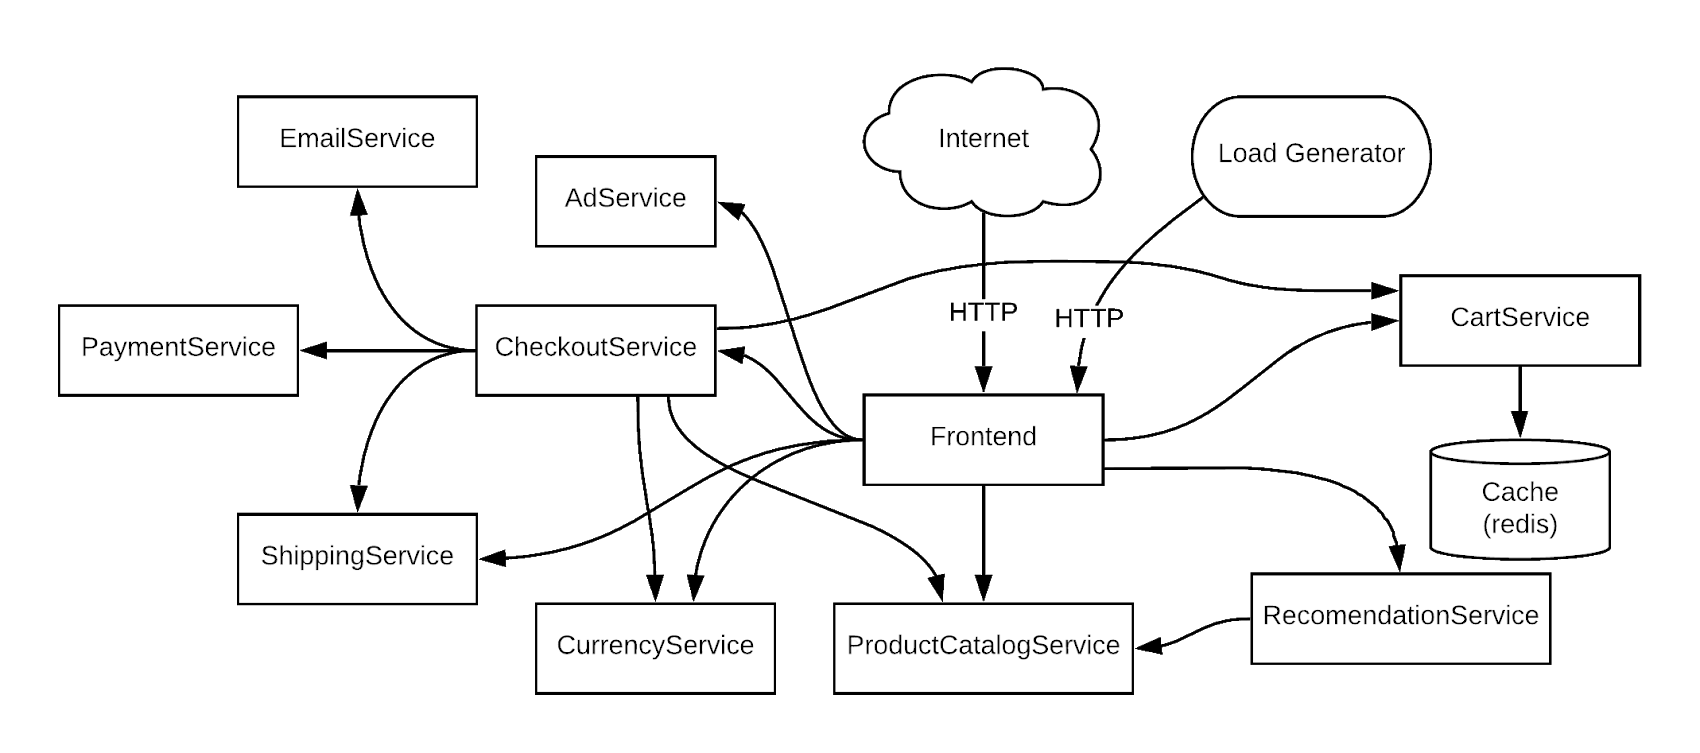
準備
プロジェクトを作成し、Cloud Shell を起動し、デモ用のマイクロサービスアプリケーションをクローンします。
- GCP アカウントと、GitHub アカウントを作成(既にアカウントを持っている方は必要ありません)
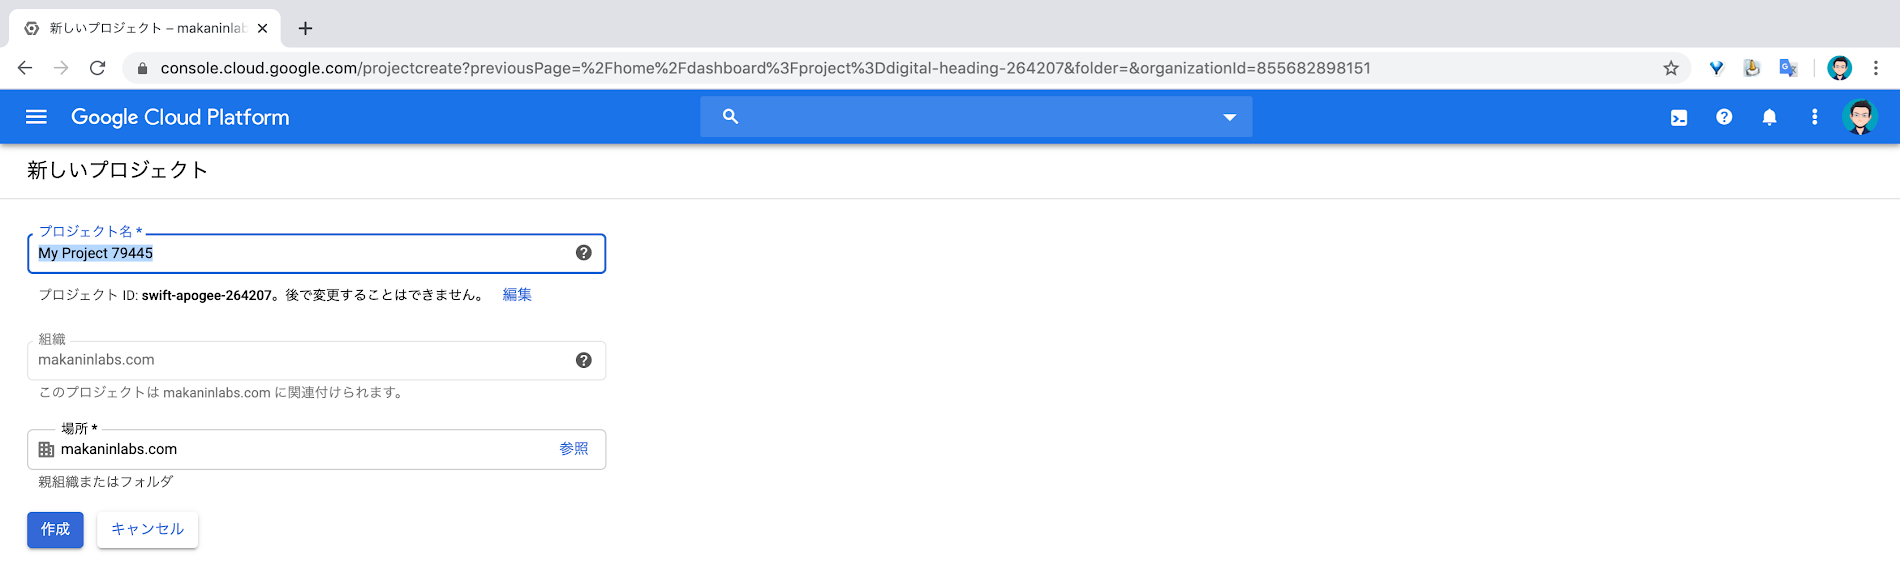
- GCP Console にログオンし、プロジェクトを作成
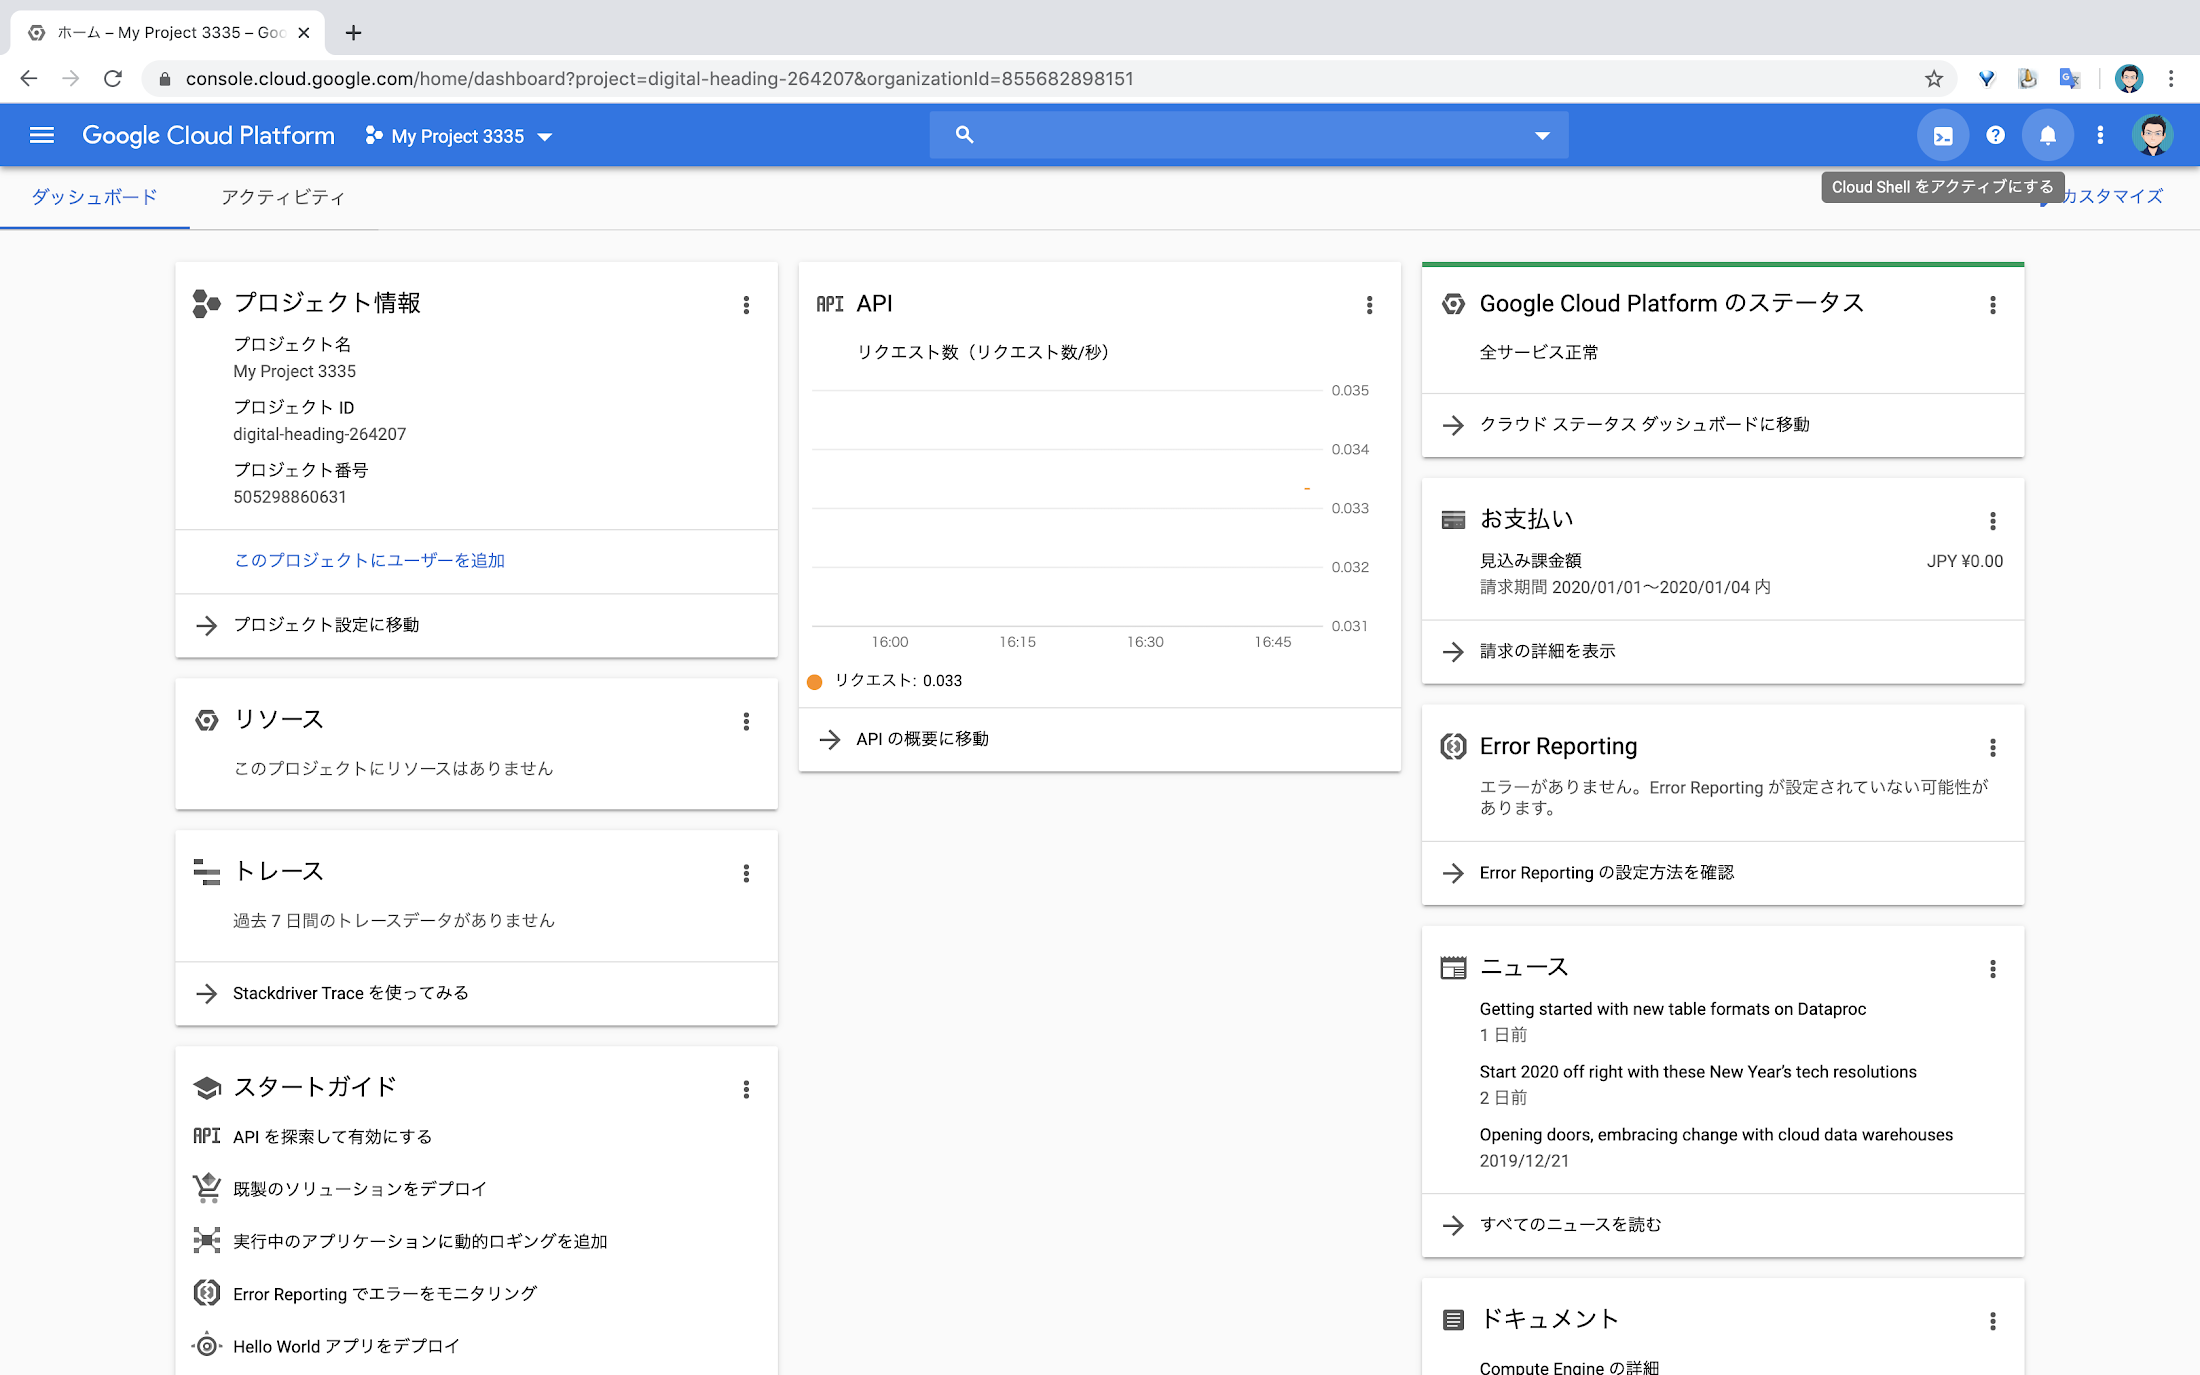
- [Cloud Shell をアクティブにする] をクリック
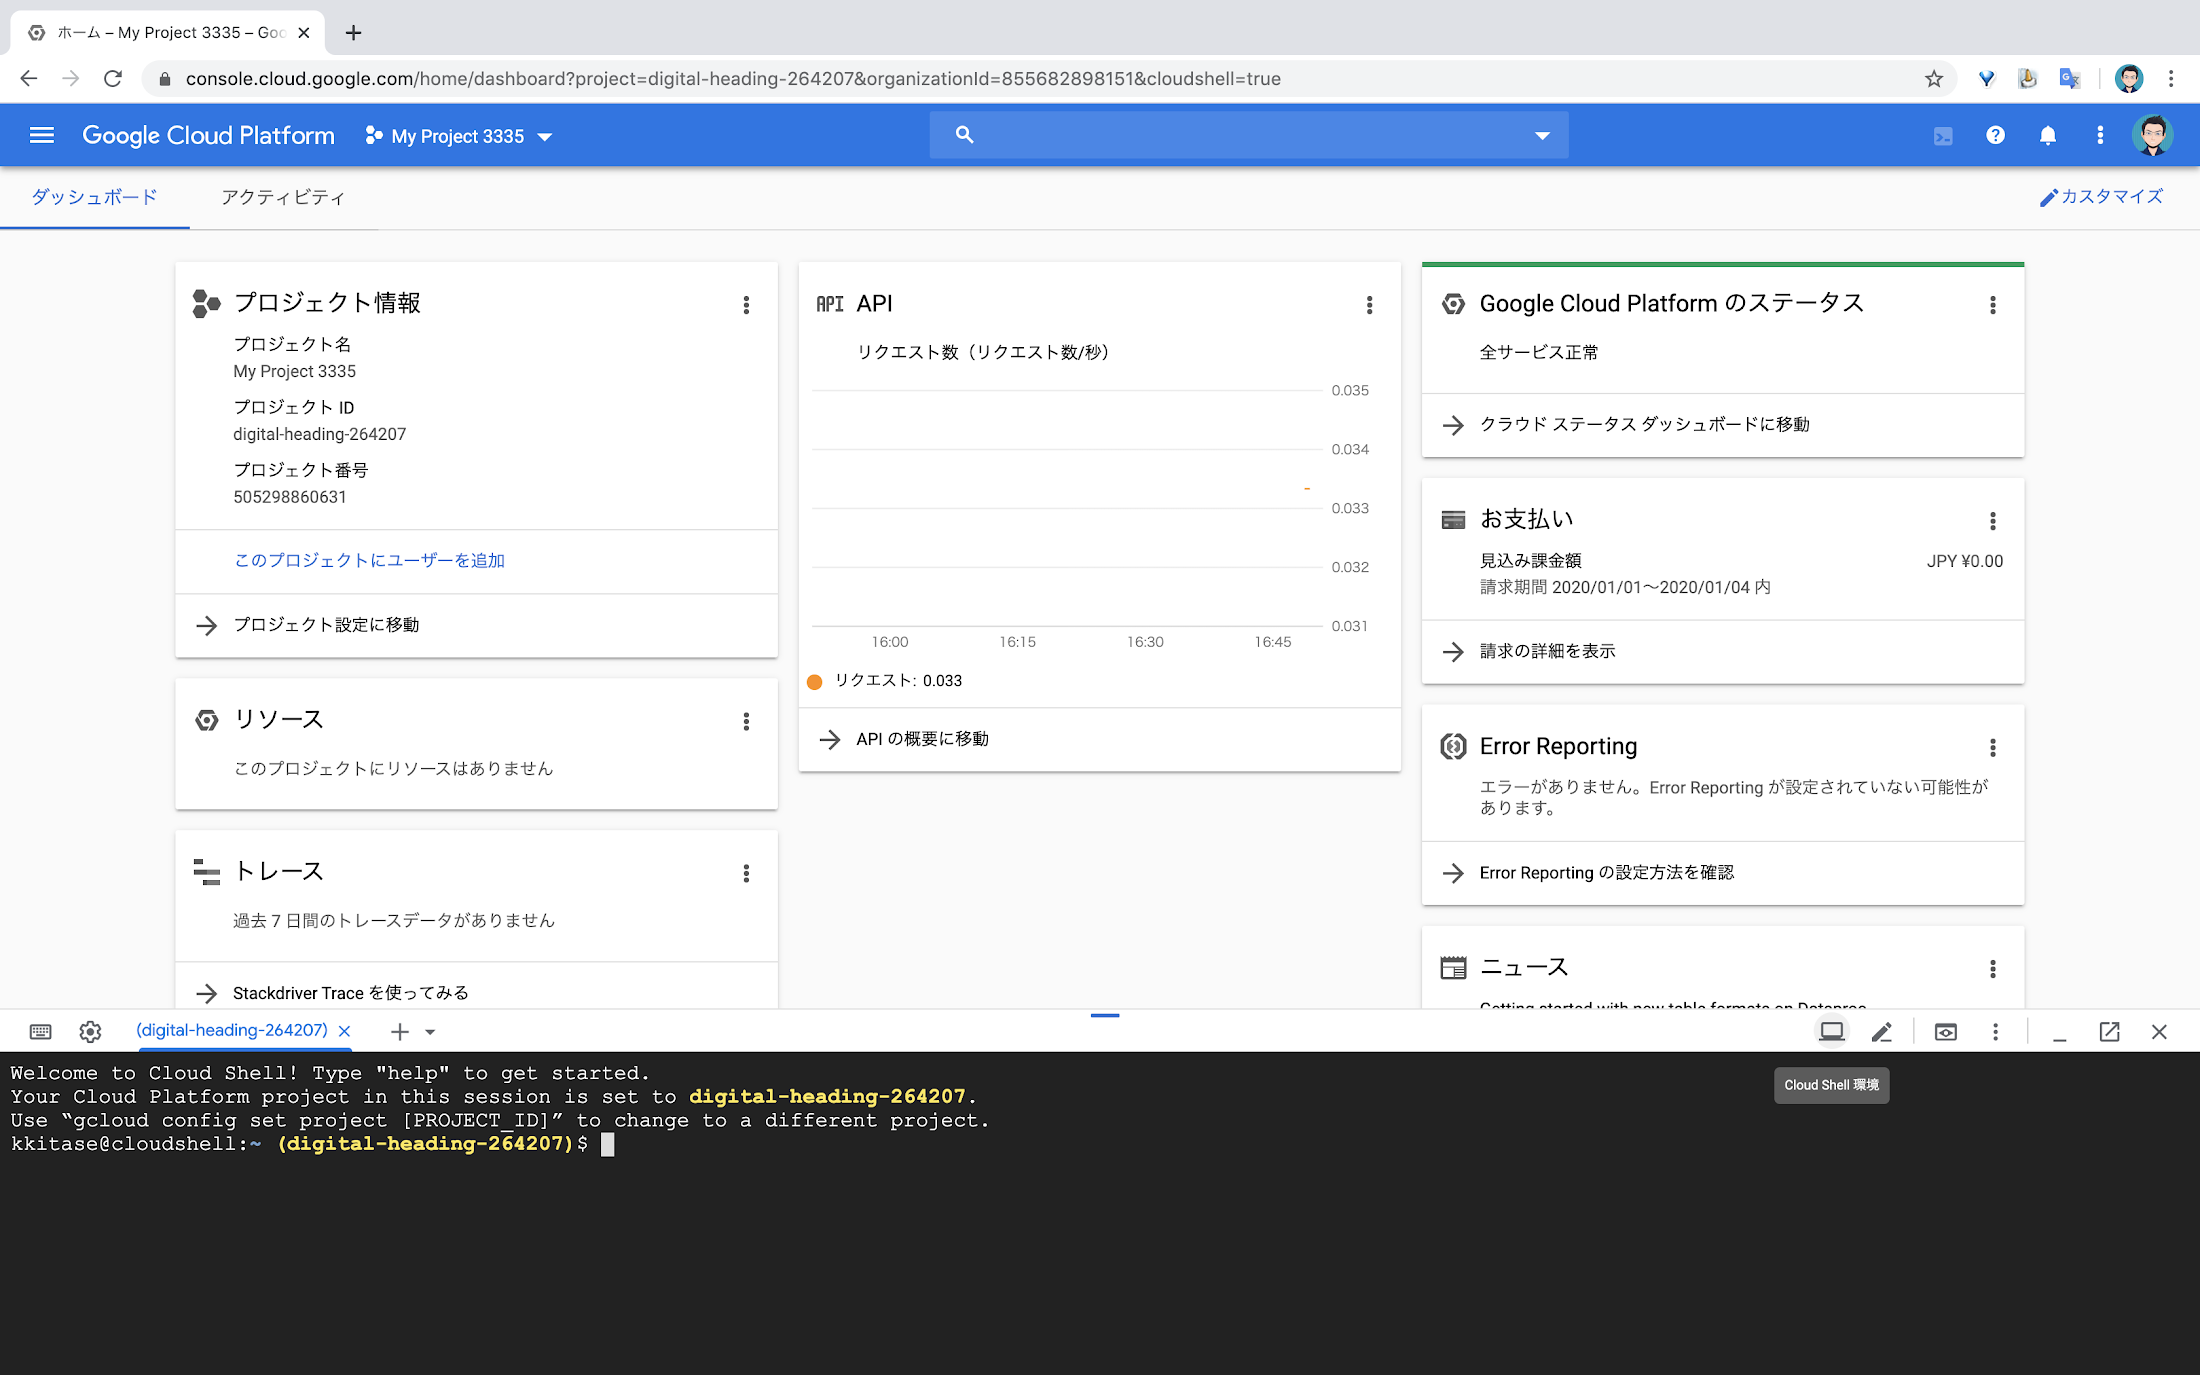
- [Cloud Shell 環境] から、Cloud Shell を起動
- gcloud コマンドの初期設定
- Cloud Shell にて、Fork した マイクロサービスアプリケーションを Clone
- 必要な GCP のサービスを有効に
- Container Registry を Docker registry として利用するために、gcloud を Docker 認証ヘルパーとして登録
アプリケーションのデプロイ
GKE クラスタを作成し、アプリケーションをデプロイします。
GKE クラスタを作成
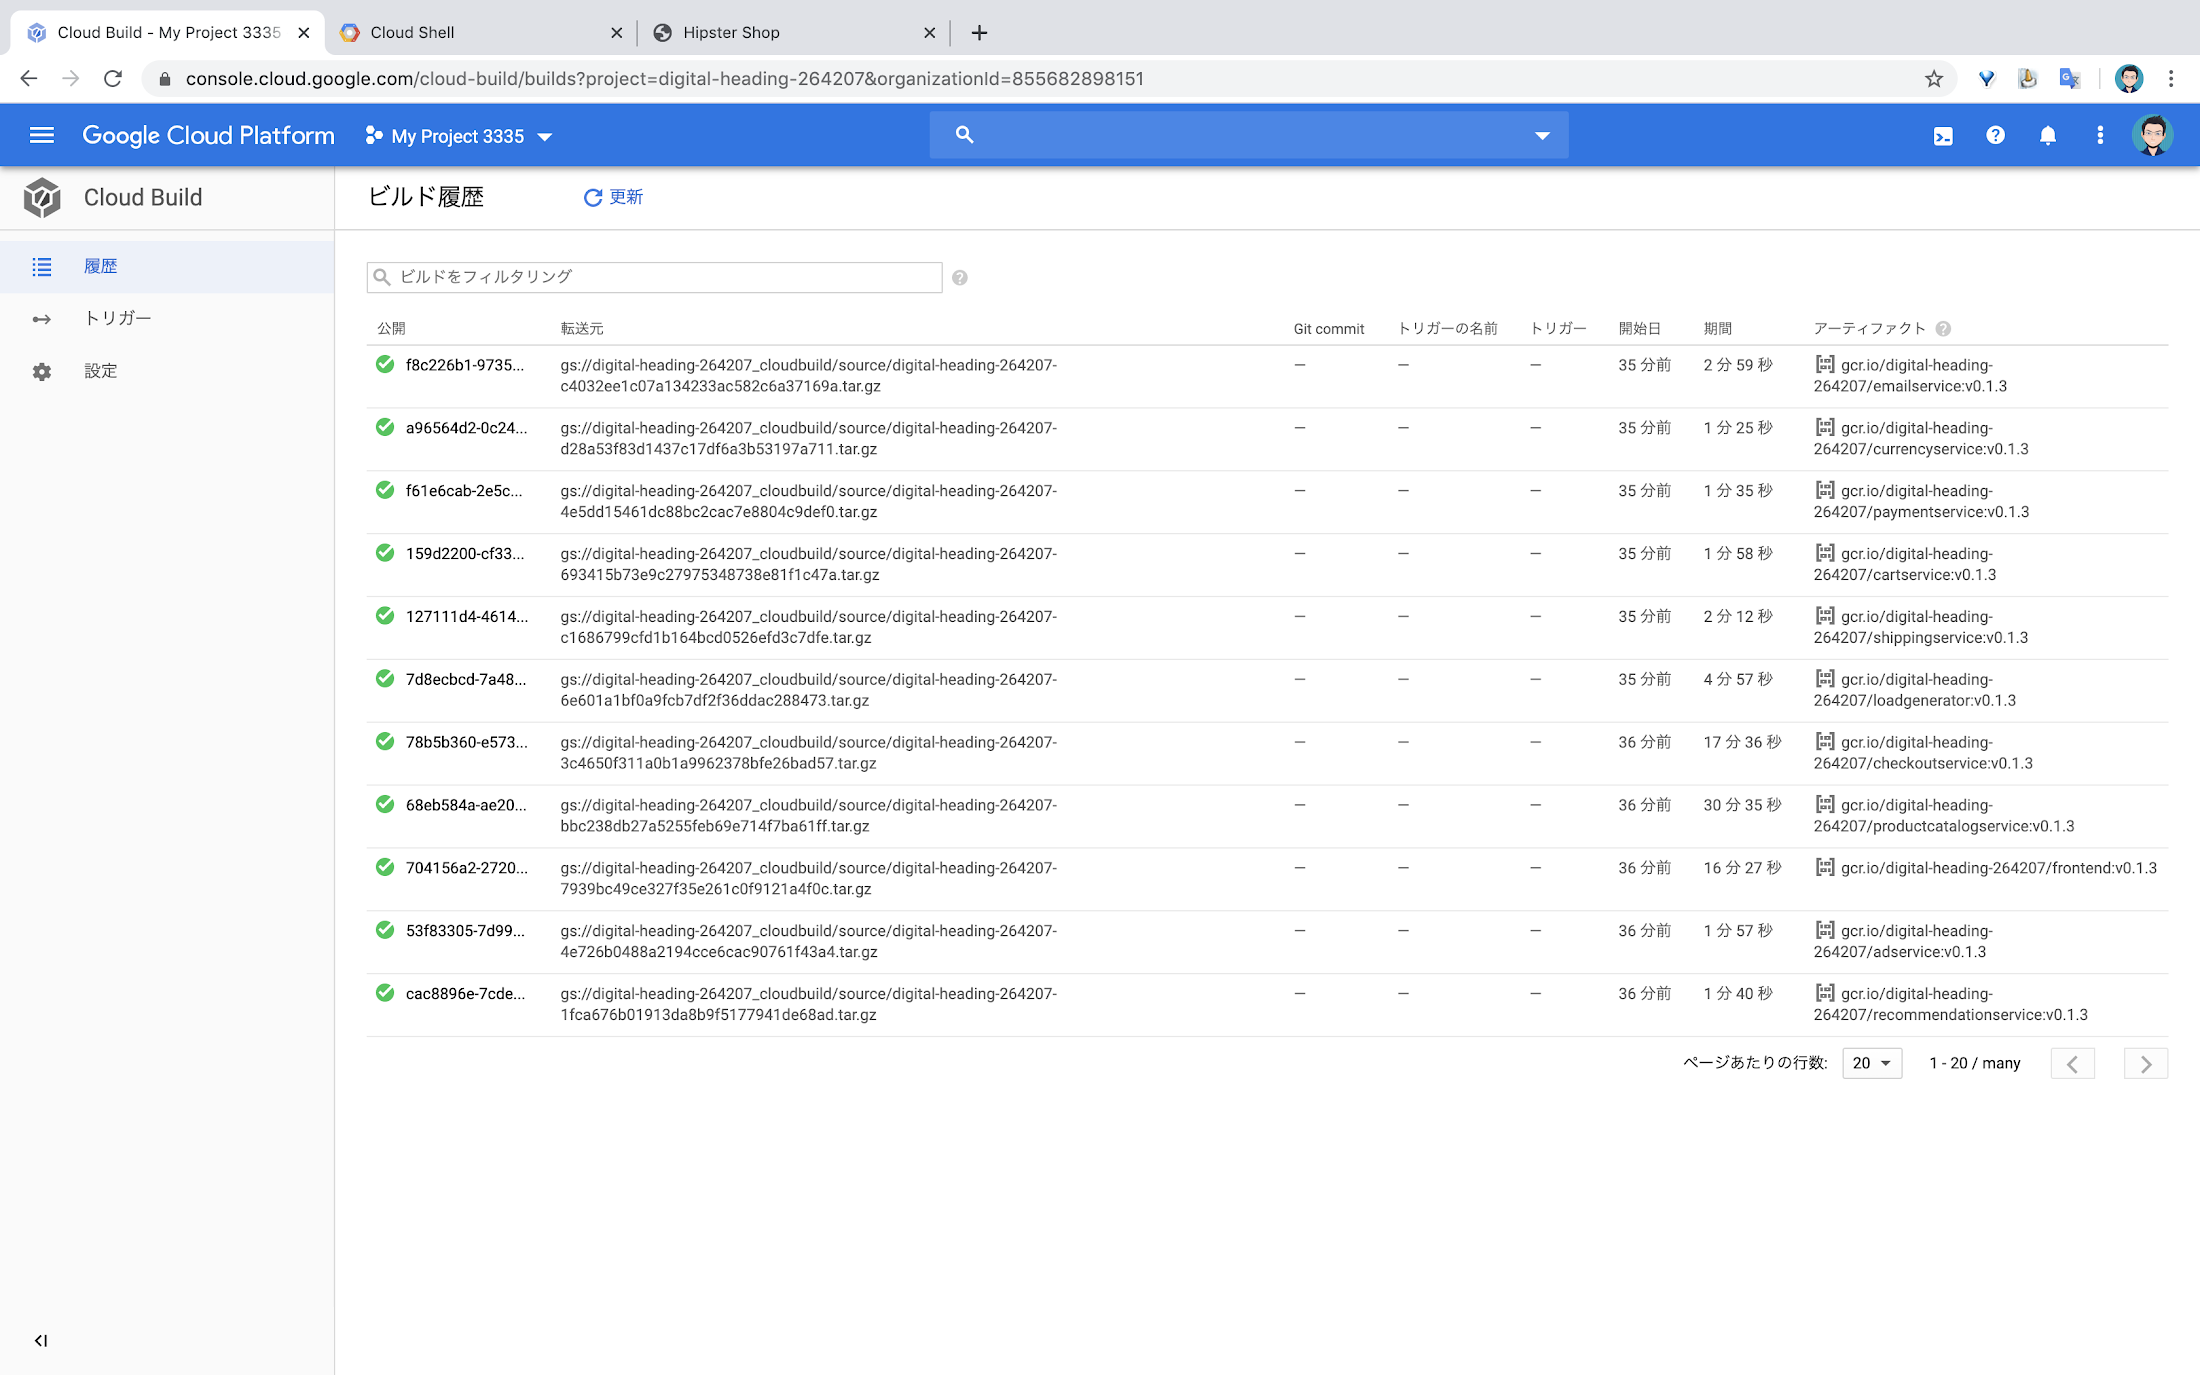
- アプリケーションのビルドとデプロイ : skaffold を使用し、1 コマンドで、ビルドからデプロイメントまで行います。(全てのサービスをビルドするので、30 分程度かかります。)
- ブラウザを起動し、fronted-external の EXTERNAL-IP にアクセスし、アプリケーションが正常に動作していることを確認
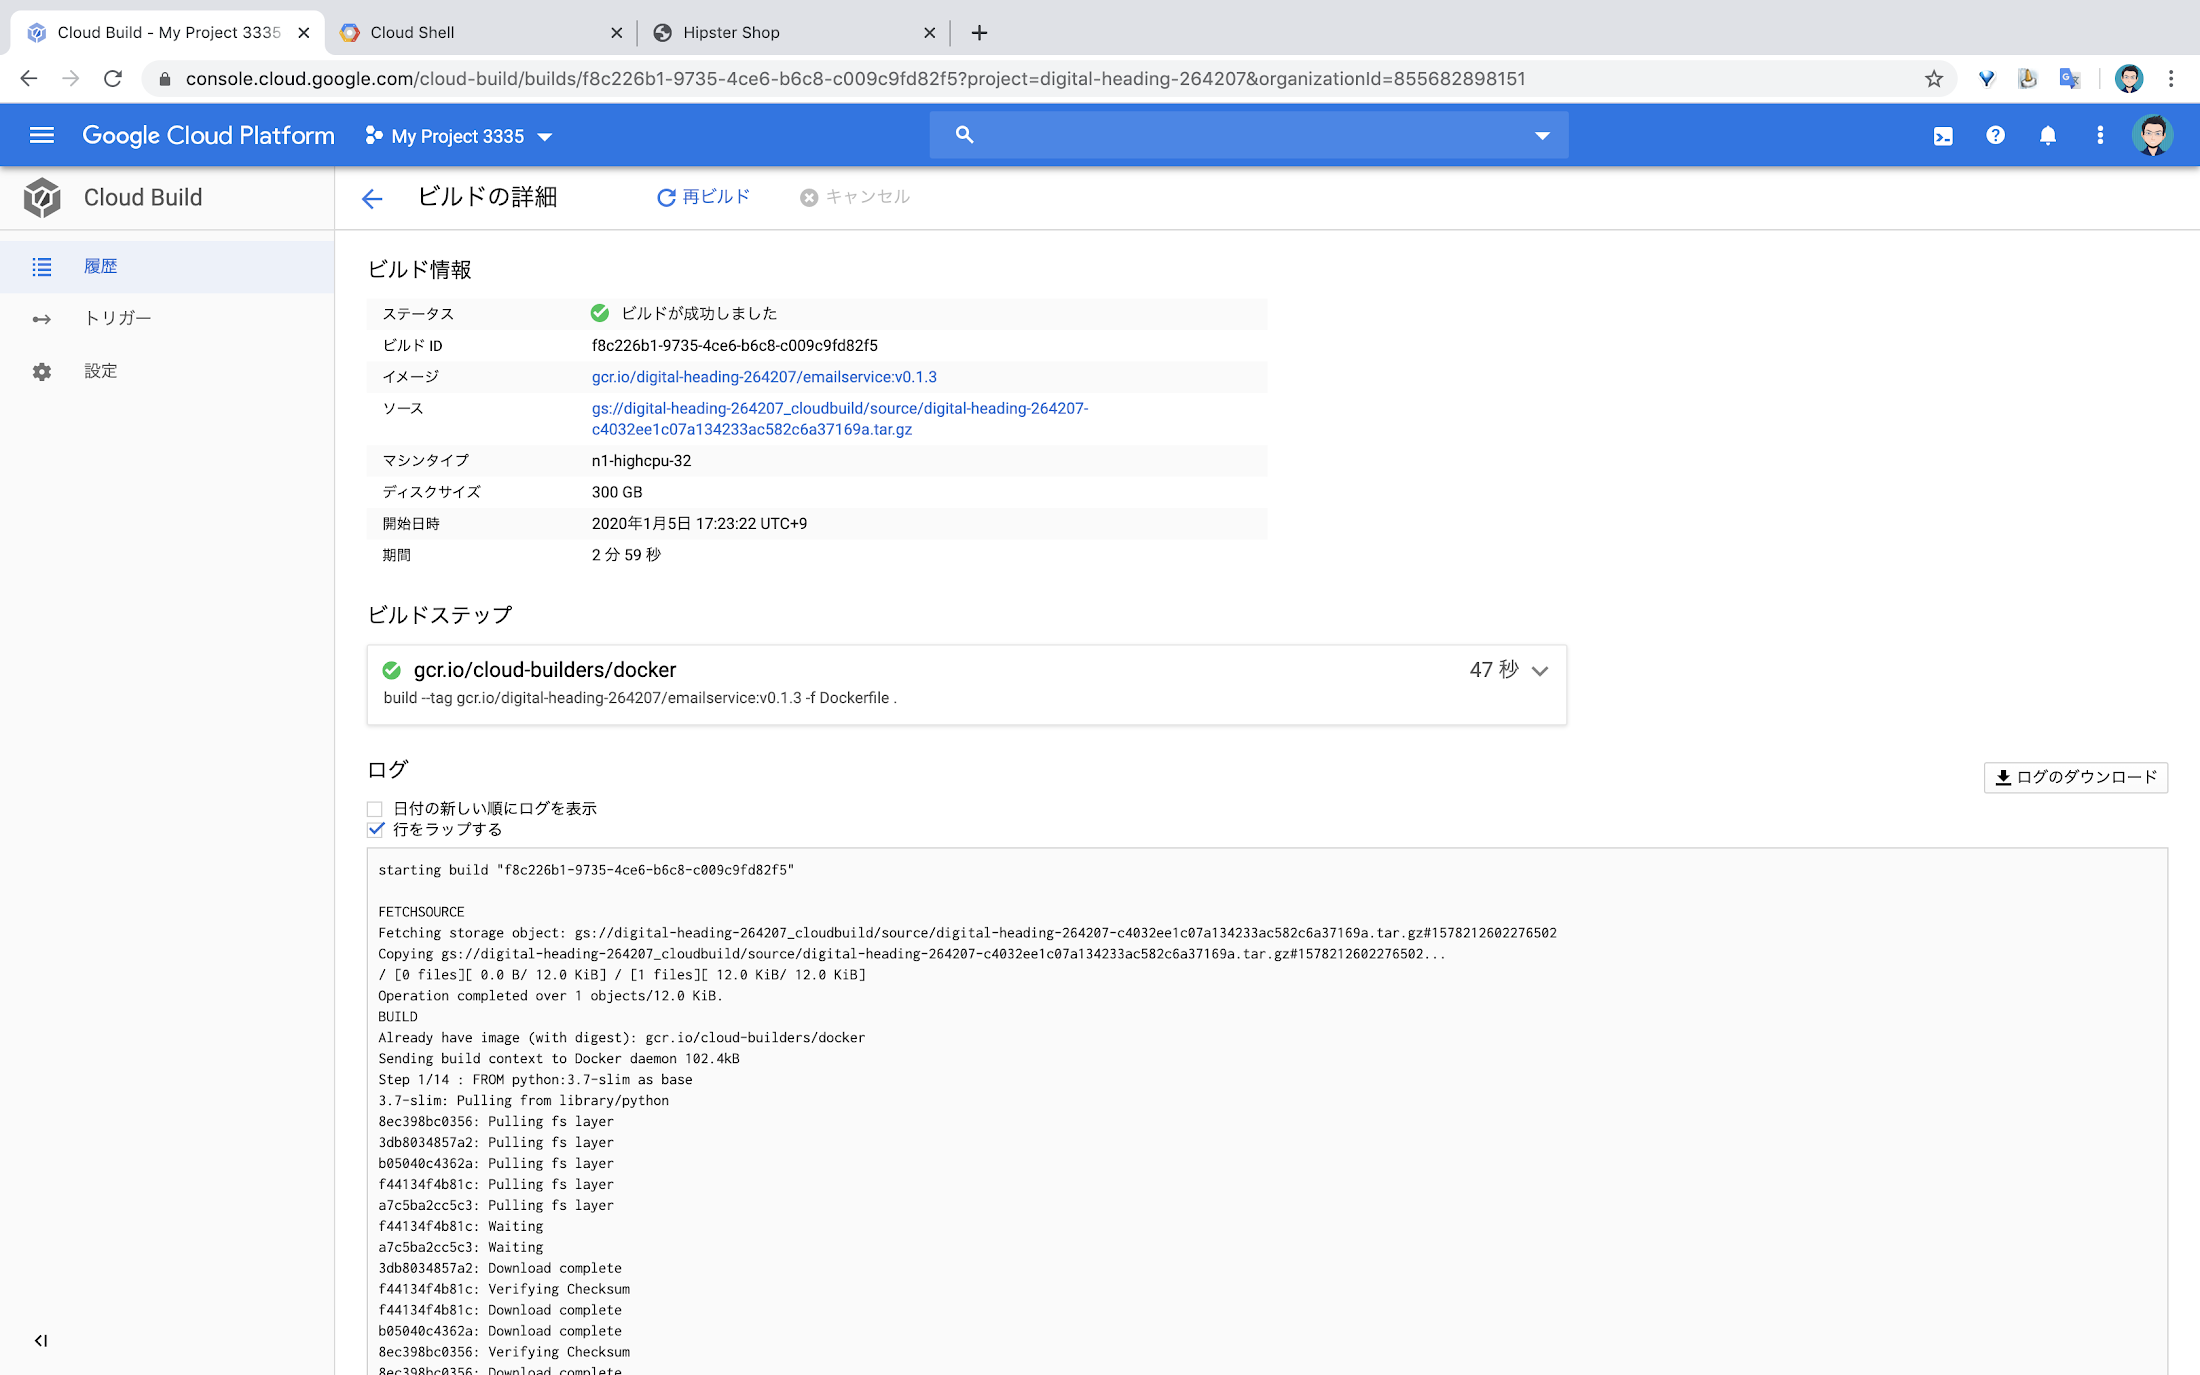
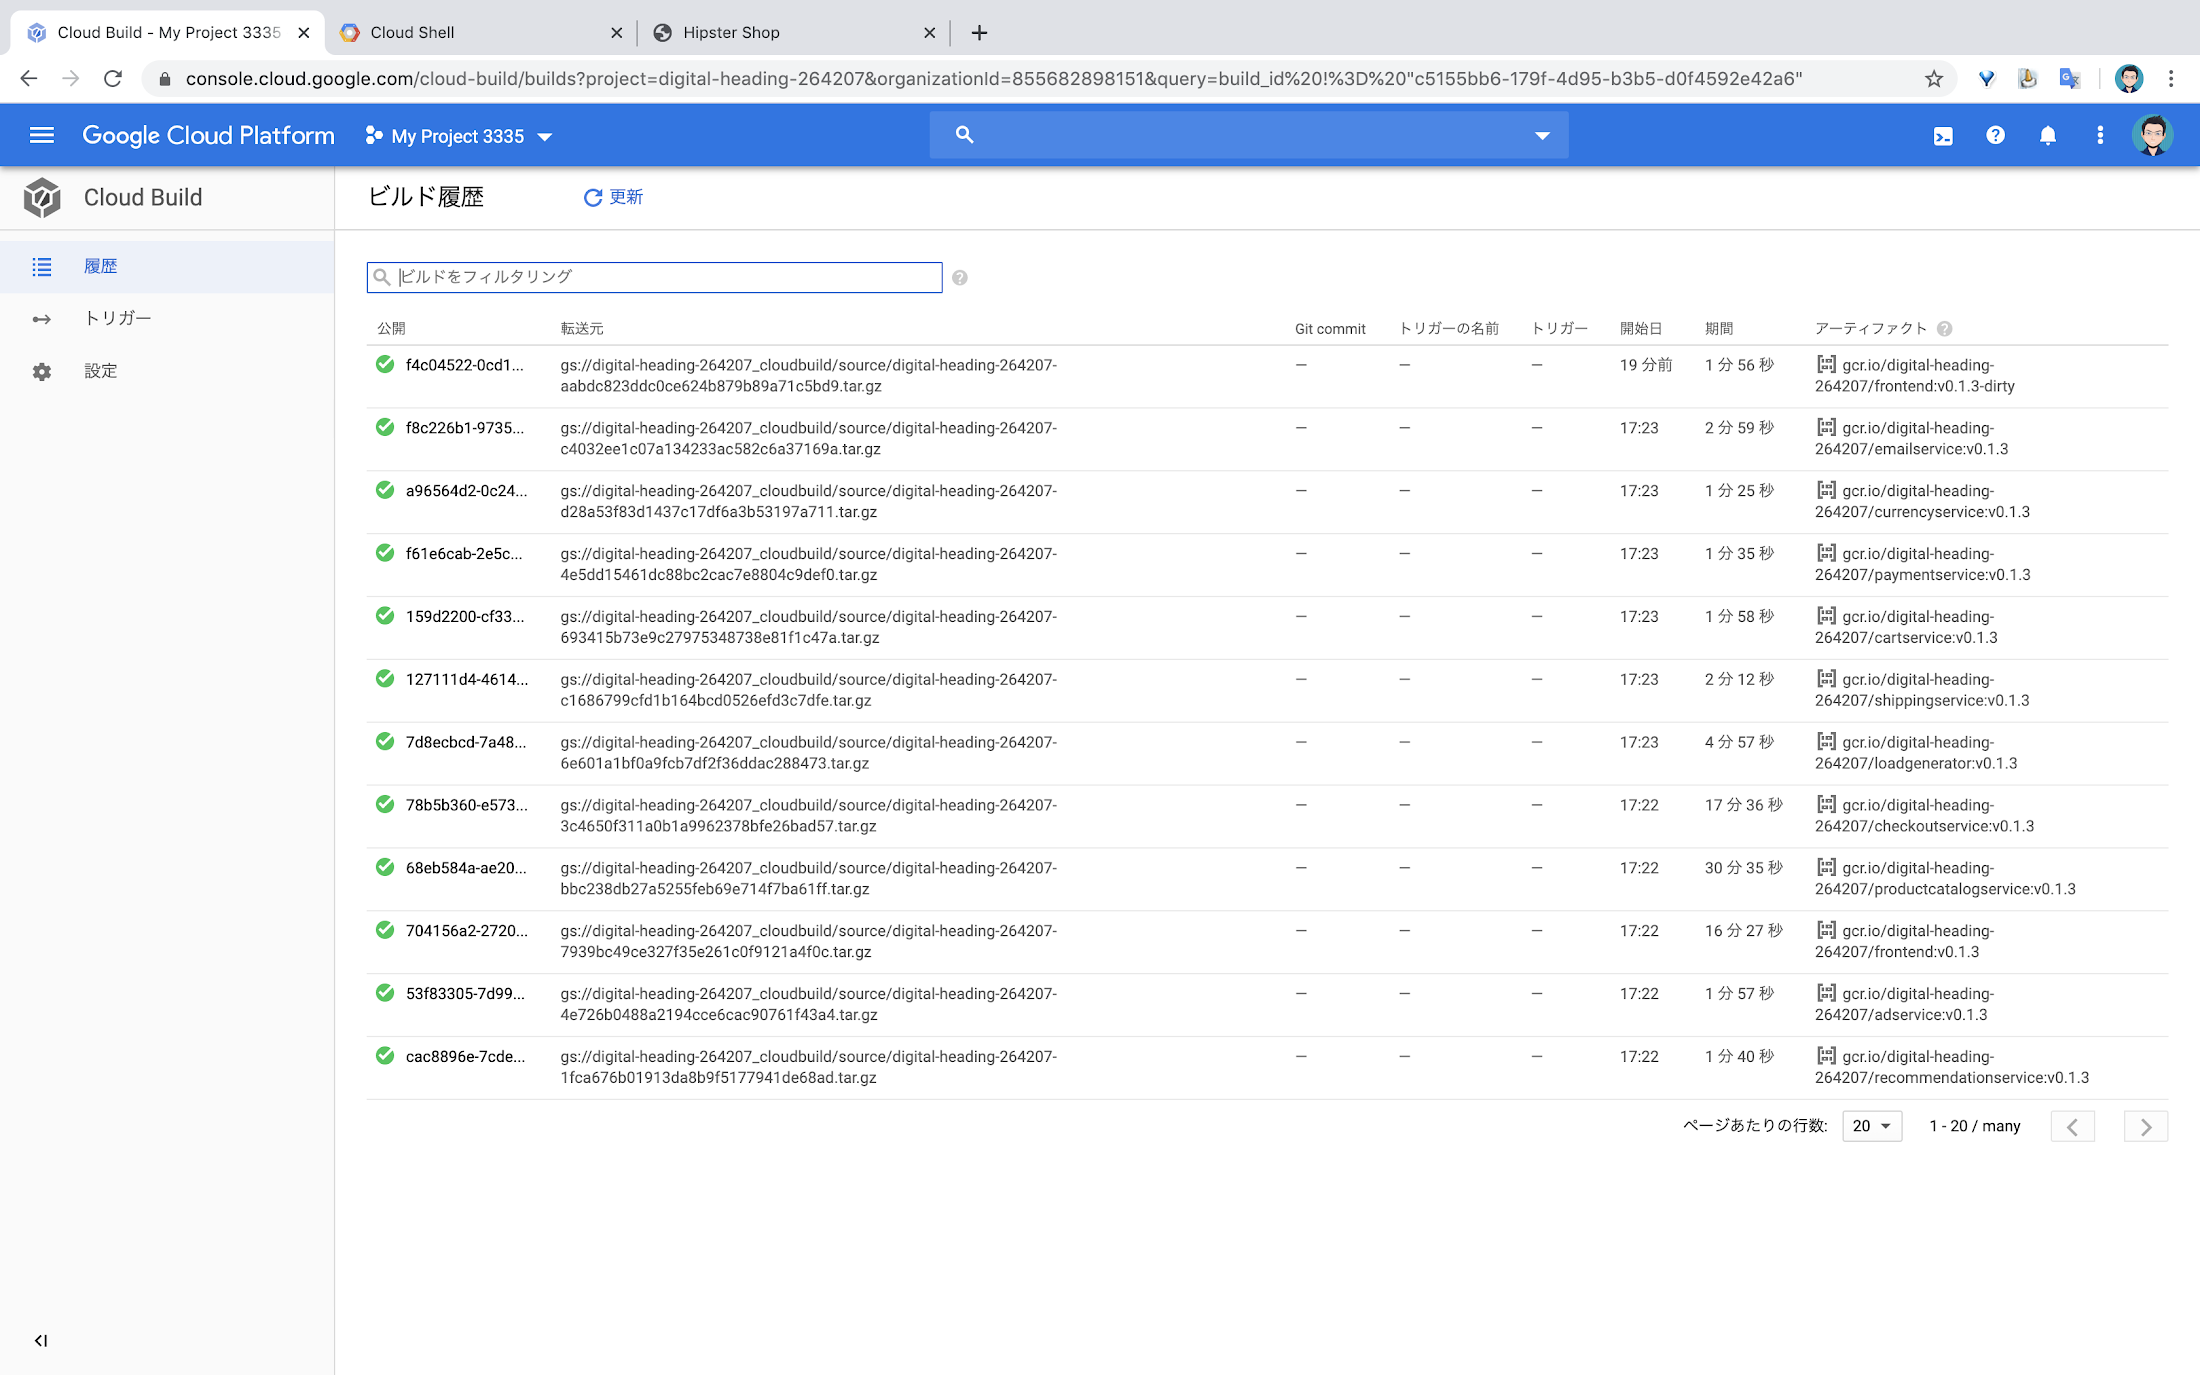
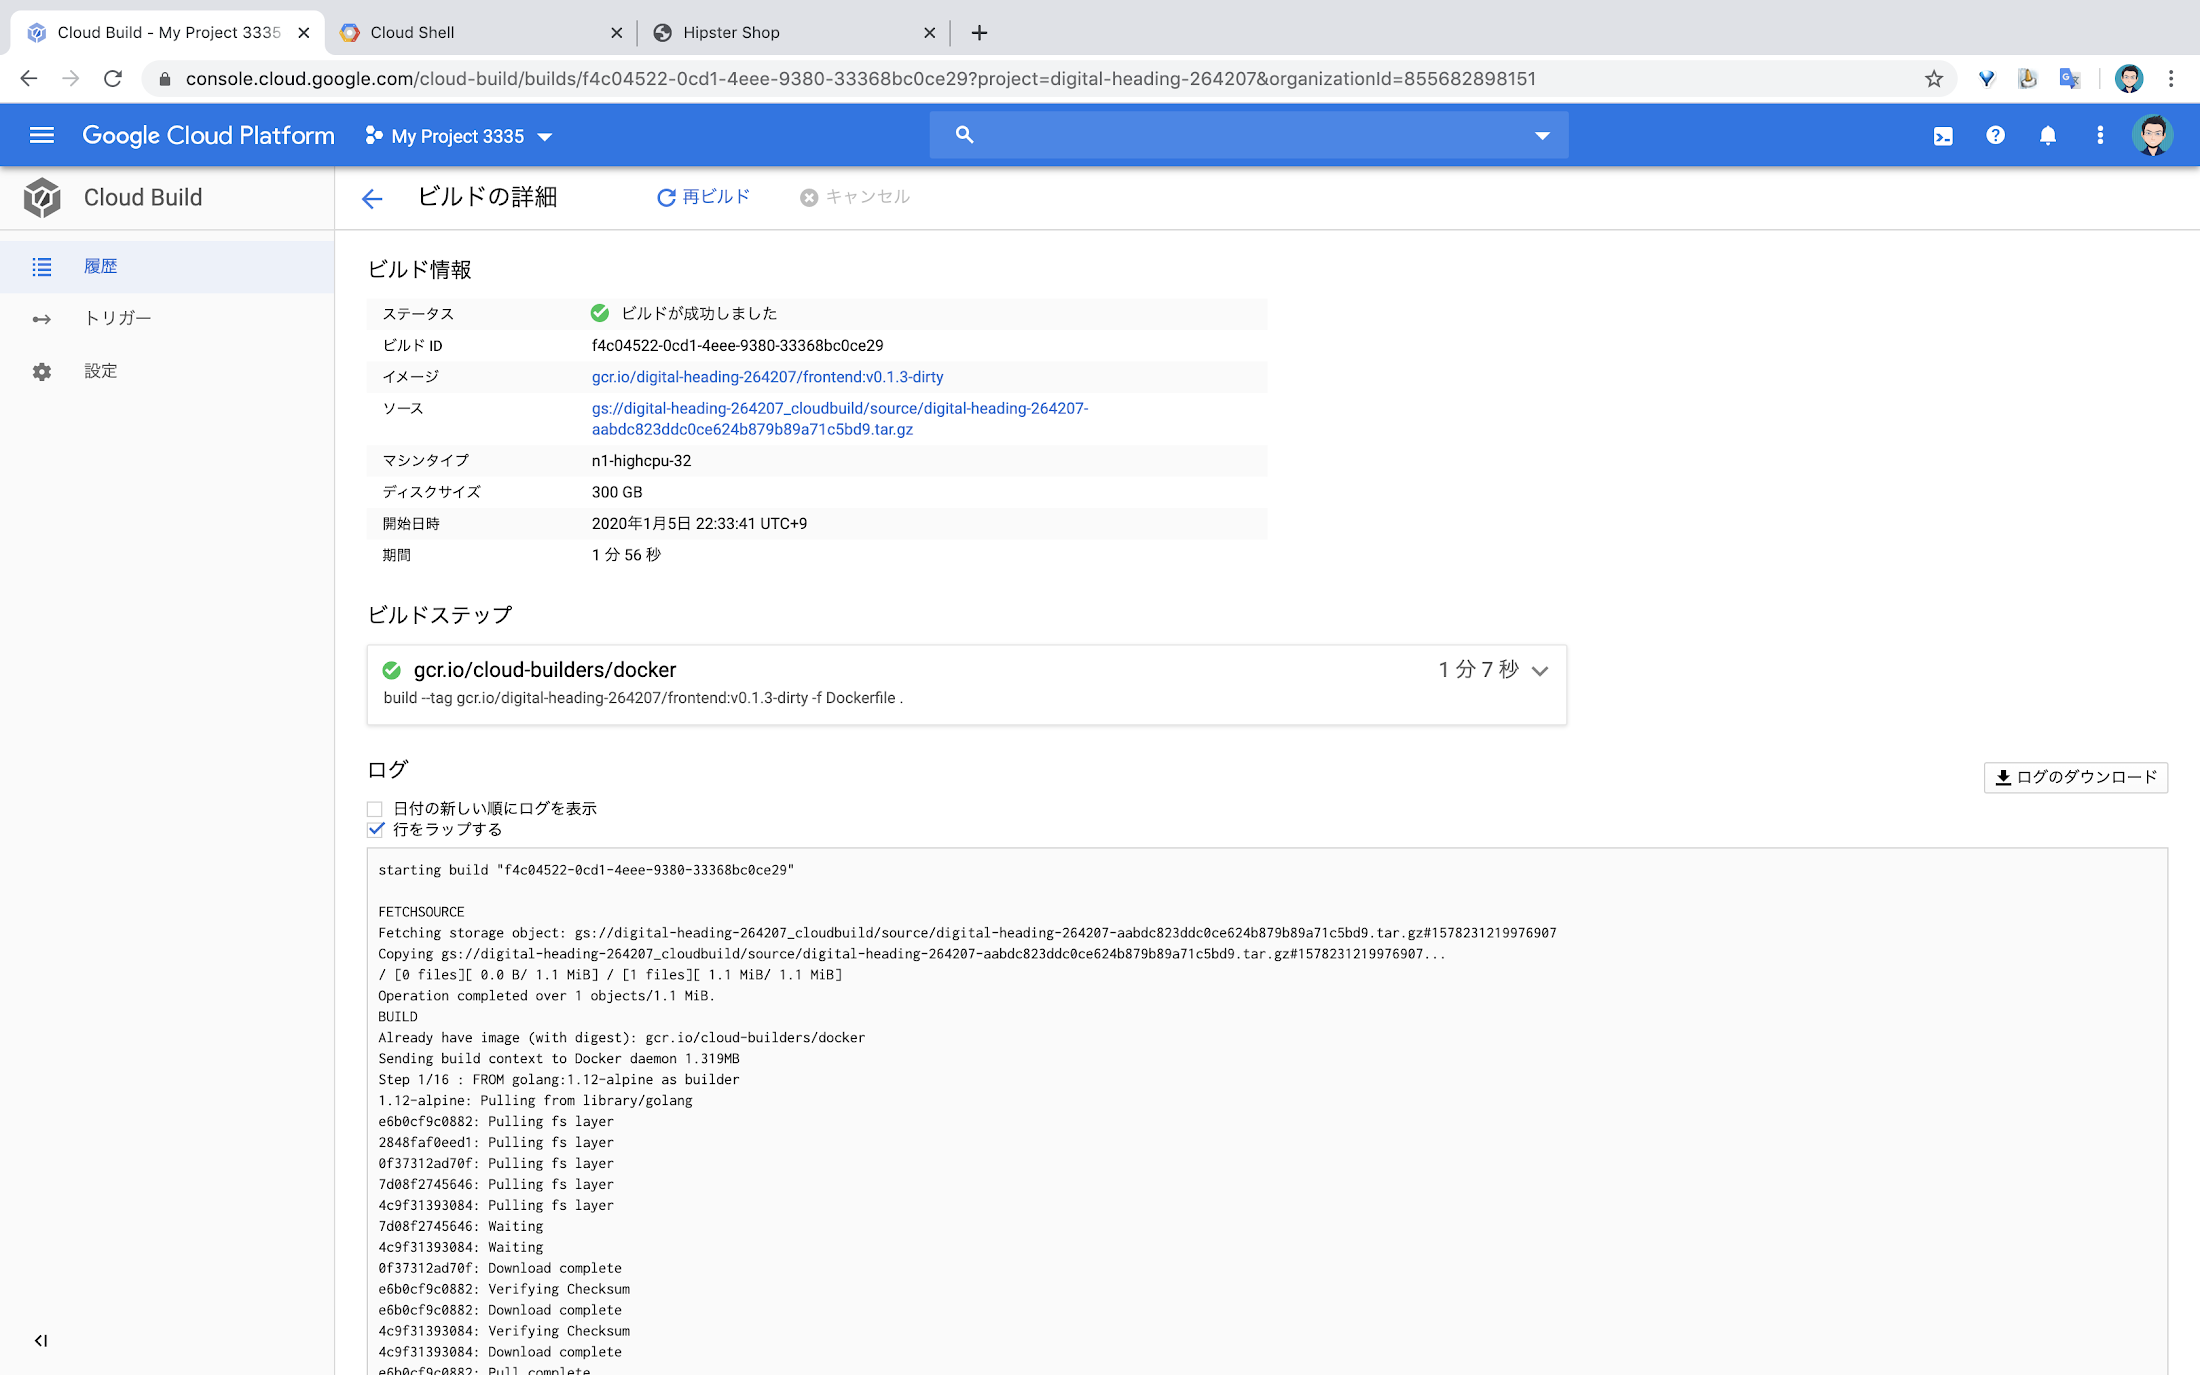
- Cloud Build のログを確認
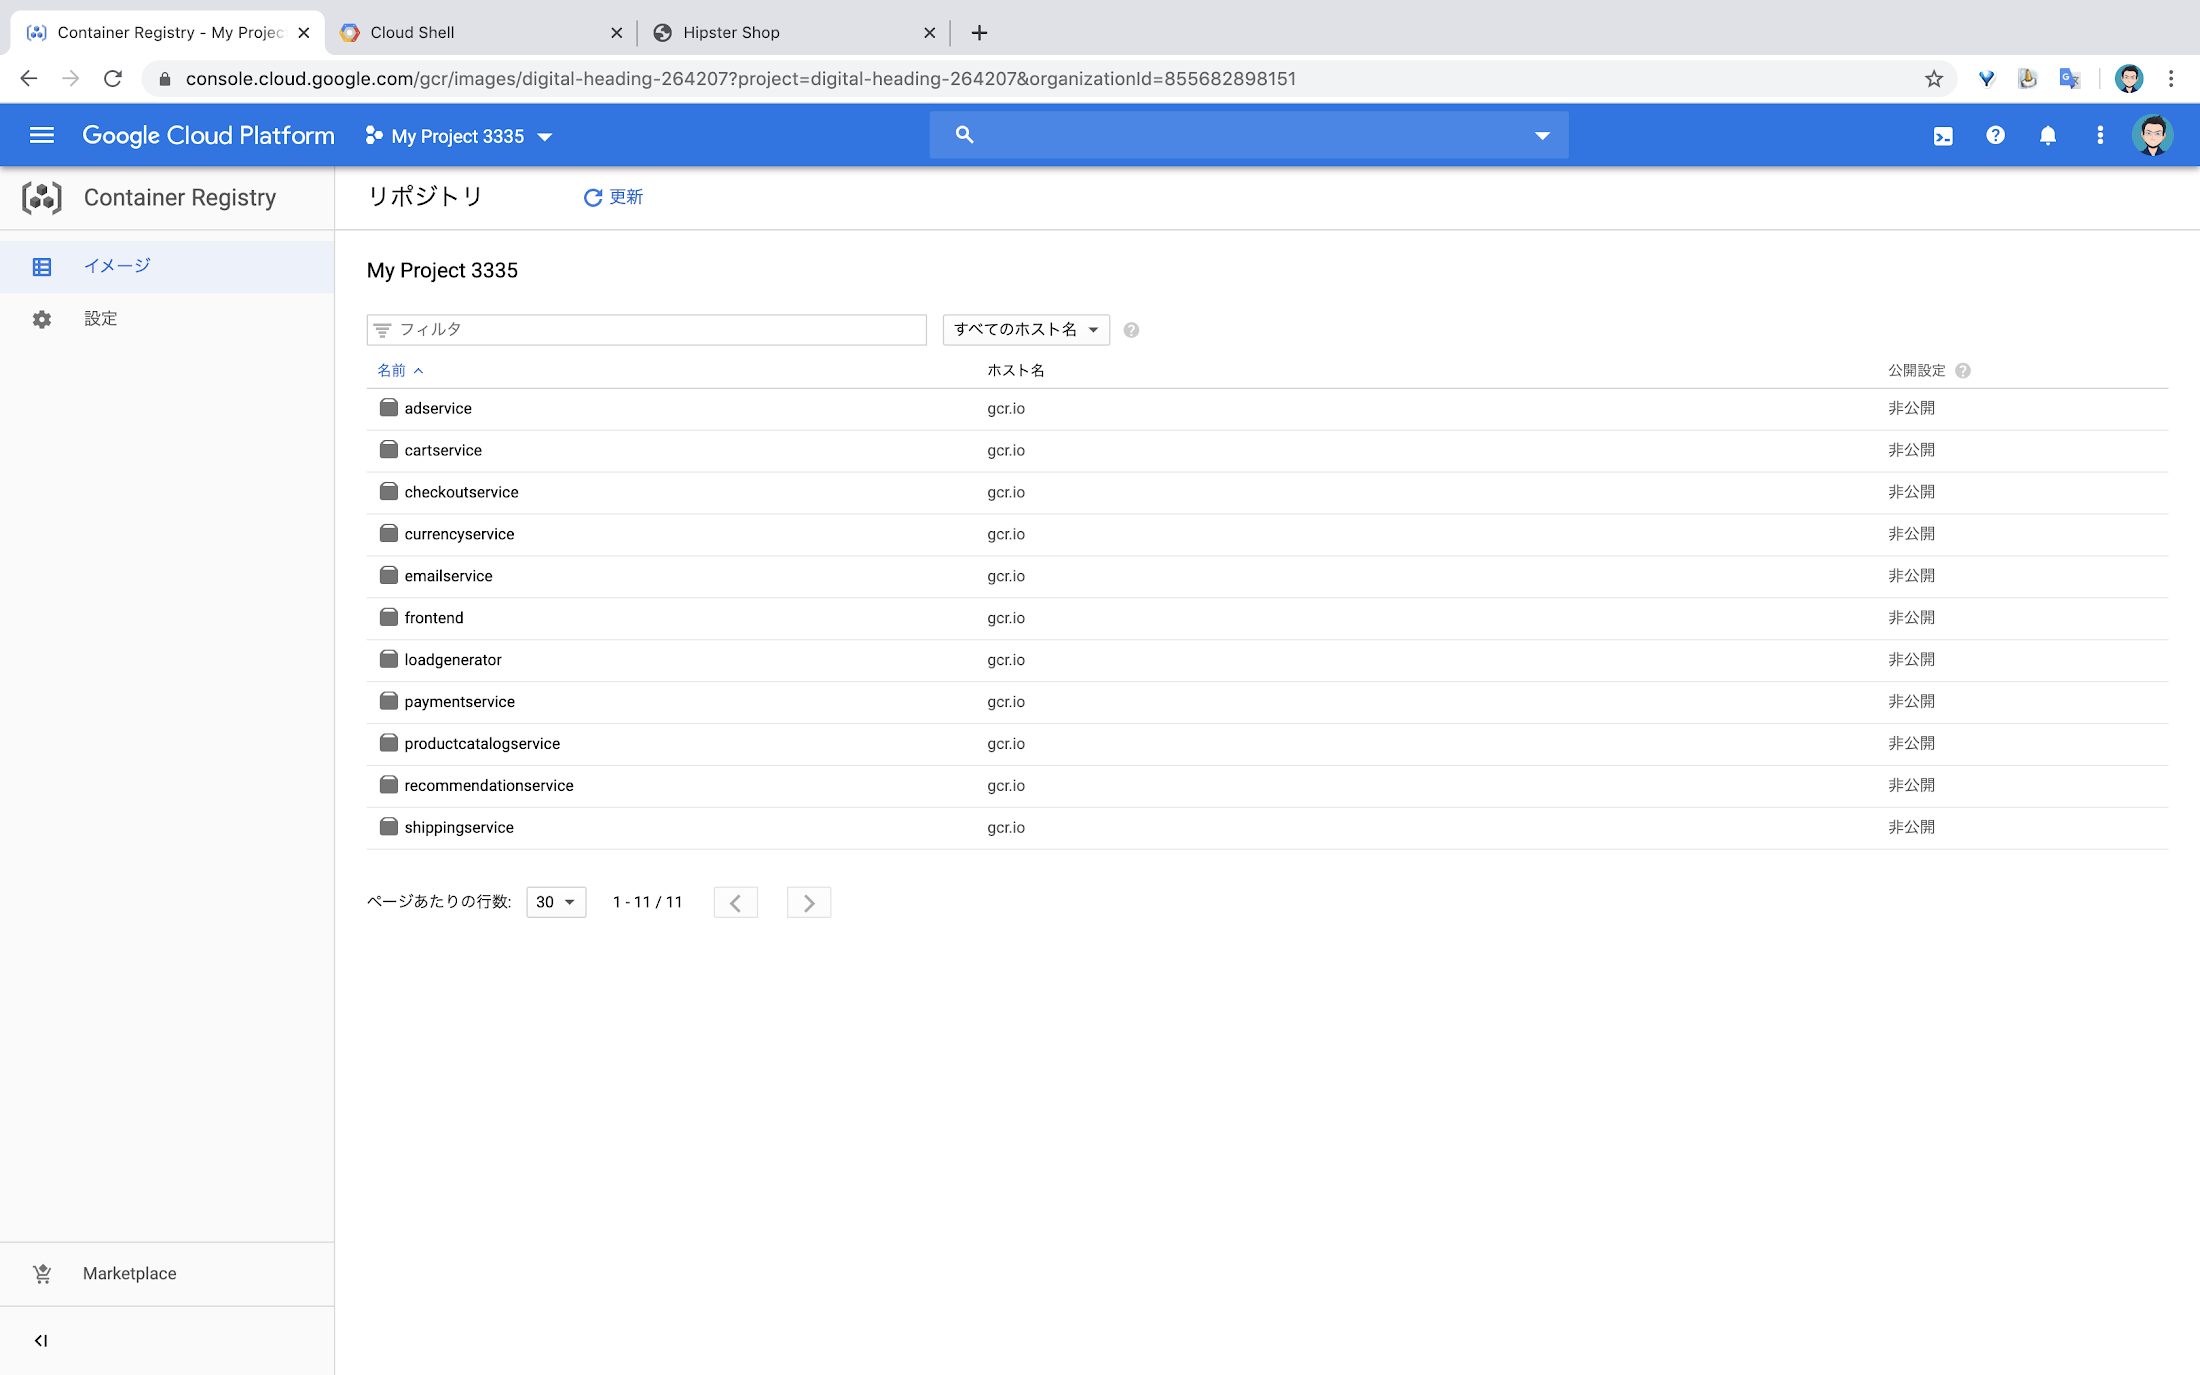
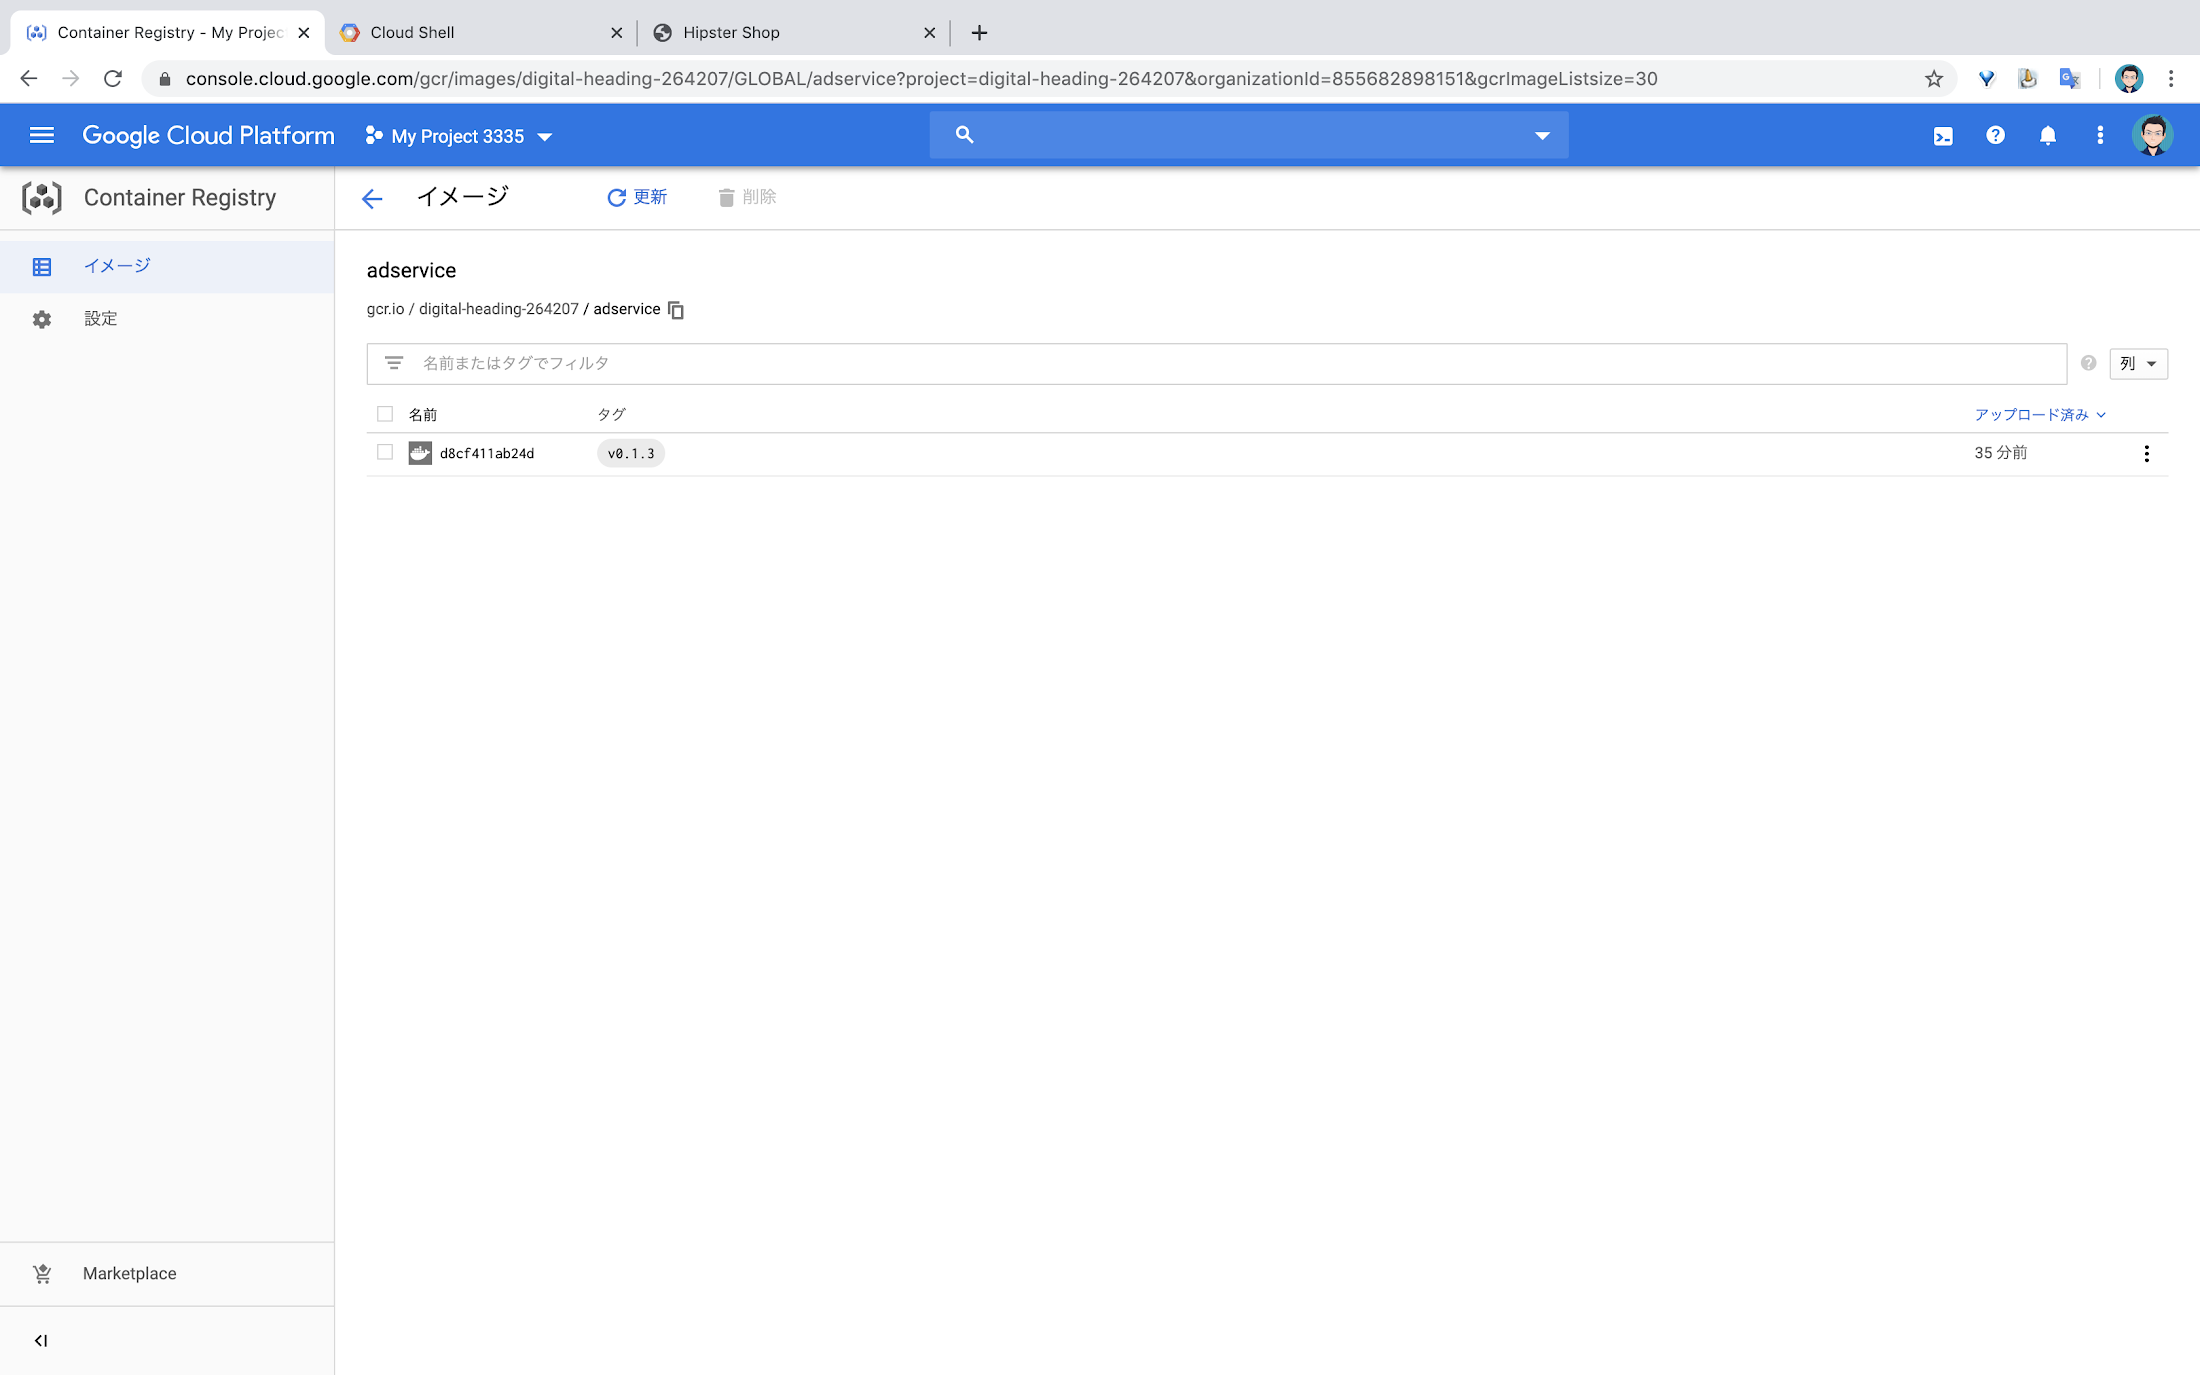
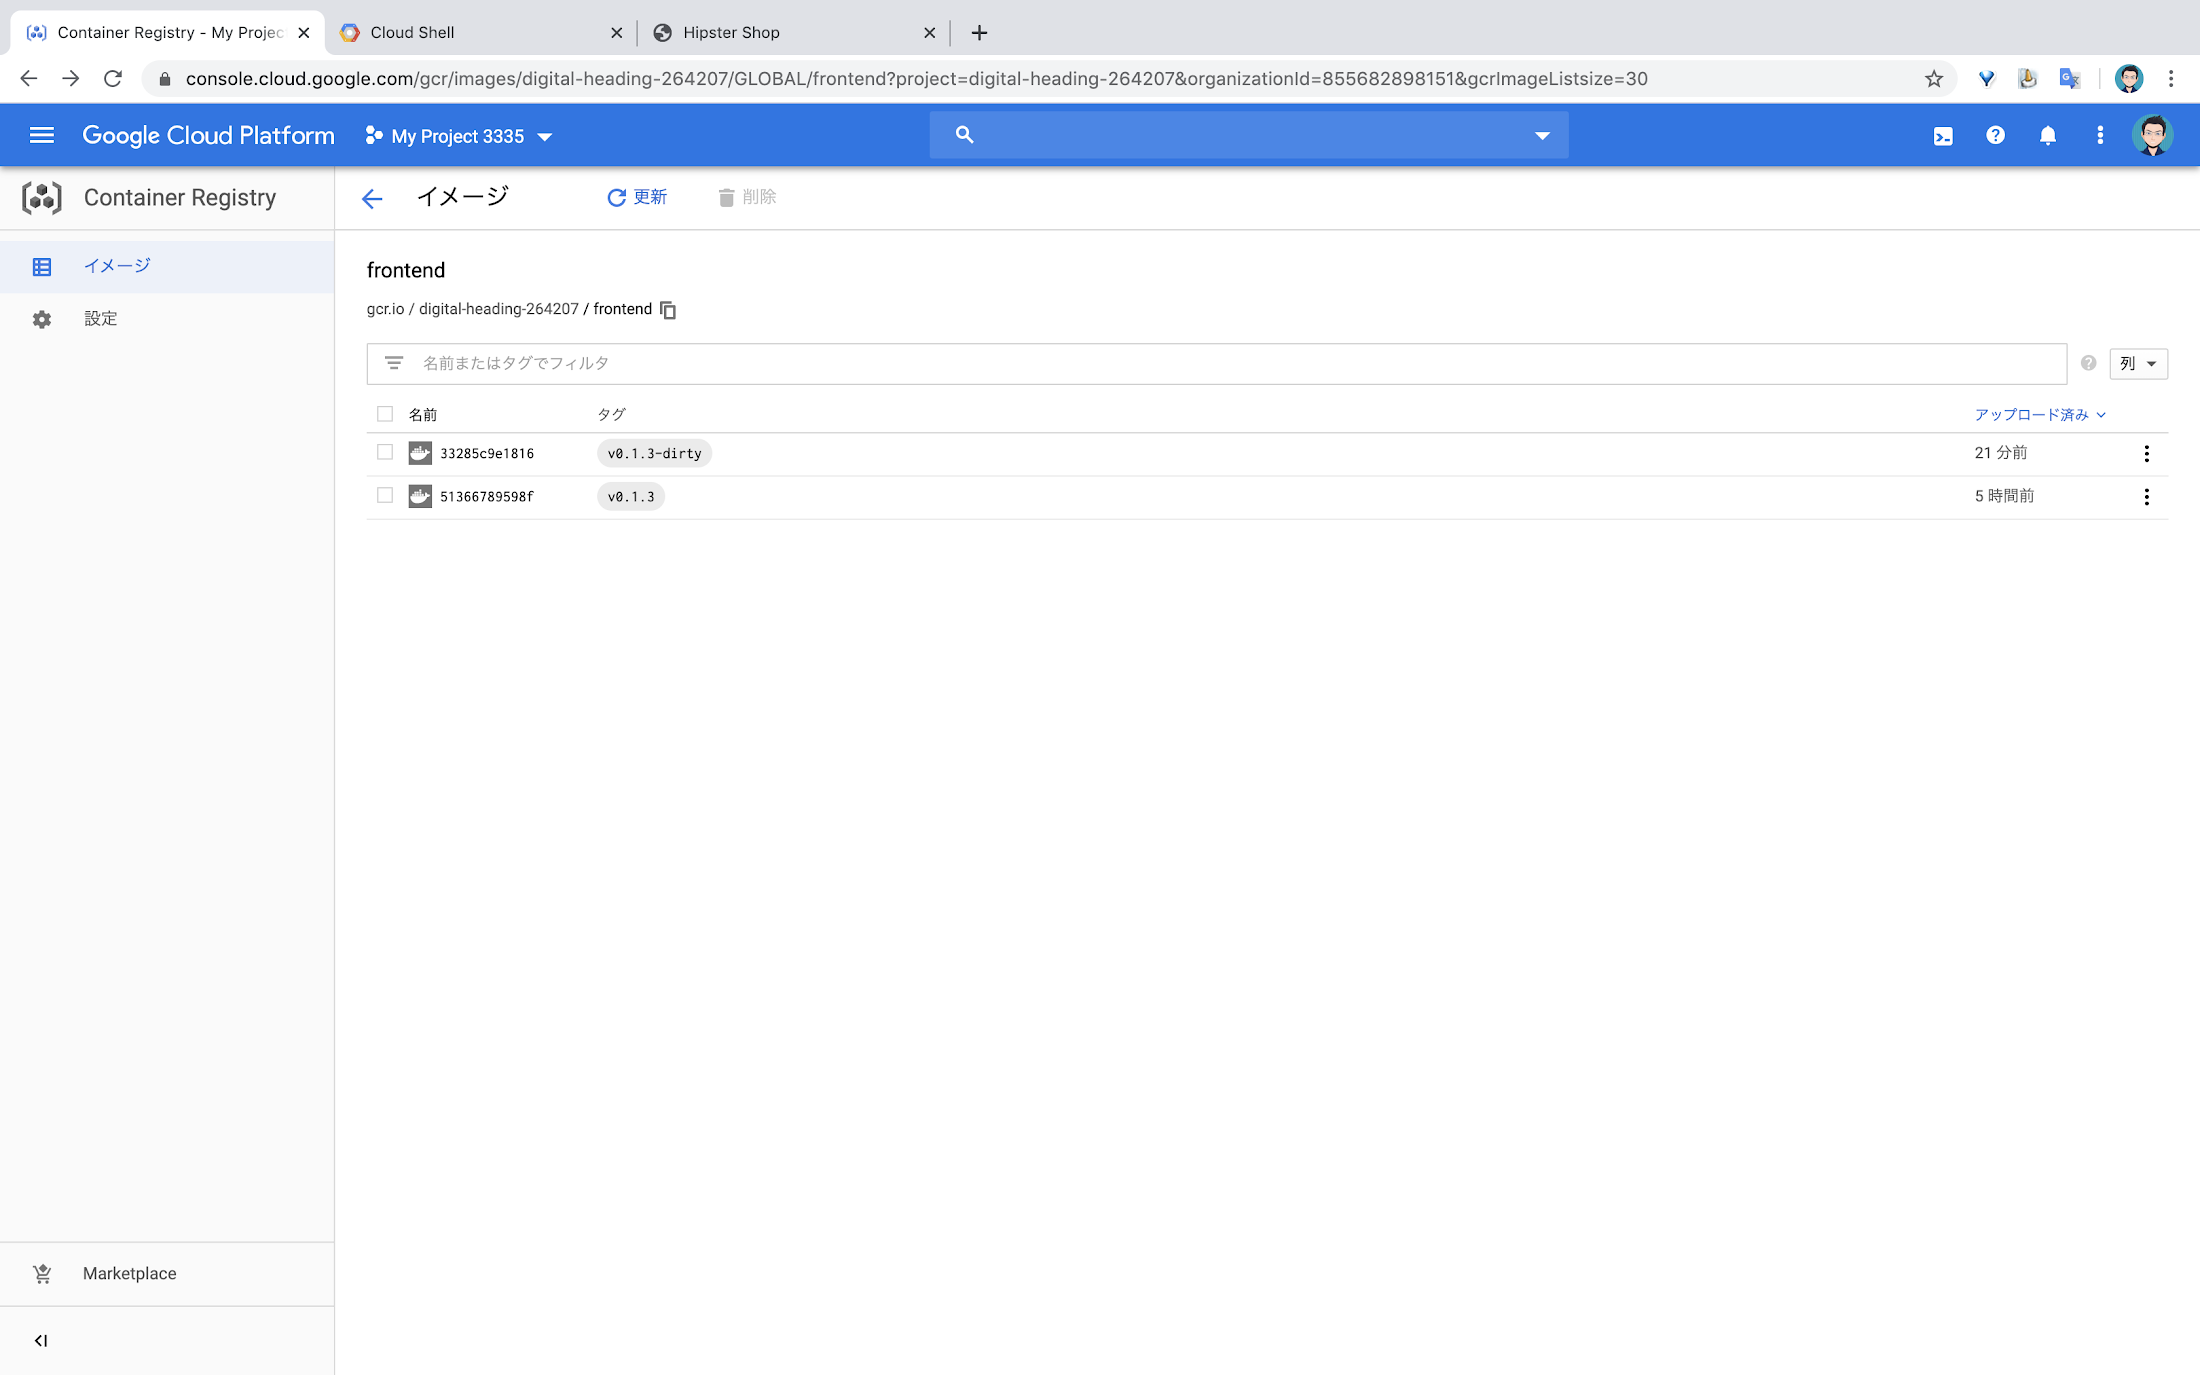
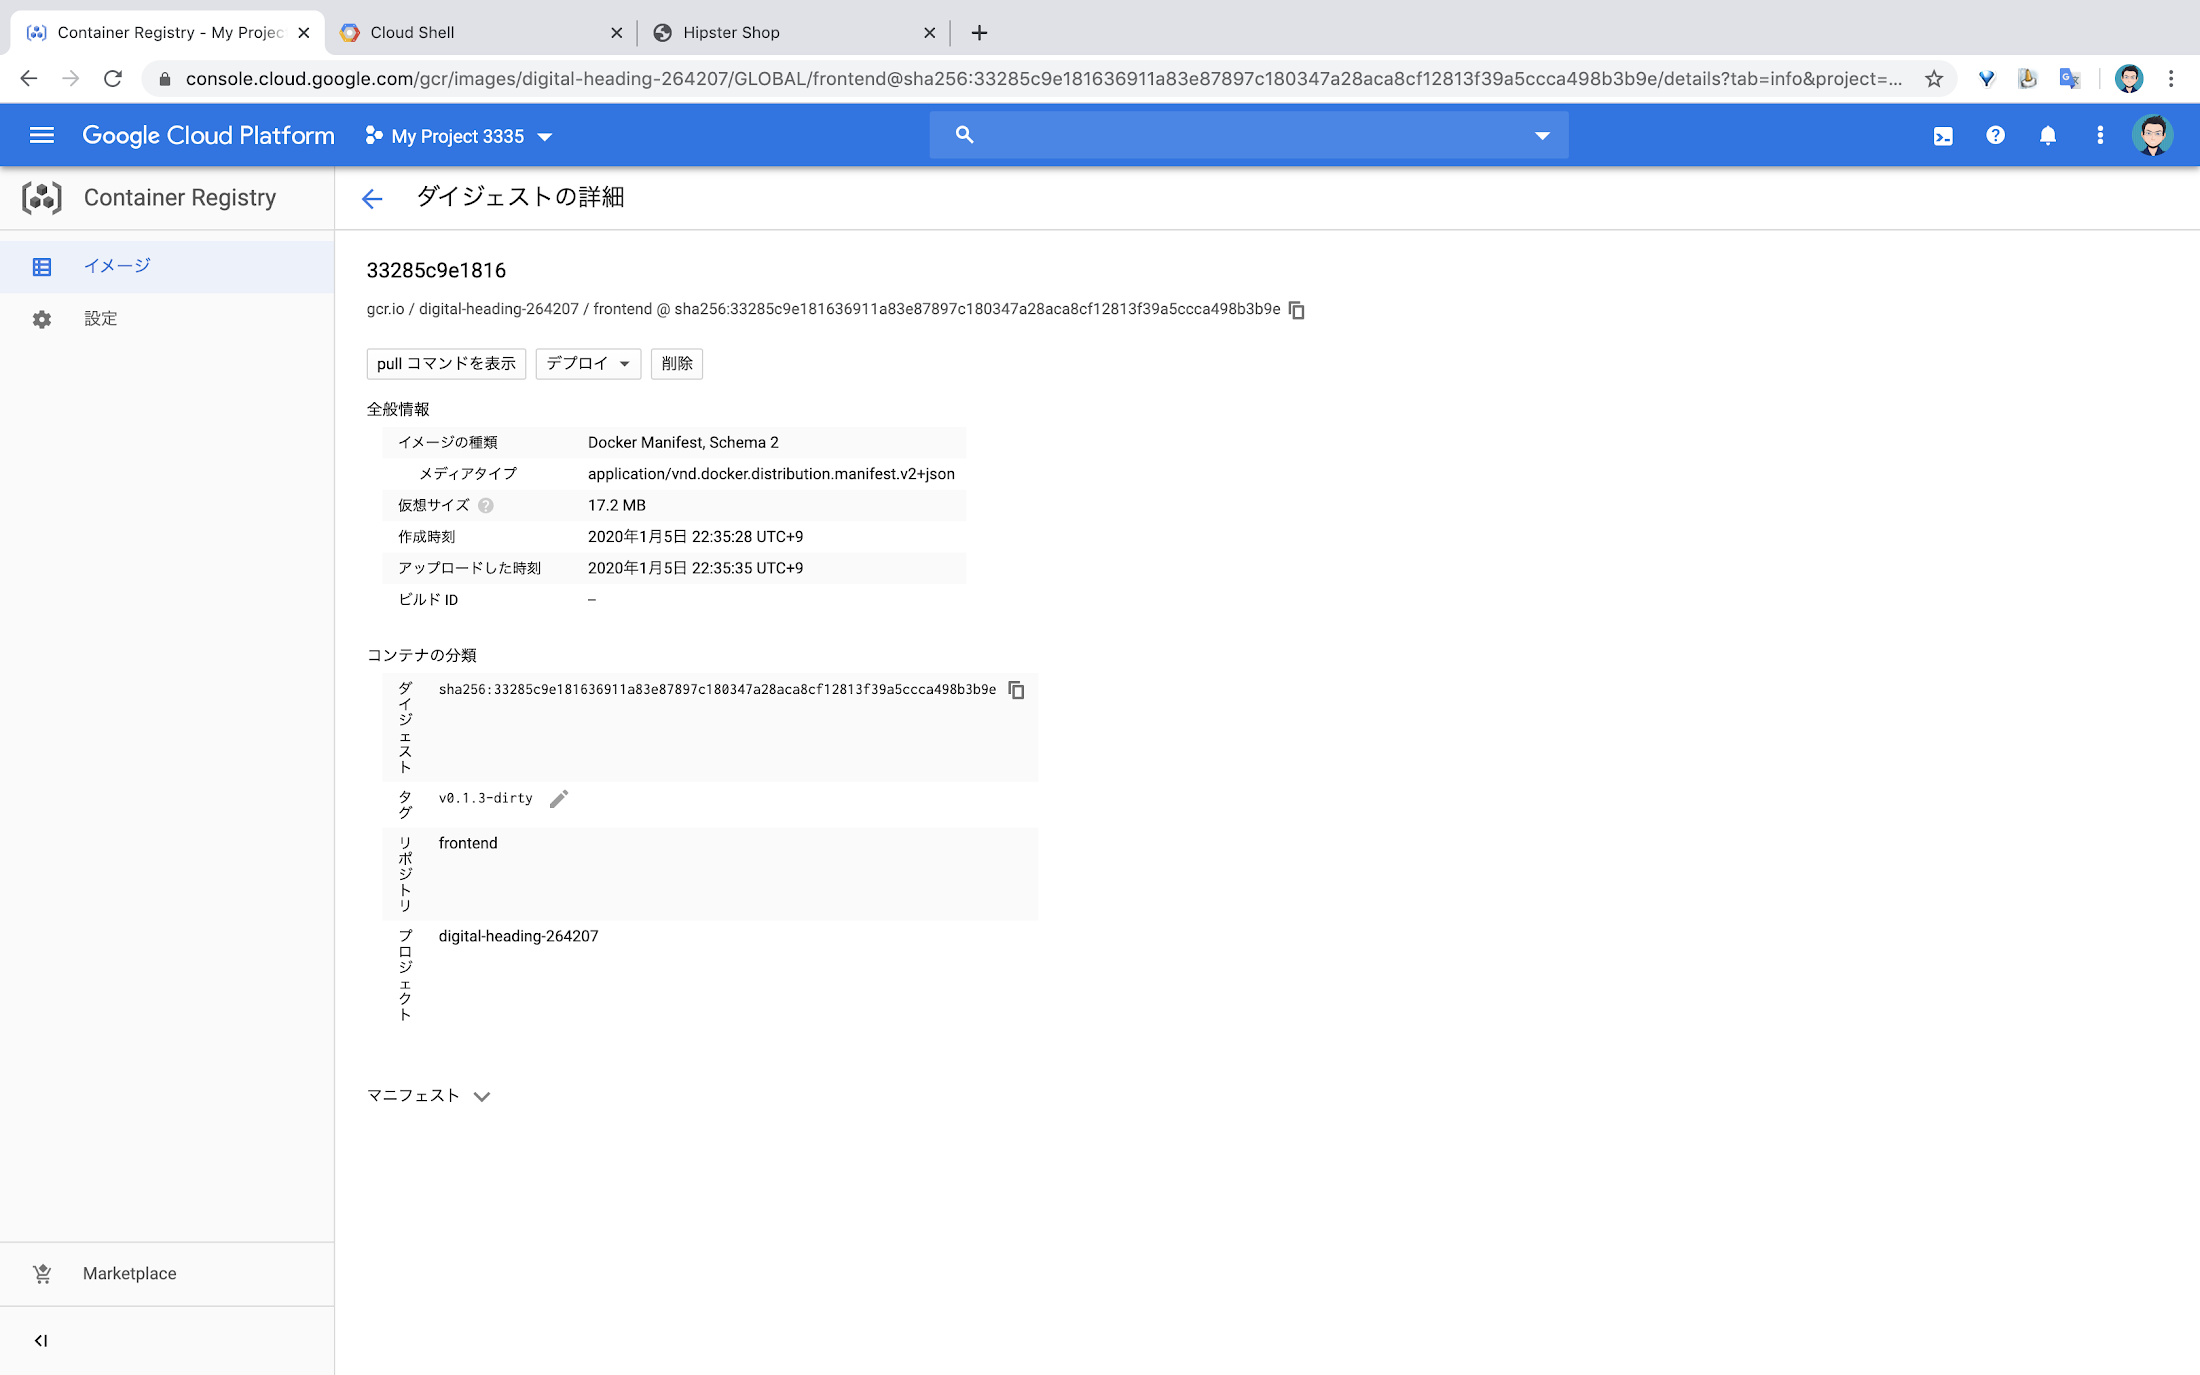
- Container Registry にあるビルドされたコンテナを確認

ソースコードの修正
ソースコードを修正し、GKE クラスタにアプリケーションを再度デプロイします。
microservices-demo/src/frontend/templates/header.html の <header> を修正し、再ビルド
- ブラウザを起動し、frontend-external の EXTERNAL-IP にアクセスし、Header 部分が変わっていることを確認
- Build ログの確認
- コンテナの確認

レプリケーションとオートヒーリング
Kubernetes の特徴は「アプリケーションのあるべき姿」を設定ファイル(yaml ファイル)で宣言できるという事です。障害があった場合でも、設定ファイルに書いたとおりのインフラを維持(オートヒーリング)するように設計されています。ここでは、adservice サービスに障害が起きたとき、正しくオートヒーリングするか確認します。また、Node がダウンした場合でも影響を与えたくない frontend サービスにはレプリケーションの設定を行います。
クラスタ環境の確認
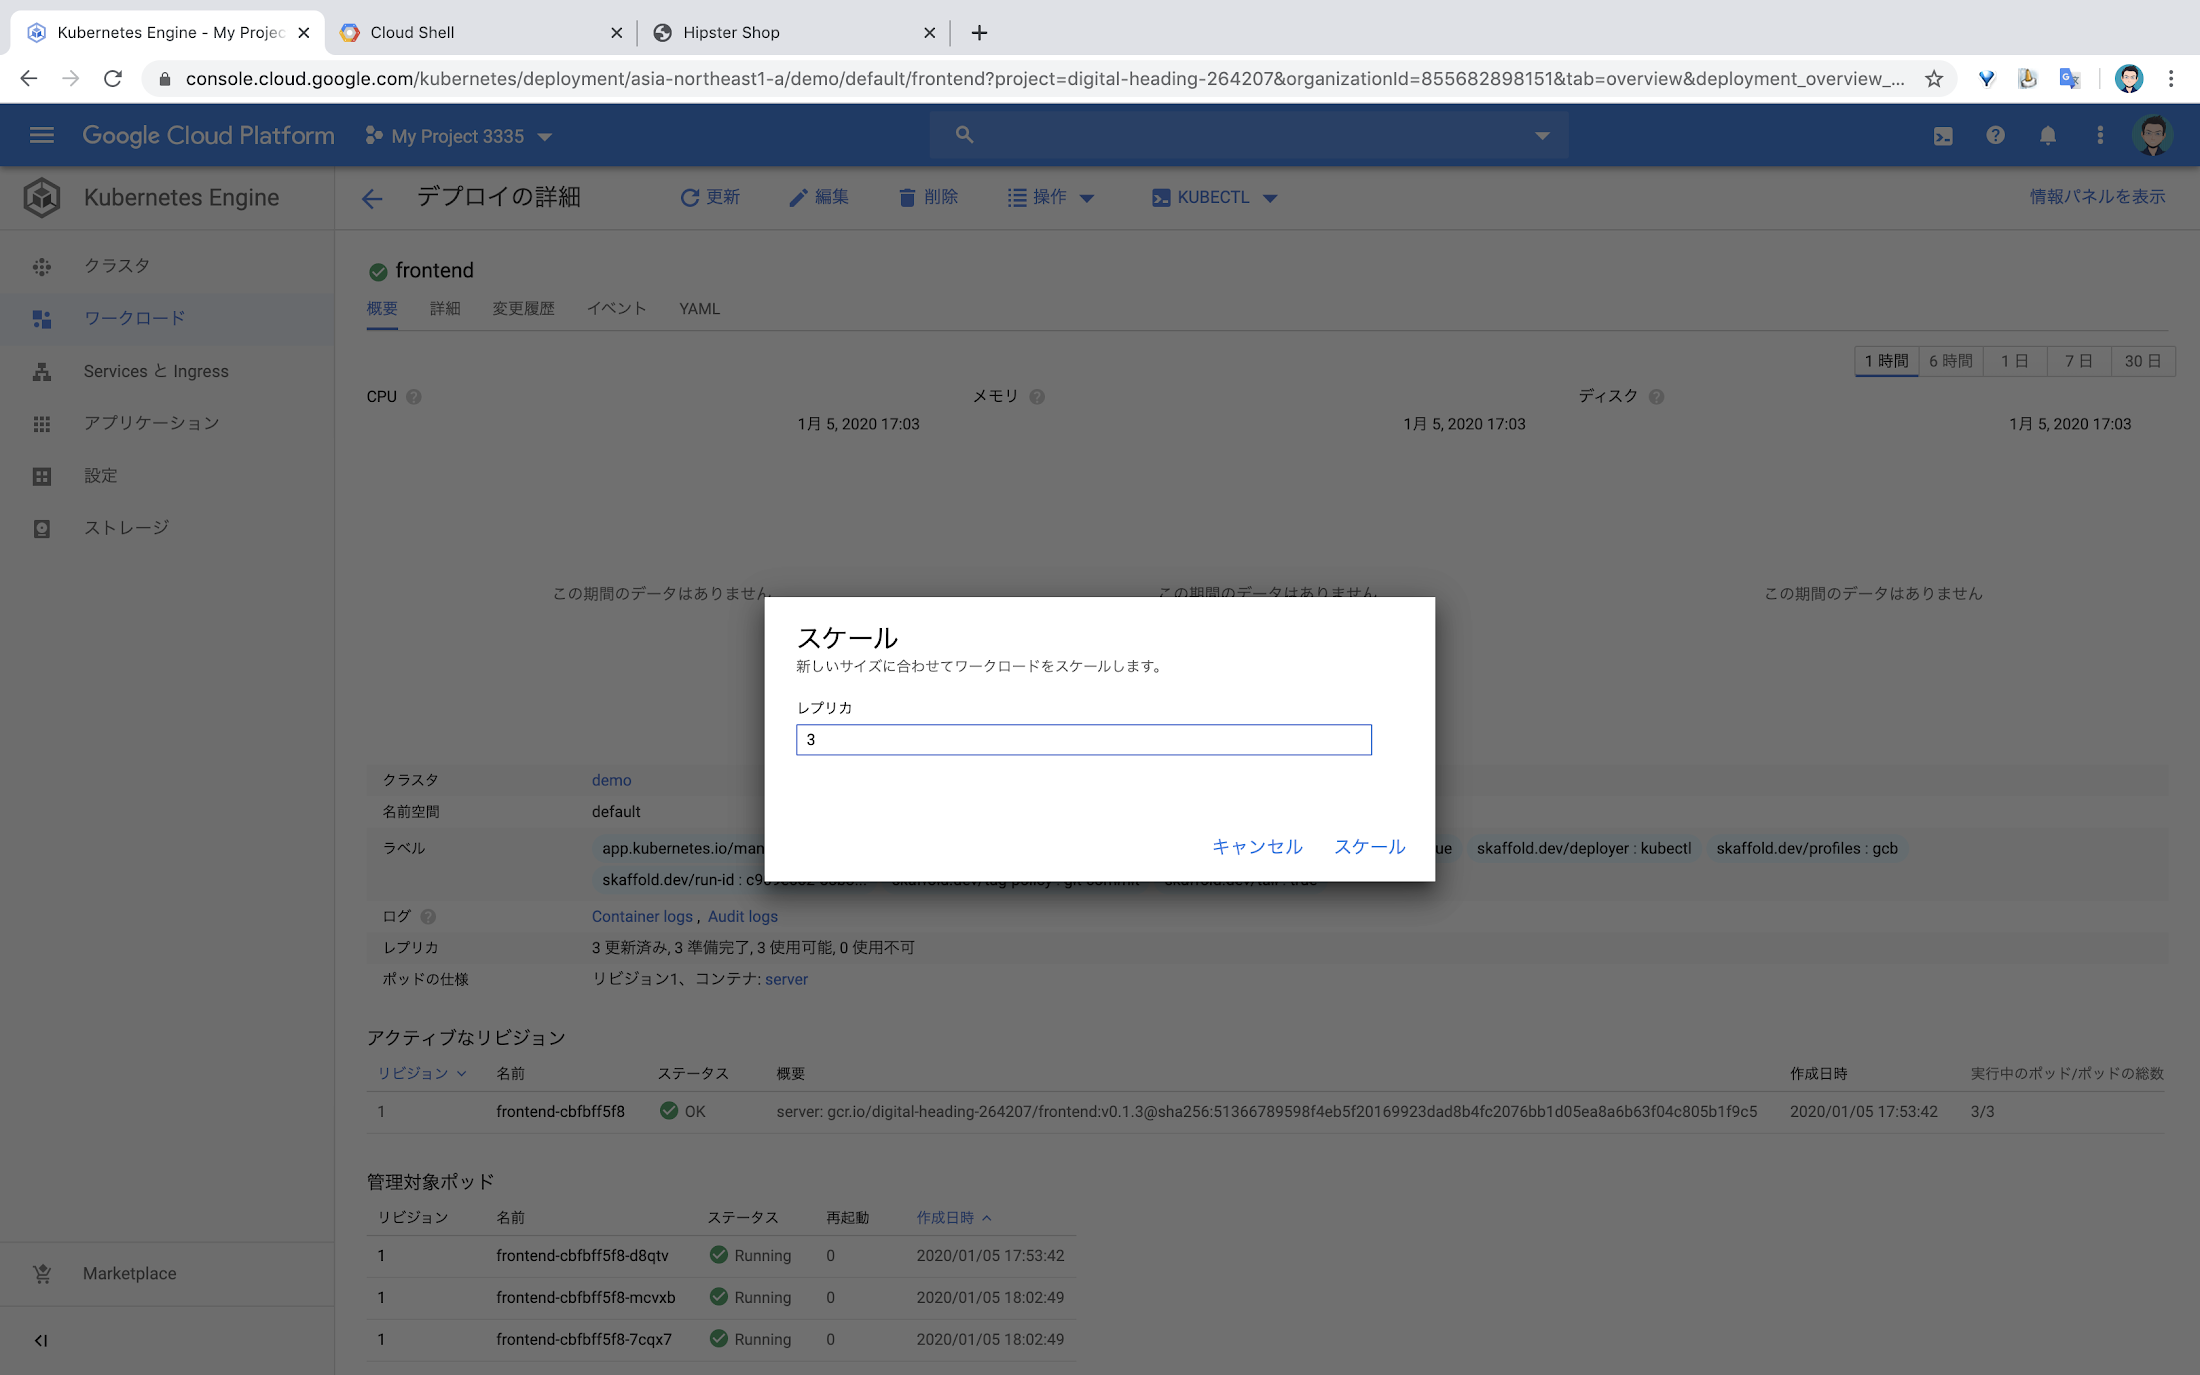
- Replica の設定: kubectl scale を使用するには、--replicas フラグを設定して新しいレプリカ数を指定します。たとえば frontend を 3 つのレプリカにスケーリングするには、次のコマンドを実行します。
- コンソールからも設定可能: [Kubernetes Engine] - [ワークロード] で Replica の設定を行いたいサービスを選択し、 [操作] - [スケール] を選択し Replica 数を設定します。
- クラスタの状態を監視: Cloud Shell で、Ctrl + b → % キーを押し、セッションウィンドウを分割し分割したウインドウで下記コマンドを実行します。(移動は Ctrl + b → o 、解除は Ctrl + b → x です。)
- オートヒーリングのテスト: 元のウインドウに戻り(Ctrl + b → o)、Pod が落ちたときでも、自動的に新しくコンテナを作成されることを確認します。(分割ウインドウの状態を確認)
- オートヒーリングのテスト: Node が落ちたときでも、自動的に Node が再起動されることを確認します。(分割ウインドウを確認)
- adservice とサイト全体の状態をブラウザで確認: adservice は ページ下部に広告を表示するサービスです。adservice の Pod や Node が落ちると、一時的に広告が表示されなくなりますが、サイト全体は落ちません。また、オートヒーリングにより、すぐに adservice が再作成され、広告も正常に表示されます。
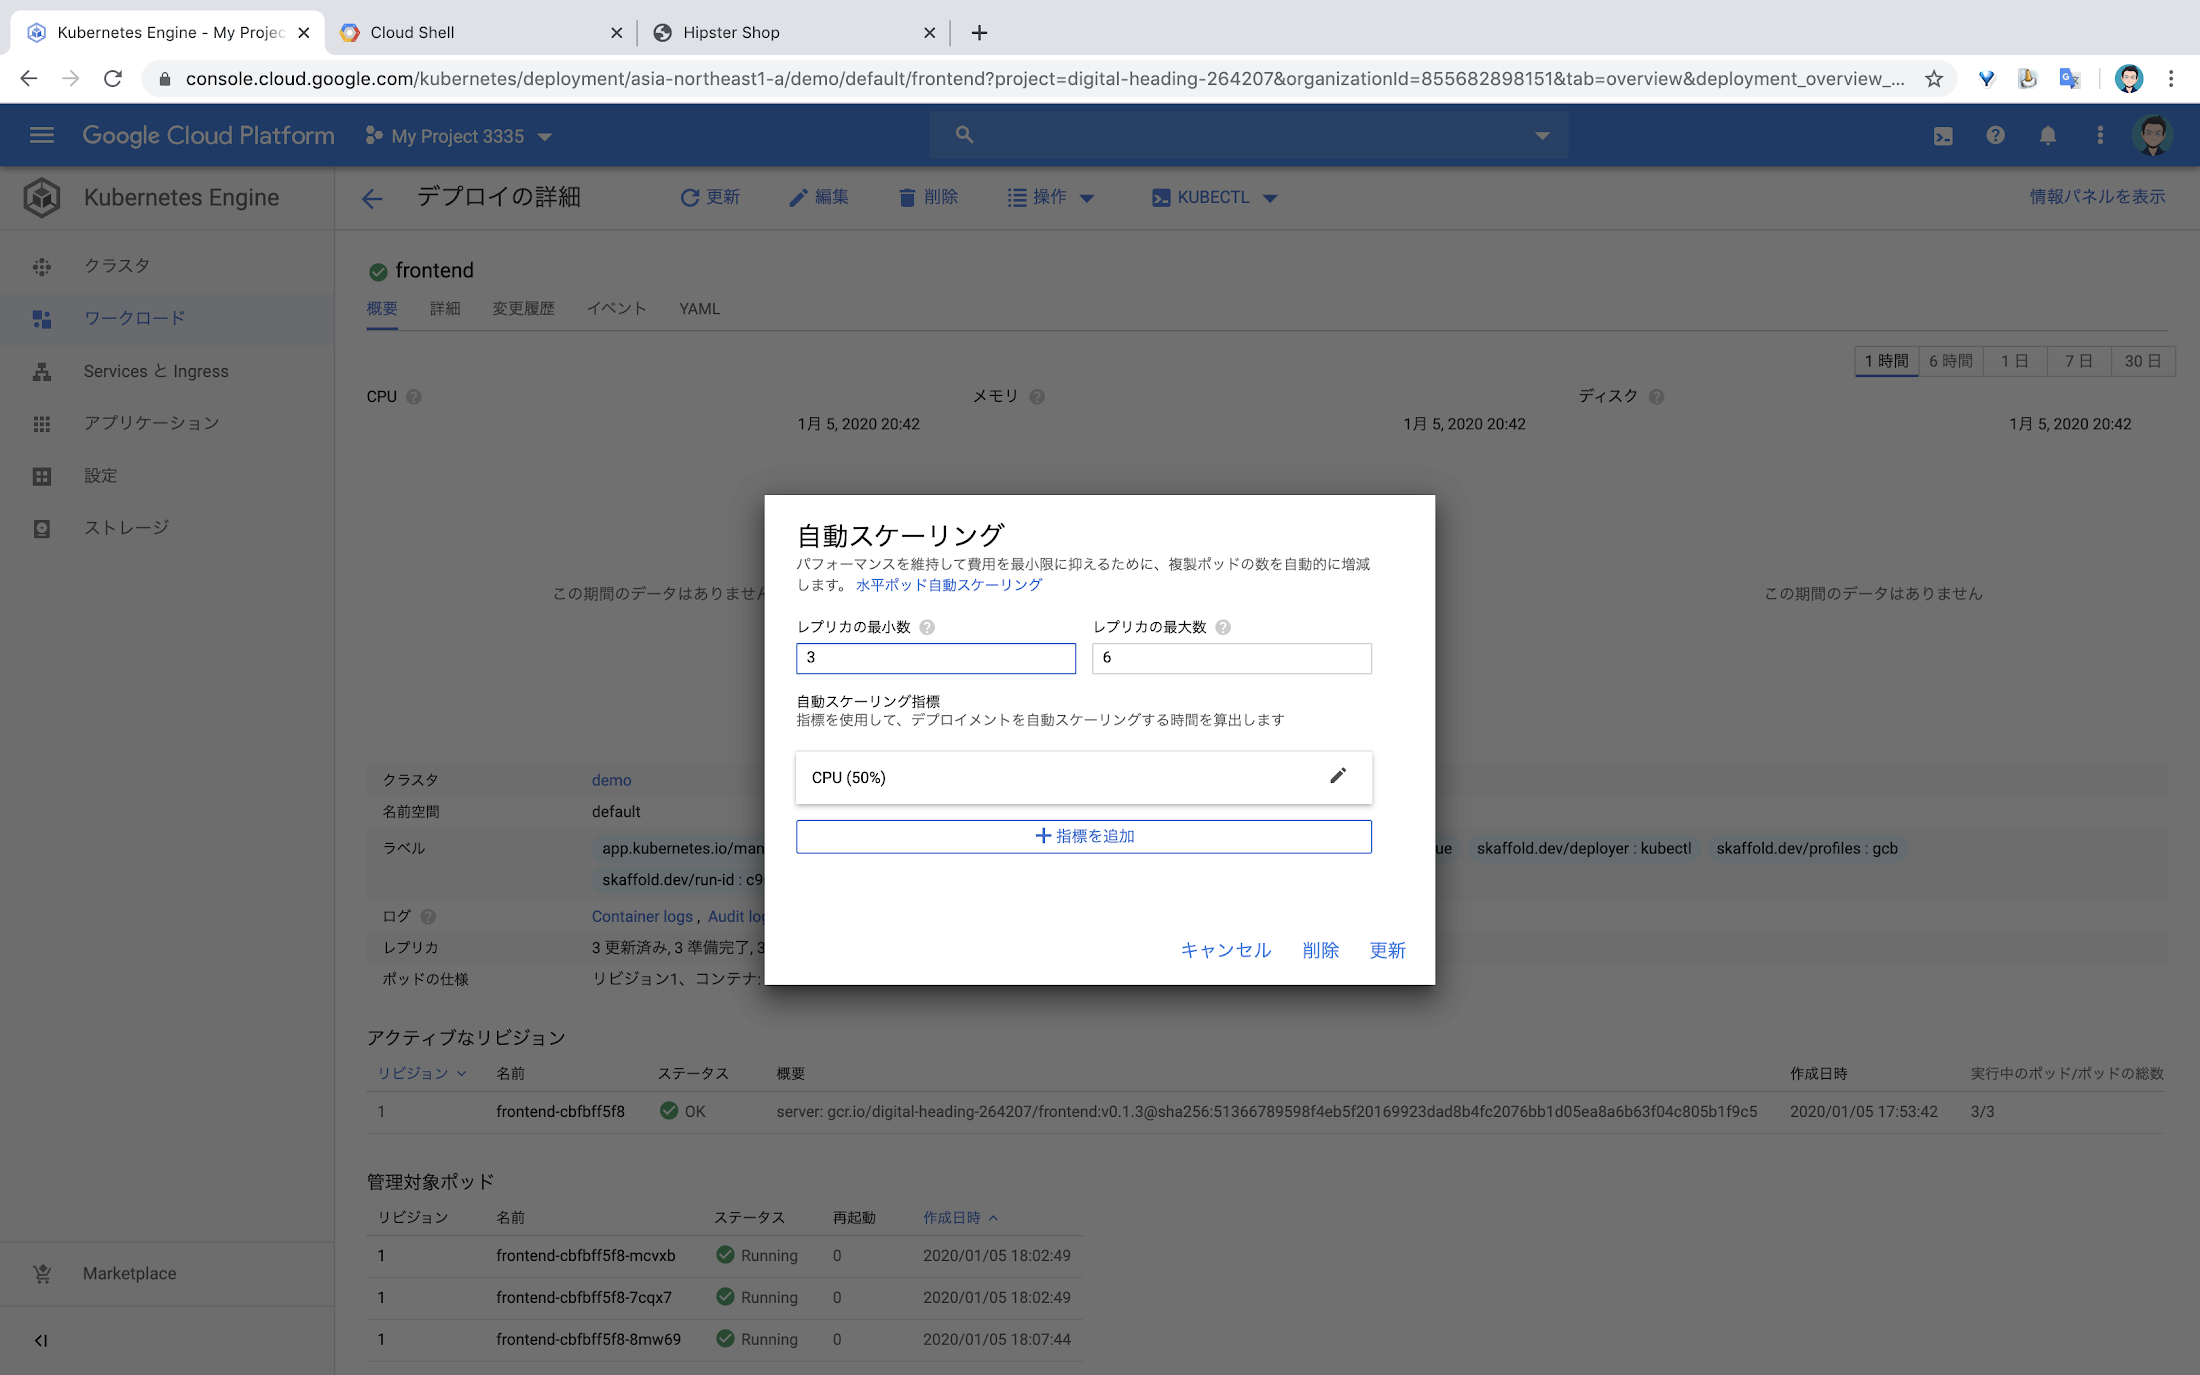
オートスケーリング
Horizontal Pod Autoscaler (HPA) により、各サービスの CPU 使用率に応じて、Pod を自動的にスケールすることができます。ここでは、負荷がかかりやすい frontend サービスを自動的にスケールするように設定したいと思います。
オートスケーリングの設定: kubectl autoscale を使用するときは、アプリケーションの最大レプリカ数と最小レプリカ数、CPU 使用率の目標を指定します。たとえば、レプリカの最大数を 6、最小数を 3 にして、CPU 使用率の目標を 50% に設定するには、下記コマンドを実行します。(オートスケーリングの設定を解除する場合は、kubectl delete hpa frontend)
- コンソールからも設定可能: [Kubernetes Engine] - [ワークロード] で autoscale の設定を行いたいサービスを選択し、 [操作] - [自動スケーリング] を選択し設定します。
- オートスケーリングのテスト: Apache Bench によるストレステストを行い、正しくオートスケールされるか確かめてみます。frontend サービスの CPU 使用率が 50% を超えたあたりから、pod 数が自動的に増加することを確認します。
クリーンアップ
利用したリソースを今後利用しない場合は、課金を避けるためにも削除しましょう。
アプリケーションを削除する場合: skaffold run コマンドを使ってデプロイした場合は、skaffold delete コマンドで、デプロイしたアプリケーションをクリーンアップすることができます。kubectl apply -f [...] コマンドを使ってデプロイした場合は、kubectl delete -f [...] コマンドで、デプロイしたアプリケーションをクリーンアップしてください。
- クラスタごと削除する場合
- プロジェクトごと削除する場合
いかがでしょうか。マイクロサービスの開発、ビルド、デプロイ、運用を体験できたでしょうか。本来のマイクロサービスアプリケーションは、もっと大規模なものになるとは思いますが、少しでも実感が湧いてもらえればと思います。