Using VPC Service Controls and the Cloud Storage Transfer Service to move data from S3 to Cloud Storage

Stuart Gano
Customer Engineer, Google Cloud
Our Cloud Storage Transfer Service lets you securely transfer data from Amazon S3 into Google Cloud Storage. Customers use the transfer service to move petabytes of data between S3 and Cloud Storage in order to access GCP services, and we’ve heard that you want to harden this transfer. Using VPC Service Controls, our method of defining security perimeters around sensitive data in Google Cloud Platform (GCP) services, will let you harden the security of this transfer by adding an additional layer or layers to the process.
Let’s walk through how to use VPC Service Controls to securely move your data into Cloud Storage. This example will use the simplistic VPC Service Control rule of using a service account, but these rules can become much more granular. The VPC Service Control documentation walks through those advanced rules if you’d like to explore other examples. See some of those implementations here.
Along with moving data from S3, the Cloud Storage Transfer Service can move data between Cloud Storage buckets and HTTP/HTTPS servers.
This tutorial assumes that you’ve set up a GCP account or the GCP free trial. Access the Cloud Console, then select or create a project and make sure billing is enabled.
Let’s move that data
Follow this process to move your S3 data into Cloud Storage.
Step 0: Create an AWS IAM user that can perform transfer operations, and make sure that the AWS user can access the S3 bucket for the files to transfer.
GCP needs to have access to the data source in Amazon S3. The AWS IAM user you create should have the following roles:
List the Amazon S3 bucket.
Get the location of the bucket.
Read the objects in the bucket.
You will also need to create at least one access/secret key pair for the transfer job. You can also choose to create a separate access/secret key pair for each transfer operation, depending on your business needs.
Step 1: Create your VPC Service Control perimeter
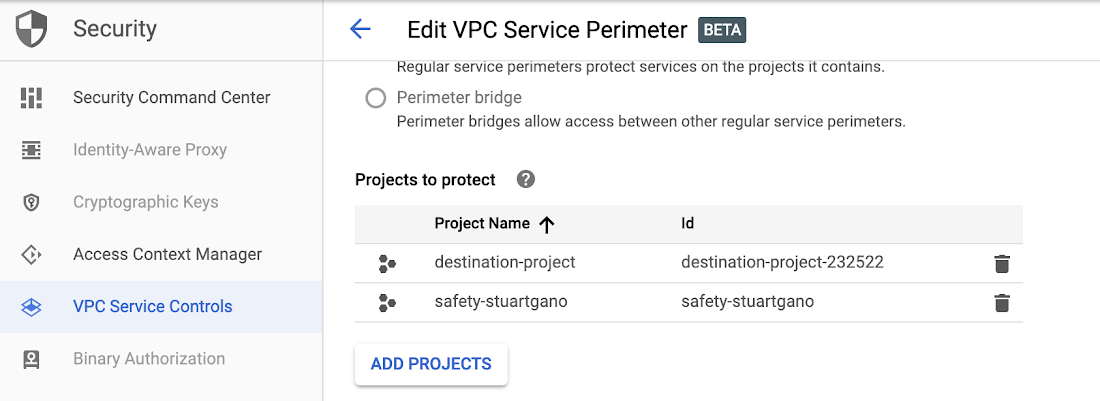
From within the GCP console, create your VPC Service Control perimeter and enable all of the APIs that you want enabled within this perimeter.
Note that the VPC Service Control page in the Cloud Console is not available by default and the organization admin role does not have these permissions enabled by default. The organization admin will need to grant the role of Access Context Manager Admin via the IAM page to whichever user(s) will be configuring your policies and service controls. Here’s what that looks like:

Step 2: Get the name of the service account that will be running the transfer operations.
This service account should be in the GCP Project that will be initiating the transfers. This GCP project will not be in your controlled perimeter by design.
The name of the service account looks like this: project-[ProjectID]@storage-transfer-service.iam.gserviceaccount.com
You can confirm the name of your service account using the API described here.
Step 3: Create an access policy in Access Context Manager.
Note: An organization node can only have one access policy. If you create an access level via the console, it will create an access policy for you automatically.
Or create a policy via the command line, like this:
gcloud access-context-manager policies create \
--organization ORGANIZATION_ID --title POLICY_TITLE
When the command is complete, you should see something like this:
Create request issuedWaiting for operation [accessPolicies/POLICY_NAME/create/1521580097614100] to complete...done.Created.
Step 4: Create an access level based on the access policy that limits you to a user or service account.
This is where we create a simple example of an access level based on an access policy. This limits access into the VPC through the service account. Much more complex examples of access level rules can be applied to the VPC. Here, we’ll walk through a simple example that can serve as the “Hello, world” of VPC Service Controls.
Step 4.1: Create a .yaml file that contains a condition that lists the members that you want to provide access to.
- members:
- user:sysadmin@example.com - serviceAccount:service@project.iam.gserviceaccount.com
Step 4.2: Save the file
In this example, the file is named CONDITIONS.yaml. Next, create the access level.
gcloud access-context-manager levels create NAME \ --title TITLE \ --basic-level-spec CONDITIONS.yaml \ --combine-function=OR \ --policy=POLICY_NAME
You should then see output similar to this:
Create request issued for: NAMEWaiting for operation [accessPolicies/POLICY_NAME/accessLevels/NAME/create/1521594488380943] to complete...done.Created level NAME.
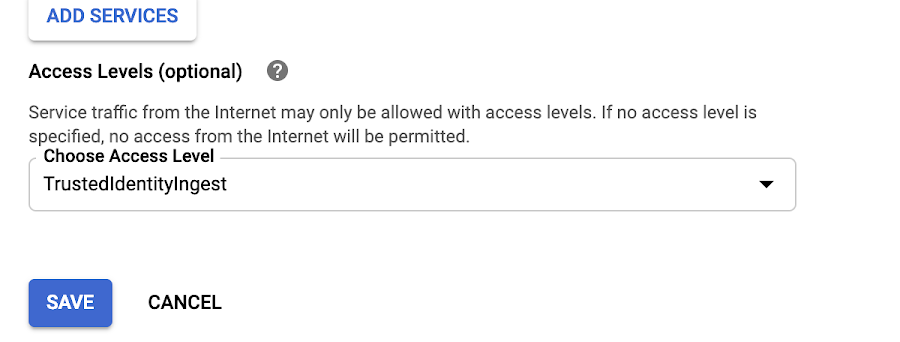
Step 5: Bind the access level you created to the VPC Service Control
This step is to make sure that the access level you just created is applied to the VPC that you are creating the hardened perimeter around, as shown here:

Step 6: Initiate the transfer operation
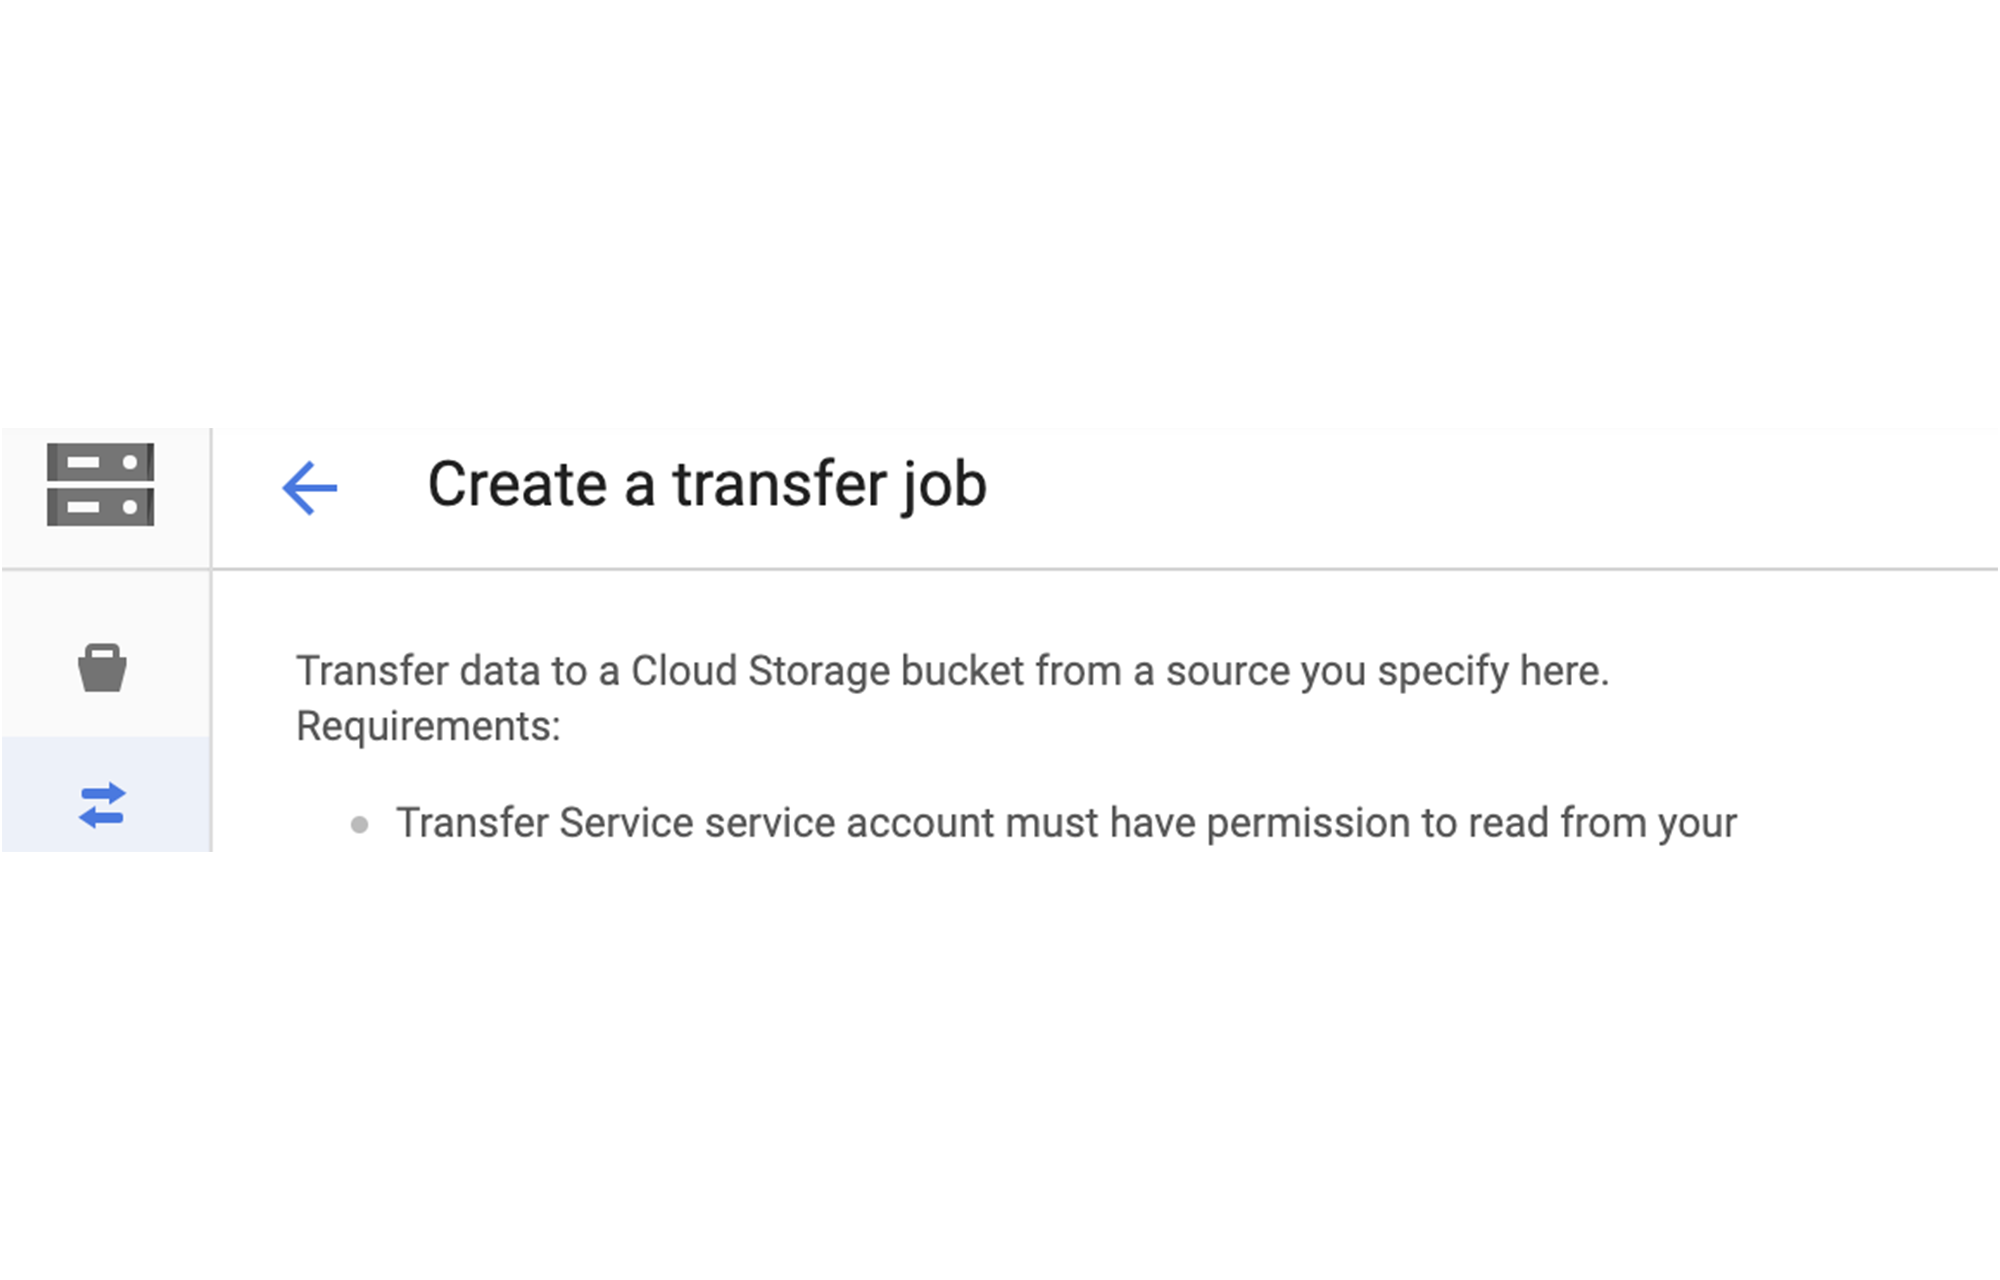
Initiate the transfer from a project that is outside of the controlled perimeter into a Cloud Storage Bucket that is in a project within the perimeter. This will only work when you use the service account with the access level you created in the previous steps. Here’s what it looks like:

That’s it! Your S3 data is now in Google Cloud Storage for you to manage, modify or move further. Learn more about data transfer into GCP with these resources:
