High-resolution user-defined metrics in Cloud Monitoring
Rory Petty
Cloud Monitoring Product Manager
Shishi Chen
Cloud Monitoring Software Engineer
Higher resolution metrics are critical for monitoring dynamically changing environments and rapidly changing application metrics. Examples where high resolution metrics are critical include high volume e-commerce, live streaming, autoscaling bursty workloads on Kubernetes clusters, and more. Higher resolution custom, Prometheus, and agent metrics are now generally available, and can be written at a granularity of 10 seconds. Previously these metric types could only be written once every 60 seconds.
How to write Monitoring agent metrics at 10-second resolution
The Cloud Monitoring agent is a collectd-based daemon that collects system and application metrics from virtual machine instances and sends them to Cloud Monitoring. The Monitoring agent collects disk, CPU, network, and process metrics. By default, agent metrics are written at 60-second granularity. You can modify the agent collectd.conf configuration to send metrics at 10-second granularity by changing the Interval value to ‘10’ in the Monitoring agent’s collectd.conf file.
After making this change, you will need to restart your agent (this may differ based on your operating system and distro):
sudo service stackdriver-agent restart
Higher resolution agent metrics require Monitoring agent version 6.0.1 or greater. You can find documentation for determining your agent version here.
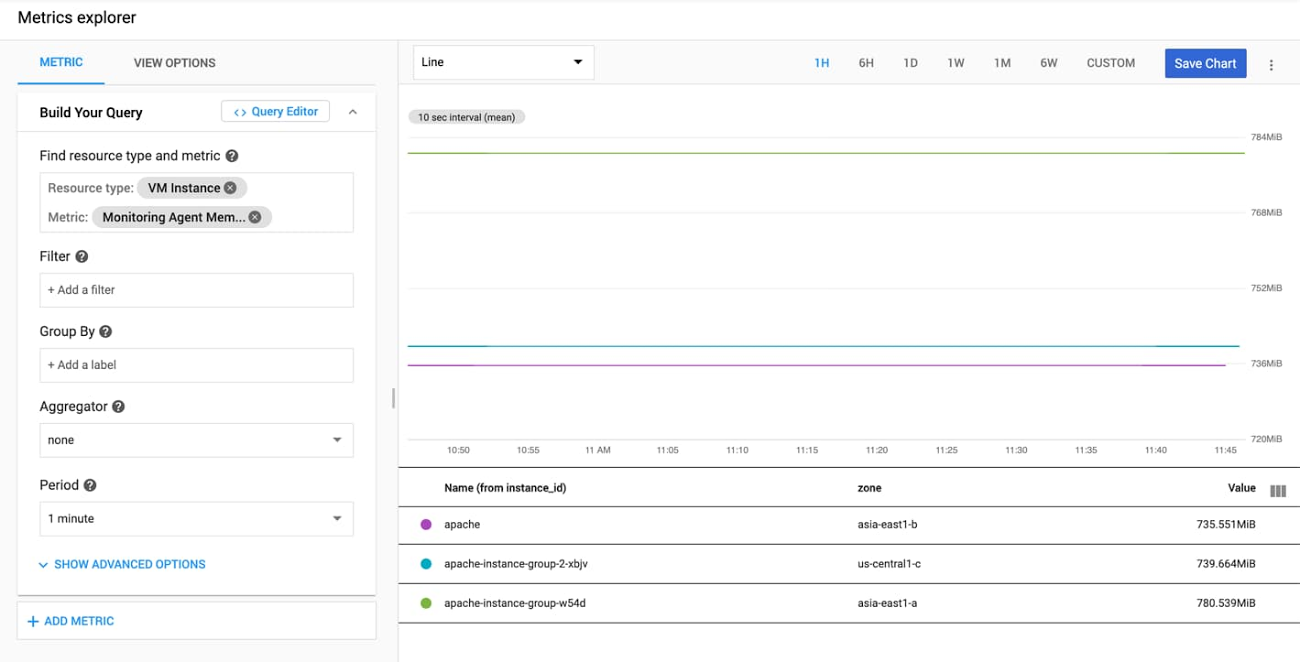
Now that your Monitoring agent is emitting metrics at 10-second granularity, you can view them in Metrics Explorer by searching for metrics with the prefix “agent.googleapis.com/agent/”.

How to write custom metrics at 10-second resolution
Custom metrics allow you to define and collect metric data that built-in Google Cloud metrics cannot provide. These could be specific to your application, infrastructure, or business. For example: “Latency of the shopping cart service” or “Returning customer rate” in an e-commerce application.
Custom metrics can be written in a variety of ways: via the Monitoring API, Cloud Monitoring client libraries, OpenCensus/OpenTelemetry libraries, or the Cloud Monitoring agent.
We recommend using the OpenCensus libraries to write custom metrics for several reasons:
It is open source and supports a wide range of languages and frameworks.
OpenCensus provides vendor-agnostic support for the collection of metric and trace data.
OpenCensus provides optimized collection of points and batching of Monitoring API calls. It also handles timing API calls for 10-second resolution and other time intervals, so that the Monitoring API won’t reject points for being written too frequently. It also handles retries, exponential backoff, and more, helping to ensure that your metric points make it to the monitoring system.
OpenCensus allows you to export the collected data to a variety of backend applications and monitoring services, including Cloud Monitoring.
Instrumenting your code to use OpenCensus for metrics involves three general steps:
Import the OpenCensus stats and OpenCensus Stackdriver exporter packages.
Initialize the Cloud Monitoring exporter.
Use the OpenCensus API to instrument your code.
The following is a minimal Go program that illustrates the instrumentation steps listed above by writing a counter metric to Cloud Monitoring.
If you don’t have a working Go development environment, follow these steps in the Google Cloud Console and Cloud Shell to compile and run the demo program:
Go to Cloud Monitoring. If you’re using Cloud Monitoring for the first time, you’ll be prompted to create a workspace (it will default to the same name as the GCP project you are currently in).
Open up the Cloud Shell in the Cloud Console.
Make sure to enable the Monitoring API by running
gcloud services enable monitoringIf you don’t already have a working go environment, follow these steps:
mkdir ~/go
export GOPATH=~/go
mkdir -p ~/go/src/testCustomMetrics
cd ~/go/src/testCustomMetrics
Run “go mod init”
touch testCustomMetrics.go
Open testCustomMetrics.go in your text editor of choice and copy in the code below
Run “go mod tidy”. Note: “go mod tidy” finds all the packages transitively imported by packages in your module
Run “go build testCustomMetrics.go”
Run “./testCustomMetrics”
The example program is as follows:
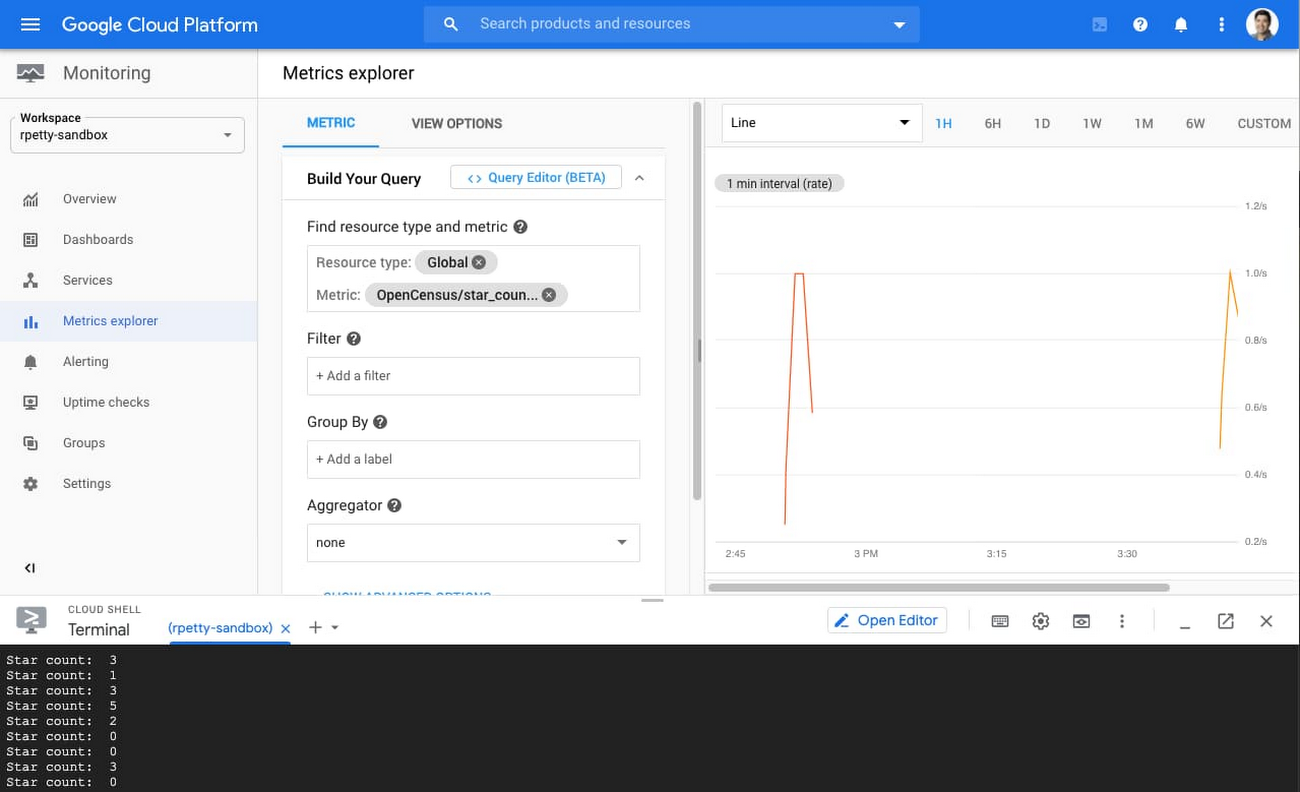
This program writes a random star count every one second, for three minutes. As you may note from above, custom metrics can only be written with 10-second granularity. We are writing raw metric points more frequently, but we’ve set the OpenCensus exporter ‘ReportingInterval’ to be every 10 seconds, so the Exporter handles calling the ‘CreateTimeSeries endpoint’ of the Monitoring API correctly every 10 seconds. When you query your points, select an ‘aligner’ and ‘aggregation’ option from Metrics Explorer. This way, even if you have multiple points in a 10-second span, you’ll return a single point based on your aligner and aggregation options.
After running the program, you can go to Metrics Explorer in Cloud Monitoring to see the “OpenCensus/star_count” metric, written against the “global” resource.

How to write Prometheus metrics at 10-second resolution
The Prometheus monitoring tool is often used with Kubernetes. If you configure Cloud Operations for GKE to include Prometheus support, then the metrics that are generated by services using the Prometheus exposition format can be exported from the cluster and made visible as external metrics in Cloud Monitoring.
Installing and configuring Prometheus, including configuring export to Cloud Monitoring, involves a few steps, so we recommend you follow these instructions. OpenCensus also offers a guided codelab for configuring Prometheus instrumentation.
To enable 10-second resolution for Prometheus metrics that are exported to Cloud Monitoring, set the “scrape_interval” parameter in “prometheus.yml” to:
scrape_interval: 10s
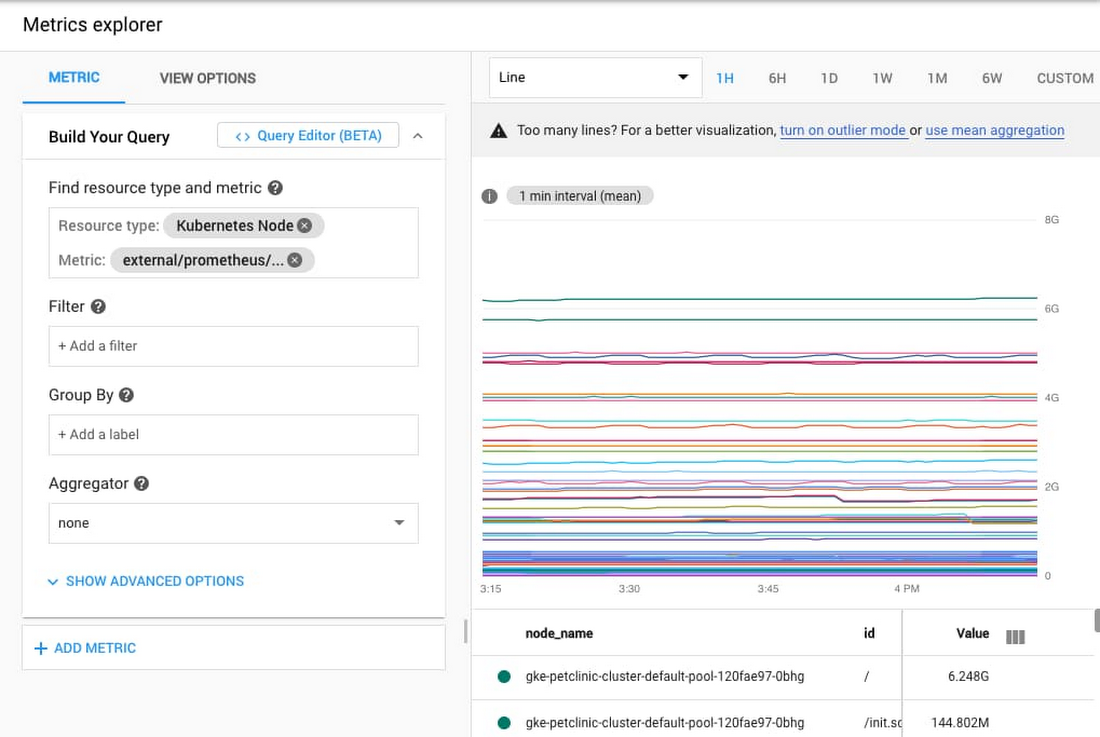
Once Prometheus is properly configured to export metrics to Cloud Monitoring, you can go to Metrics Explorer in Cloud Monitoring and search for metrics with the prefix external.googleapis.com/prometheus/.

Pricing for Cloud Monitoring metrics
Cloud Monitoring chargeable metrics are billed per megabyte of ingestion, with the first 150MB free, and reduced pricing tiers for customers that send larger volumes of metrics. There is no additional cost for sending higher resolution metrics other than the additional cost incurred from sending metric data more frequently. The frequency at which you write custom metrics (with 10 seconds as the lower bound) is up to you. GCP platform (system) metrics remain free and the granularity at which they are written is determined by each individual GCP service.
Toward better observability
We hope you find the ability to write higher resolution custom, Prometheus, and Agent metrics useful and that it helps you build more observable applications and services.
Higher resolution logs-based metrics at 10-second granularity are on our roadmap as well, so stay tuned for more information in an upcoming blog post.
