Simplify Dataflow development using Cloud Code plugin for IntelliJ IDE
Abhijeet Rajwade
Product Manager
The ability to execute Data Flow pipelines immediately from within the developer IDE is a powerful attribute that allows Data engineers and scientists to build out complete Data Flow pipelines. It smoothes the Dataflow pipeline development flow for new and existing users by enabling a rich development experience for Cloud Dataflow in the IDE so developers, Data engineers/scientists can easily reduce the learning curve and ramp up time for building the Dataflow streaming pipelines
We are excited to announce Cloud Code Plugin integrations for Dataflow that makes it extremely easy for users to create and execute Dataflow pipelines using IntelliJ IDE with the following features.
- Executing Dataflow pipeline from IntelliJ IDE - With this new feature, you can now create and run Dataflow pipelines directly from your IntelliJ IDE. This means that you can develop and execute your pipelines in the same environment where you write your code, making it easier to get your pipelines up and running quickly.
- Error checking and diagnostics - While executing the Dataflow pipeline, all information related to diagnostics (e.g. errors, warnings, info) is now available to review and act from inside the IntelliJ IDE. This feature will improve the Dataflow developer experience because, while working in IntelliJ IDE, users do not have to switch between IDE, and GCP web console, saving time and effort.
- Step-by-step onboarding on various aspects of the Dataflow pipeline (e.g. source, sink, permissions etc) -
- This feature provides a step-by-step wizard to create necessary infrastructure required to run the Dataflow pipeline depending on the source and sink for the Dataflow pipeline.
- This will help the users to understand different infrastructure requirements needed to execute the Dataflow pipeline.
- This will make it easier for users to get started with Dataflow, and will provide them with the tools they need to develop and execute data pipelines.
- As part of this release, we are excited to provide Step-by-step onboarding for the Dataflow pipeline which uses PubSub as the data source and BigQuery as the data Sink.
Cloud Code is a set of IDE plugins for popular IDEs that make it easier to create, deploy and integrate applications with Google Cloud. It supports your favorite IDE: VSCode, IntelliJ, PyCharm, GoLand, WebStorm, and Cloud Shell Editor. It speeds up your GKE and Cloud Run development with Skaffold integration
Google Cloud Dataflow is a fully-managed service that meets your data processing needs in both batch (historical) and stream (real-time modes). Apache Beam is an open-source SDK used to describe directed acyclic graphs (DAGs). Dataflow executes Beam pipelines, and aims to compute transformations & analytics for the lowest cost & lowest latency possible.
Getting Started
Installation of the Cloud Code Plugin
For first time users of cloud code, please follow the instructions given here to install the Cloud Code Plugin on IntelliJ IDE.
If you’ve been working with Cloud Code, you likely already have it installed in IntelliJ. You just need to make sure you have the latest version of Cloud Code (this feature is available on 23.6.2 and beyond).
You can check the IntelliJ version by going to “Tools > Google Cloud Code > Help/About > About Cloud Code…”
Getting Started with IntelliJ
In this section, we’ll show you how to set up and use the plug-in in a step by step guide.
1. Open IntelliJ and Create Dataflow Project
If IntelliJ is not open, start the IntelliJ IDE. You will see the following screen. If you are already in the IntelliJ IDE, please click on “File>New>Project” and you will see the following screen.
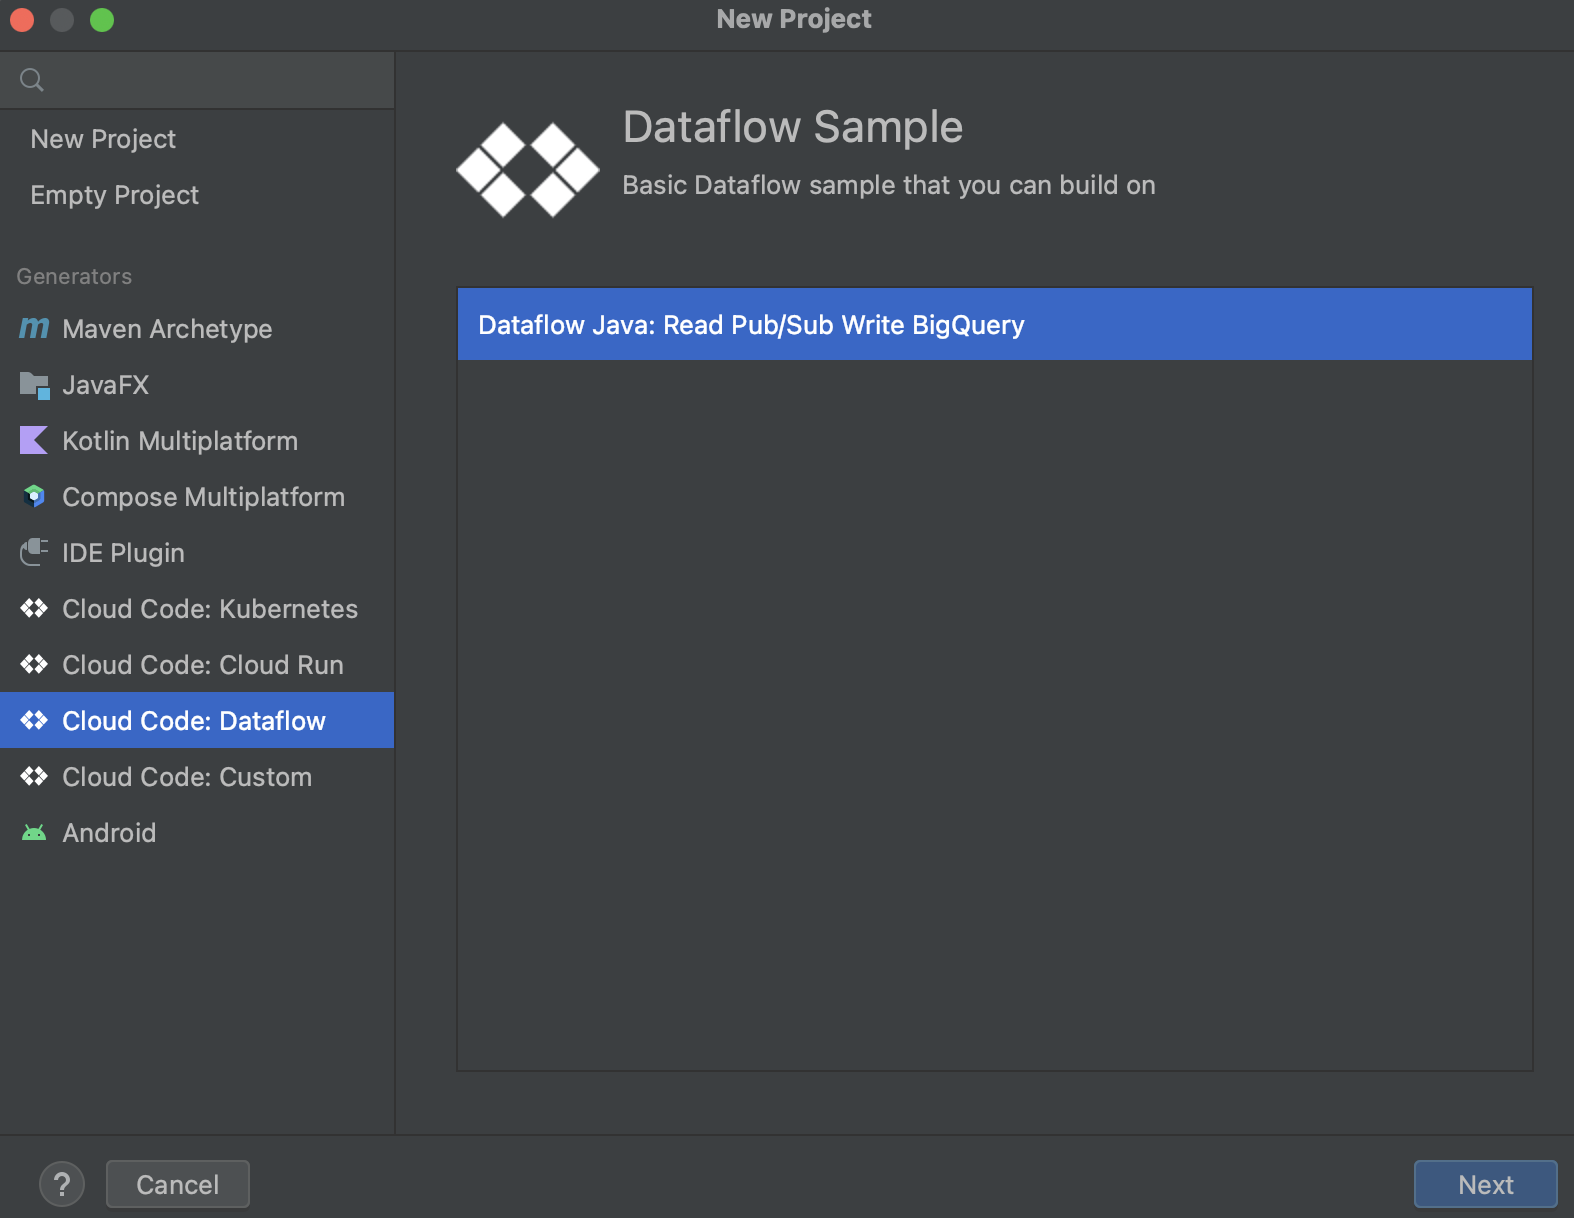

Enter the project name and location. Click on Create button at the bottom.
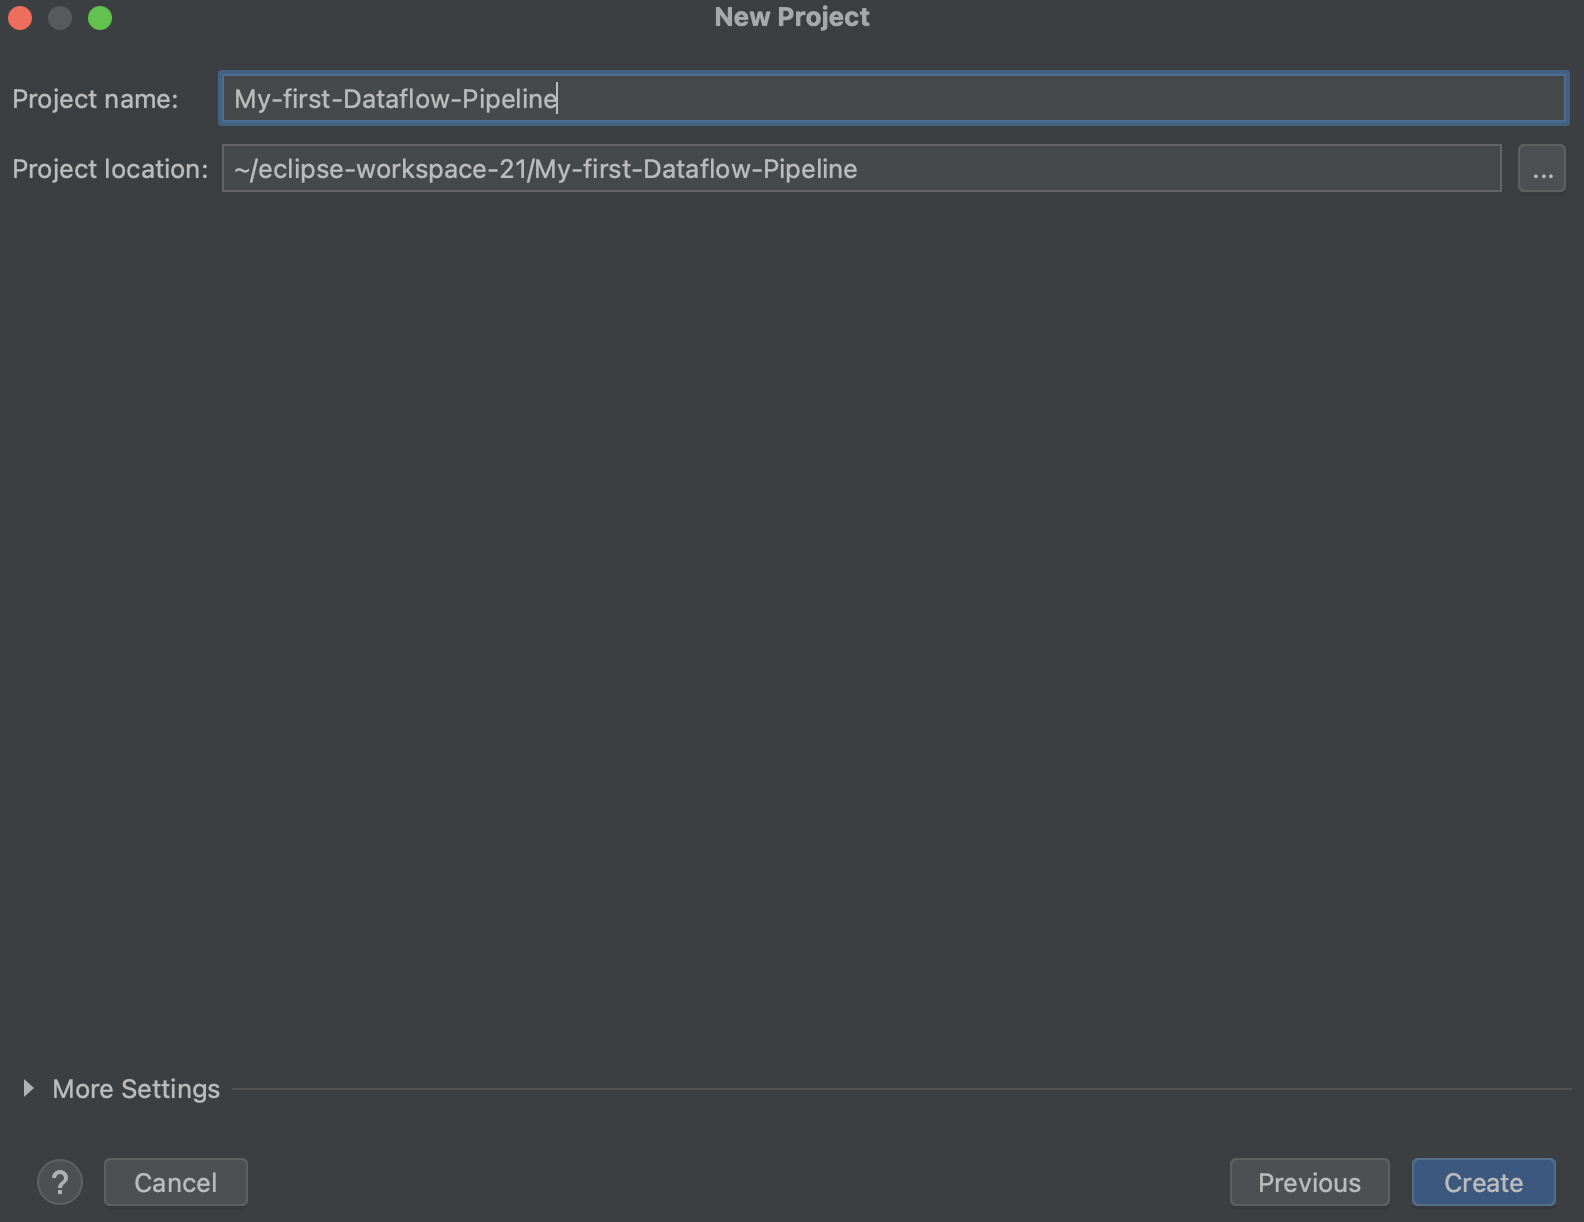

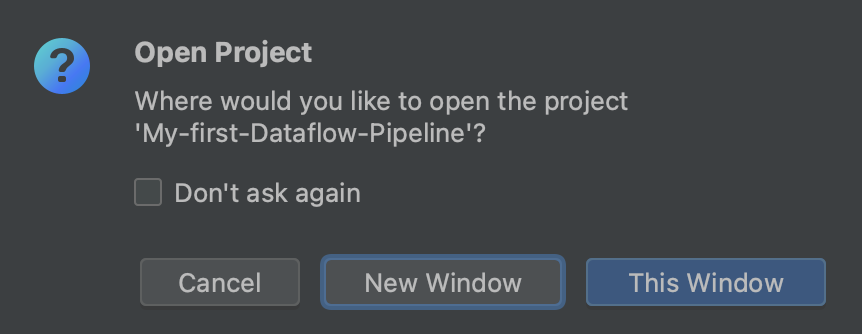
Click on the “New Window” button.

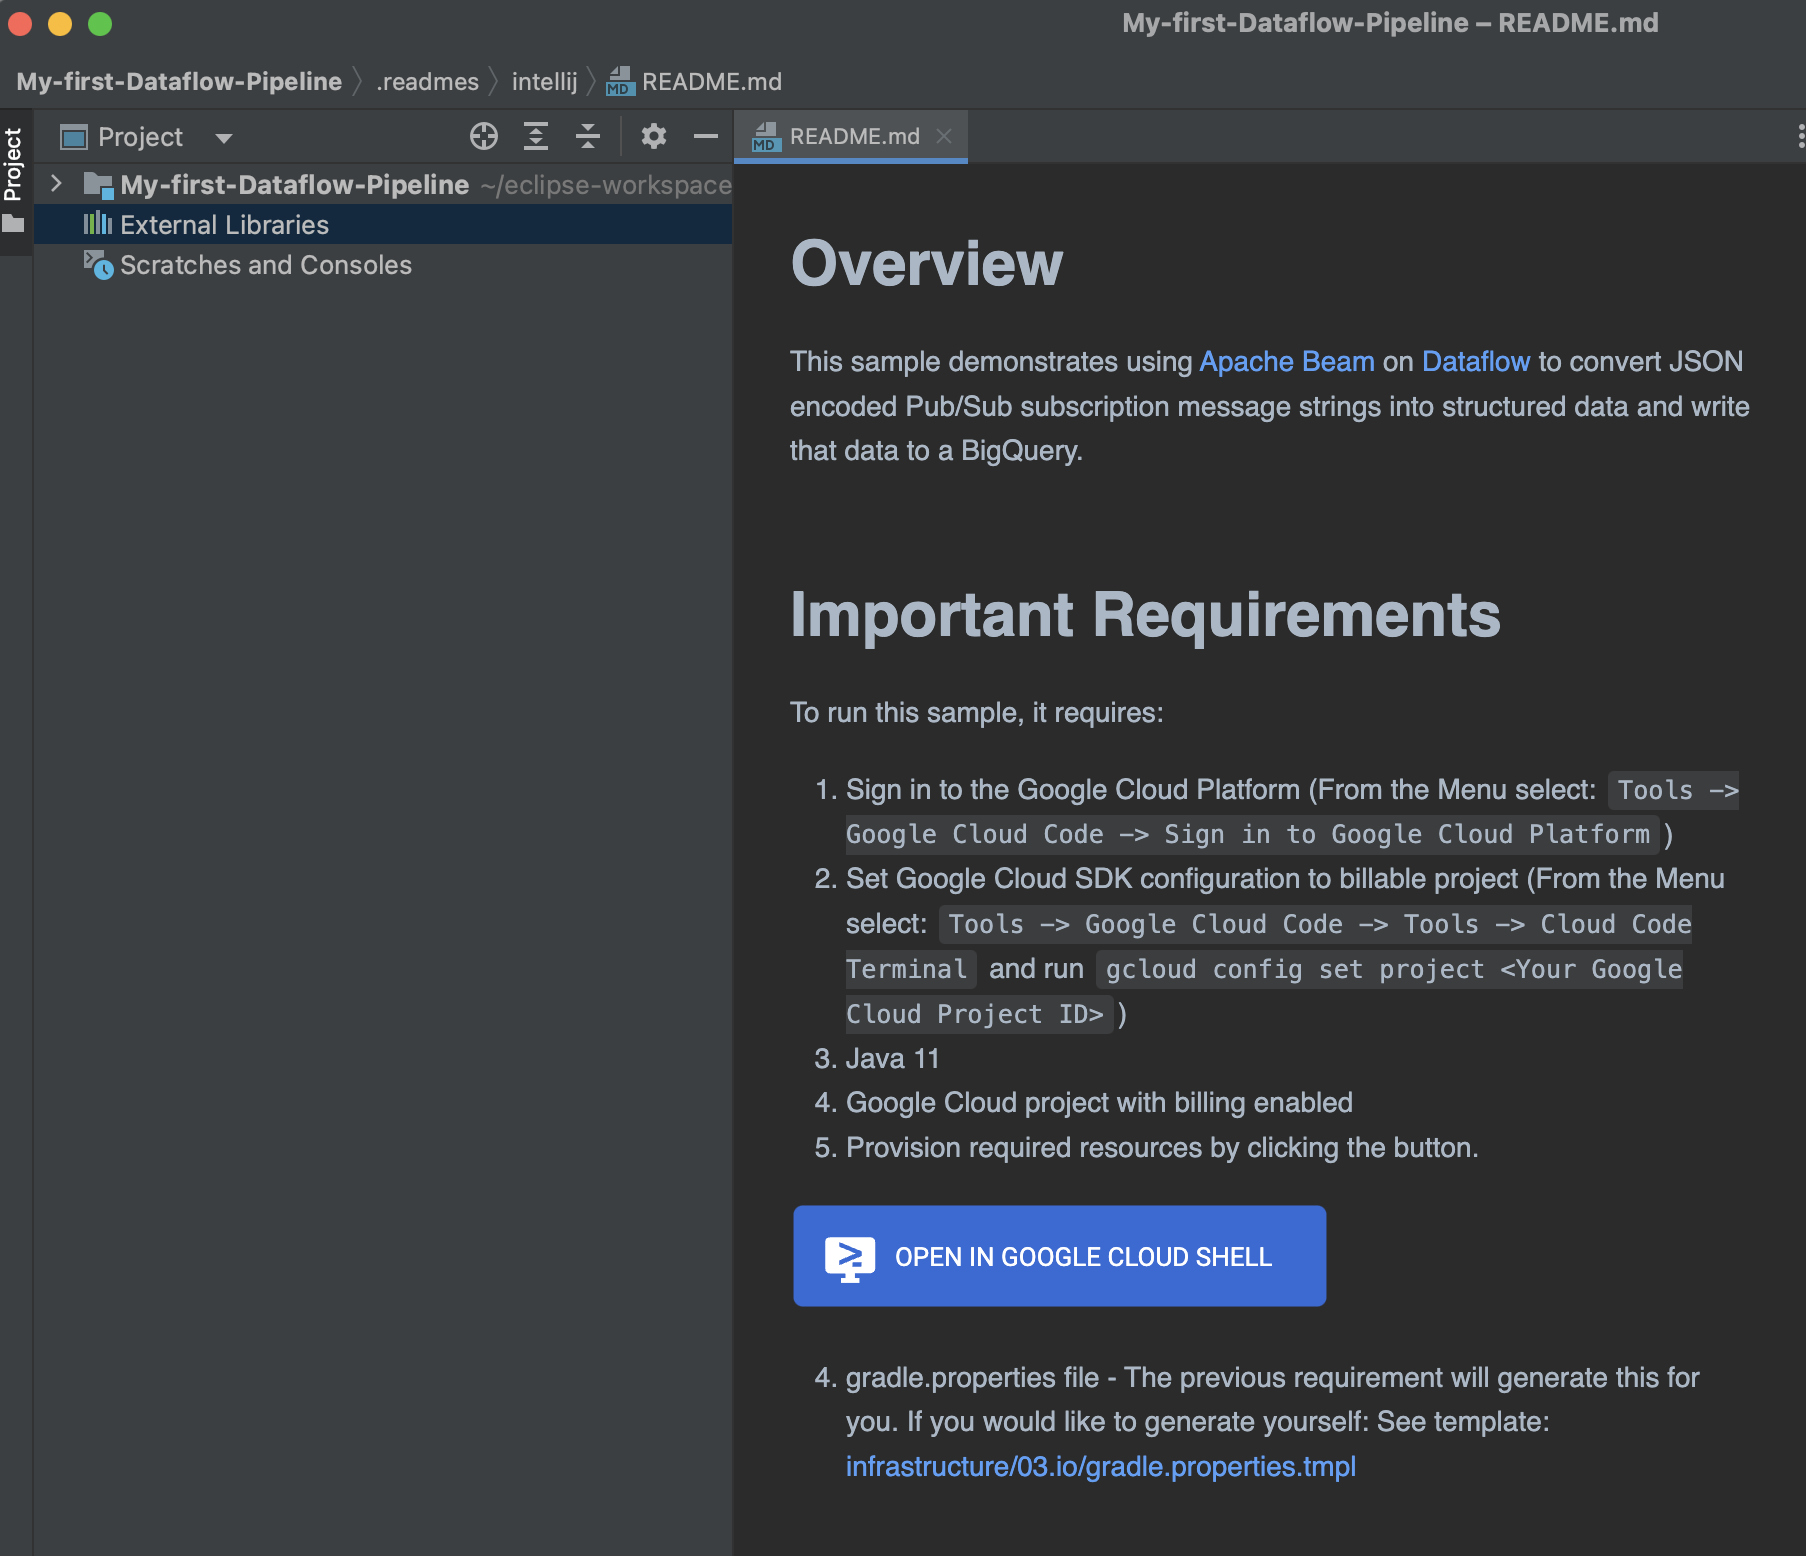
Go through the readme file for the details on the feature.

2. Sign in to the Google Cloud Platform and Configure Billable Project
1a. Sign in to Google Cloud Project using the Menu selection
From the Menu select: Tools -> Google Cloud Code -> Sign in to Google Cloud Platform.
1b. Set Google Cloud SDK configuration to GCP project where you want to create Dataflow pipeline
From the Menu select: Tools -> Google Cloud Code -> Tools -> Cloud Code Terminal
Execute the following command, where <Your Google Cloud Project ID> is a Google Cloud project to which you have the IAM role to provision resources.
gcloud config set project <Your Google Cloud Project ID>
3. Provision required resources
Open the readme.md file from the working directory in the IntelliJ IDE and click on the following image to trigger a step by step tutorial on how to create infrastructure resources needed for running a Dataflow pipeline.


The tutorial will open in the browser window showing Google Cloud Console. Select the GCP Project where you would like to create the infrastructure resources.
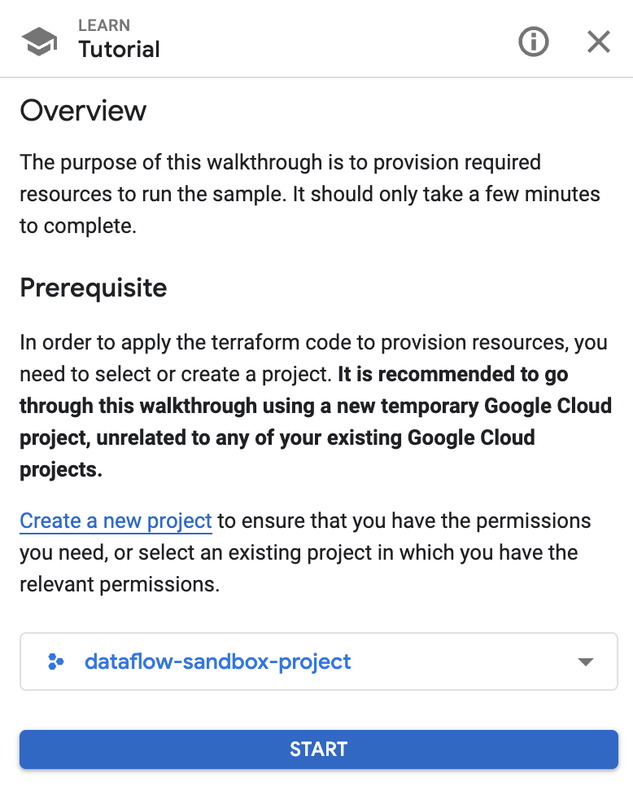

Click on the start button to go through following steps:
- Setup Environment:
- Provision the network
- Provision data source and data sink resources
Copy the command at the bottom and paste/run in the cloud shell to execute.
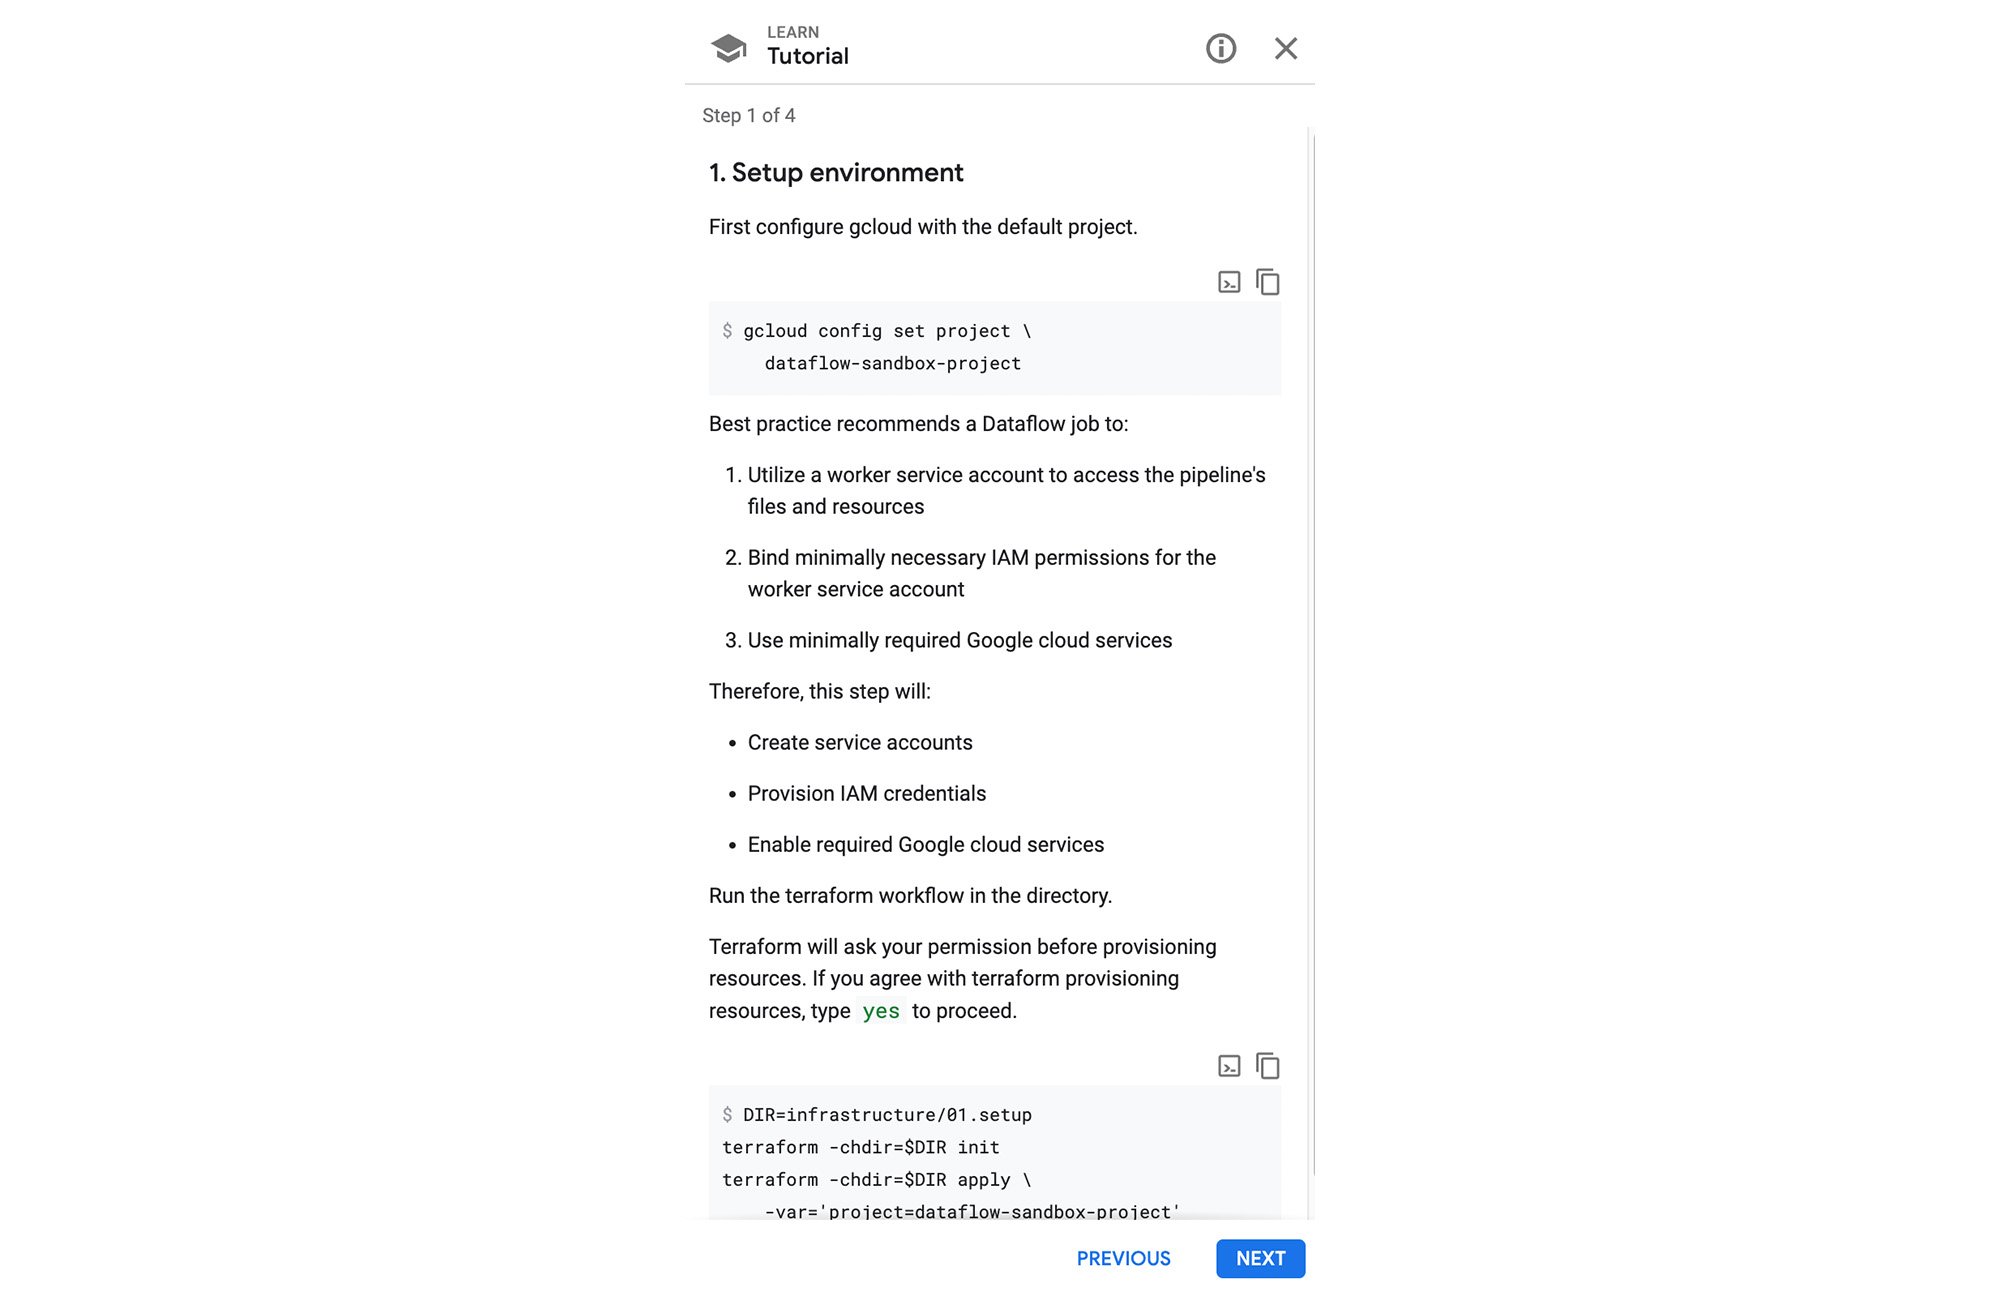

Please wait for the command to finish before you move to the next step of the tutorial.
Follow the same steps for the rest of the tutorial to provision the network and data source, data sink resources.
4. Acquire gradle.properties file
The previous provision required resources step will generate this for you and download to your machine. Move this downloaded gradle.properties file to your IDE working directory on your local machine.
Append the downloaded gradle.properties configuration to the gradle.wrapper.properties file located at <working directory>/gradle/gradle-wrapper.properties
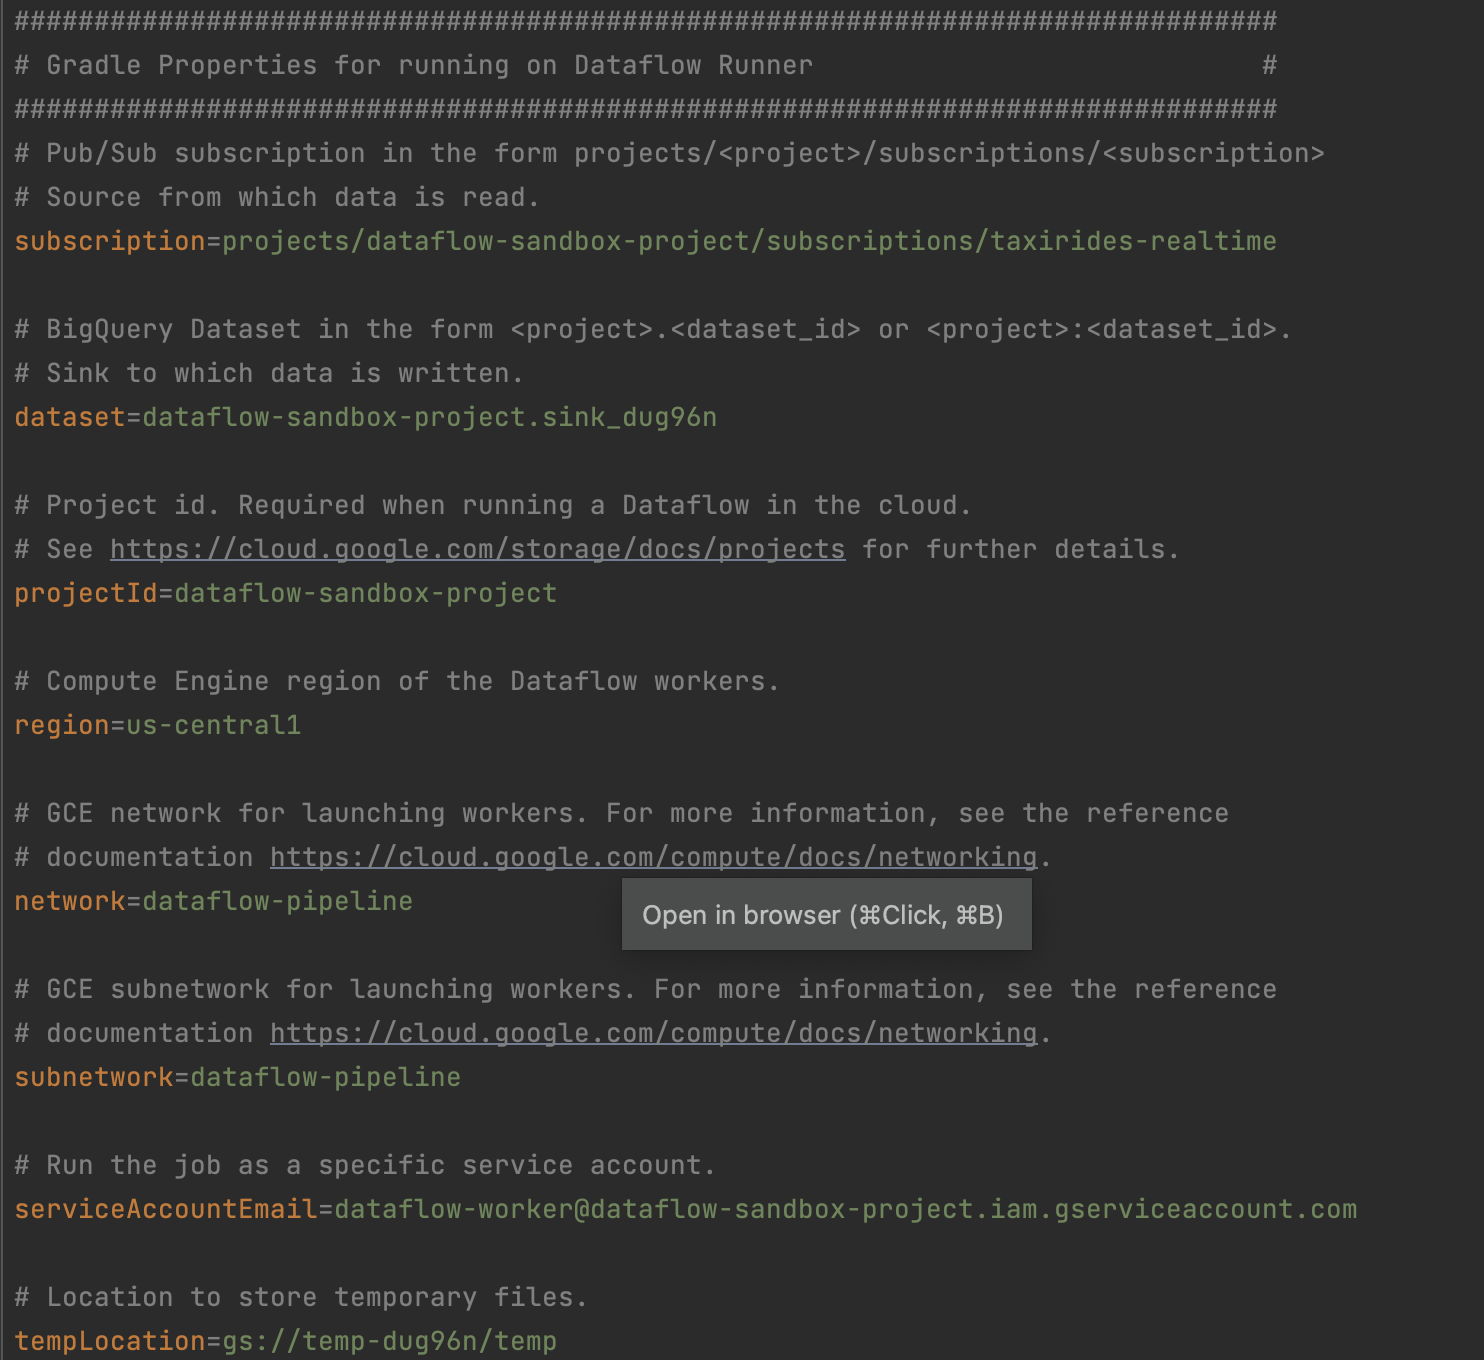

5. Select the included IntelliJ Run Configuration
This sample comes with an IntelliJ Run Configuration. Find it by clicking on "Edit Configurations..." and select it as shown in the screenshot below.


6. Click the Run Button
After selecting the included IntelliJ Run Configuration, click the green run button as shown in the screenshot above in step 4.
This runs the sample and submits the Dataflow Job to your Google Cloud project, referencing values in the gradle.properties file. Best practice is to instead use Dataflow templates. However, this sample provides you the gradle.properties file for convenience.
7. Open the Dataflow Job URL printed in the output
After you clicked the run button in the previous step, you should see output related to submitting the Dataflow Job. At the end, it will print a URL that you can open to navigate to your Dataflow Job.


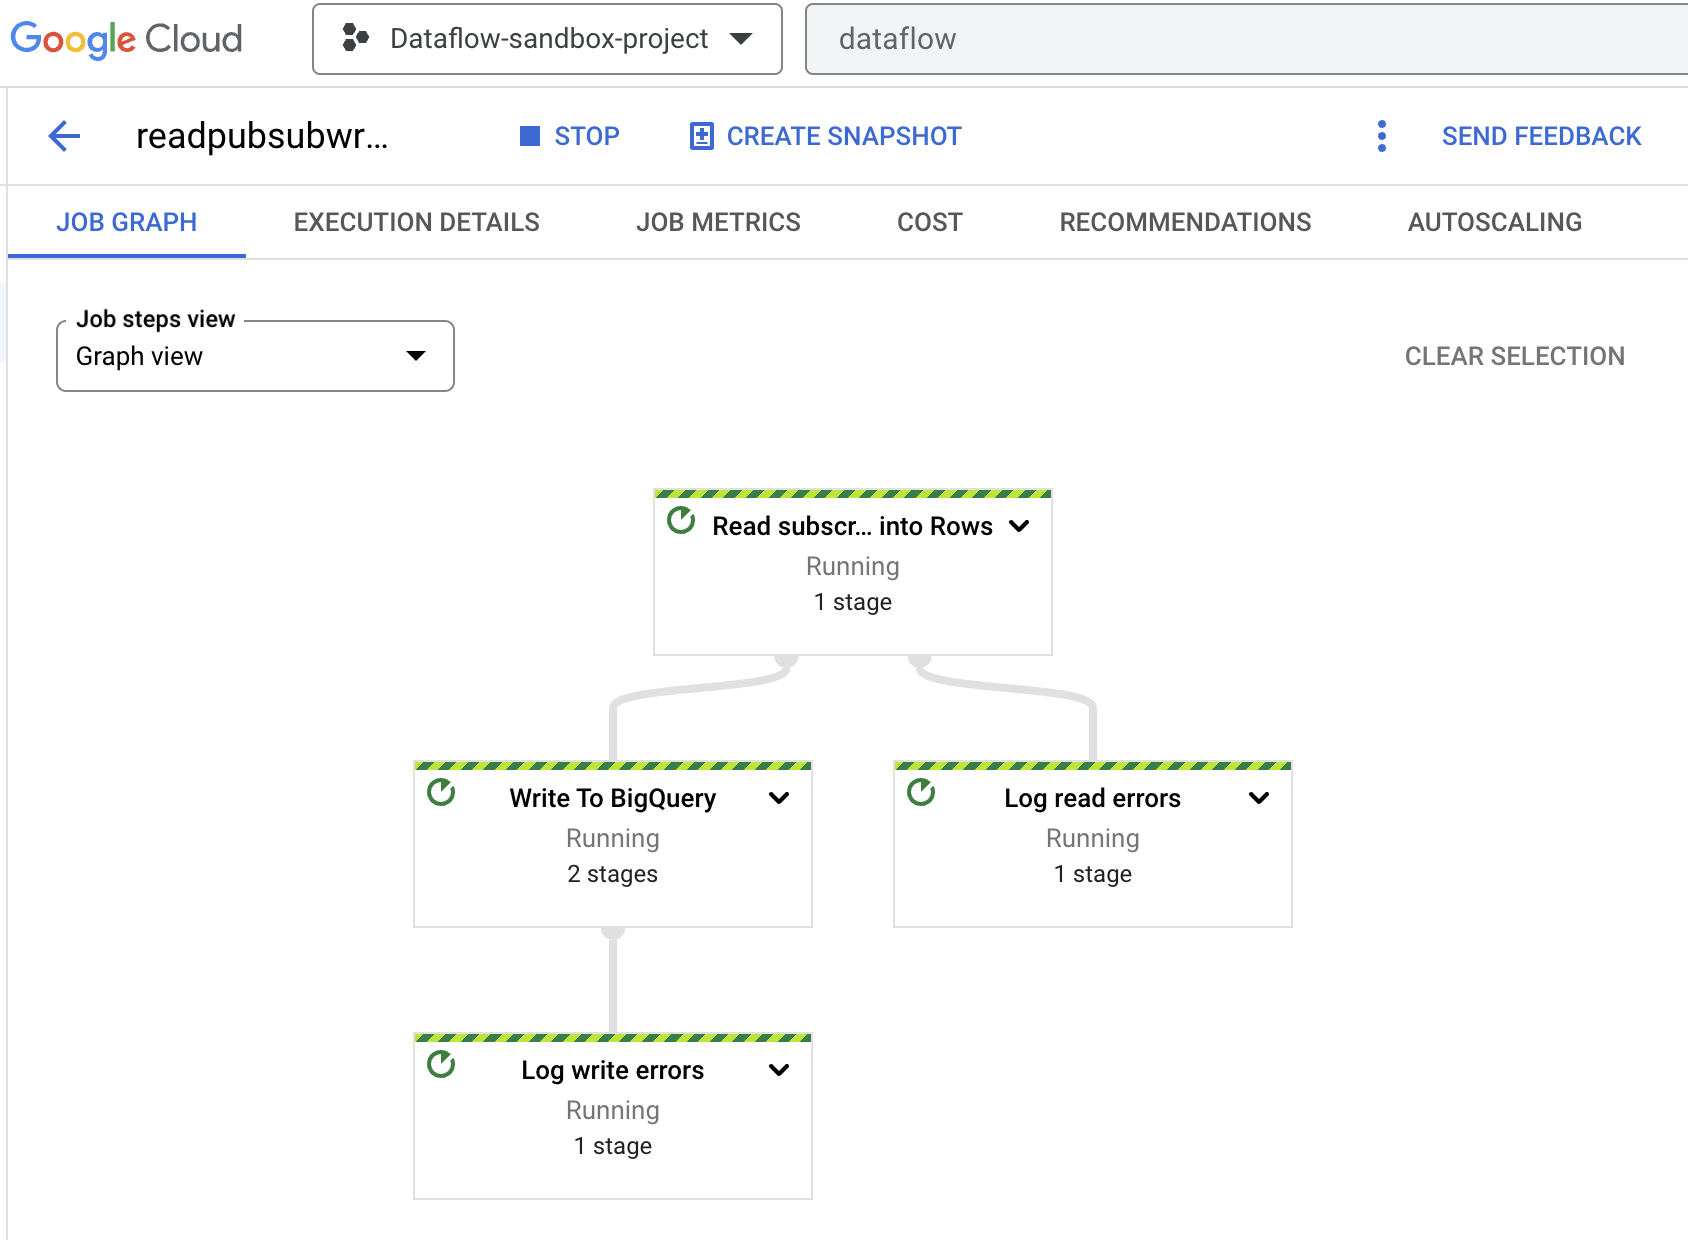
8. Examine the Dataflow Job Graph
After opening the Dataflow Job URL provided by the code output, you should see the Dataflow Job Graph in the Google Cloud console. The pipeline will take some time before running the code. There is no action you need to take here and is just informational.

9. Examine data in BigQuery
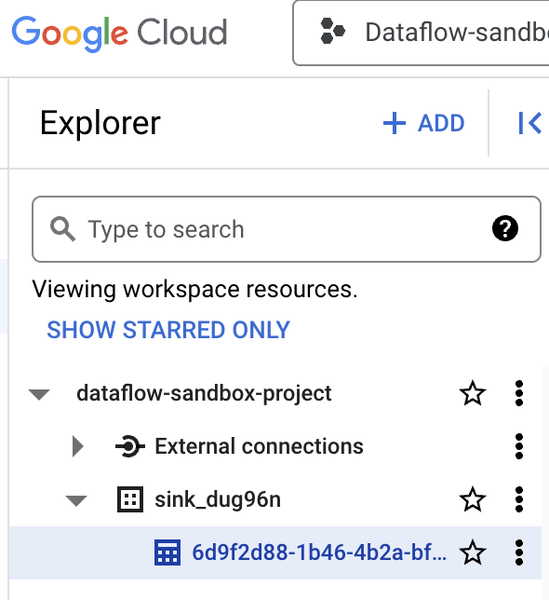
When the pipeline finally runs, it writes data to a BigQuery table. Navigate to BigQuery in the Google Cloud console and notice that the pipeline created a new table. Note that the Infrastructure-as-Code created the dataset earlier.

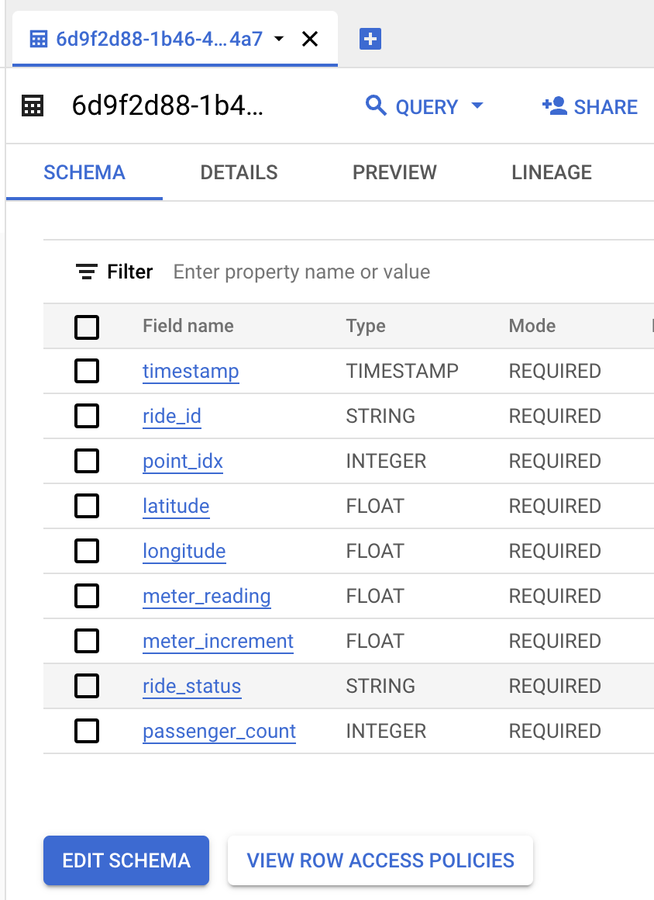
The pipeline also automatically creates the table schema.

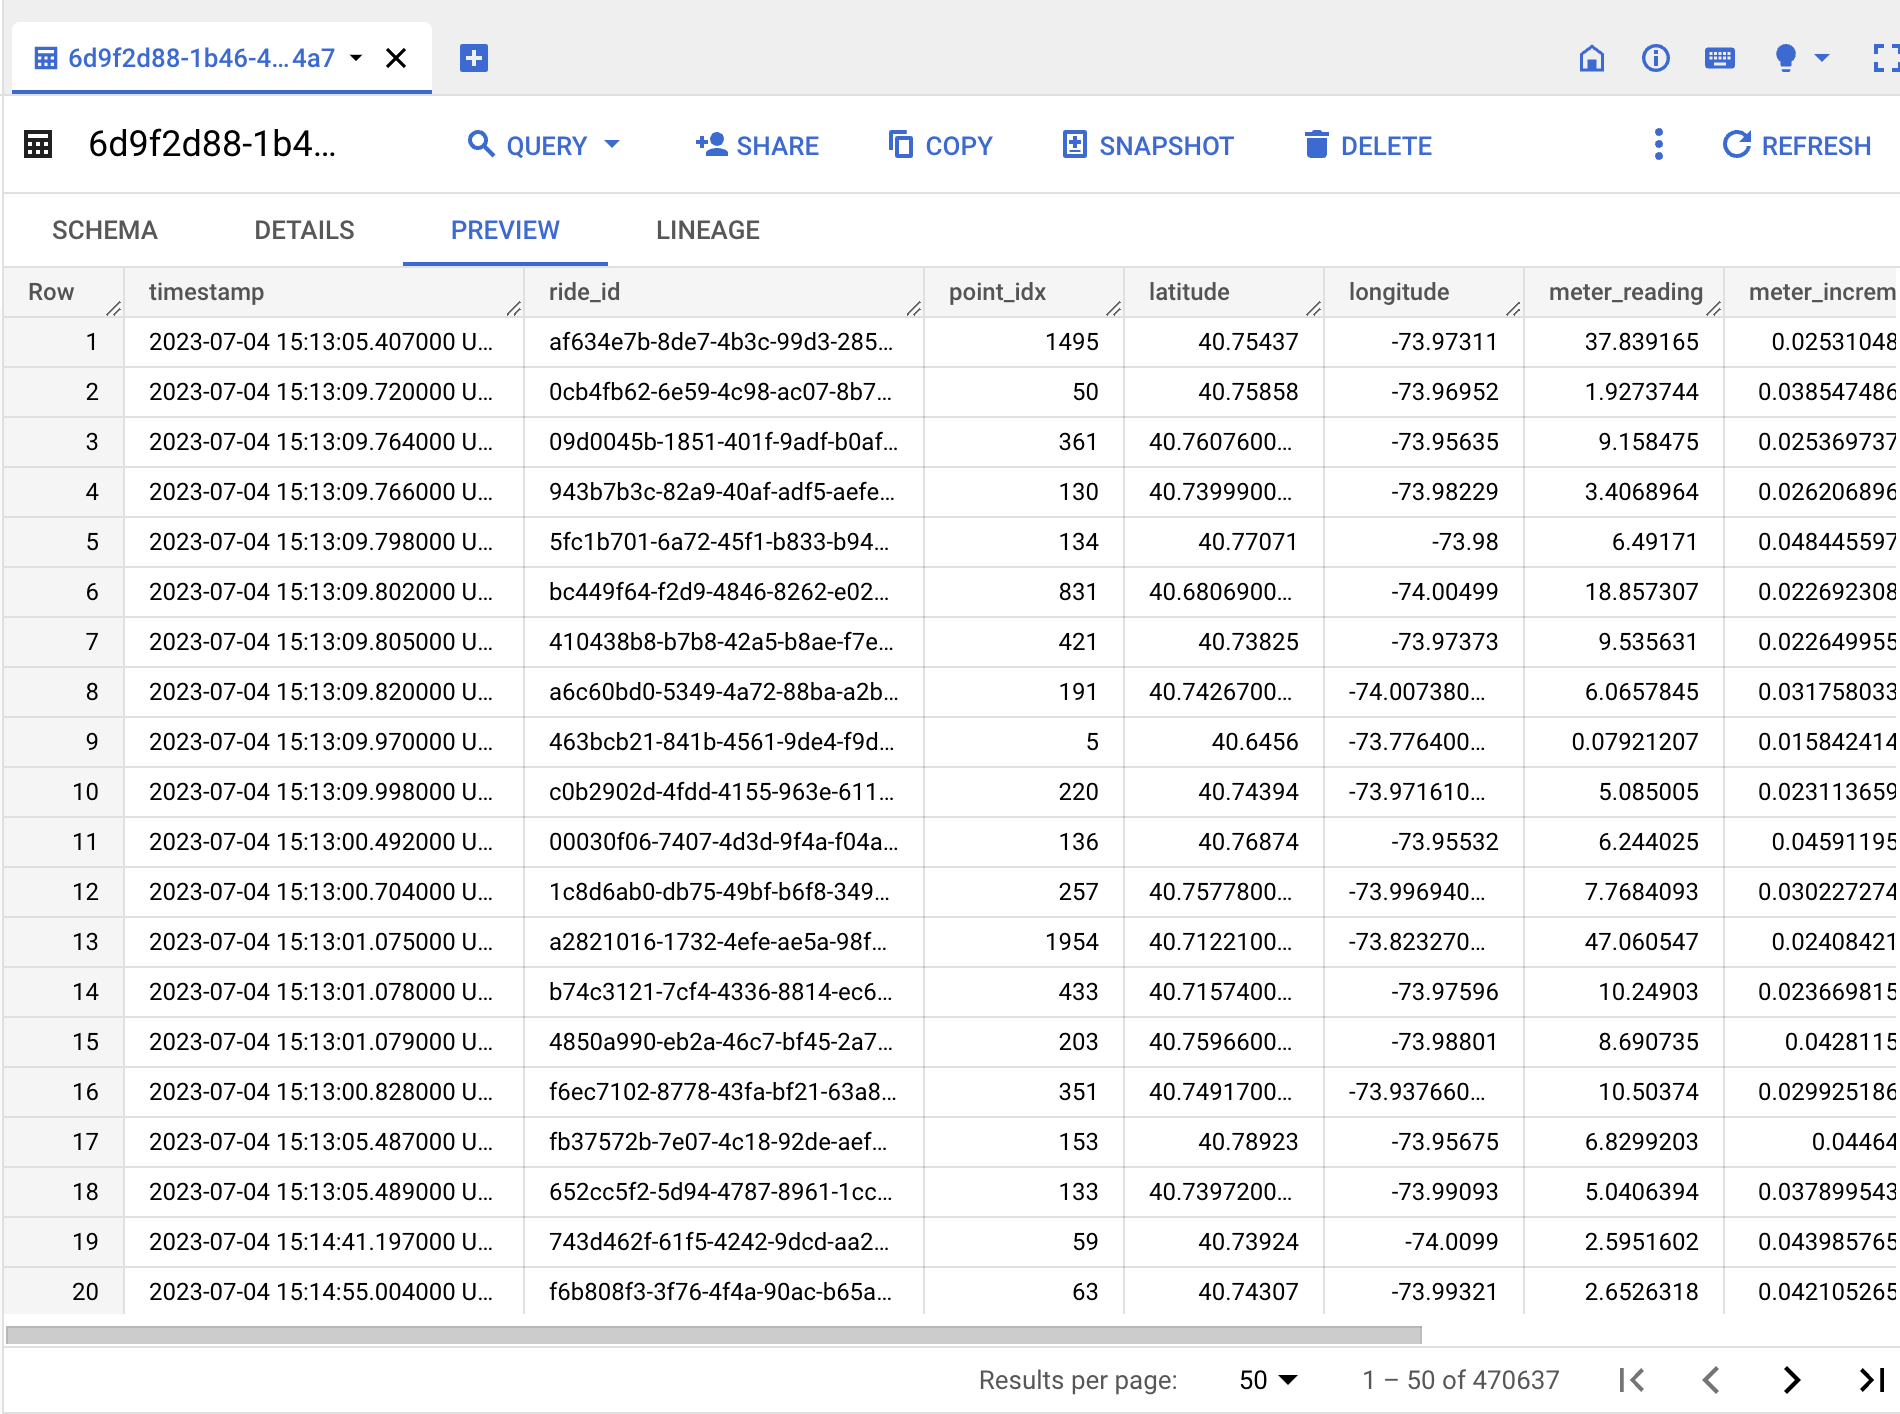
Finally, as the pipeline consumes messages from the Pub/Sub subscription, originating from the public Pub/Sub taxicab topic, it writes the data into the BigQuery table. A preview of this is shown below.

9. Clean up Google Cloud Billable Resources
The following lists instructions on deleting Google Cloud Billable resources.
What next?
By simplifying the Dataflow pipeline development not only rejuvenates your development teams, but refocuses their attention on innovation and value creation. Get started developing data pipelines with Cloud Dataflow today.
