Getting started with Svelte on Google Cloud
Karl Weinmeister
Director, Developer Relations
Have you tried Svelte yet? Svelte is a web framework that stands out from the crowd. It shifts a lot of the heavy lifting away from the browser at runtime to the build phase. Svelte's pre-processing approach translates into smaller, faster, and simpler JavaScript code. On top of Svelte, you can use the SvelteKit meta-framework for routing, server side rendering, Node.js support, and more.
Google Cloud's developer tooling and serverless runtimes fit seamlessly with the SvelteKit workflow. Let's see what it takes to get an app up and running! We'll use the RealWorld example app scenario. It's a full-stack specification for a demo app, with over 100 implementations in different frontend and backend frameworks.
Working with Svelte code in Cloud Shell
The first thing we'll do is launch Google Cloud Shell. It's as simple as navigating to ide.cloud.google.com. You don't need a Google Cloud account -- it's accessible to anyone with a Google account. It's a feature-rich IDE with a code editor, terminal, extensions, and much more.
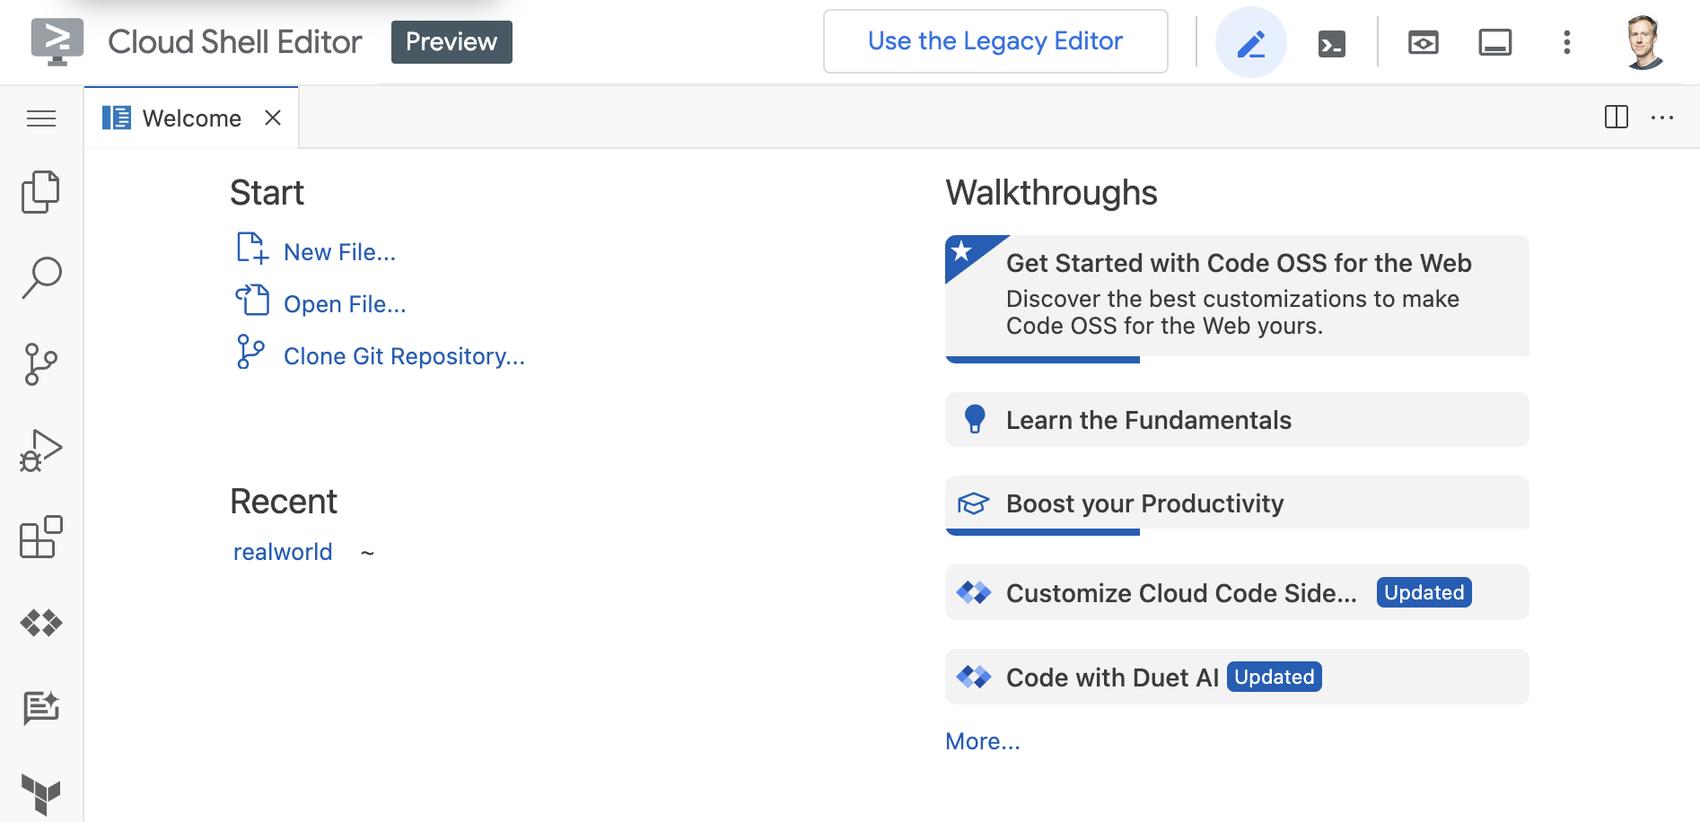

Let's now select "Clone Git Repository...", then provide the URL https://github.com/sveltejs/realworld, and select Clone from URL.
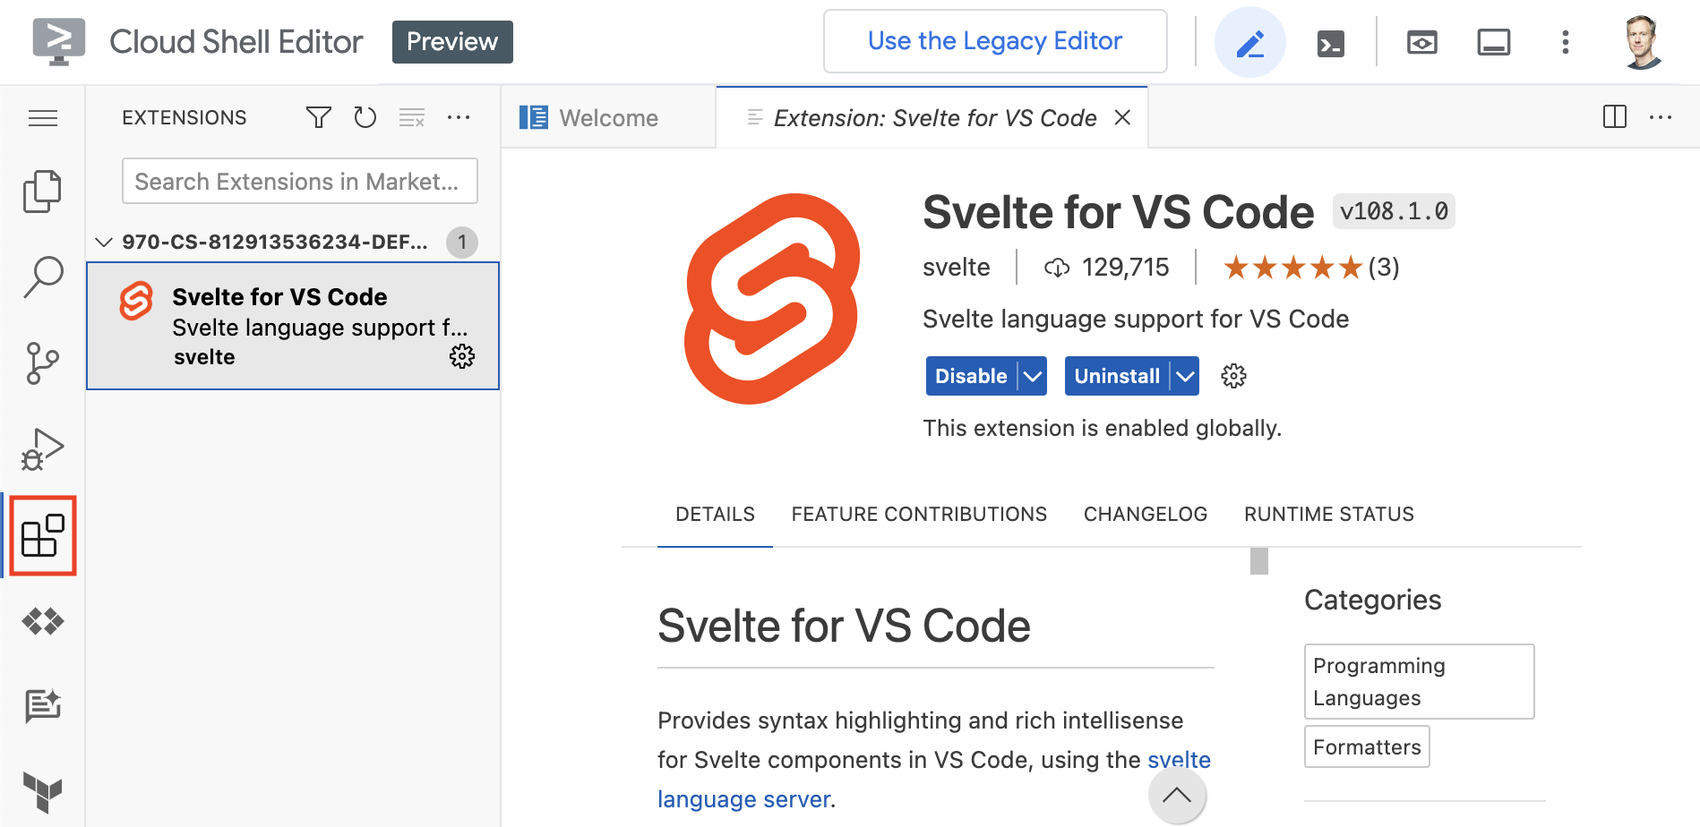
Now that you've cloned the repo, you should see the sample application code in the explorer view. Before we dive too deep, let's install the Svelte extension for syntax highlighting and other helpful features.

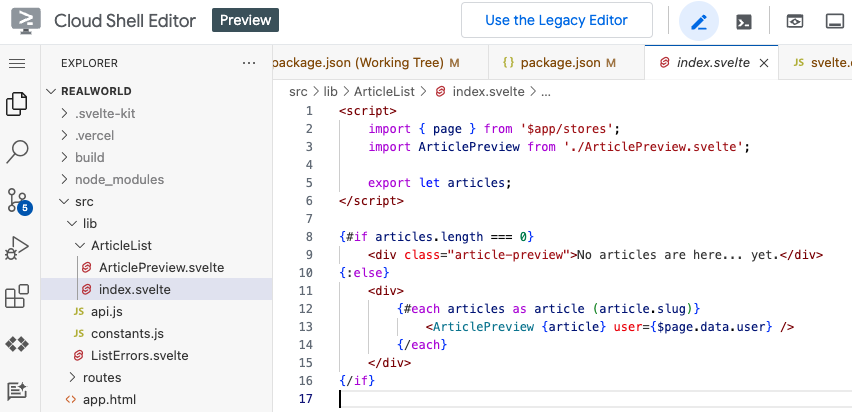
Script, styles, and markup can be packaged into building blocks, or components. Let's take a quick look at. In src/lib/ArticleList/index.svelte, you can see how the ArticleList component displays HTML markup for each article, embedding the ArticlePreview component.

Previewing the app
Now that we've looked a bit at the code, let's preview the application. Let's open the Terminal window, using the prompt icon in the upper-right of the IDE. If needed, change directory into the realworld directory you cloned the repo into. Then, run npm install to install the required packages, and then npm run dev to run in preview mode.
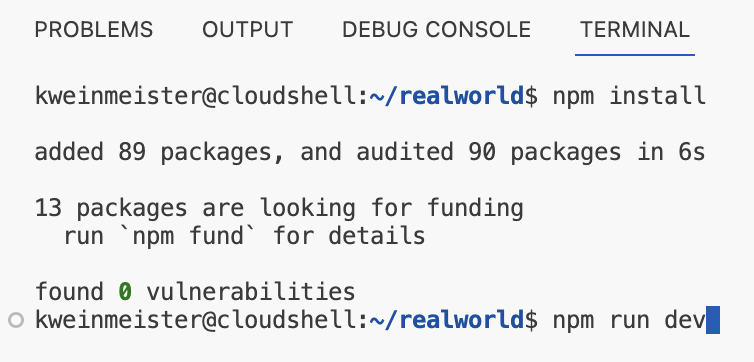

You can even directly "command-click" the link to use the proxy service to access it. Let's take a look!
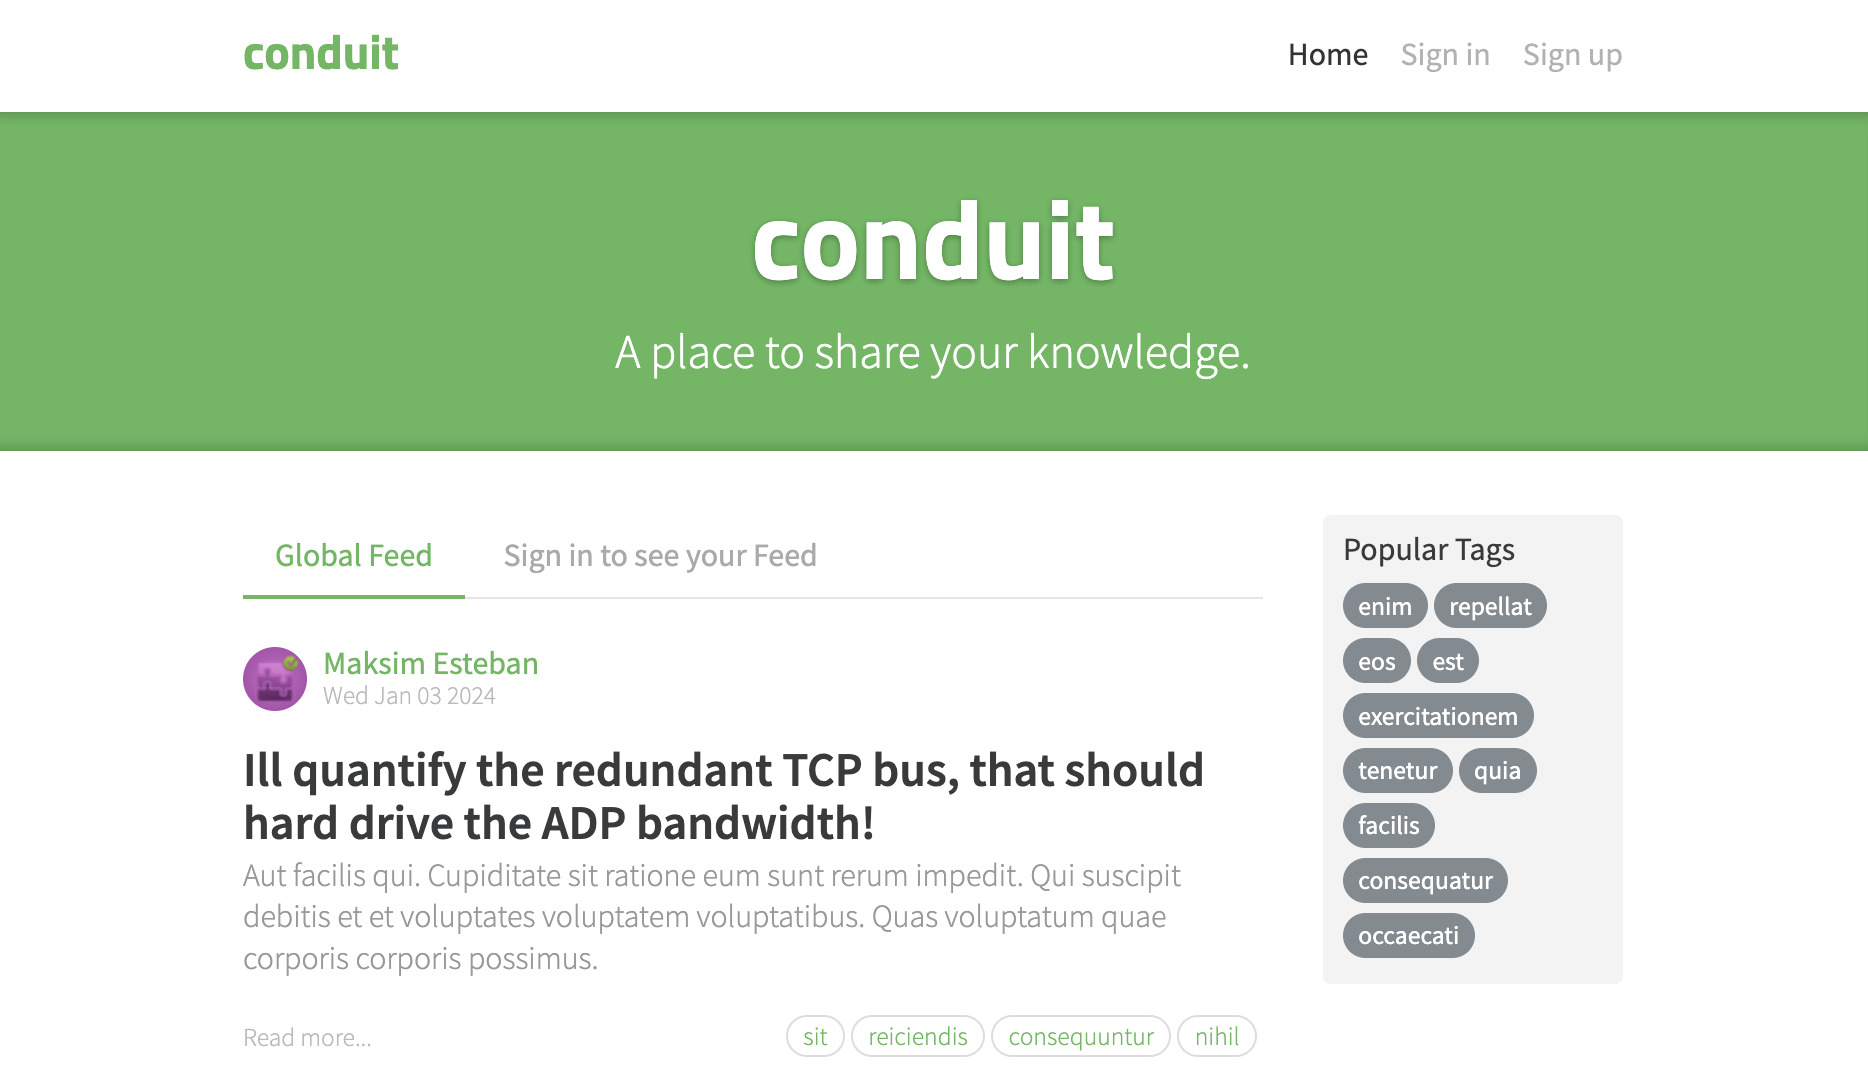

How easy was that? Let's now get ready to deploy the app to production in Cloud Run.
Preparing for deployment
There are a couple minor modifications to the out-of-the-box demo application we need to make for a smooth experience.
First, let's update the SvelteKit adapter used from Vercel to Node.js. From the Terminal, run:
-
npm uninstall @sveltejs/adapter-vercel -
npm install -D @sveltejs/adapter-node
Next, update svelte-config.js to use the new adapter:
Finally, let's create a Dockerfile to build and run the app. Let's include a .dockerignore file to include only the necessary files in the container.
Dockerfile
.dockerignore
Deploying the app
With automatic scaling, high availability, no idle costs, and CI/CD integration, Cloud Run has everything we need. All we need to do is package our source code into a container image, and then deploy the image.
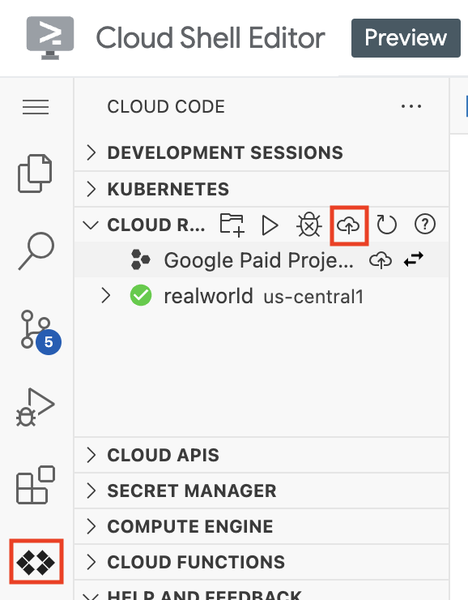
For our CLI fans out there, there's a really easy next step: gcloud run deploy. But I'd like to show you some great UI tooling to walk you through the process. With the Cloud Code extension (the bottom left of the screen shot), you can perform common deployment steps directly in the UI. You can navigate to Cloud Run and then select the deploy icon on your project.

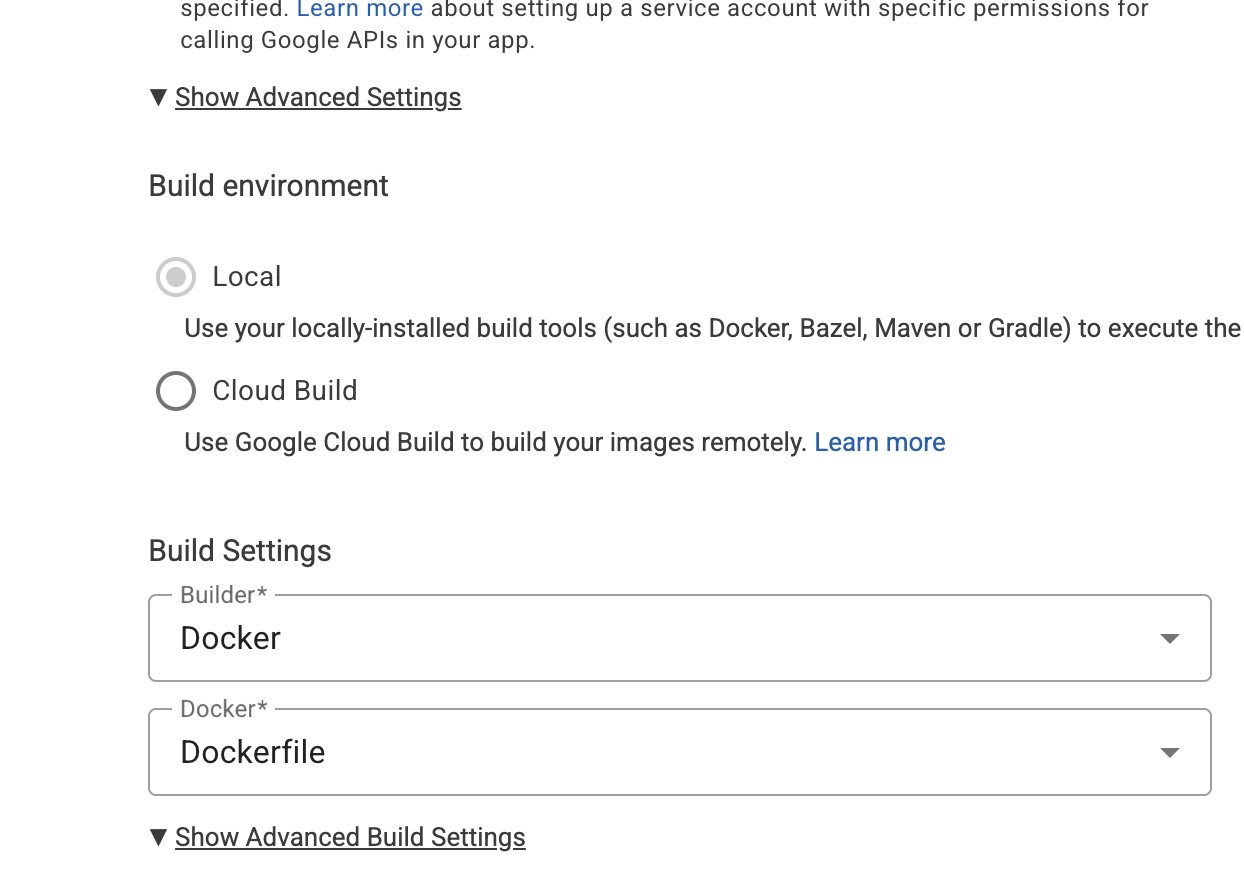
The default settings should be just fine. Just select a name for your service, and ensure you're deploying with the Dockerfile you just created.

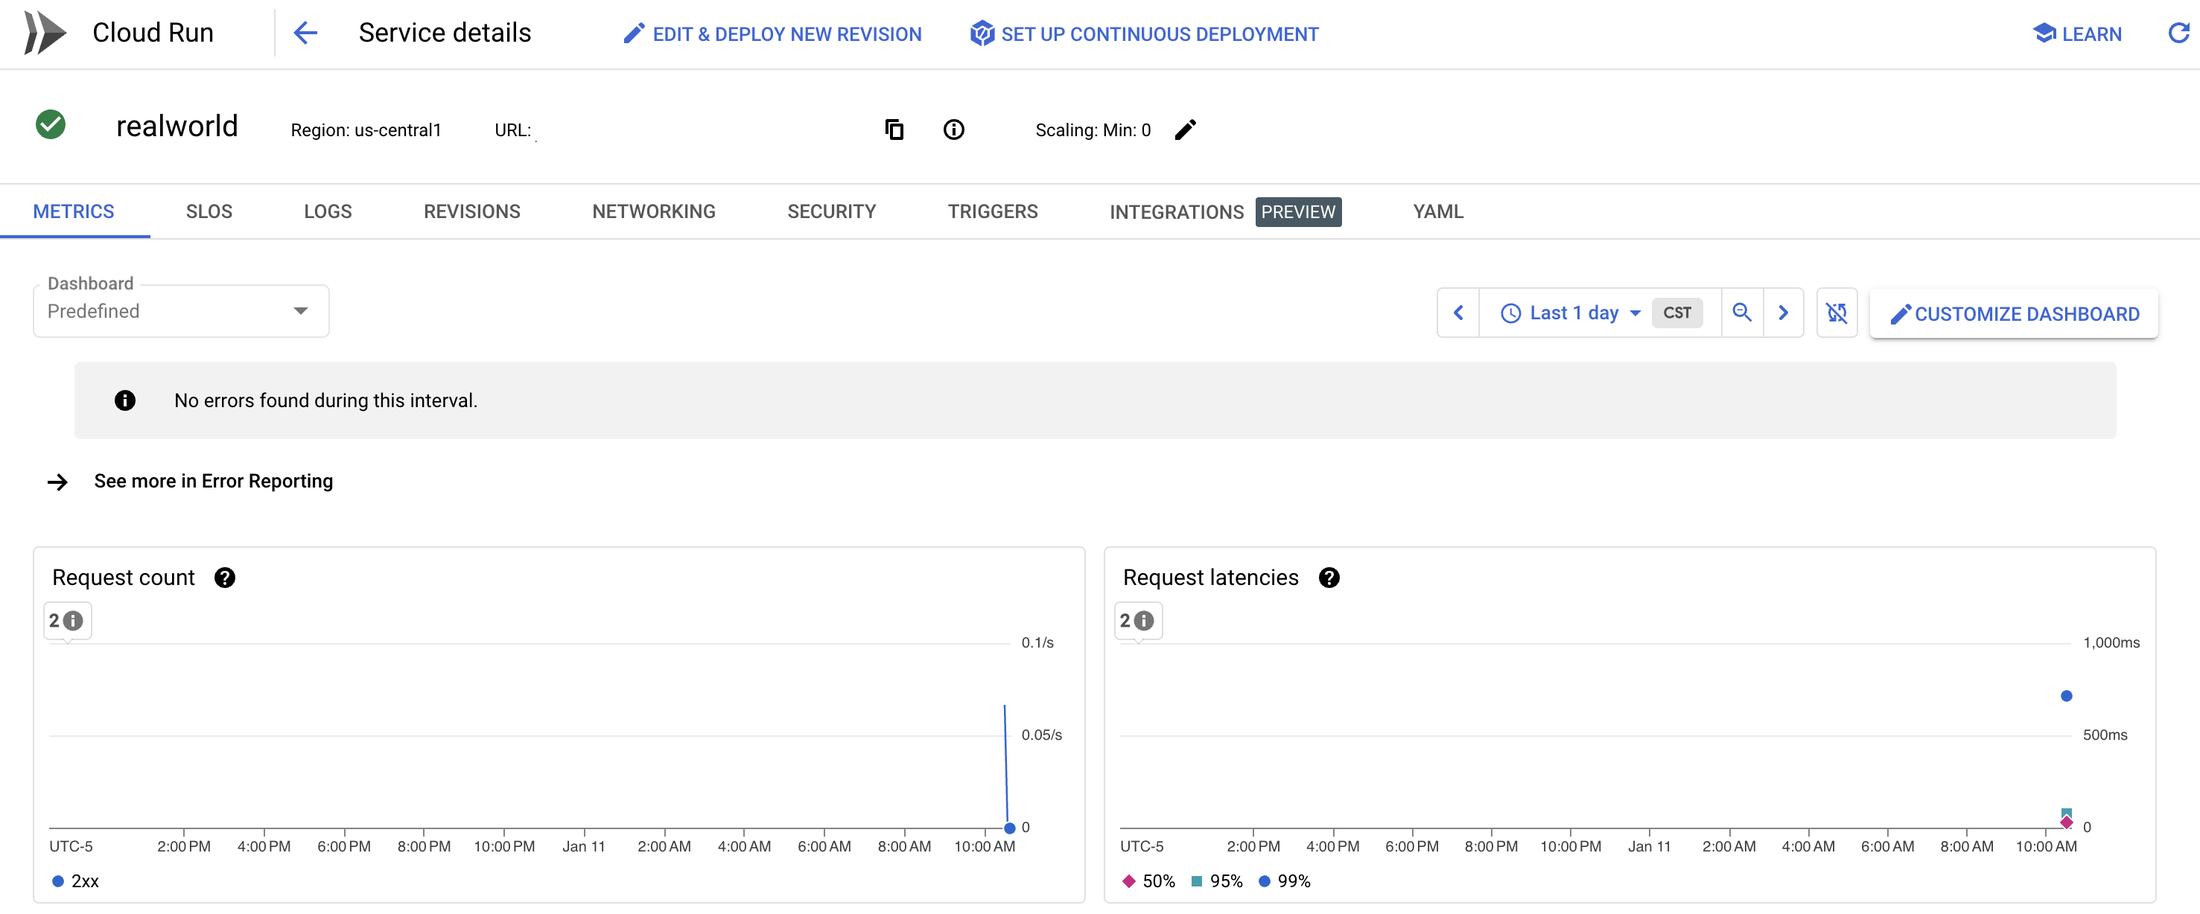
After a couple minutes, all of the packaging steps should be completed. Your app is now live on Cloud Run. You can view more details in the console:

Wrapping up
In this blog post, we saw how easy it is to get started developing and deploying production Svelte apps on Google Cloud. You can learn more about Svelte using the online tutorial, or try out a hands-on lab using Svelte and Vertex AI. Good luck with the next app you build!
