Utilisez l'interface utilisateur ou l'API Apigee pour modifier un proxy d'API. Lorsque vous modifiez un proxy d'API, vous pouvez choisir l'action à effectuer pour les modifications apportées :
Enregistrer vos modifications sur le serveur sans créer de nouvelle révision. Choisissez cette opération lorsque vous ne souhaitez pas déployer les modifications enregistrées mais simplement garantir qu'elles soient conservées à la fermeture de votre session.
OR
Créer une révision de proxy d'API et la déployer sur le cluster. Vous ne pouvez pas déployer les modifications apportées à un proxy d'API sans en créer une nouvelle révision.
Nouvel éditeur de proxys
Pour modifier un proxy d'API et enregistrer vos modifications à l'aide du nouvel éditeur de proxys, procédez comme suit :
Si vous utilisez la version classique de l'interface utilisateur d'Apigee : sélectionnez Développer > Proxys d'API, puis dans le volet Proxys, sélectionnez l'environnement du proxy.
Sélectionnez le proxy que vous souhaitez modifier dans la liste des proxys.
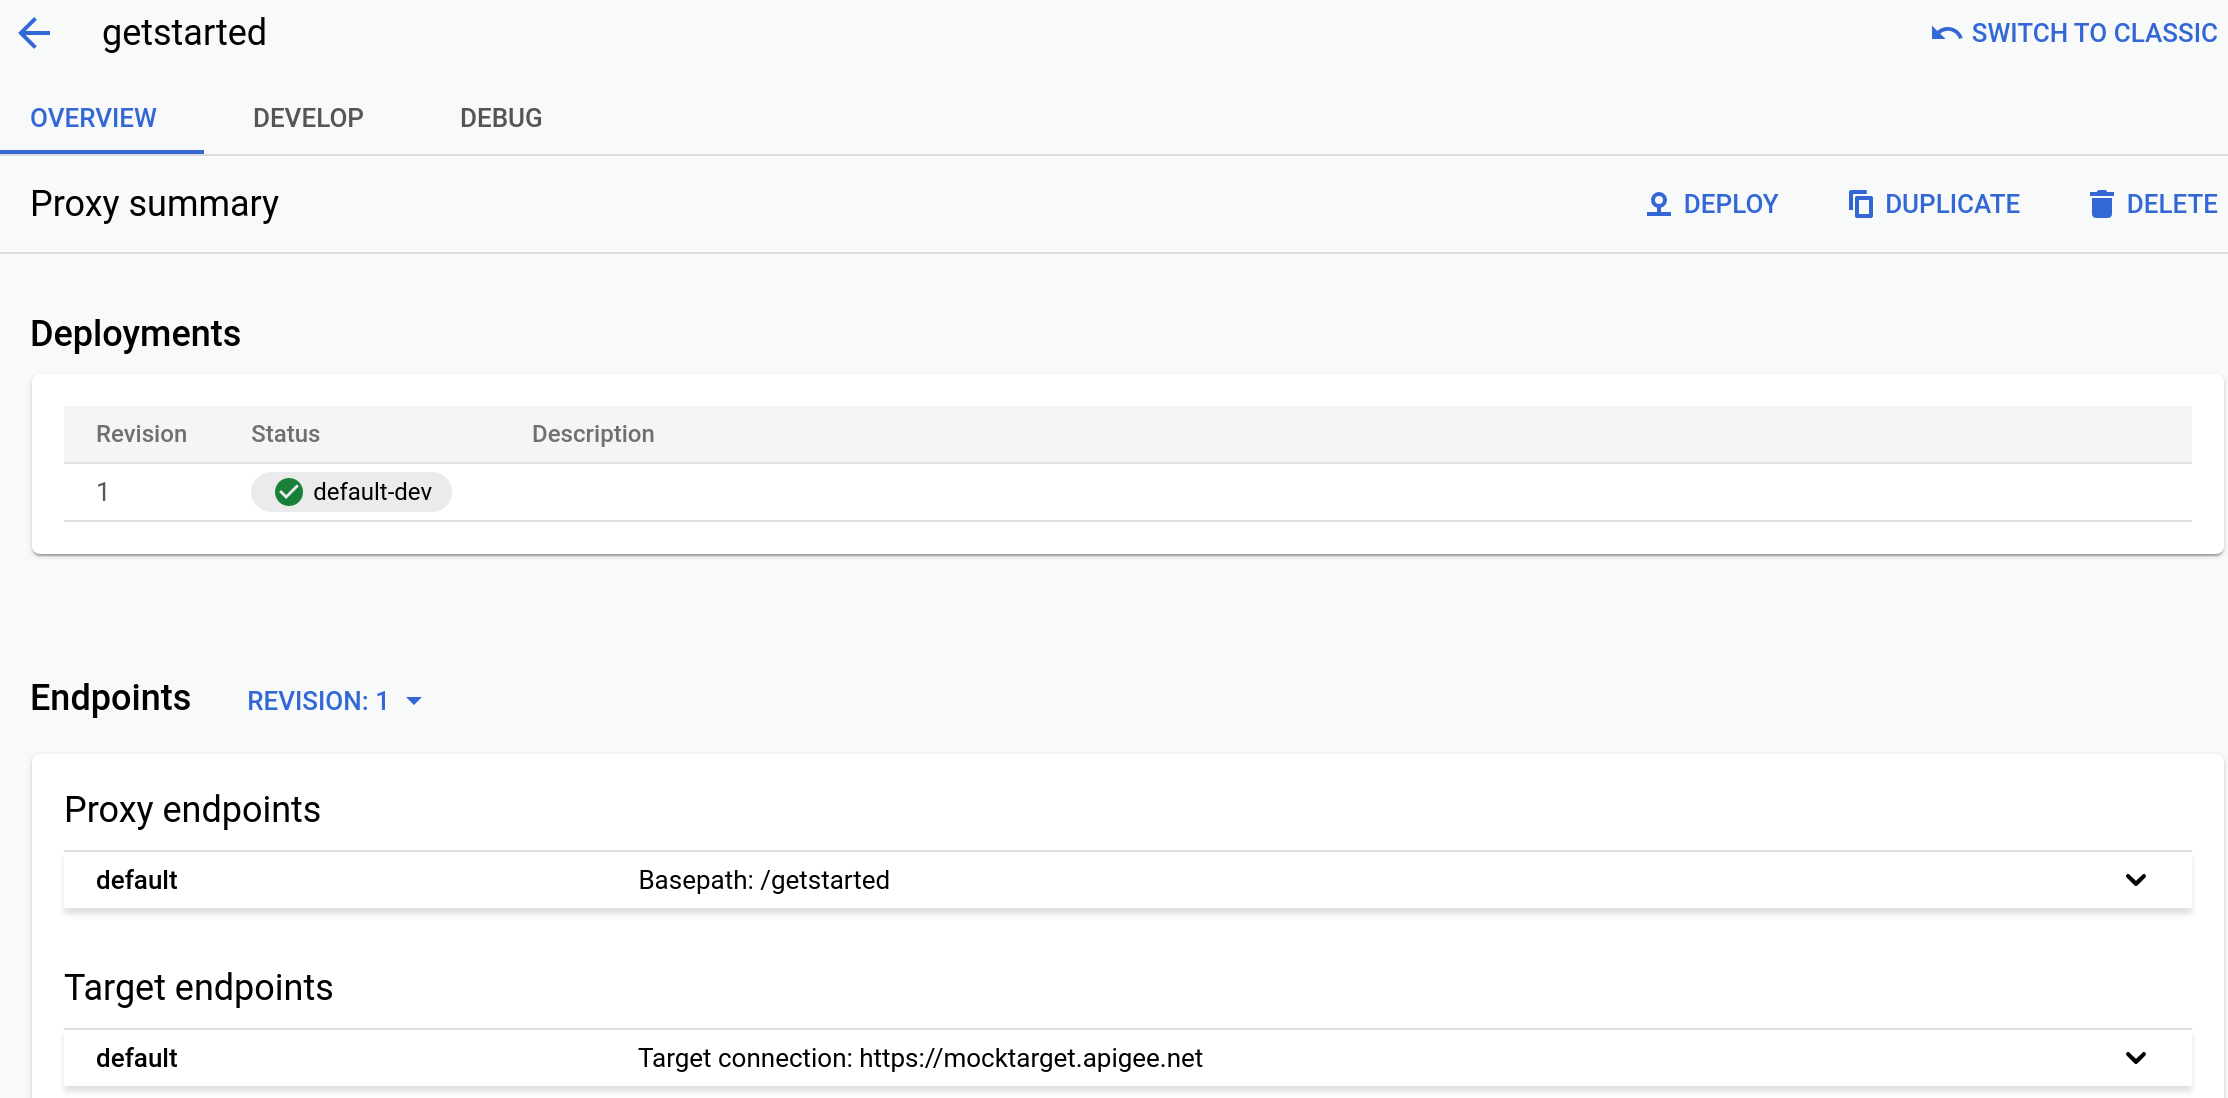
L'interface utilisateur affiche l'onglet Présentation de ce proxy dans l'éditeur de proxy.
Cliquez sur l'onglet Développer :
Utilisez l'éditeur de proxy pour modifier le proxy selon vos besoins. Une fois les modifications terminées, vous pouvez effectuer l'une des opérations suivantes :
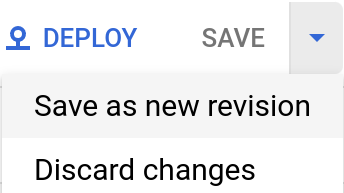
Pour enregistrer vos modifications, mais ne pas créer de révision, cliquez sur le bouton Save (Enregistrer). (Vous devez effectuer cette opération régulièrement pour éviter de perdre vos modifications si vous fermez la session.)
Pour enregistrer vos modifications en tant que nouvelle révision (lorsque vous êtes prêt à effectuer le déploiement et le test), cliquez sur le menu déroulant à côté du bouton Save, puis sélectionnez Save as new revision (Enregistrer en tant que nouvelle révision) :
L'interface utilisateur d'Apigee enregistre vos modifications et génère automatiquement une nouvelle révision du proxy. Cette opération ne déployant pas le nouveau groupe dans l'environnement d'exécution, vous devez le faire explicitement, comme décrit dans la section Déployer un proxy d'API.
Éditeur de proxy classique
Pour modifier un proxy d'API et enregistrer vos modifications à l'aide de l'éditeur de proxys classique, procédez comme suit :
Vous pouvez également sélectionner Développer > Proxys d'API dans le menu de navigation de gauche.
Sélectionnez l'environnement contenant le proxy que vous souhaitez modifier.
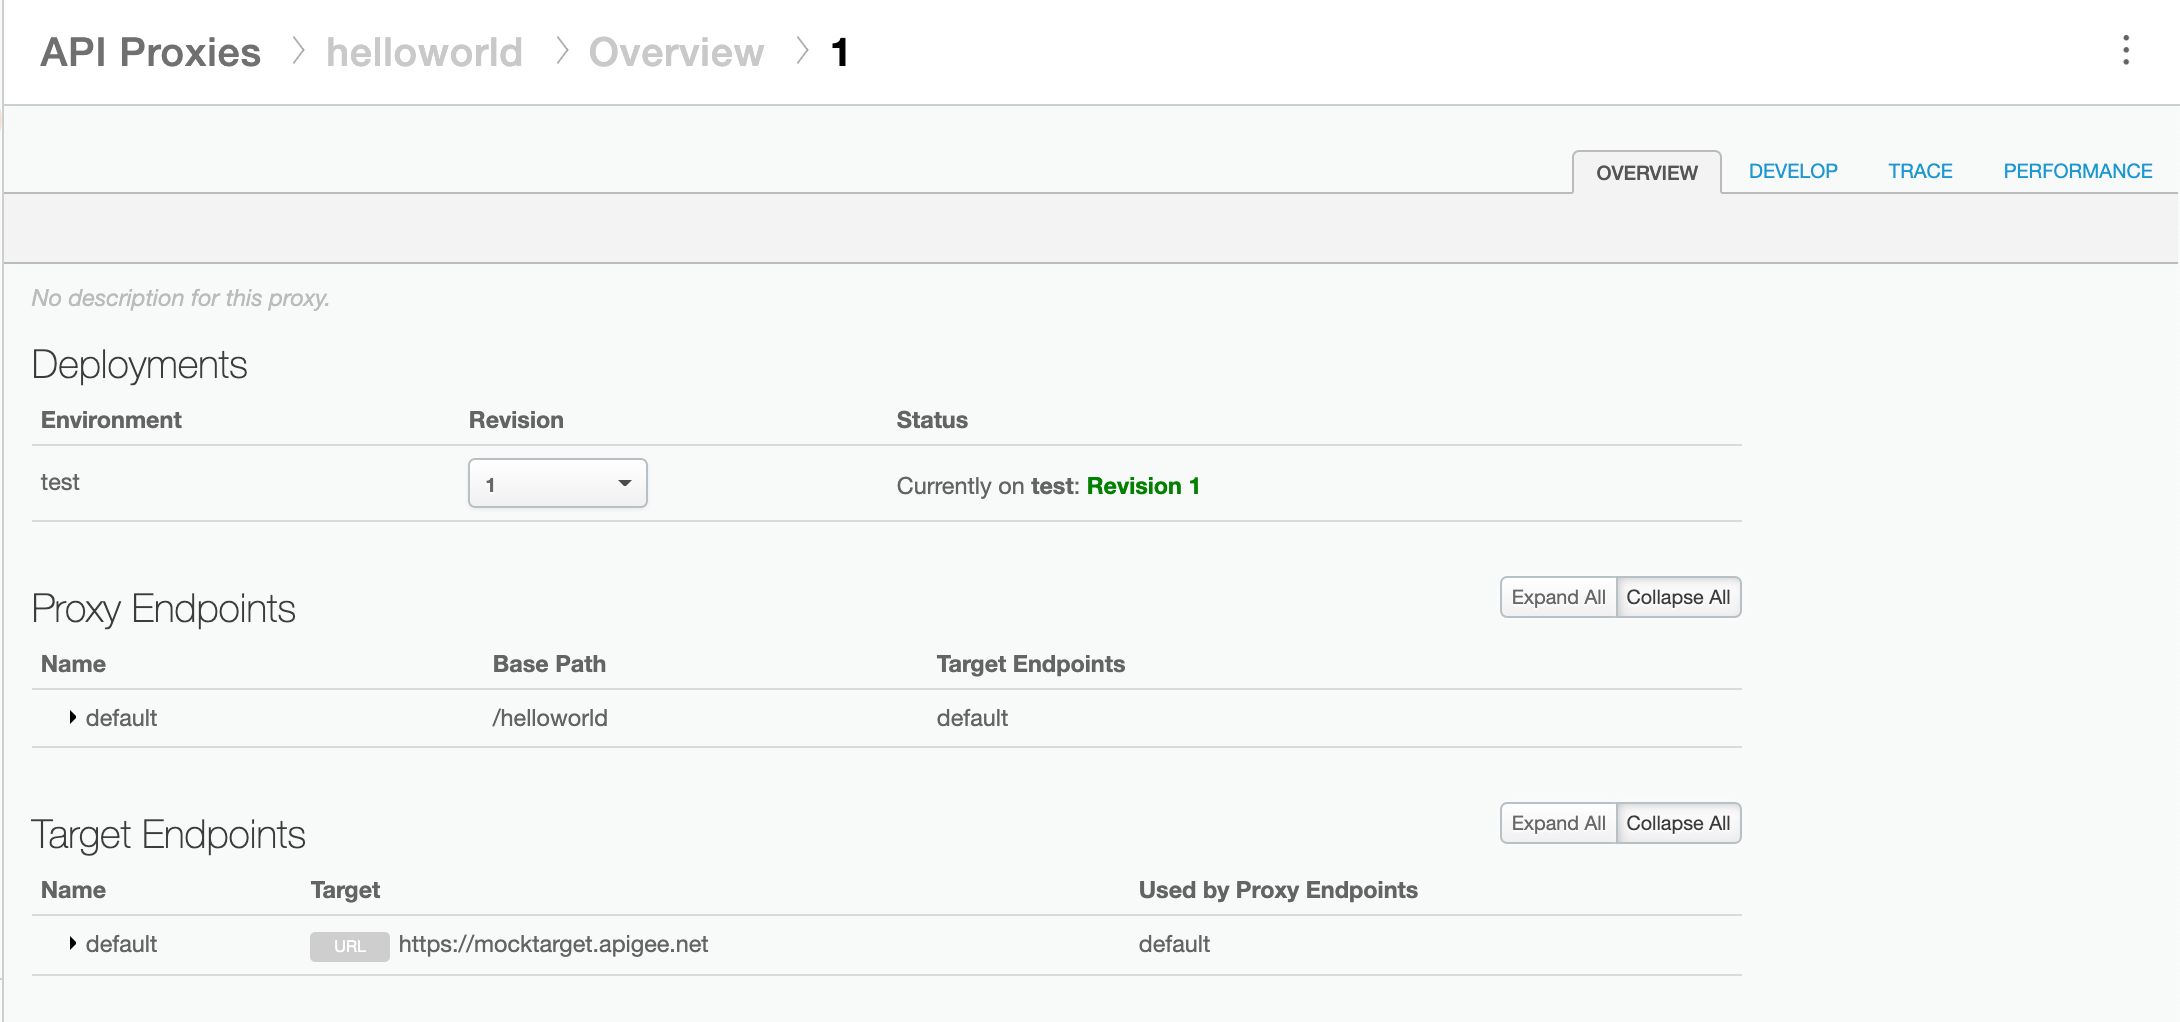
L'interface utilisateur Apigee affiche une liste de proxy d'API pour l'environnement sélectionné :
Cliquez sur le proxy que vous souhaitez modifier. L'interface utilisateur affiche l'onglet Présentation de ce proxy dans l'éditeur de proxy :
Cliquez sur l'onglet Développer en haut à droite de la vue.
Utilisez l'éditeur de proxy pour modifier le proxy selon vos besoins. Une fois les modifications terminées, vous pouvez effectuer l'une des opérations suivantes :
Enregistrez vos modifications sans créer de nouvelle révision (méthode la plus courante : il est recommandé d'effectuer cette opération régulièrement pour éviter de perdre vos modifications si vous fermez la session).
Enregistrez vos modifications en tant que nouvelle révision (lors de la préparation au déploiement et au test).
Pour enregistrer une révision sans la créer, cliquez sur Save (Enregistrer) dans l'angle supérieur droit de l'interface utilisateur :
Vos modifications sont enregistrées dans l'interface utilisateur d'Apigee. Vous pouvez donc quitter la page et reprendre votre travail ultérieurement.
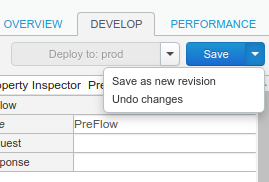
Pour enregistrer vos modifications en tant que nouvelle révision, cliquez sur la flèche du menu déroulant à côté du bouton Save (Enregistrer), puis sélectionnez Save as new revision (Enregistrer en tant que nouvelle révision) :
L'interface utilisateur d'Apigee enregistre vos modifications et génère un nouveau groupe de proxy pour vous. Il ne déploie pas le nouveau groupe dans l'environnement d'exécution. Vous devez le faire explicitement, comme décrit dans la section Déployer un proxy d'API.
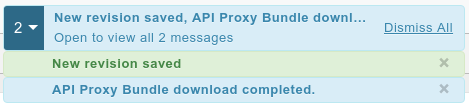
L'interface utilisateur affiche le message Nouvelle révision enregistrée :
Après avoir créé une révision, vous la déployez généralement sur votre cluster, comme décrit dans la section Déployer un proxy d'API.
API Apigee
Modifiez un proxy d'API pour créer une révision dans votre organisation Apigee en envoyant une requête POST à la ressource suivante :
Vous devez définir le nom du proxy d'API à l'aide du paramètre de requête name. Limitez les caractères utilisés dans le nom aux éléments suivants : A-Za-z0-9._\-$ %
Vous pouvez éventuellement importer un groupe de configuration de proxy d'API en procédant comme suit :
Définissez le paramètre de requête action sur import
Définissez l'en-tête Content-type sur multipart/form-data
Transmettez le nom du groupe de configuration de proxy d'API sur votre système de fichiers local
L'exemple suivant montre comment modifier un proxy d'API en important un groupe de configuration de proxy d'API (helloworld-config.zip) sur votre système de fichiers local à l'aide de l'API.
Pour plus d'informations sur la création d'un proxy d'API, consultez la méthode apis.create dans l'API Apigee. Pour afficher toutes les méthodes disponibles pour les proxys d'API, consultez la page Proxys d'API.
Sauf indication contraire, le contenu de cette page est régi par une licence Creative Commons Attribution 4.0, et les échantillons de code sont régis par une licence Apache 2.0. Pour en savoir plus, consultez les Règles du site Google Developers. Java est une marque déposée d'Oracle et/ou de ses sociétés affiliées.
Dernière mise à jour le 2025/09/04 (UTC).
[[["Facile à comprendre","easyToUnderstand","thumb-up"],["J'ai pu résoudre mon problème","solvedMyProblem","thumb-up"],["Autre","otherUp","thumb-up"]],[["Difficile à comprendre","hardToUnderstand","thumb-down"],["Informations ou exemple de code incorrects","incorrectInformationOrSampleCode","thumb-down"],["Il n'y a pas l'information/les exemples dont j'ai besoin","missingTheInformationSamplesINeed","thumb-down"],["Problème de traduction","translationIssue","thumb-down"],["Autre","otherDown","thumb-down"]],["Dernière mise à jour le 2025/09/04 (UTC)."],[[["\u003cp\u003eThis guide provides instructions on how to edit API proxies within Apigee and Apigee hybrid environments, offering methods through the Apigee UI and API.\u003c/p\u003e\n"],["\u003cp\u003eWhen editing an API proxy, you can save changes without creating a new revision or save changes as a new revision, which is necessary for deployment.\u003c/p\u003e\n"],["\u003cp\u003eThe guide details the use of both the new and classic Proxy Editors within the Apigee UI, showing how to access and utilize each interface.\u003c/p\u003e\n"],["\u003cp\u003eEditing via the Apigee API involves sending a POST request to a specific URL, with the option to import an API proxy configuration bundle.\u003c/p\u003e\n"],["\u003cp\u003eDeploying a new revision of an API proxy after saving it is a separate step, requiring explicit action as outlined in the "Deploying an API proxy" documentation.\u003c/p\u003e\n"]]],[],null,["# Editing an API proxy (create a proxy revision)\n\n*This page\napplies to **Apigee** and **Apigee hybrid**.*\n\n\n*View [Apigee Edge](https://docs.apigee.com/api-platform/get-started/what-apigee-edge) documentation.*\n\n| **More Information** \n|\n| For more information, see:\n|\n| - [Best practices for API proxy design and development](/apigee/docs/api-platform/fundamentals/best-practices-api-proxy-design-and-development)\n\nUse the Apigee UI or API to edit an API proxy. Editing an API proxy can include configuring\n[policies](/apigee/docs/api-platform/reference/policies/reference-overview-policy),\nconfiguring\n[proxy endpoints](/apigee/docs/api-platform/fundamentals/understanding-routes#determiningtheurloftheapiproxyendpoint),\n[target endpoints](/apigee/docs/api-platform/fundamentals/understanding-routes#determiningtheurlofthetargetendpoint), and\n[integration endpoints](/apigee/docs/api-platform/integration/getting-started-apigee-target-endpoint),\nadding or removing\n[flow hooks](/apigee/docs/api-platform/fundamentals/flow-hooks), and\n[deploying the proxy](/apigee/docs/api-platform/deploy/ui-deploy-new).\n\nWhen you edit an API proxy, you can decide which\nof the following to do with the resulting changes:\n\n1. Save your changes on the server but do not create a new revision. You do this when you do not want to deploy your saved changes, but just want to ensure that they are not lost if you end the session. \n\n **OR**\n2. Create a new API proxy revision and deploy it to the cluster. You cannot deploy changes to an API proxy without creating a new revision of it.\n\n### Apigee in Cloud console\n\nTo edit an API proxy and save your changes using the Apigee Cloud console:\n\n1. In the Google Cloud console, go to the **Proxy development \\\u003e API proxies** page.\n\n [Go to API proxies](https://console.cloud.google.com/apigee/proxies)\n2. Select the proxy that you want to edit from the list of proxies.\n The UI displays the **Overview** tab for that proxy in the Google Cloud console.\n\n3. Click the **Develop** tab to make your changes to the proxy. \n\n For example, to add a policy, click the **+** icon next to **Policies** , select the policy to add, enter a name and an optional display name, click **Create** , and configure the policy in the interface. \n4. When you are done making changes, you can do one of the following:\n - To save your changes but *not* create a new revision, click the **Save** button. (You should do this periodically to ensure that your changes are not lost if you end the session).\n - To save your changes as a new revision (when you are getting ready to deploy and test), click the drop-down menu next to the **Save** button and select **Save as new revision** :\n\n The Apigee UI saves your changes and generates a new revision of the proxy for you. It\n does not deploy\n the new bundle to the runtime; you must explicitly do that, as described in\n [Deploying an API proxy](/apigee/docs/api-platform/deploy/ui-deploy-new).\n\n### Classic Apigee\n\nTo edit an API proxy and save your changes using the classic Proxy Editor:\n\n1. Sign in to the [Apigee UI](https://apigee.google.com).\n2. Click **API Proxies** in the main view.\n\n Alternatively, you can select **Develop \\\u003e API Proxies** in the left navigation\n menu.\n3. Select the environment that contains the proxy you want to edit.\n\n The Apigee UI displays a list of API proxies for the selected environment:\n\n4. Click the proxy that you want to edit. The UI displays the **Overview** tab for that proxy in the Proxy Editor:\n\n5. Click the **Develop** tab in the upper right of the view.\n6. Use the proxy editor to make your changes to the proxy. When you are done making changes, you can do one of the following:\n - Save your changes but do not create a new revision (most common; you should do this periodically to ensure that your changes are not lost if you end the session).\n - Save your changes as a new revision (when you are getting ready to deploy and test).\n7. To save but *not* create a new revision, click **Save** in the upper right of the UI:\n\n The Apigee UI saves your changes so that you can leave the page and resume working later.\n8. To save your changes as a new revision, click the drop-down arrow next to **Save** and select **Save as new revision** :\n\n The Apigee UI saves your changes and generates a new proxy bundle for you. It does not deploy\n the new bundle to the runtime; you must explicitly do that, as described in\n [Deploying an API proxy](/apigee/docs/api-platform/deploy/ui-deploy-new).\n\n The UI displays a **New revision saved** message:\n\n After you create a new revision, you typically deploy it to your cluster, as described in\n [Deploying an API proxy](/apigee/docs/api-platform/deploy/ui-deploy-new).\n\n### Apigee API\n\nEdit an API proxy to create a revision in your Apigee organization by issuing a `POST`\nrequest to the following resource: \n\n```\nhttps://apigee.googleapis.com/v1/organizations/$ORG/apis\n```\n\nYou must define the name of the API proxy using the `name` query parameter. Restrict\nthe characters used in the name to the following: `A-Za-z0-9._\\-$ %`\n\nOptionally, you can import an API proxy configuration bundle by performing the following steps:\n\n- Set the `action` query parameter to `import`\n- Set the `Content-type` header to `multipart/form-data`\n- Pass the name of the API proxy configuration bundle on your local file system\n\nThe following example demonstrates how to edit an API proxy by importing an API proxy\nconfiguration bundle (`helloworld-config.zip`) on your local file system using the\nAPI. \n\n```\nexport TOKEN=$(gcloud auth print-access-token)\nexport ORG=ORGANIZATION_NAME\ncurl \"https://apigee.googleapis.com/v1/organizations/$ORG/apis?name=helloworld&action=import\" \\\n -X POST \\\n -H \"Authorization: Bearer $TOKEN\" \\\n -H \"Content-type: multipart/form-data\" \\\n -F \"file=@helloworld-config.zip\"\n```\n\nWhere `$TOKEN` is set to your OAuth 2.0 access token, as described in\n[Obtaining an OAuth 2.0 access token](/apigee/docs/api-platform/get-started/api-get-started#oauth20). For information about the `curl` options used in this example, see\n[Using curl](/apigee/docs/api-platform/get-started/api-get-started#curl). For a description of environment variables you can use, see\n[Setting\nenvironment variables for Apigee API requests](/apigee/docs/api-platform/get-started/api-get-started#api-environment-variables).\n\nThe following provides an example of the response output: \n\n```carbon\n{\n \"basepaths\": [\n \"/helloworld\"\n ],\n \"configurationVersion\": {\n \"majorVersion\": 4\n },\n \"createdAt\": \"1559145292799\",\n \"displayName\": \"helloworld\",\n \"entityMetaDataAsProperties\": {\n \"bundle_type\": \"zip\",\n \"subType\": \"Proxy\",\n \"lastModifiedAt\": \"1559145292799\",\n \"createdAt\": \"1559145292799\"\n },\n \"lastModifiedAt\": \"1559145292799\",\n \"name\": \"helloworld\",\n \"policies\": [\n \"verify-api-key\",\n \"remove-query-param-apikey\",\n \"OAuth-v20-1\"\n ],\n \"proxies\": [\n \"default\"\n ],\n \"proxyEndpoints\": [\n \"default\"\n ],\n \"resourceFiles\": {},\n \"targetEndpoints\": [\n \"default\"\n ],\n \"targets\": [\n \"default\"\n ],\n \"type\": \"Application\",\n \"revision\": \"1\",\n \"description\": \"Hello world\"\n}\n```\n\nFor more information on editing an API proxy, see the [`apis.create` method](/apigee/docs/reference/apis/apigee/rest/v1/organizations.apis/create)\nin the Apigee API. To see all the methods available for API proxies, see the [API proxies API](/apigee/docs/reference/apis/apigee/rest/v1/organizations.apis)."]]