The Cloud Shell Editor lets you manage your projects as workspaces. A workspace usually represents the root folder of your project and includes your project-specific configuration files. A Home workspace (based on your Home directory) is created for you automatically.
With workspaces, you can specify persistent settings, run and debug configurations, and UI states (like open files) for all the folders in your workspace.
This page explains how to create, open, save, and close a workspace, and configure Cloud Shell Editor and workspace settings.
Create a new workspace
To create a new workspace:
- Using the Cloud Shell terminal, create a new directory to
use as your workspace:
- Use
mkdirto manually create a new directory - Use
git cloneto copy in an existing repository
- Use
- After your directory is ready, open it as a new workspace by clicking File > Open Workspace.
Open a workspace
You can open a workspace in one of the following ways:
Click File > Open Folder.
If no workspaces are open, click the Open Folder button in the Cloud Shell Editor Explorer view.

Select a recently opened workspace from the Recent section in the Welcome to Cloud Shell window.
Alternatively, click File > Open Recent Workspace.

Open a Home workspace
To operate using a Home workspace, open your Home directory as your workspace by clicking File > Open Folder and then choose your Home directory.
Save a workspace
After you've added project folders to your workspace and configured it, you can save your workspace under a new name by clicking File > Save Workspace As.
Close a workspace
To close your workspace, click File > Close Folder and then click OK when prompted.
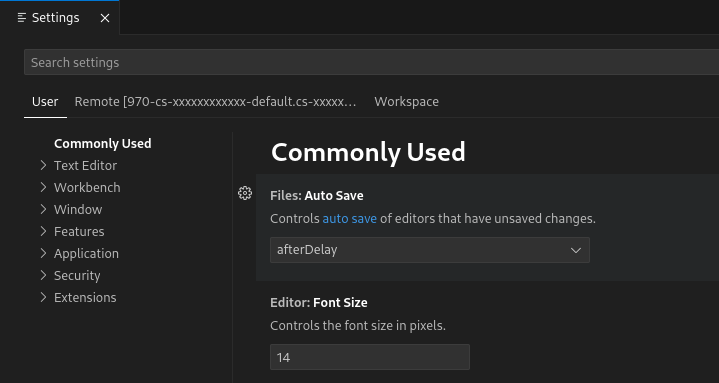
Configure settings
The Cloud Shell Editor's behavior and interface are easily configured
with the Settings menu. You can define your preferences for debugging
configurations, YAML editing support, and Command Palette history limits, among
a variety of settings using this Settings editor. Settings are accessible
through the Settings Gear
![]() , in the bottom
left corner of the editor.
, in the bottom
left corner of the editor.
There are three scopes for settings:
- User settings:: Globally-applicable settings, applied to all your instances of the Cloud Shell Editor. This configuration is stored in the browser.
- Remote settings:: Globally-applicable settings, applied to all your instances of the Cloud Shell Editor. These settings are stored in your Cloud Shell home directory under $HOME/.codeoss/data/Machine/settings.json.
- Workspace settings: Workspace-specific settings, applied to only the active workspace. These settings are saved in the .codeoss/settings.json file in your workspace folder and can be shared using version control or by downloading the workspace folder.
To search for a setting, you can use the Search Settings search bar that returns a set of settings that match your query, filtering out those that don't relate to your criteria. The settings themselves can be set either by filling in the input field, choosing an option from a dropdown menu, or toggling a checkbox.