Use Cloud SQL Read Replicas to separate your analytics and production workloads
Jonathan Simon
Developer Relations
Cloud SQL for SQL Server now includes Read Replicas as a preview release feature. Cloud SQL for MySQL and Cloud SQL for PostgreSQL both include Read Replicas as a general availability (GA) feature.
This blog post will walk you through the steps to create a Cloud SQL Read Replica that you can use for your read-only workloads like analytics queries or other data post-processing operations. For the purposes of this blog post, I'll be using a SQL Server instance connected to SQL Server Management Studio (SSMS). The overall approach, presented in this blog post, of using Read Replicas to isolate read-only database workloads from production database workloads will also work with MySQL and PostgreSQL Cloud SQL instances.
Create a Cloud SQL for SQL Server instance
We'll start by creating a SQL Server instance to demonstrate the Read Replicas feature.
In the Cloud SQL section of the Google Cloud Console, click the "CREATE INSTANCE" button and select the “Choose SQL Server” option. Most of the default create instance settings are fine for the purposes of this post. Two settings that will require changing are the "Database version" and the "Region and zonal availability" setting. We'll change the "Database version" to be "SQL Server 2017 Enterprise" which is currently the only version that includes the Read Replicas feature. For the instance's region and zonal availability setting, we'll set it to "Single zone" to reduce the cost of the instance since this is a demonstration. If this was an actual production instance this would be set to "Multiple zones (Highly available)". Also under the "SHOW CONFIGURATION OPTIONS" > "Connections" section, "Private IP" should be enabled with "default" selected as the "Network".
Enter the following values to create a "Primary" instance
- For Instance ID:
Enter: sql-server-primary
- Enter a password or click the "Generate" button for the "Password" field. Make a note of the password for future reference.
- Select "SQL Server 2017 Enterprise" for the "Database version".
- Select "Single Zone" for the "zonal availability".
With all of the necessary values set to create the instance, it should look something like the following:
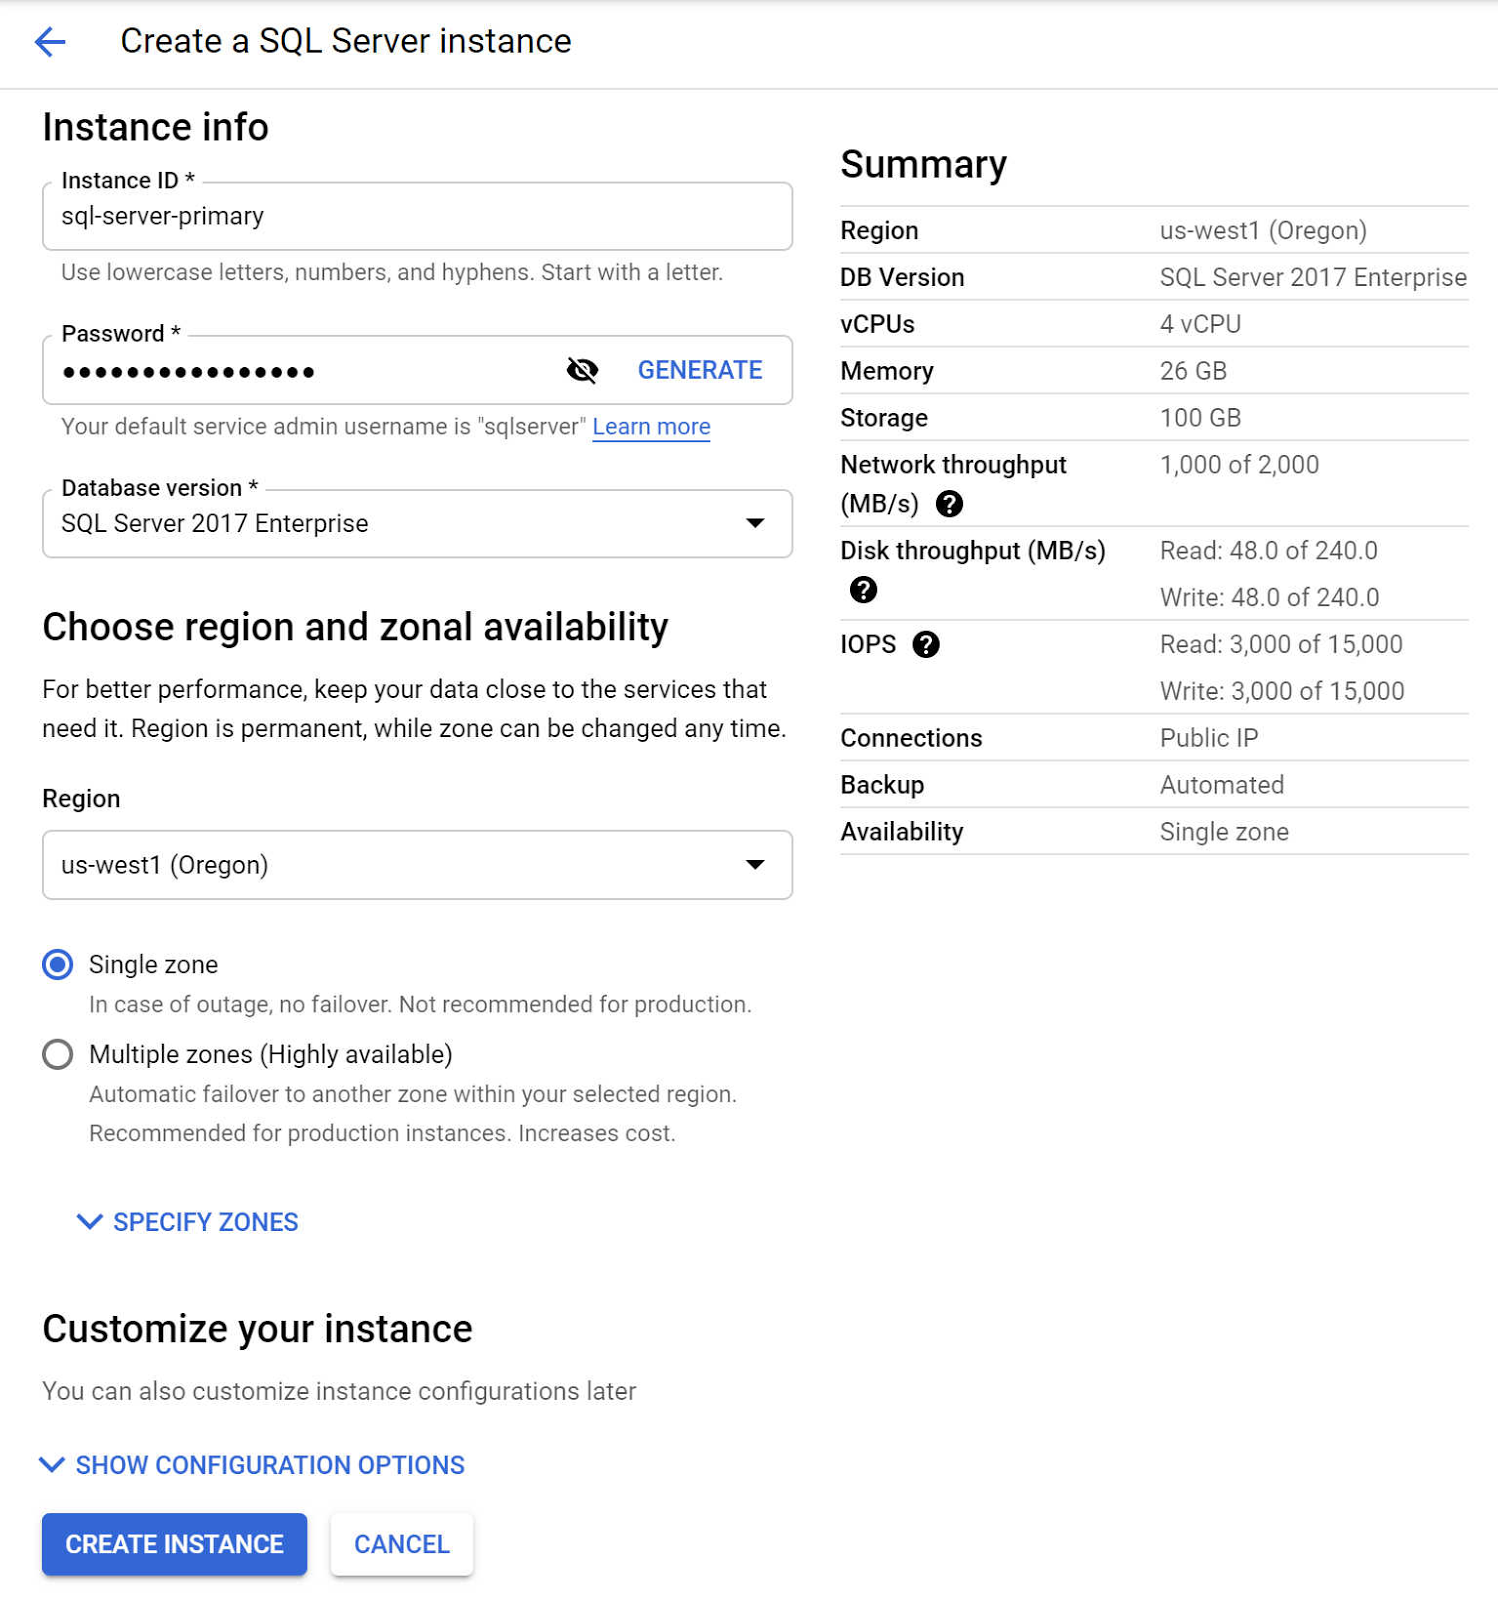
Click the "CREATE INSTANCE" button to create the instance. It will take around 3 minutes for the instance to be created.
Create a Read Replica
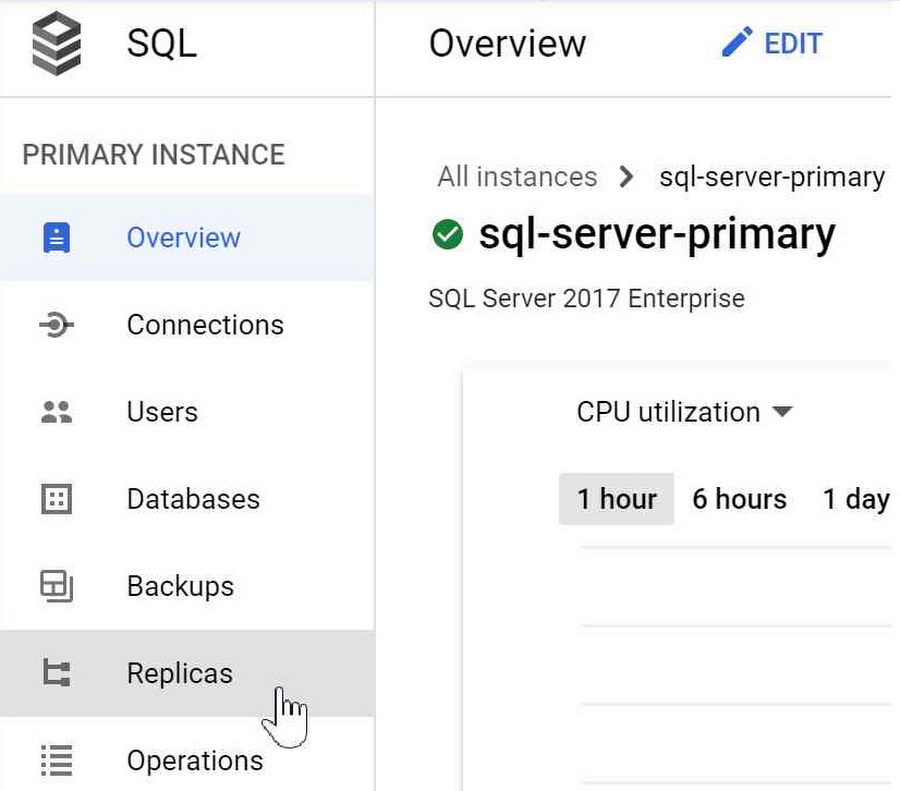
Once the creation of the "Primary" instance is complete, select it from the list of Cloud SQL instances in order to see its details page. From there click the "Replicas" tab in the Left side Menu.
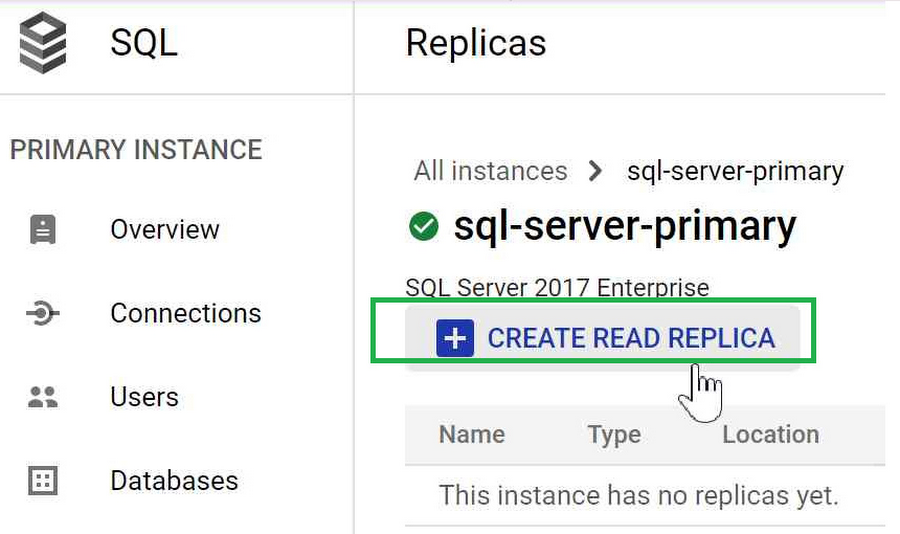
On the "Replicas" page click the "CREATE READ REPLICA" button.
On the Replicas Instance Info form, just click on the "CREATE REPLICA" button. With that single button click, under the hood Cloud SQL is handling the entire process of standing up an "Availability Group" and creating a Read Replica within that group. The Read Replica is a read-only copy of the primary instance that reflects changes to the primary in almost real time.
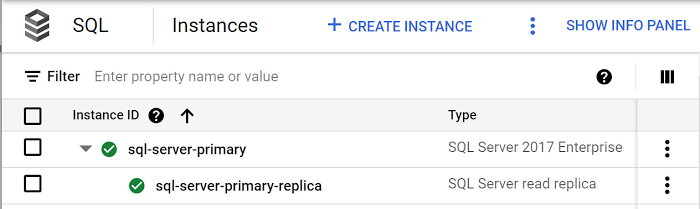
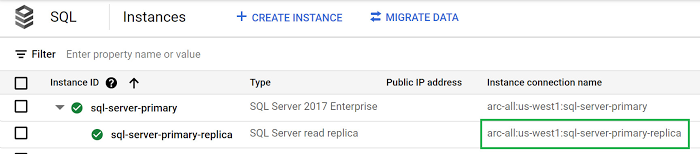
After a couple of minutes you should see the Read Replica appear in the Cloud SQL Instances page.
Create a GCE Windows VM instance
Now that we've got a running Read Replica let's put it to use. We'll create a Google Compute Engine Windows VM instance so we can use SSMS to connect to the Cloud SQL instance that we just created.
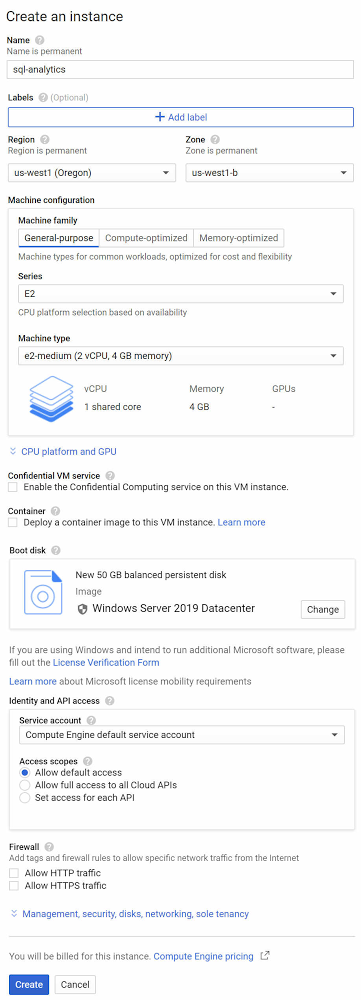
In the Compute Engine Console click the " CREATE INSTANCE" button. Most of the default settings will be sufficient but we will change the "Boot disk".
- Enter a "Name" for the instance.
Example: sql-analytics
- Under the "Boot disk" section in the Create Instance form click the "Change" button and select "Windows Server" for the "Operating System". For the "Version" select "Windows Server 2019 Datacenter". Click the "Select" button to set the Boot disk.
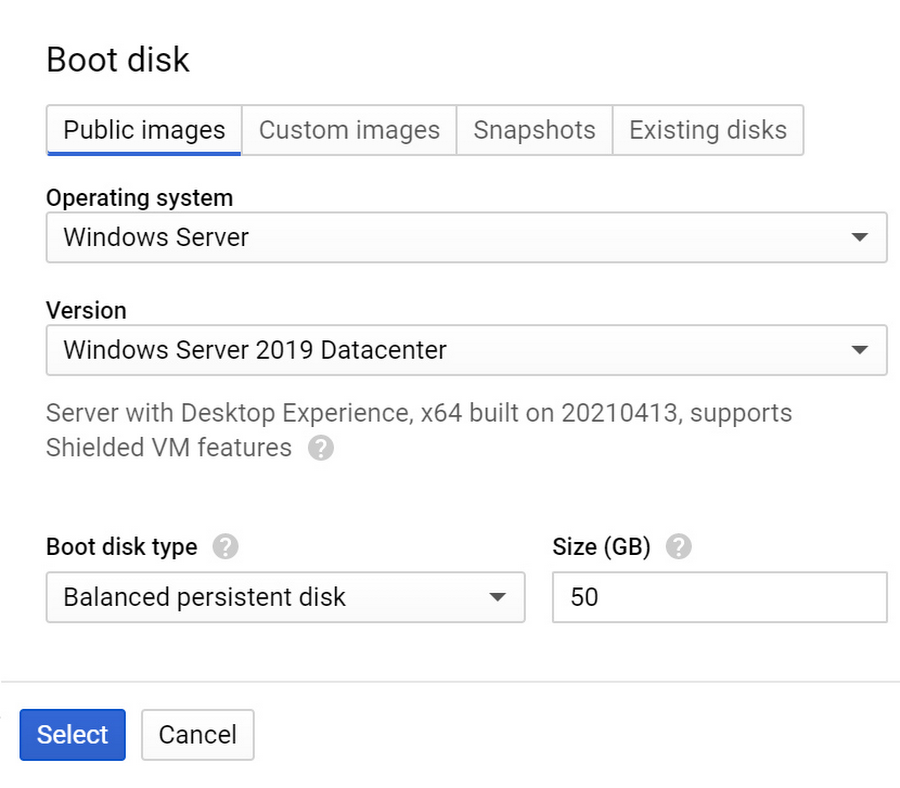
The completed Compute Engine "Create an Instance" form should look kind of like this:
Click the "Create" button to create the instance. Give that a couple minutes to start up and then we can move on to the next step which is to start up a remote desktop (RDP) connection on the newly created VM instance.
- Note: You can lower the cost of this Compute Engine instance by scheduling it to start and stop around your work schedule.
Remote Desktop (RDP) into Windows VM instance via Google Cloud Console
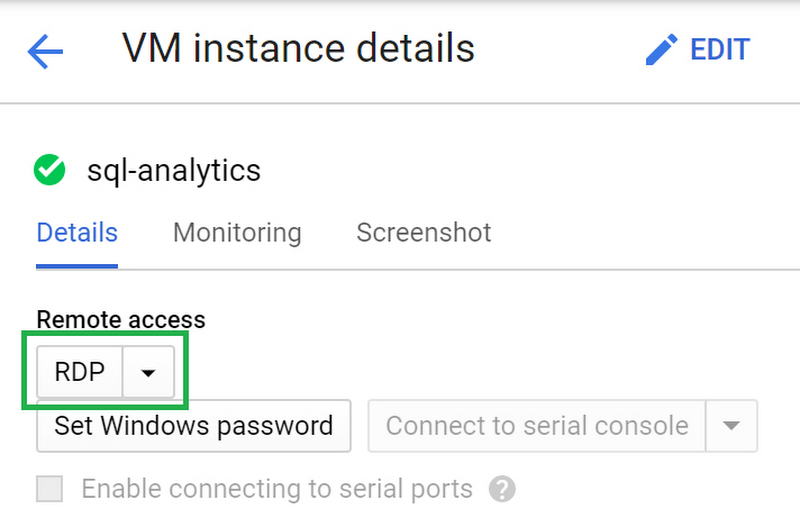
In the Cloud Console's Compute Engine instances list, find the newly created instance and click its name to see its VM instance details page.
- Click the “Set Windows password” button to set a password to use for logging into and administering the VM instance. Copy and make a note of the password for future use.
- Then click the “Remote Desktop Protocol” (RDP) button to login into the VM and establish a remote desktop connection.
Configure the Windows VM instance to install the software for connecting to Cloud SQL
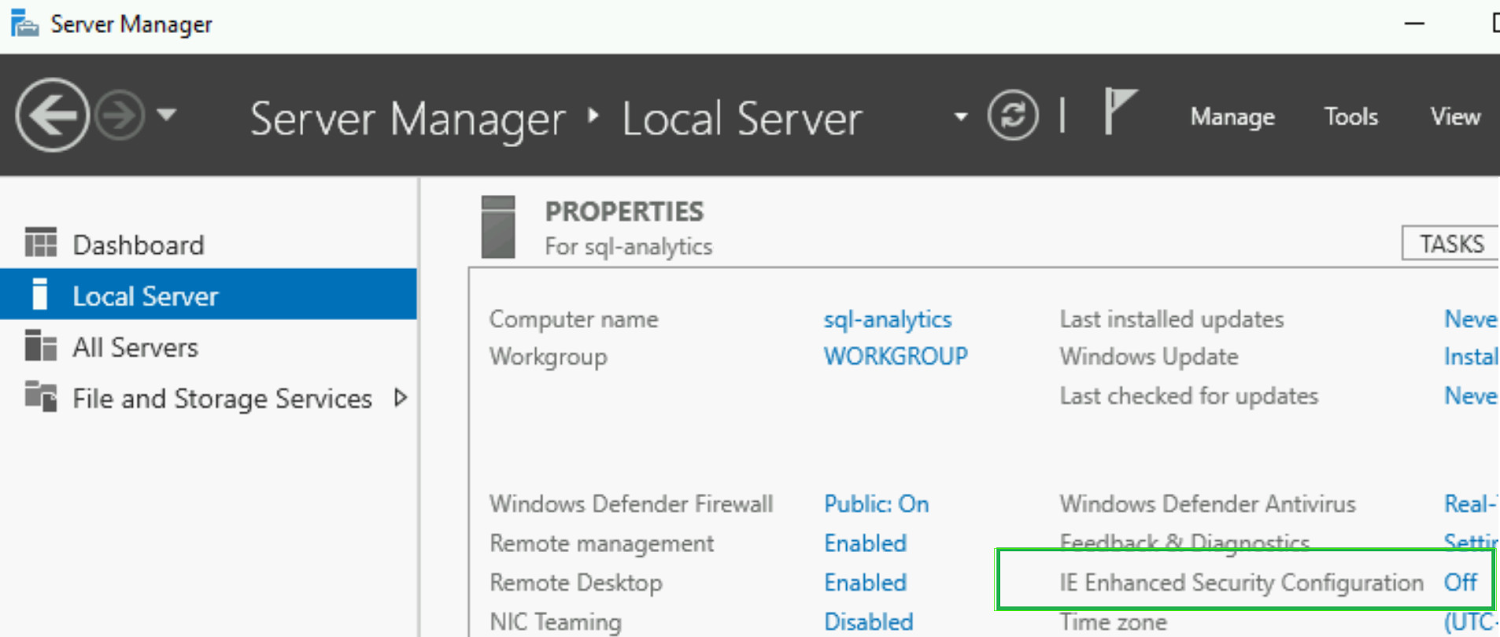
The next few steps we'll be downloading, installing and initializing the software necessary to connect to our Cloud SQL instance with SQL Server Management Studio (SSMS). We'll be using the default web browser on the newly created Windows VM instance so we will need to disable the "IE Enhanced Security Configuration" in order to enable downloading software via the browser.
- In your remote desktop session a "Server Manager" window should already be open. If not, click the "Windows" icon button at the bottom left of the remote desktop screen and search for "Server Manager" to open it. Then once "Server Manager" opens, click the "Local Server" tab and click the "IE Enhanced Security Configuration" item to set it to "Off".
Next, we'll need to install the following software to accomplish the task of connecting SQL Server Management Studio to Cloud SQL.
- Google Cloud SDK
- Cloud SQL Auth Proxy
- SQL Server Management Studio
Authenticate Google Cloud API access via the Google Cloud SDK
The first action for this step is to authenticate your access via the Cloud SDK which provides the gcloud tool that we'll be using to enable authenticated access to the Cloud SQL API. Since we're doing this on a Compute Engine VM instance the Cloud SDK is already installed. If you are setting this up on your own machine visit the Cloud SDK page to download it.
Within the remote desktop session on the Windows VM instance, open a Powershell terminal window by clicking the Windows icon at the bottom left of the screen. Search for "Powershell" and select it to open it.
Then enter and run the following Powershell command to authenticate your user account via the Cloud SDK:
You'll see a command prompt window appear asking if you want to authenticate as a service account or with your user account. Choose "user account" and hit the "Enter" key (a Service Account with Service Account key will also work.) That will start the authentication process where you'll have to confirm the account's access by getting a token string that you'll copy and paste back at the command prompt window.
If this process is interrupted or you need to re-authenticate the Cloud SDK in the future, you can re-run the "gcloud auth login" command in a Powershell window on the Windows VM instance.
Now that we've authenticated via the Console SDK, we can use it for authenticating with Cloud SQL. The Console SDK's "gcloud tool" uses the Cloud SQL Admin API to interact with Cloud SQL, so now it's time to enable that API. In the same Powershell window that you just used for running the previous command; enter the following command to enable the Cloud SQL Admin API using the gcloud tool:
Install and run Cloud SQL Auth Proxy
The next thing we need to install is the Cloud SQL Auth Proxy which will provide a secure communications channel between our Windows VM instance and Cloud SQL.
Download and install the Cloud SQL Auth proxy by entering the following command in the open Powershell window of your remote desktop session on your Windows VM instance:
Running the command will download the Cloud SQL Auth proxy and save it as a file named "cloud_sql_proxy.exe" in the Powershell directory from where the command is being run.
It's time to run the Cloud SQL Auth Proxy. We'll first connect to our "Primary" instance to run some SQL statements that will create a database and a table populated with example data. Start this step by copying the "Instance connection name" from the Cloud Console's Cloud SQL instance list.

Then back in your remote desktop session on the Windows VM instance, run the following command in Powershell, replacing "[Instance-connection-name]" with the corresponding value you just copied.
You should see that the proxy is now running with a Powershell window response that looks something like this:

Install SQL Server Management Studio (SSMS)
Finally we are at the part of the blog post where we get to experience the benefits of all the setup work. We're now going to install SQL Server Management Studio which we'll use to run SQL statements and queries against our Cloud SQL "Primary" and Read Replica instances.
- Open a web browser window in the remote desktop session of the Windows Server VM instance, go to the SQL Server Management Studio download page: https://docs.microsoft.com/en-us/sql/ssms
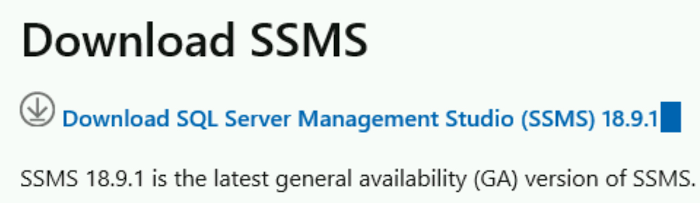
- Click the “Download SQL Server Management Studio” link to initiate the download, and click the “Run” button in the download dialog window that appears.

- Click the "Install" button and wait a bit for the SQL Server Management Studio installation wizard to perform the installation.
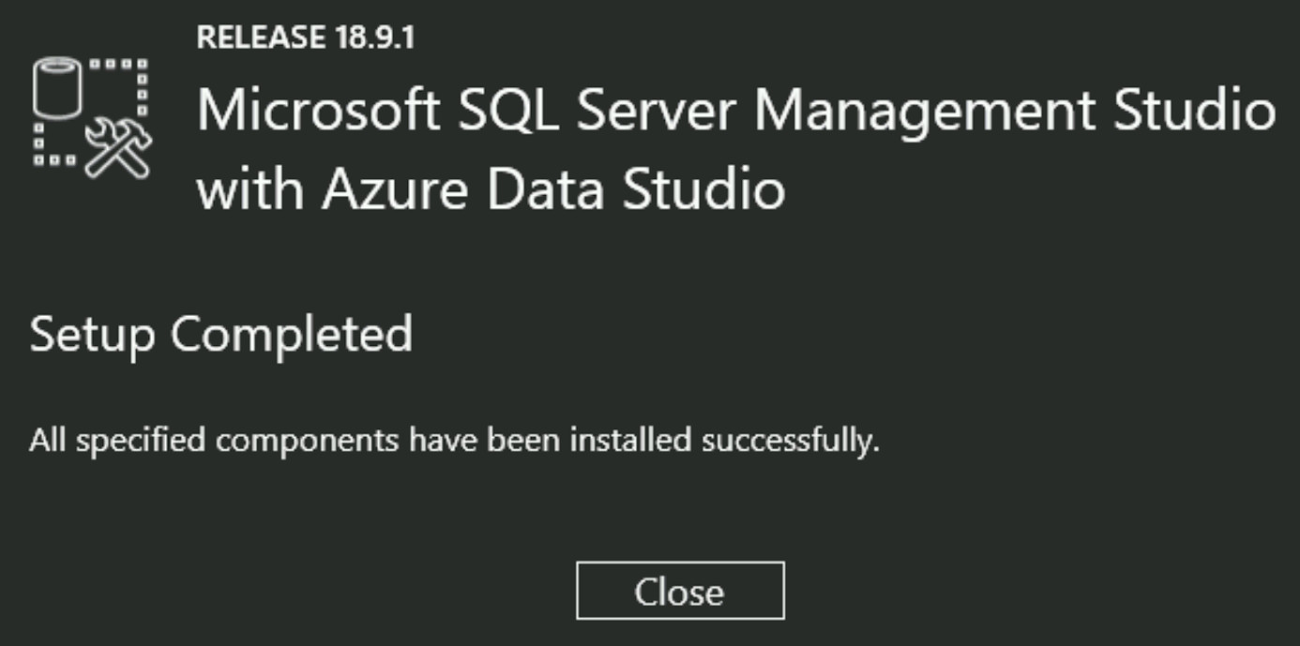
- Click the “Close” button to complete the process.
Use SSMS via the Cloud SQL Auth Proxy to connect to Cloud SQL
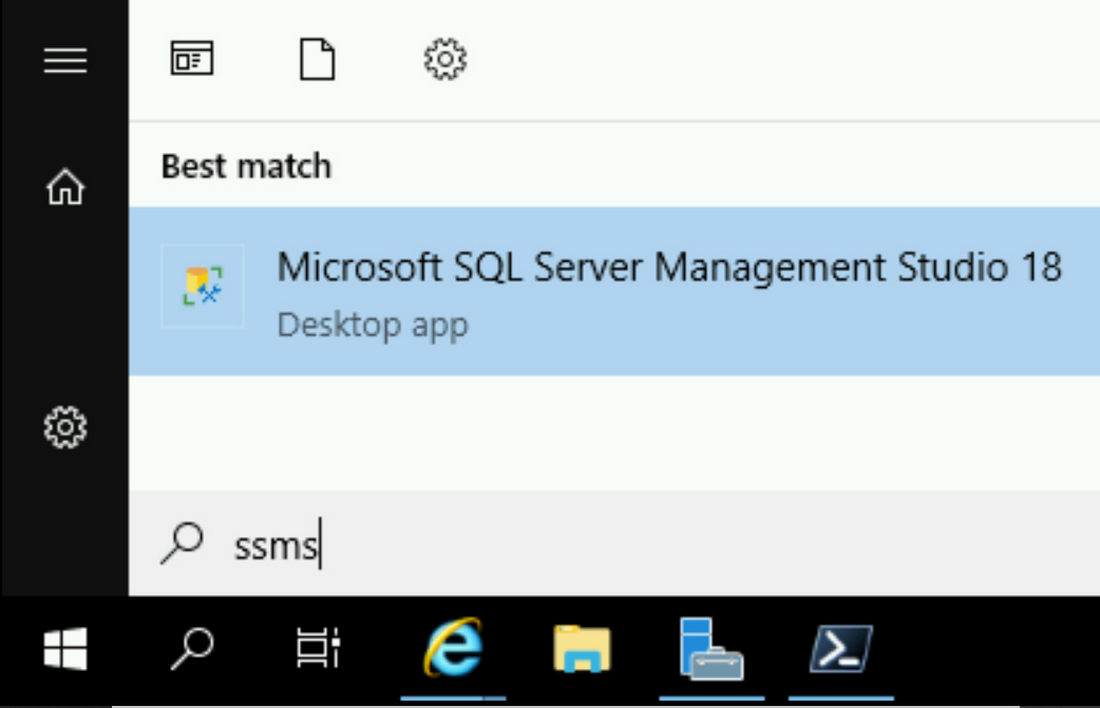
Open SSMS by clicking the Windows icon at the bottom left of your remote desktop session in the Windows VM instance; and typing "ssms". You should see the "Microsoft SQL Server Management Studio" listed as an option. Go ahead and click it to open the program.
The SSMS Connect Object Explorer dialog window will open enabling you to connect to the Cloud SQL "Primary" instance. Enter the following values:
- For "Server Type", enter Database Engine.
- For "Server Name", enter "127.0.0.1" as the IP address of your SQL Server instance.
- For "Authentication", select "SQL Server Authentication".
- For Login, enter "sqlserver".
- For Password, enter the password used when the Cloud SQL instance was created.
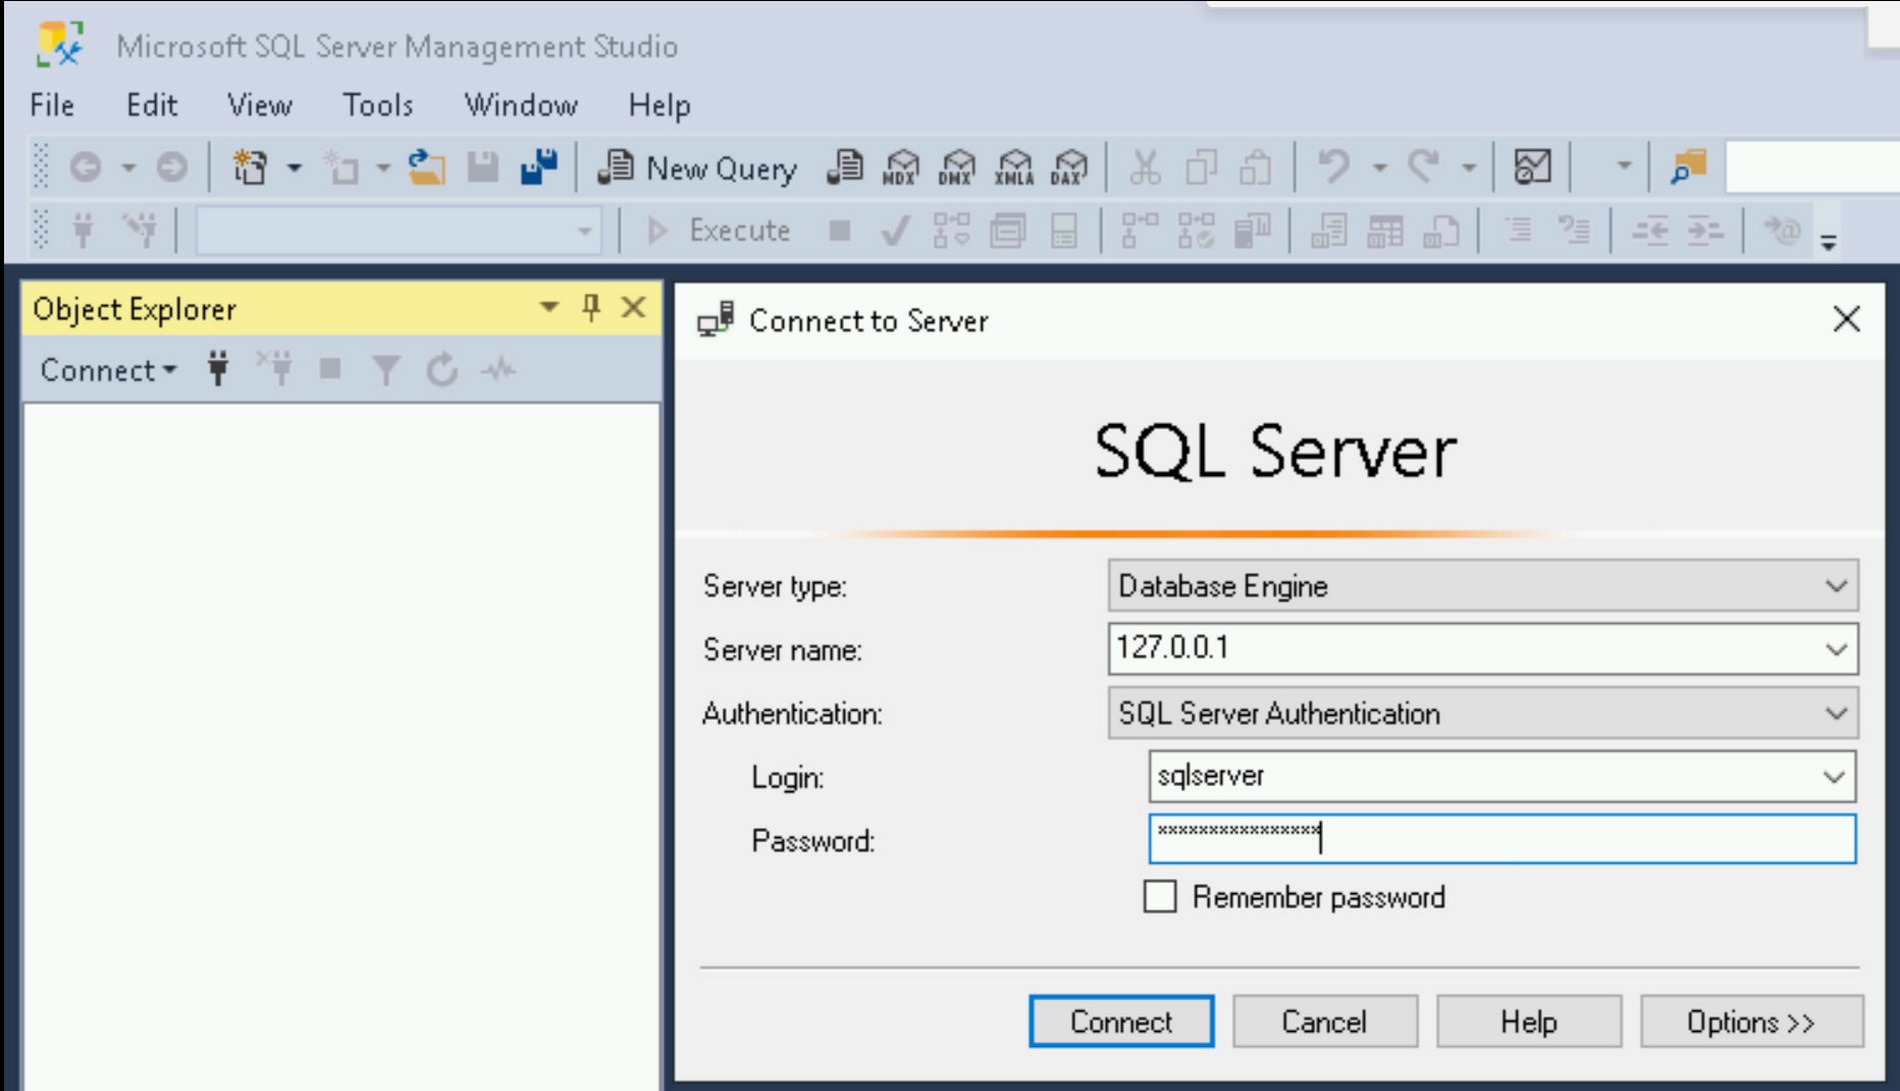
Click the "Connect" button to connect to the Cloud SQL instance via the Cloud SQL Auth proxy that's already running from the Powershell command you executed in a previous step.
Use SSMS to access Cloud SQL and run queries
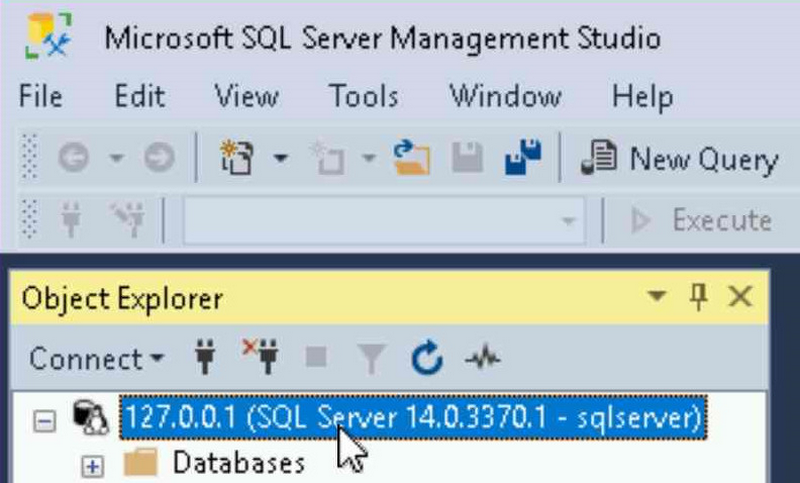
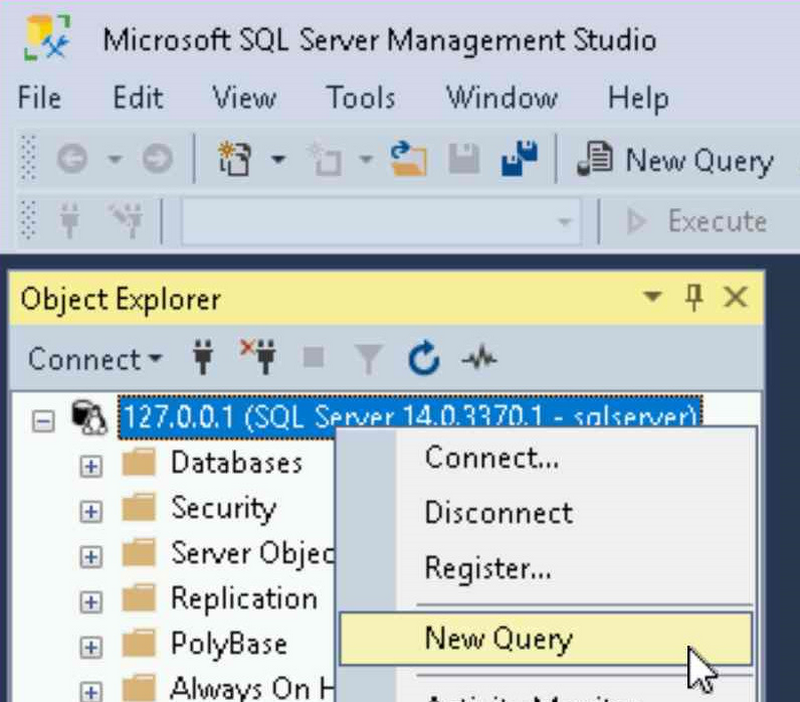
Now that we've connected to the Cloud SQL "Primary" instance let's execute some SQL statements that will create a Database and a Table. Right click on the "127.0.0.1" SQL Server object:
and select "New Query".
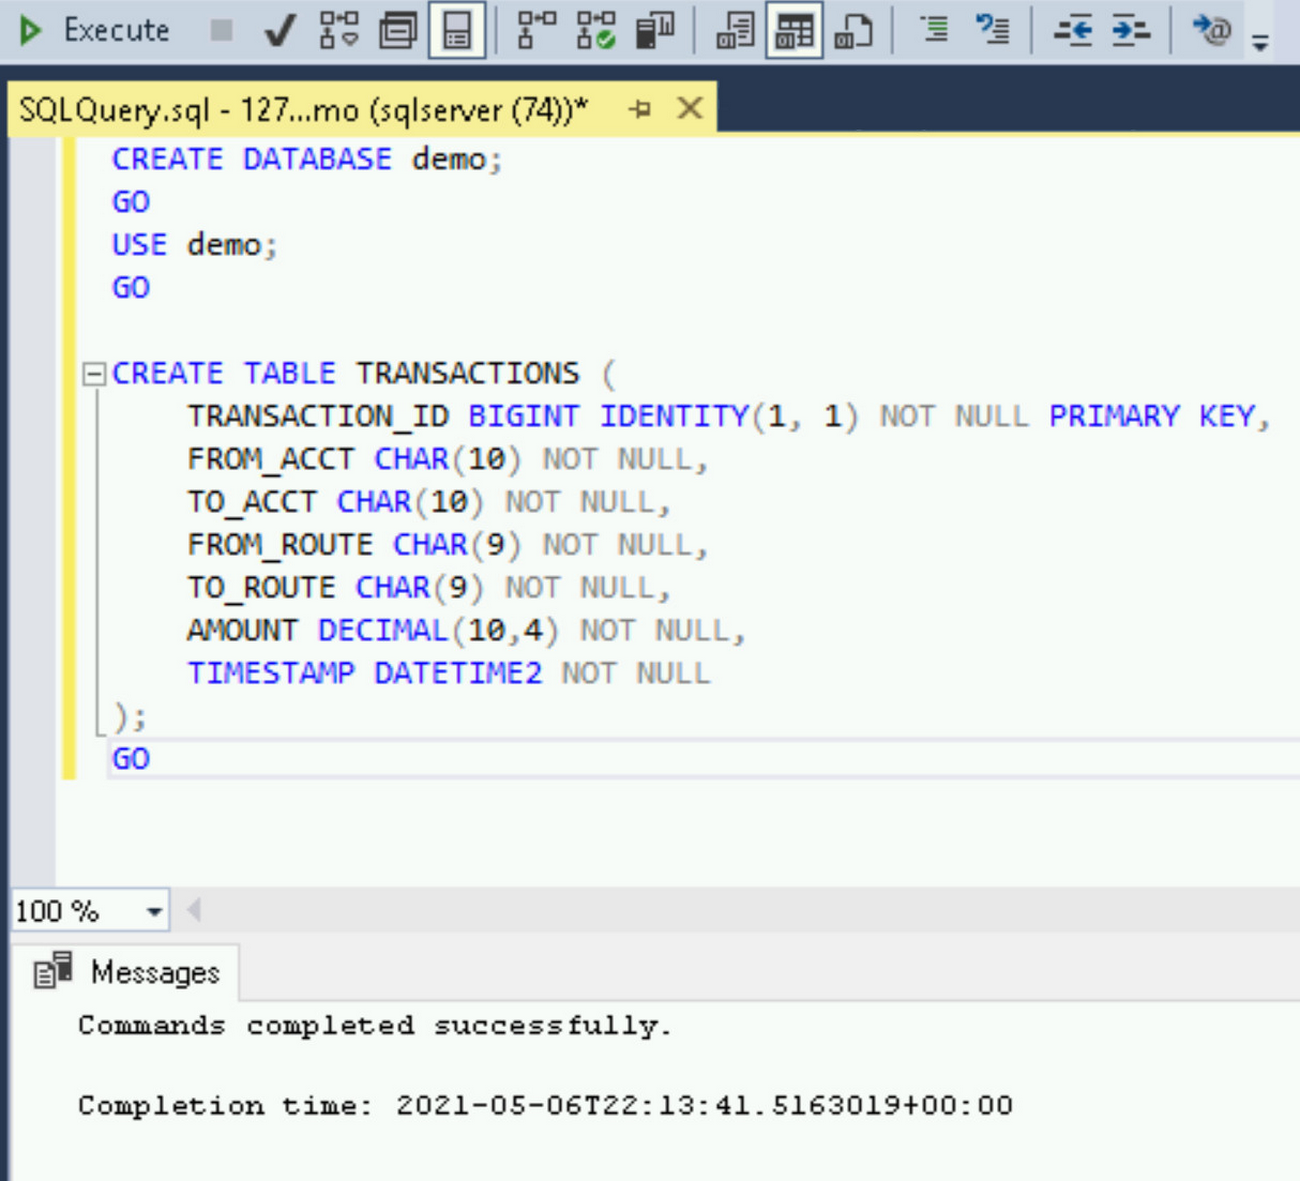
Enter the following SQL Statements in the "New Query" window.
and click the "Execute" button.
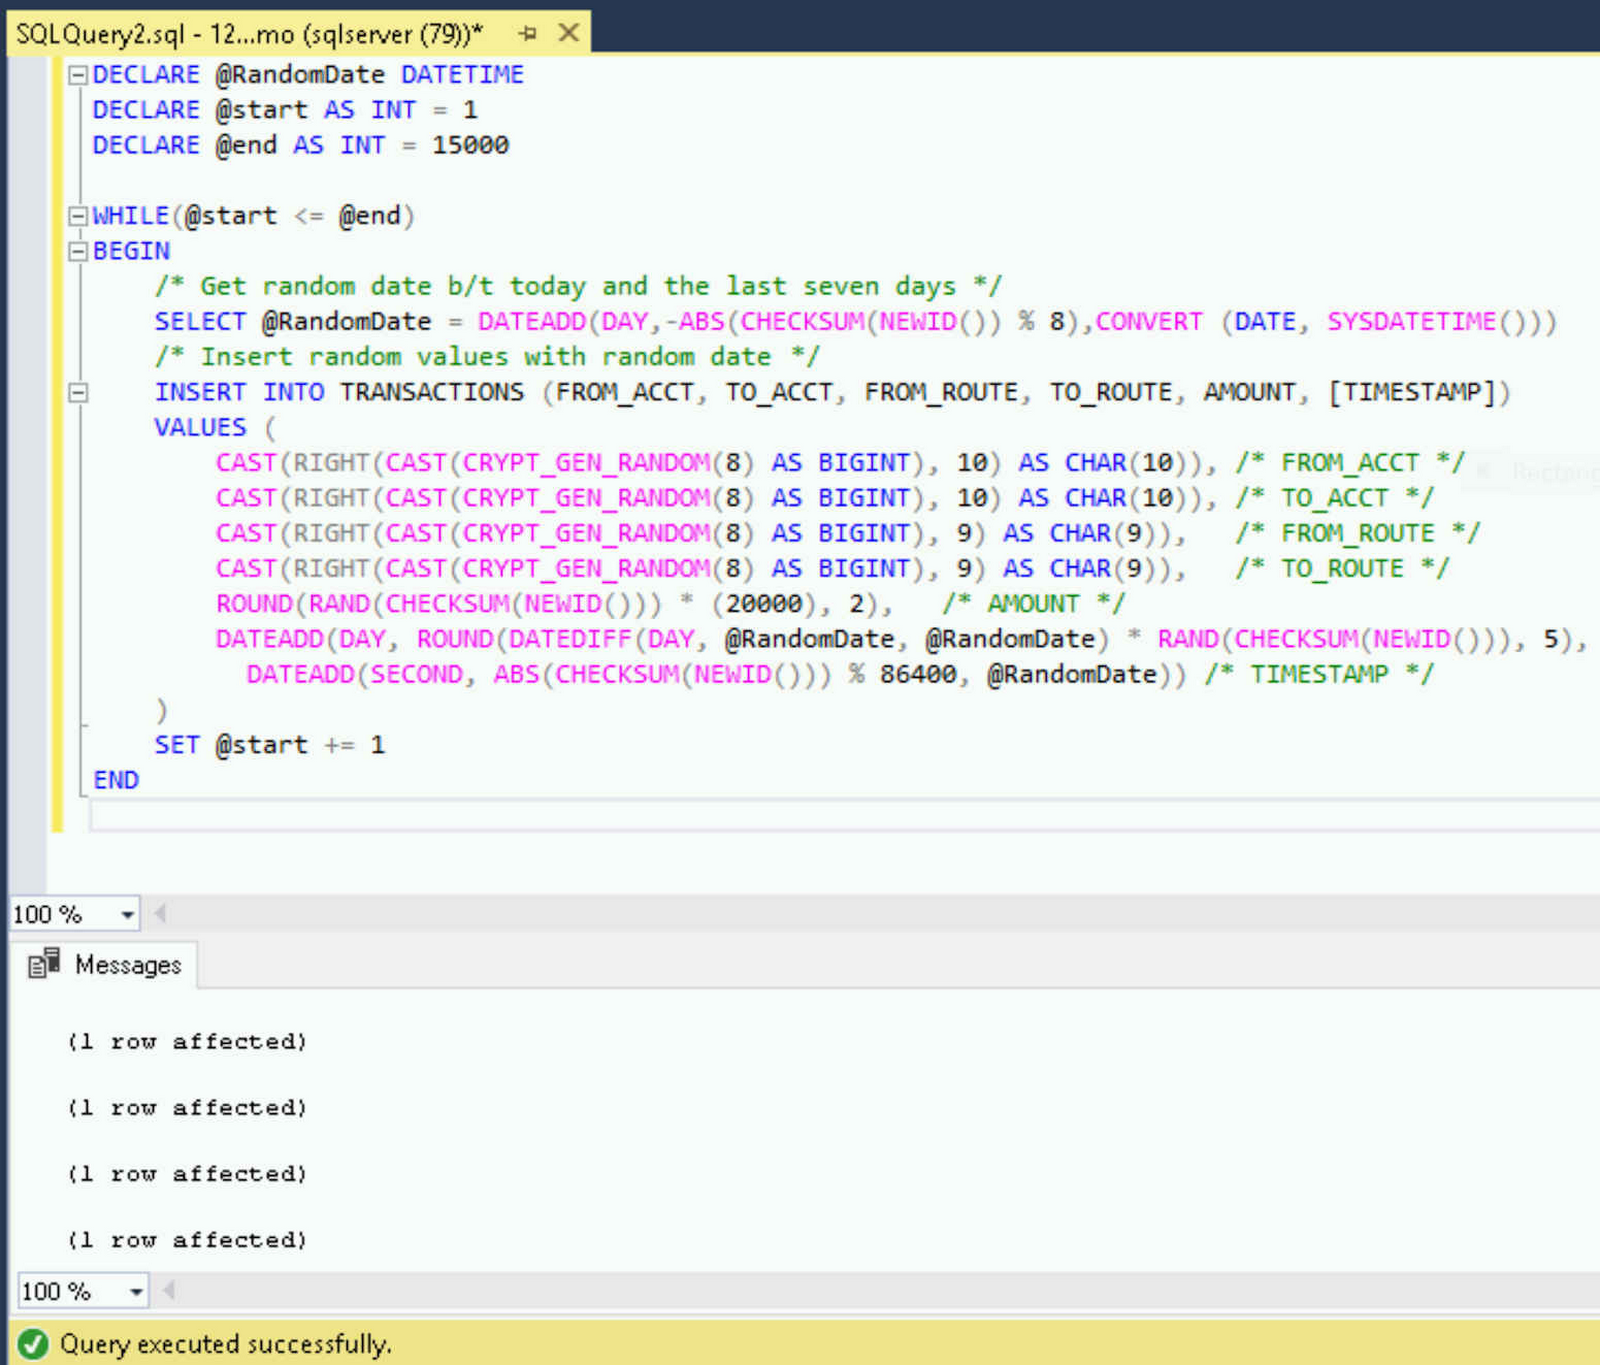
Now let's populate the table we just created with some data. Enter the following SQL statement that uses a SQL WHILE loop to insert 15,000 example records in our "TRANSACTIONS" table:
and click the "Execute" button.
Since we just performed those SQL operations on our Cloud SQL "Primary" instance, our Read Replica should contain the new database, table and data. Let's connect to the Read Replica and confirm this.
Use SSMS to run analytics on the Read Replica instance
All we need to do to switch the SSMS connection from the Cloud SQL "Primary" instance to the Read Replica instance is to stop and restart the Cloud SQL Auth Proxy that's running in the open Powershell window on our GCE Windows VM instance.
In the Powershell window with the Cloud SQL Auth Proxy running, press the "Ctrl" + "c" keys to stop the proxy. Press the "up-arrow" key to see the previous command used to run the proxy. Update the command with the "Instance connection name" of the Read Replica instance which you can find in the Cloud Console's Cloud SQL instance list.
Then run the updated command to restart the Cloud SQL Auth Proxy with a new connection to the Read Replica instance.

Using the same SSMS window that we've already got open on our GCE Windows VM instance, click the "Refresh" icon above the list of connected servers in the "Object Explorer" window.
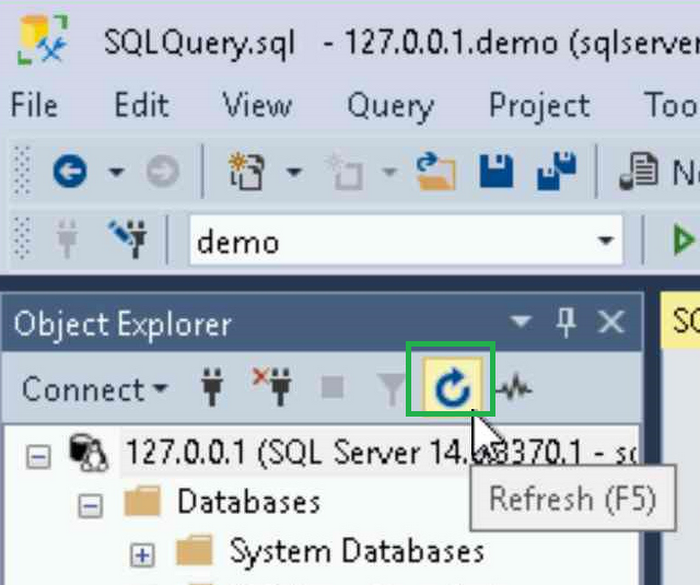
Doing this will connect SSMS to the Read Replica instance. Once connected, right click on the 127.0.0.1 SQL Server object and select "New Query".
We're going to run a basic analytics query to confirm that everything is working correctly. Enter the following SQL query that will query our previously created TRANSACTIONS table for the average daily transactions and daily transaction totals for each of the last 7 days:
and click the "Execute" button.
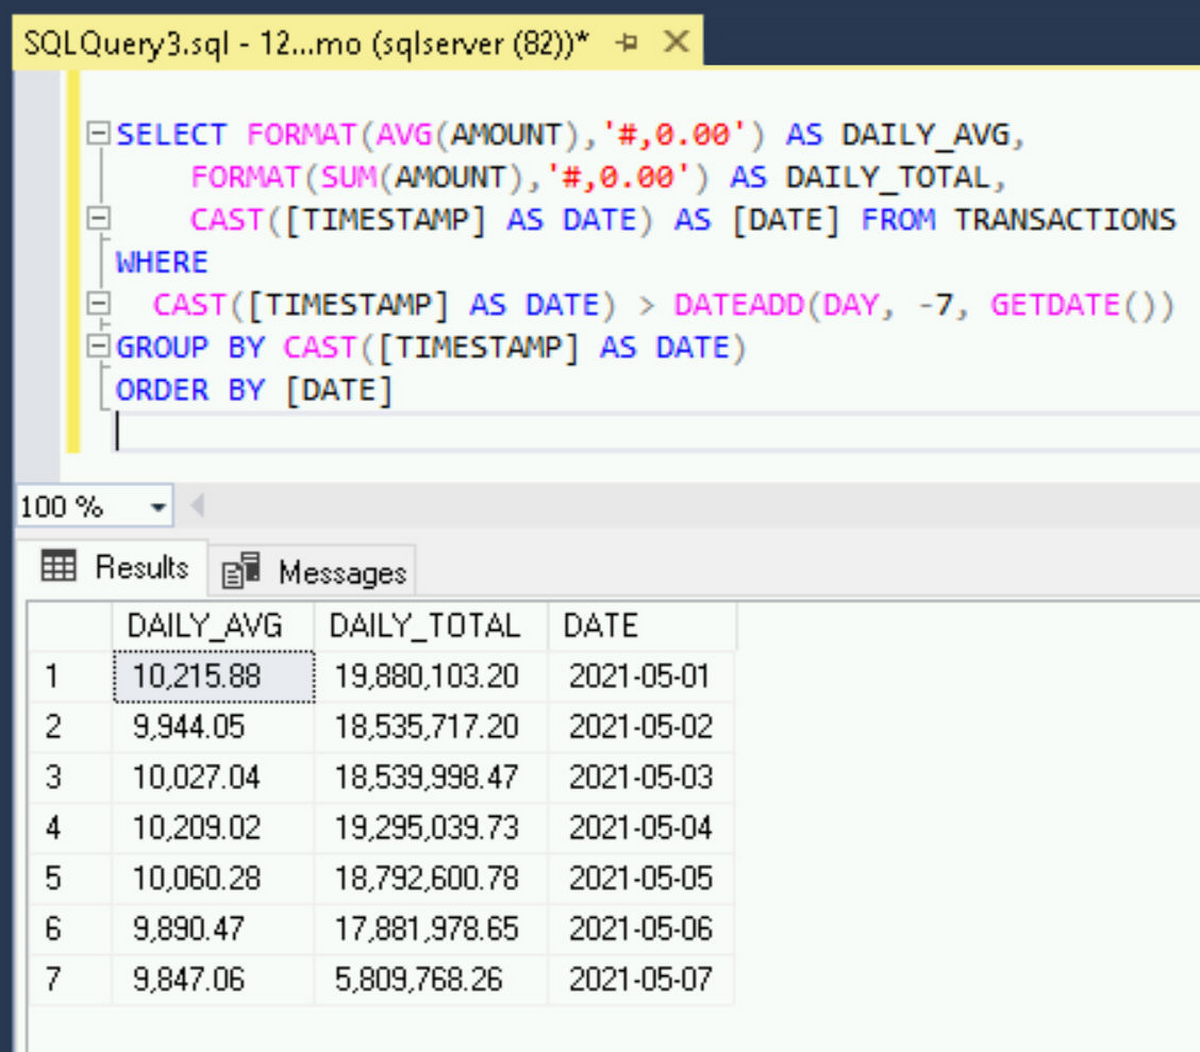
Ahh! Now you should feel the comfort of knowing that you have the flexibility to run your analytics queries without any performance impacts on your primary database server, while it does its important work of handling your production workloads. Great work!
Thank you for reading. Kick off your next project using Cloud SQL and Read Replicas.