Extending Stackdriver to on-prem with the new BindPlane integration
Marie Cosgrove-Davies
Product Manager, Google Cloud
We introduced our partnership with Blue Medora last year, and explained in a blog post how it extends Stackdriver’s capabilities. We’re pleased to announce that you can now join our new offering for Blue Medora. If you’re using Stackdriver to monitor your Google Cloud Platform (GCP) or Amazon Web Services (AWS) resources, you can now extend your observability to on-prem infrastructure, Microsoft Azure, databases, hardware devices and more. The recently released BindPlane integration from Blue Medora lets you consolidate all your signals into Stackdriver, GCP’s monitoring tool. This integration connects health and performance signals from a wide variety of sources. Stackdriver and BindPlane together bring an in-depth, hybrid and multi-cloud view into one dashboard.
In this post, we’ll show you how to get started adding the BindPlane dimensional data stream into Stackdriver. Questions or want to learn more? Sign up here and we’ll be in touch.
Before you get started, you’ll need to have a GCP billing account and project already set up. Learn more here about setting up or modifying a billing account or creating a project.
Here’s how to get started with BindPlane:
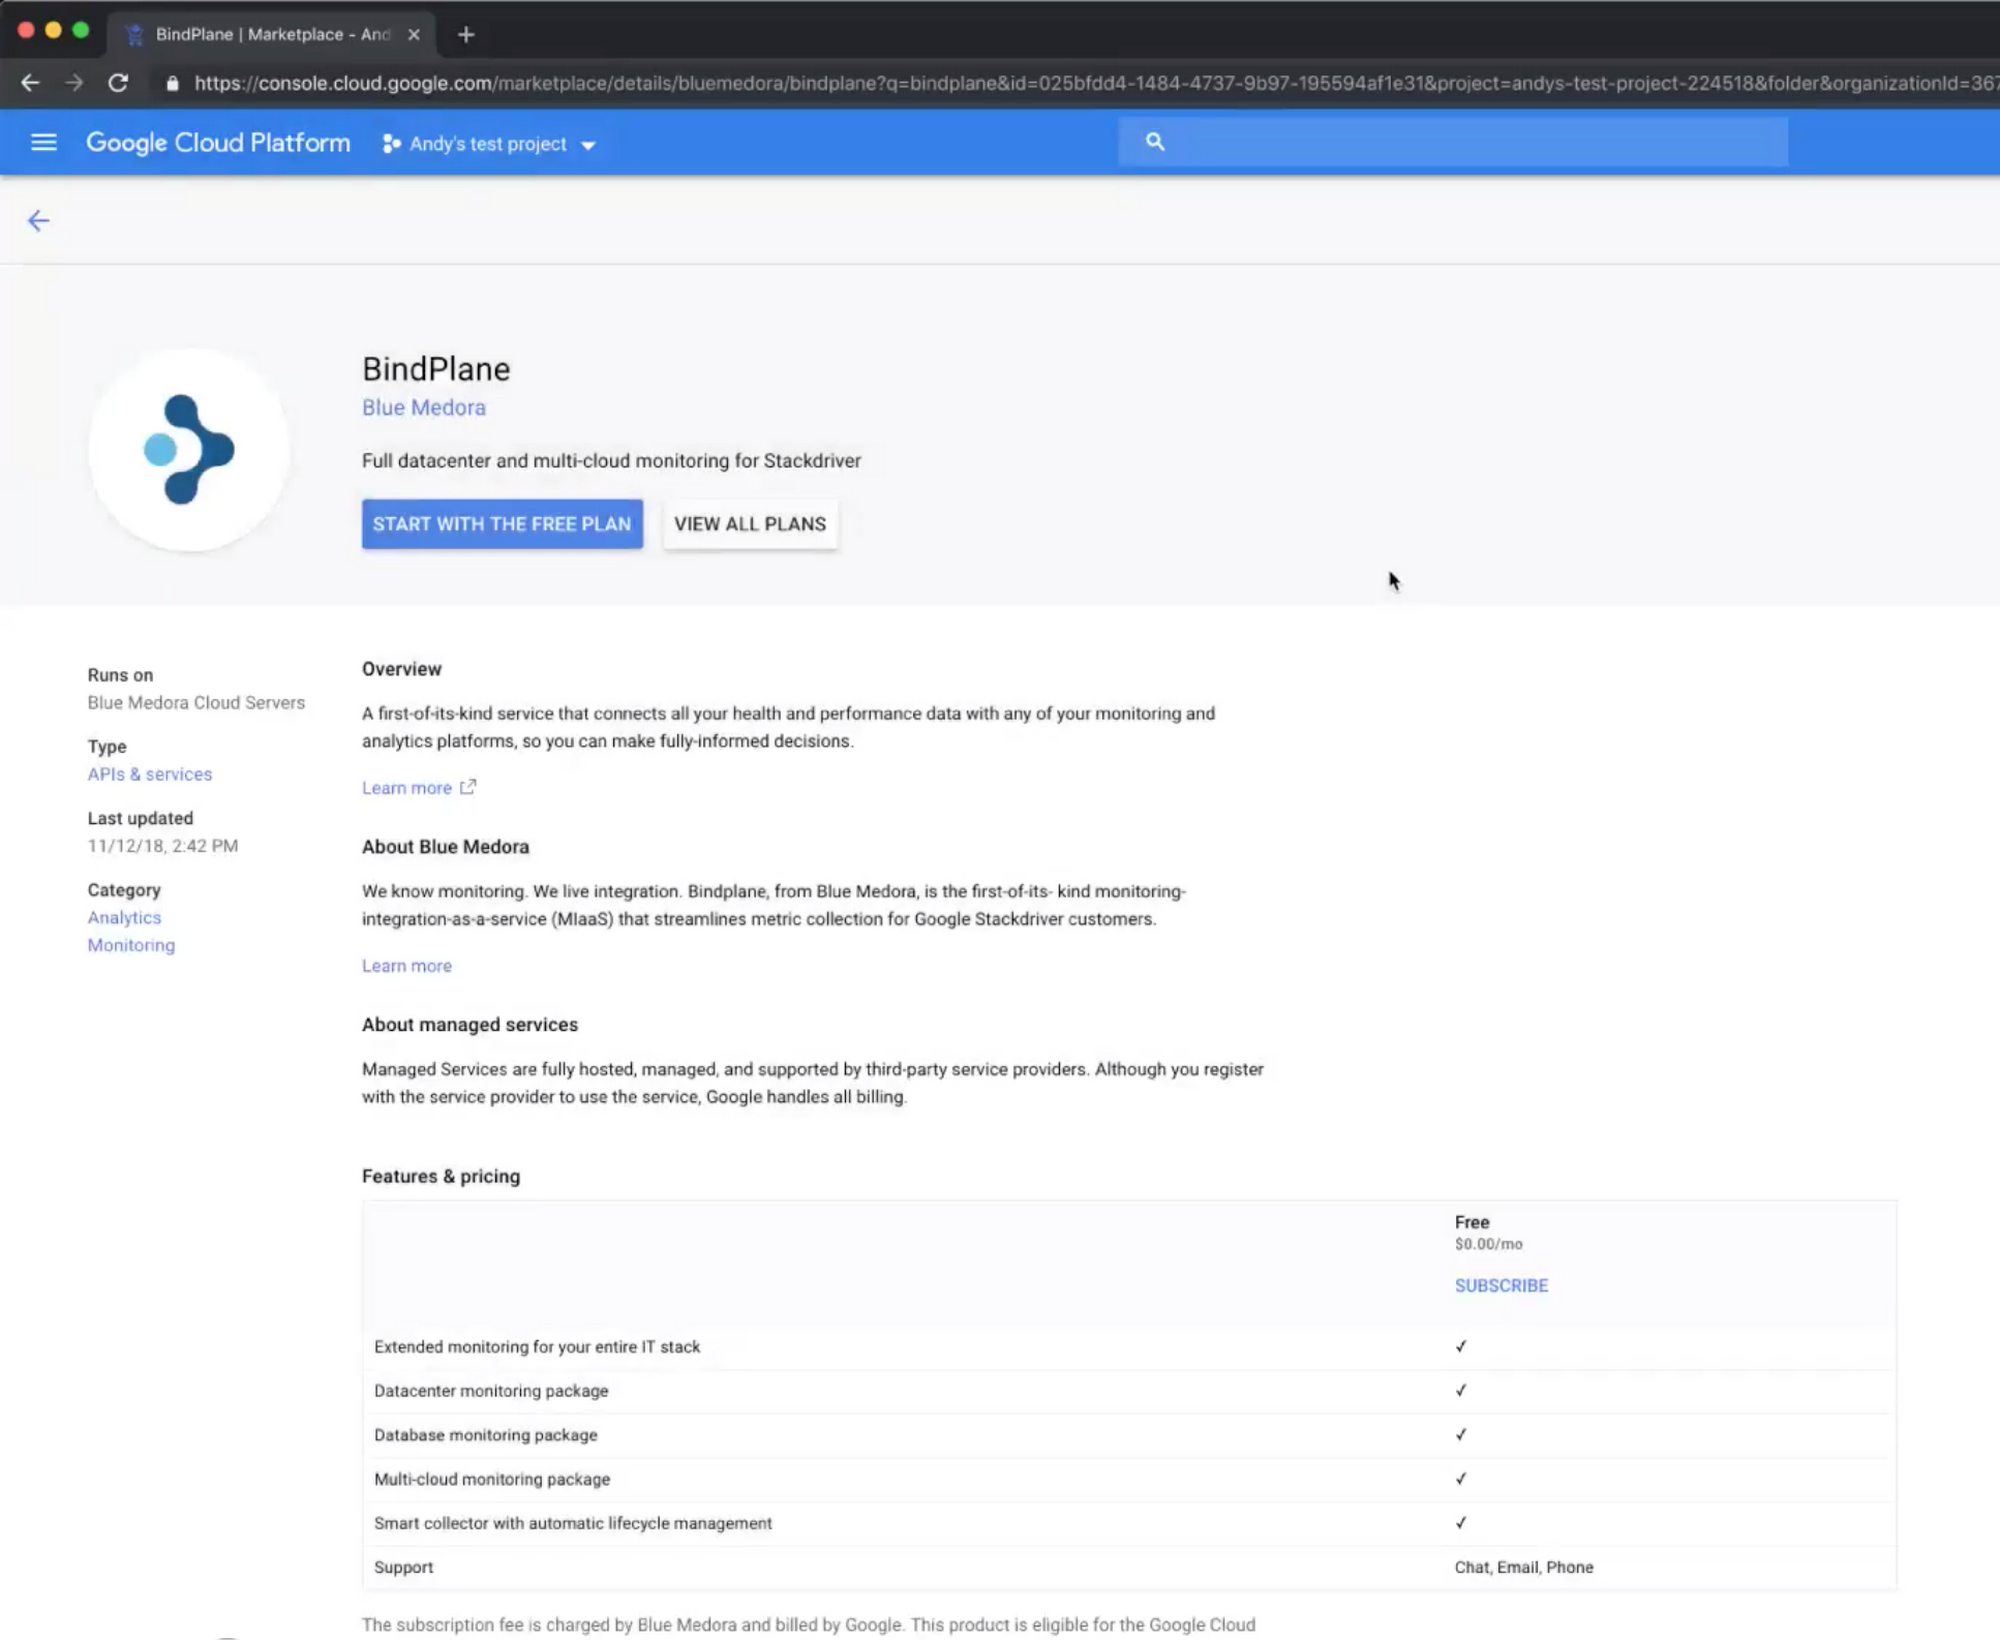
Visit the BindPlane page in the Google Cloud Marketplace
BindPlane is free of charge to Stackdriver customers, but you must activate your service.
- Find BindPlane in the Google Cloud Marketplace
- From the BindPlane marketplace listing, click “Start with the free plan” button
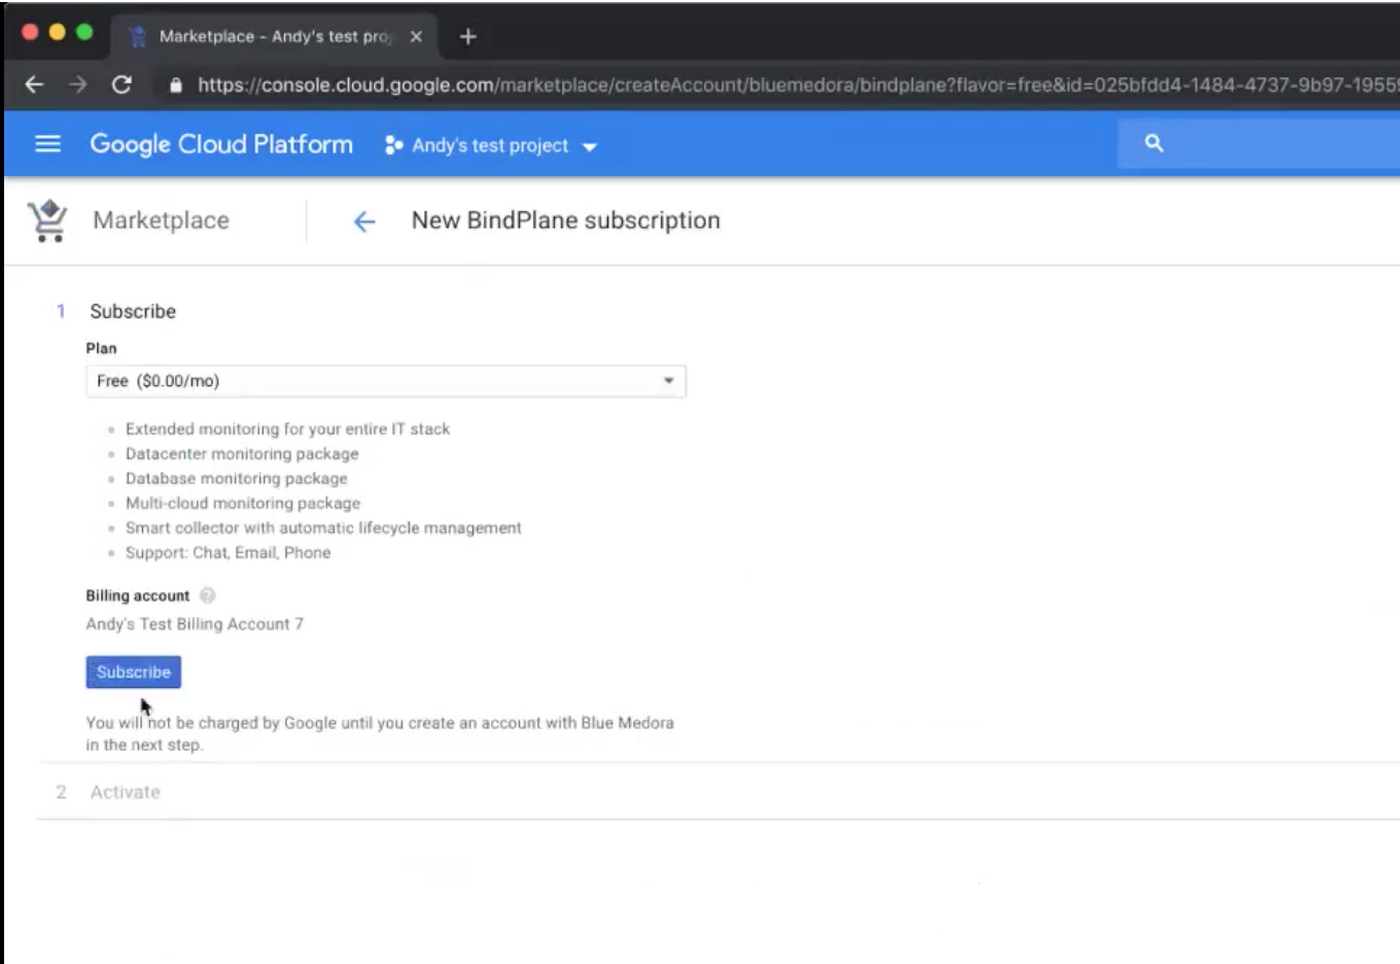
Select your BindPlane plan
- On step 1, Subscribe, confirm that the “free” plan is selected from the drop-down menu
- Assign your preferred GCP billing account and click “Subscribe”
- On step 2, Activate, click “Register with Blue Medora”
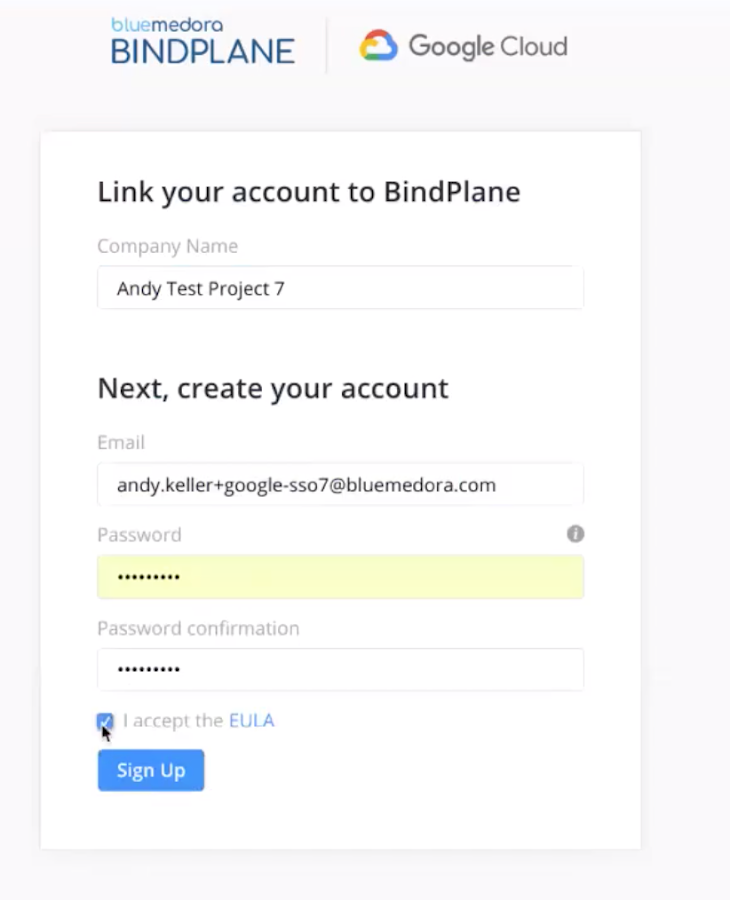
Create your BindPlane account
From the BindPlane sign up page:
- Link the GCP project you created to BindPlane by using the project name in the “Company Name” field.
- Create your account using an email and password
- Accept the end-user licensing agreement
- Click “Sign up”
Sign in to BindPlane
Once you’ve done that, close the registration window and return to the BindPlane marketplace listing. Click the “Manage API keys on Blue Medora website” link to sign in and begin the configuration process.
Install the smart collector
BindPlane’s intelligent collectors reside inside your network and send data back to Stackdriver. Unlike an agent, the BindPlane collector automatically updates as new versions become available.
You'll want to install the collector somewhere that has network access to the sources you're planning to monitor. Don't worry if you have multiple isolated networks. You can add as many collectors as needed for each network.
While you can install a collector on your source's host, we recommend installing it on its own VM. This limits your configuration effort and allows you to have one collector that monitors multiple sources or services.
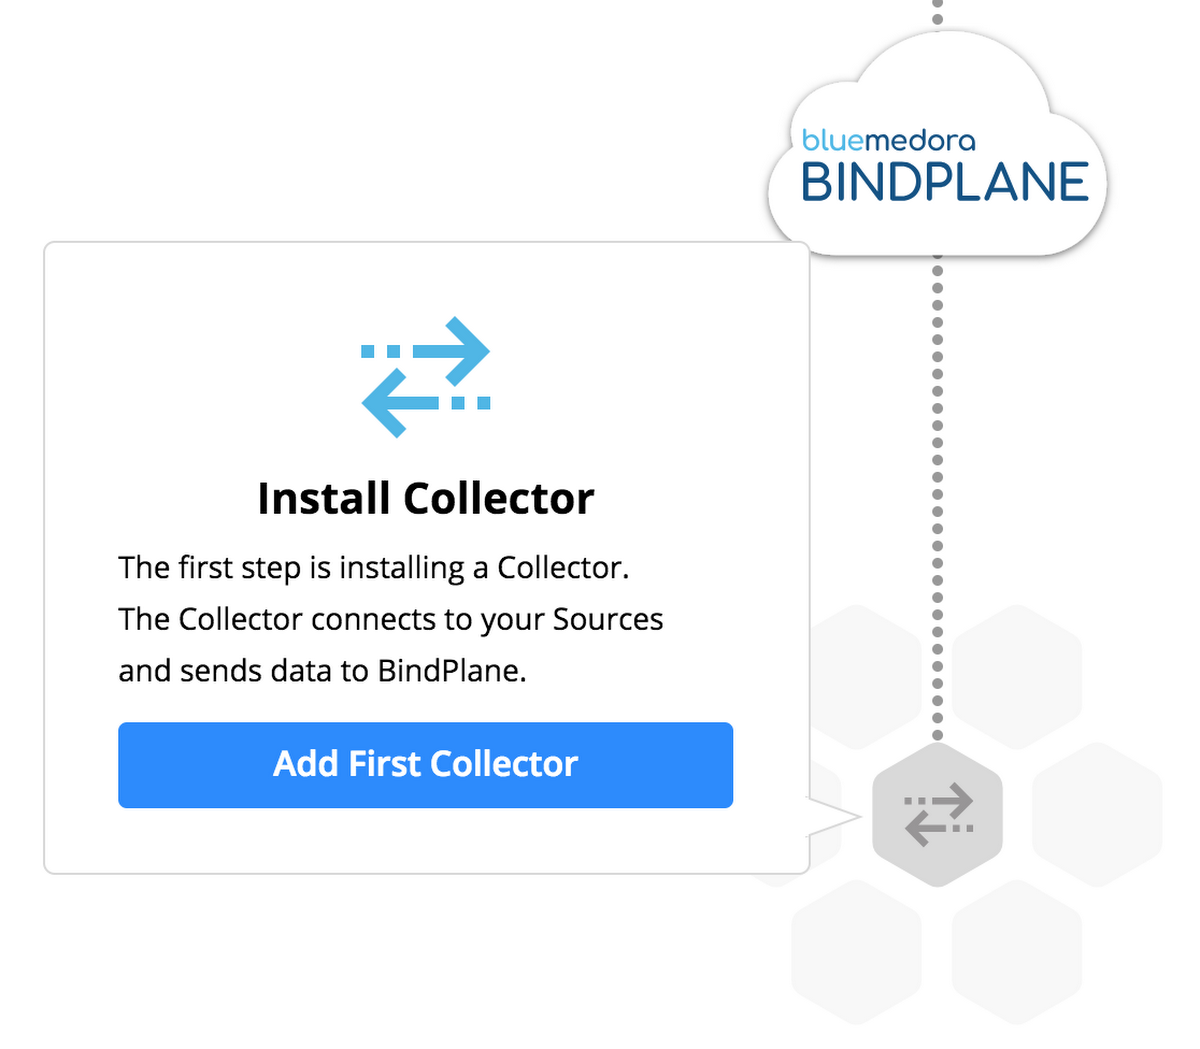
- From the BindPlane Getting Started dashboard, click “Add First Collector”
- Select the operating system on which your collector will be running
- Copy the installation command
BindPlane provides a single-line command to install the collector on your system. Just copy the command and run it on your local server to get started.
If you get stuck, check out the BlueMedora documentation for additional details on the collector requirements, installation process, how to set up a proxy, and how to test your connection.

Configure a source to monitor
A source is any object you'd like to monitor. It could be a database, a web service, or even a hardware device in your data center. BindPlane currently includes more than 150 integration sources and is adding more all the time.
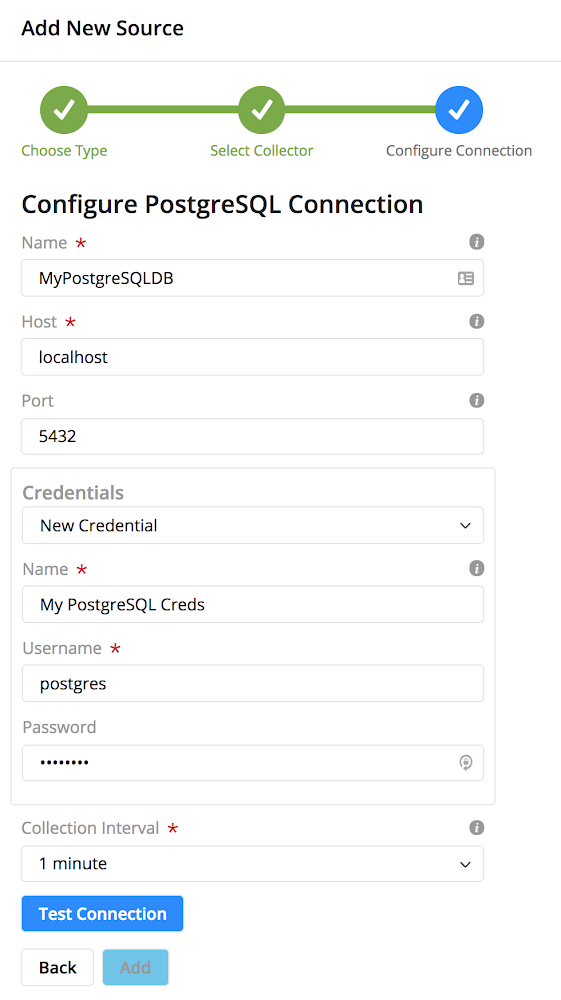
From the BindPlane Getting Started screen or the collector success message, click “Add First Source.”

Choose one source type from the BindPlane catalog. You can come back later and add others.
- Select a source type you know is available on the same network or region as your collector
- When prompted, select your collector
- Enter in your credentials
- Click “Test Connection” to verify everything's working correctly
- Click “Add” to begin monitoring
The configuration process can vary slightly from source to source, so visit the BindPlane source documentation if you need more details.
Connecting your data to Stackdriver
A destination is a monitoring analytics service like Stackdriver where you can view your collected data. Stackdriver customers are currently the only users who can access BindPlane’s full feature set without any licensing fees.
In order to configure a Google Stackdriver destination, you will need to create an IAM service account with the monitoring admin role in GCP. For more information on this process, see IAM Service Account.Once you’ve done that, download the private key JSON file associated with that service account. (See this documentation on creating and managing service keys.)
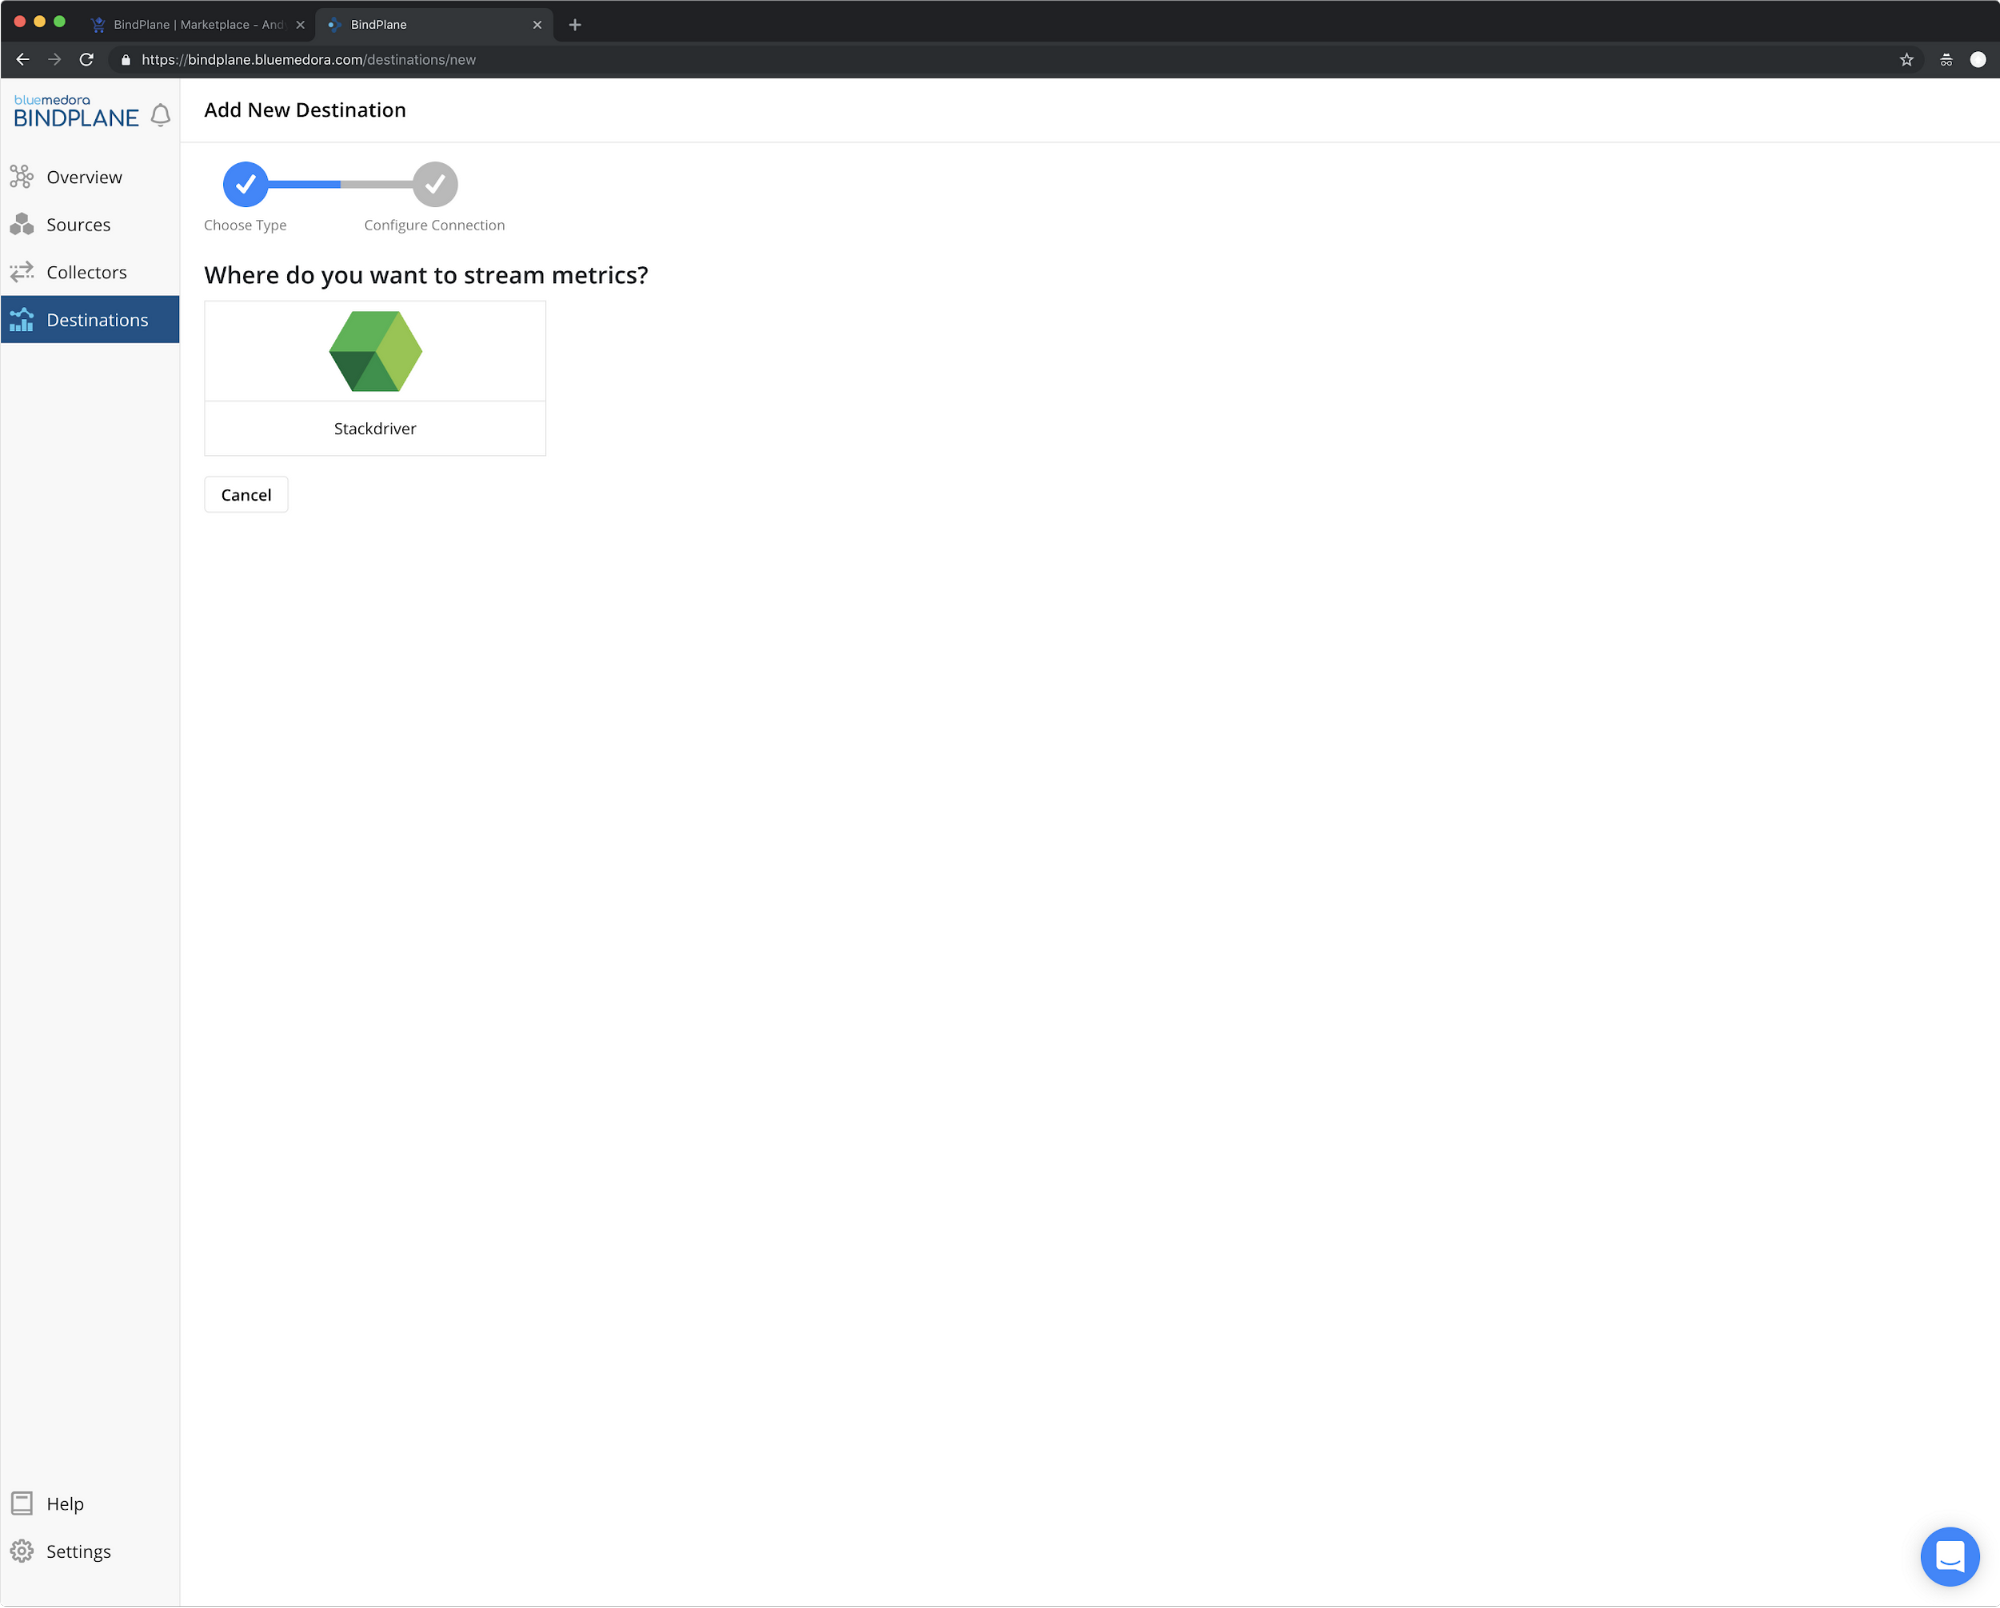
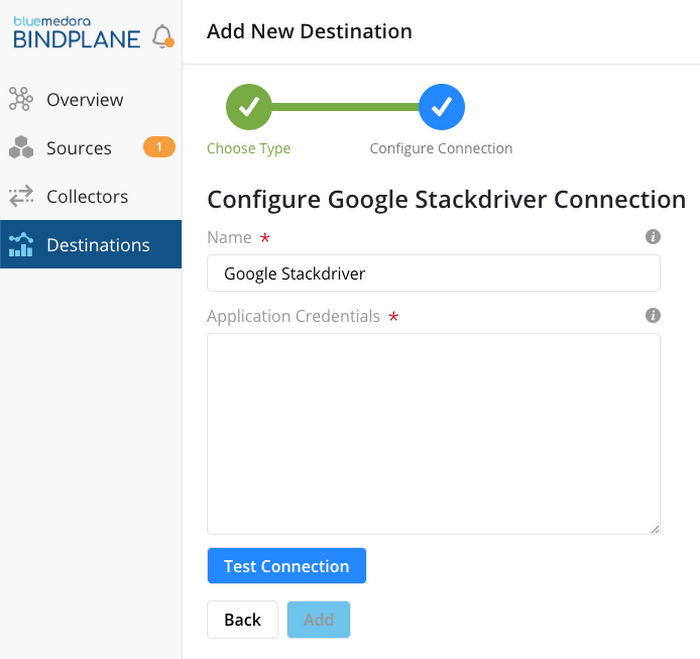
- Select “Google Stackdriver” as your destination type
- Name your destination as desired
- Paste your JSON key into the “Application Credentials” field
- Click “Test Connection” to verify everything's working correctly
- Click “Add” to stream your data to Stackdriver
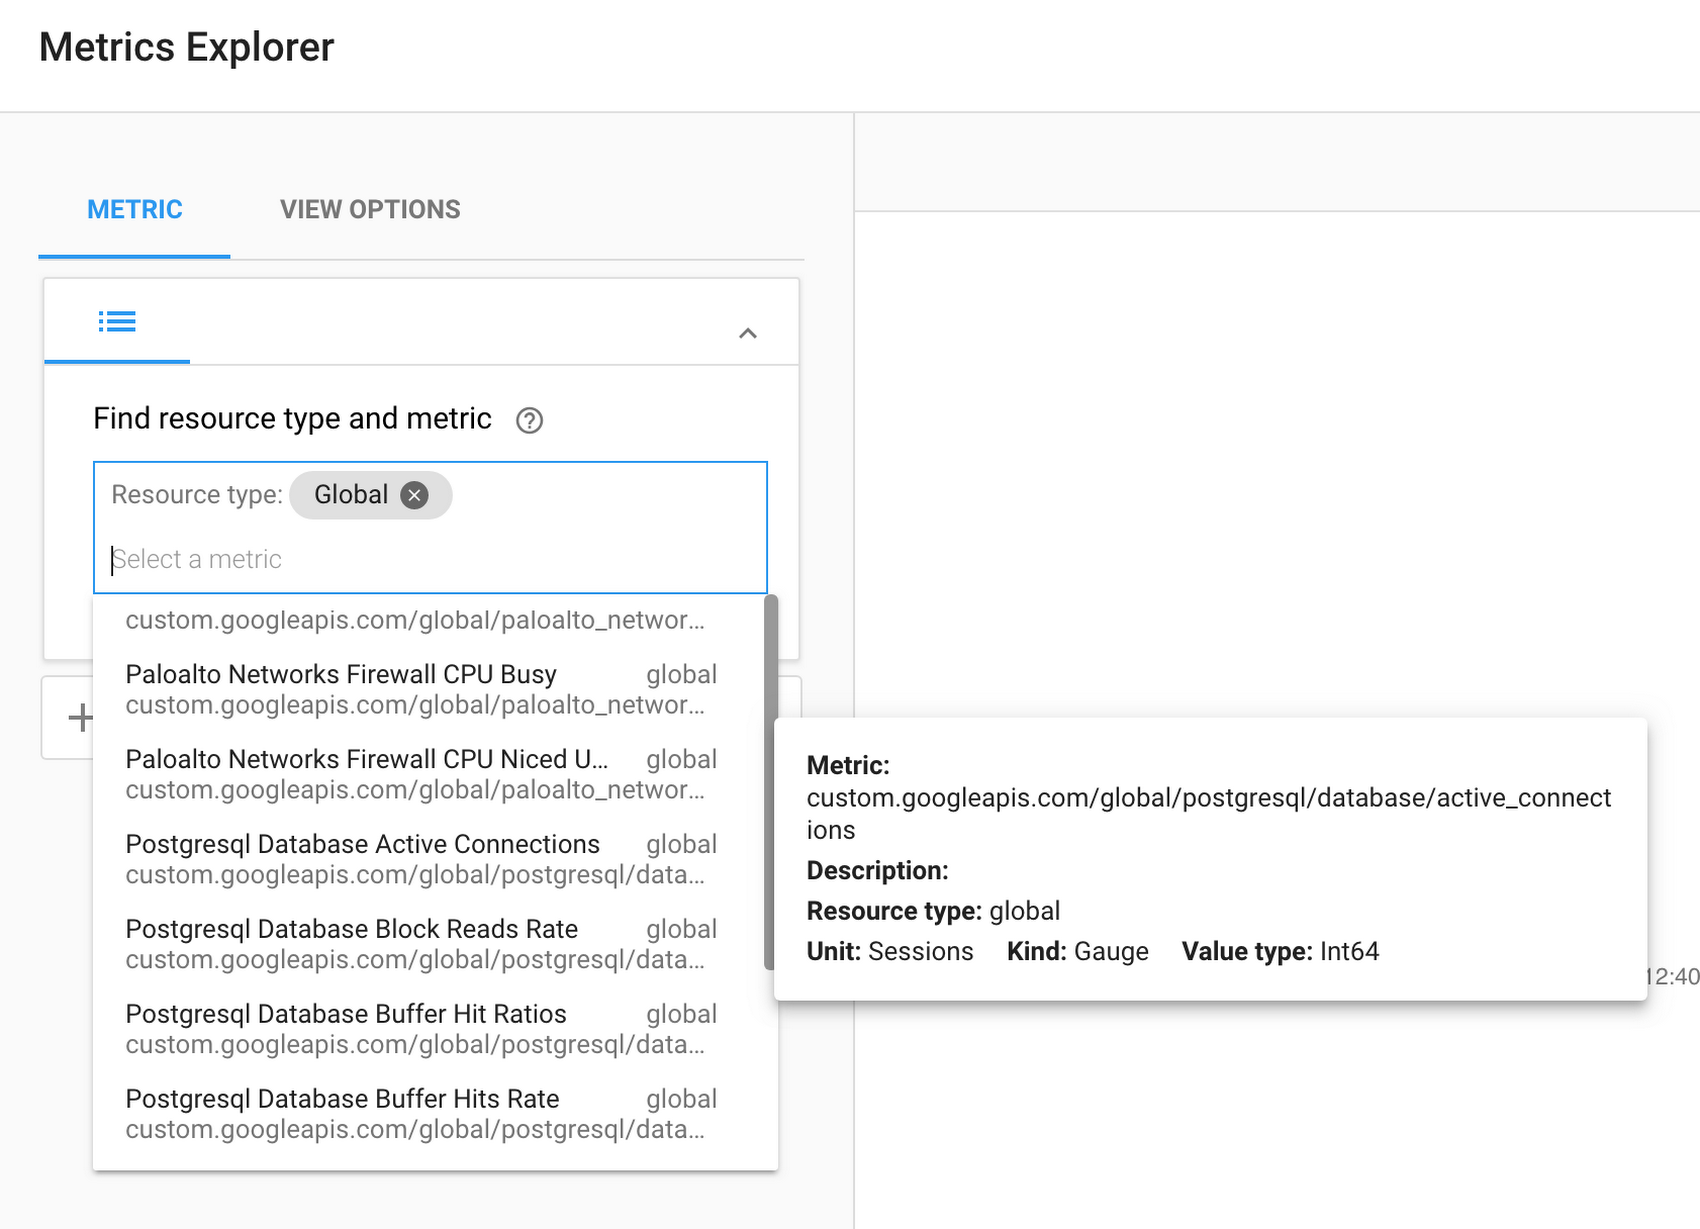
Your BindPlane data moves into Stackdriver through the Google Cloud Custom Metric API.
Within Stackdriver, all metrics will be associated with the Global Monitored Resource type. Use the Metrics Explorer to quickly locate a specific metric, as shown below. The namespace of each metric will be formatted as /{integration}/{resource}/{metric}.
That’s it! You’ve now connected Blue Medora’s BindPlane to Stackdriver, so you can visualize and set up alerts on every metric in your environment. Ready to try it yourself? Get started now in the Google Cloud Marketplace. Questions or want to learn more? Sign up here and we’ll be in touch.