Building a G Suite app with the Google Cloud Vision API and Apps Script
Christian Schalk
Google Cloud Developer Advocate
Getting started with the Google Vision API from G Suite
Try Google Workspace at No Cost
Get a business email, all the storage you need, video conferencing, and more.
SIGN UPThe Google Cloud Vision API is a powerful tool that helps developers build apps with visual detection features, including image labeling, face and landmark detection, and optical character recognition (OCR). Getting started building with these services is relatively simple with Apps Script, as it uses simple REST calls to interact with the API directly, eliminating the need to set up SDKs or to download client libraries.
In this walkthrough, we’ll show you how to:
Create and/or configure a GCP project to use the Vision API.
Create an Apps Script web app that enables a user to enter an image URL.
Update the web app to make REST calls to the Vision API and process the results.
Before getting started, please make sure you can create projects on Google Cloud Platform (GCP). You should also have a basic familiarity with Apps Script or JavaScript.
Step 1: Create and/or configure your GCP project
To use the Vision API, you’ll need to create or configure an existing GCP project.
To create a new GCP project:
Go to https://console.cloud.google.com and create a “New Project” (you can name it “VIsion API Fun”).
Select your associated Billing account.
Accept the defaults for Organization and Location.
Click CREATE, and then select the new project in the console.
Next, you’ll need to enable the Vision API in the project:
From the main GCP dashboard, click “Go to APIs overview” to open the “APIs and Services” dashboard.
Click:

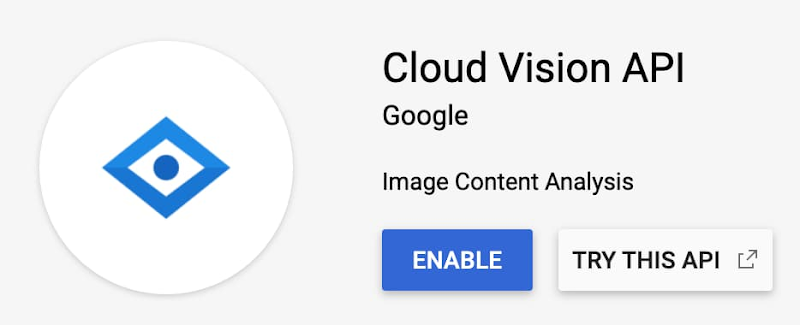
Search for “Vision API.”
Once the “Cloud Vision API” is located, click ENABLE.
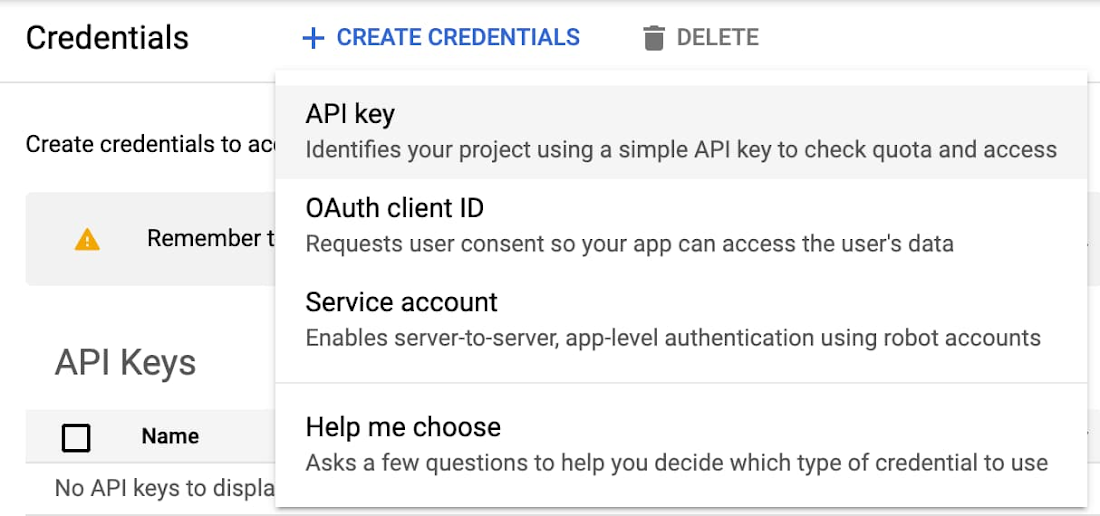
Once enabled, Click Credentials on the left side.
On the Credentials screen, click + CREATE CREDENTIALS and select API key.
- Once you’ve generated your API key, you will see a dialog where you can copy your key for later use:
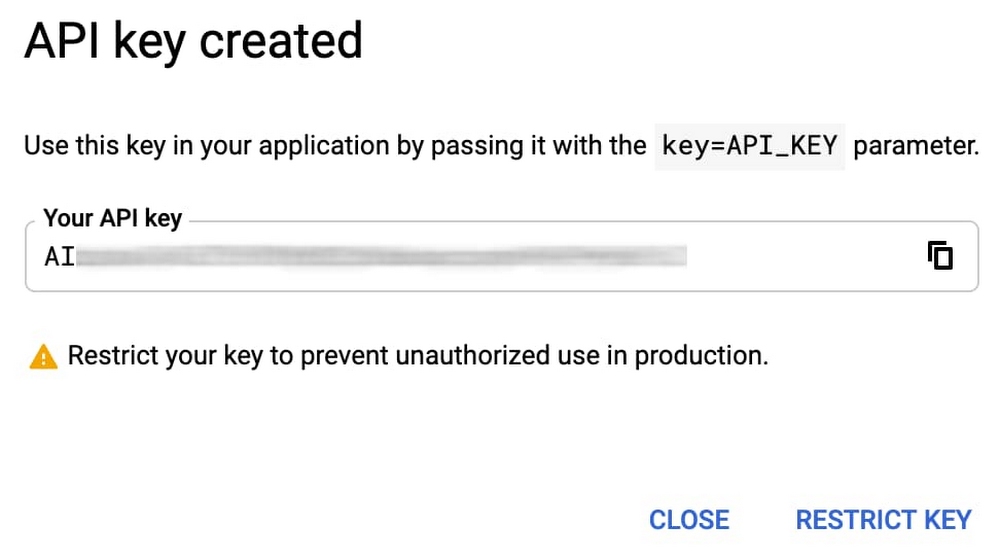
That’s it for GCP setup!
Step 2: Create an Apps Script project for a web UI and server code
Before building the components of the app, let’s review the overall flow of the app that we’ll build.

In general, the app consists of a web UI that collects an image URL and then sends it to the Cloud Vision API. The API converts the image into text and sends it back in a JSON response to the web UI.
Building the app!
Using the same account that you used for GCP set up, go to script.google.com, click the “New Project” button, name your project “Vision API Fun,” and click Save.
Edit the Apps Script file, Code.gs:
Be sure to edit the APIkey global variable with the key that you generated in the previous step.
Save the project.
In the Code.gs file, you’ll notice that there’s reference to a file called ‘Main’
HtmlService.createTemplateFromFile('Main').evaluate();
For this, we’ll create an HTML file called Main.html.
File -> New -> HTML file
Name the file ‘Main’ in the dialog and click OK.
Edit the new file as:
Save the project.
That’s all the code needed to run this Vision API app!
Step 3: Try out the app!
Now let’s test the app by deploying the Apps Script project as a webapp.
- Publish > Deploy as web app…
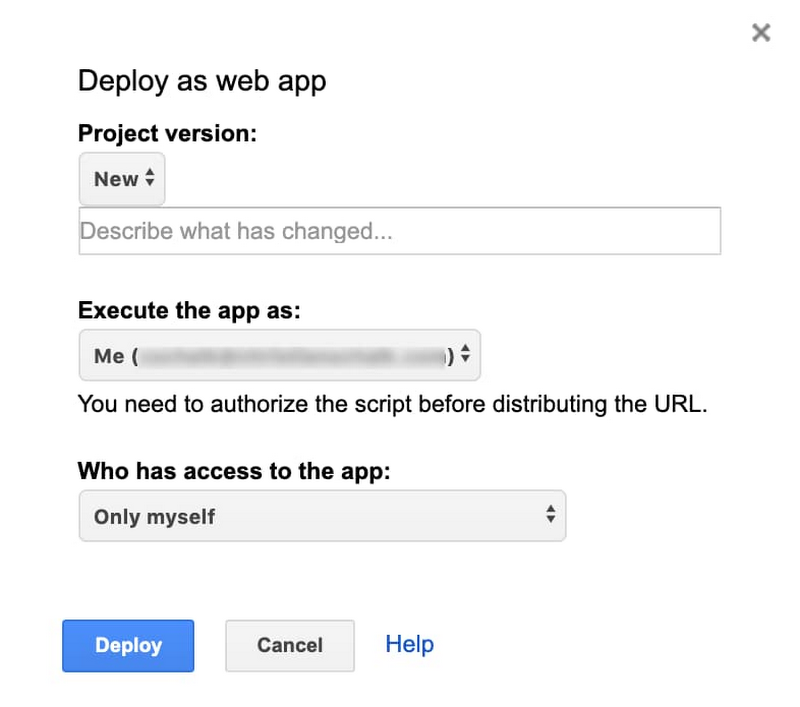
- Accept the default options and click Deploy.
Note: Upon initial deployment, it will trigger the following authorization steps
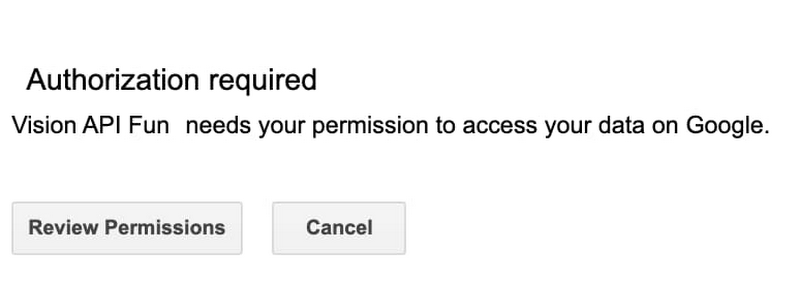
- Click Review Permissions to continue to the permissions dialog.
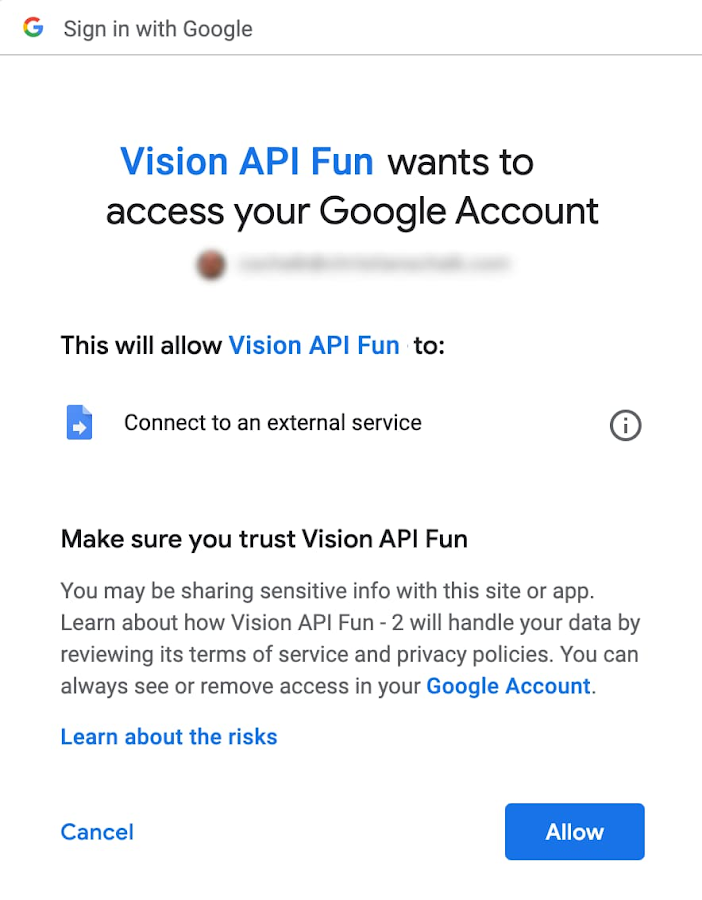
Click Allow.
This will present the actual deployment dialog.
(In subsequent deployments, these authorization steps are skipped.)- Important note: In certain cases, such as when using a consumer/gmail account, a “This app isn’t verified” warning dialog will appear.
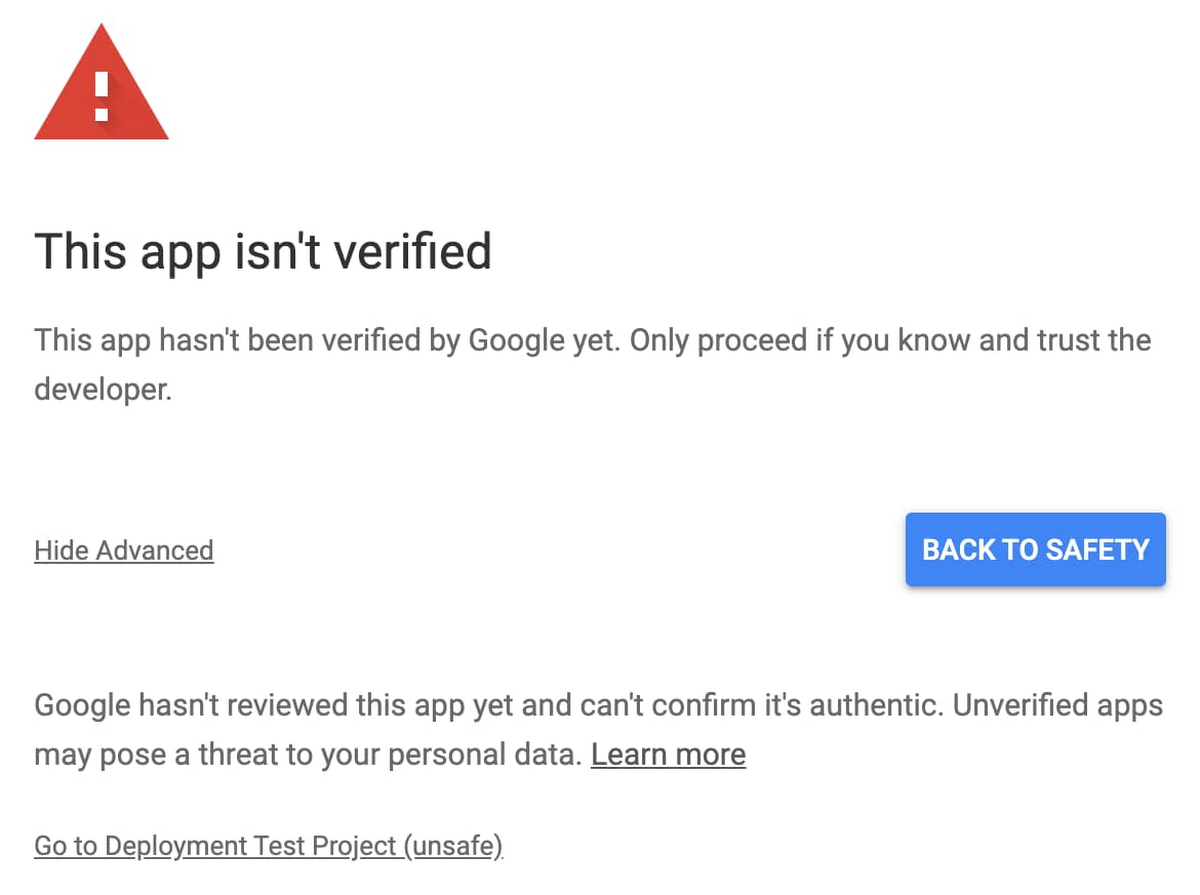
This is an extra anti-phishing measure that doesn’t apply to your own app that only you can execute. To proceed, click on the “Advanced” link, then click “Go to Deployment Test Project (unsafe).” For more info, check out this guide.
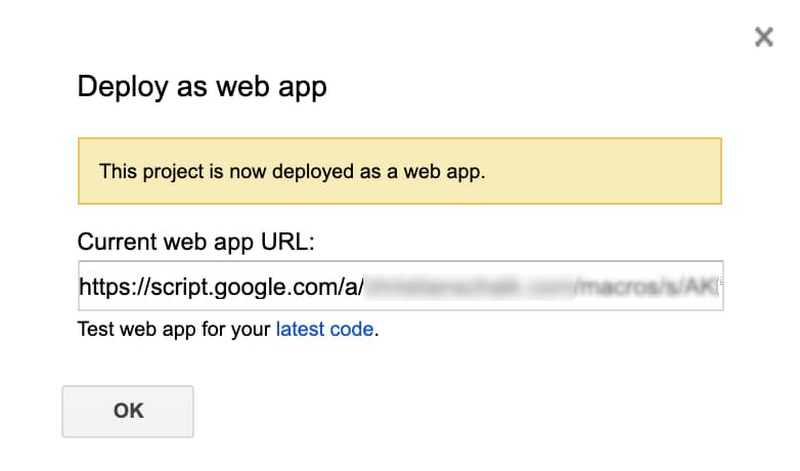
Before clicking OK, you can copy the web app URL, or you can just click on the “latest code” link in the dialog, which launches a browser window with the web app address loaded.
Again, to test the app, either paste the web app URL into a browser or simply click ”latest code” link in the deployment screen.
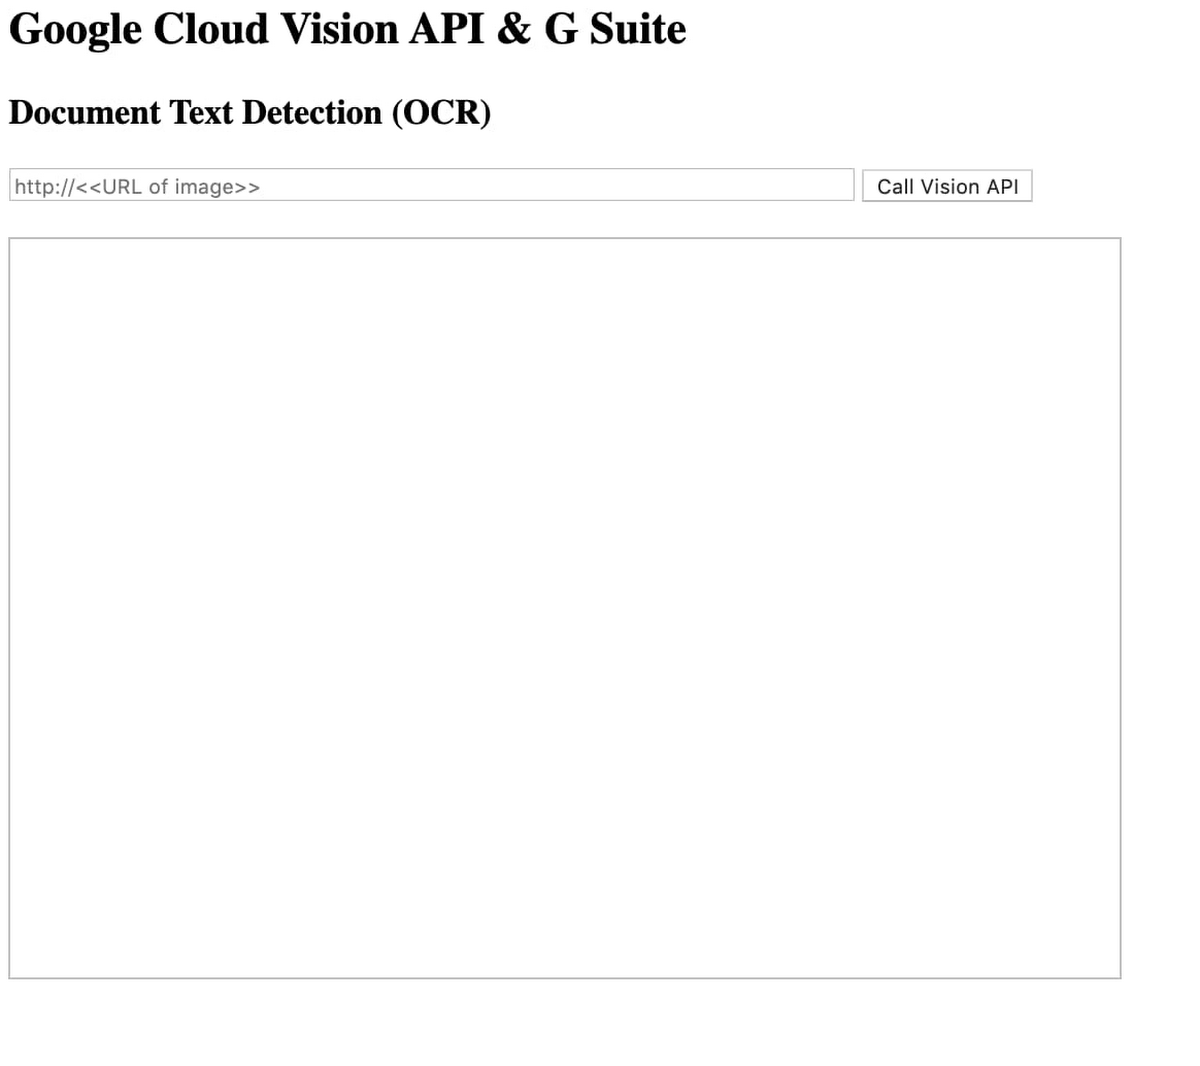
As your browser loads the app, it will render with an input field for an image URL and a button “Call Vision API.”
To run the app, you’ll need to locate an image that has text in and enter its URL into the app’s input field. Your deployed app must have access to this image. If it’s not accessible from the account that you created the app, it won’t be able to analyze it.
For my example, I took a picture of a printout of the Gettysburg address and loaded it onto Google Cloud Storage in a shared bucket:
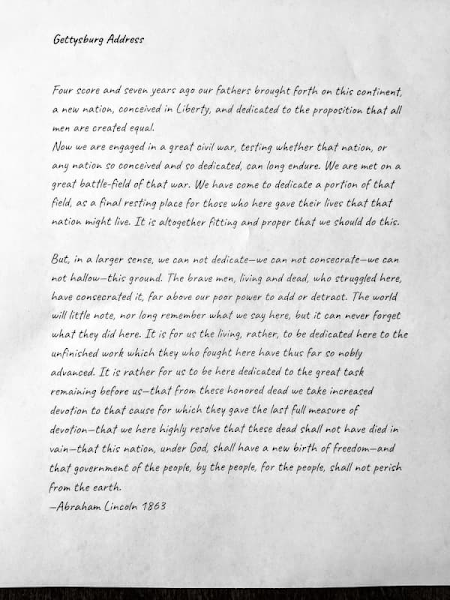
Enter either your own image URL, or use the image that I’ve loaded into Google Storage from above.
Important note: If using an image from Google Cloud Storage, you’ll need to first view the image separately in a browser, and then copy and use its expanded URL with a form that looks like this: https://...-apidata.googleusercontent.com/download/storage/v1/b/<<path-to-bucket>>?qk=....
- Click “Call Vision API” to initiate the conversion!
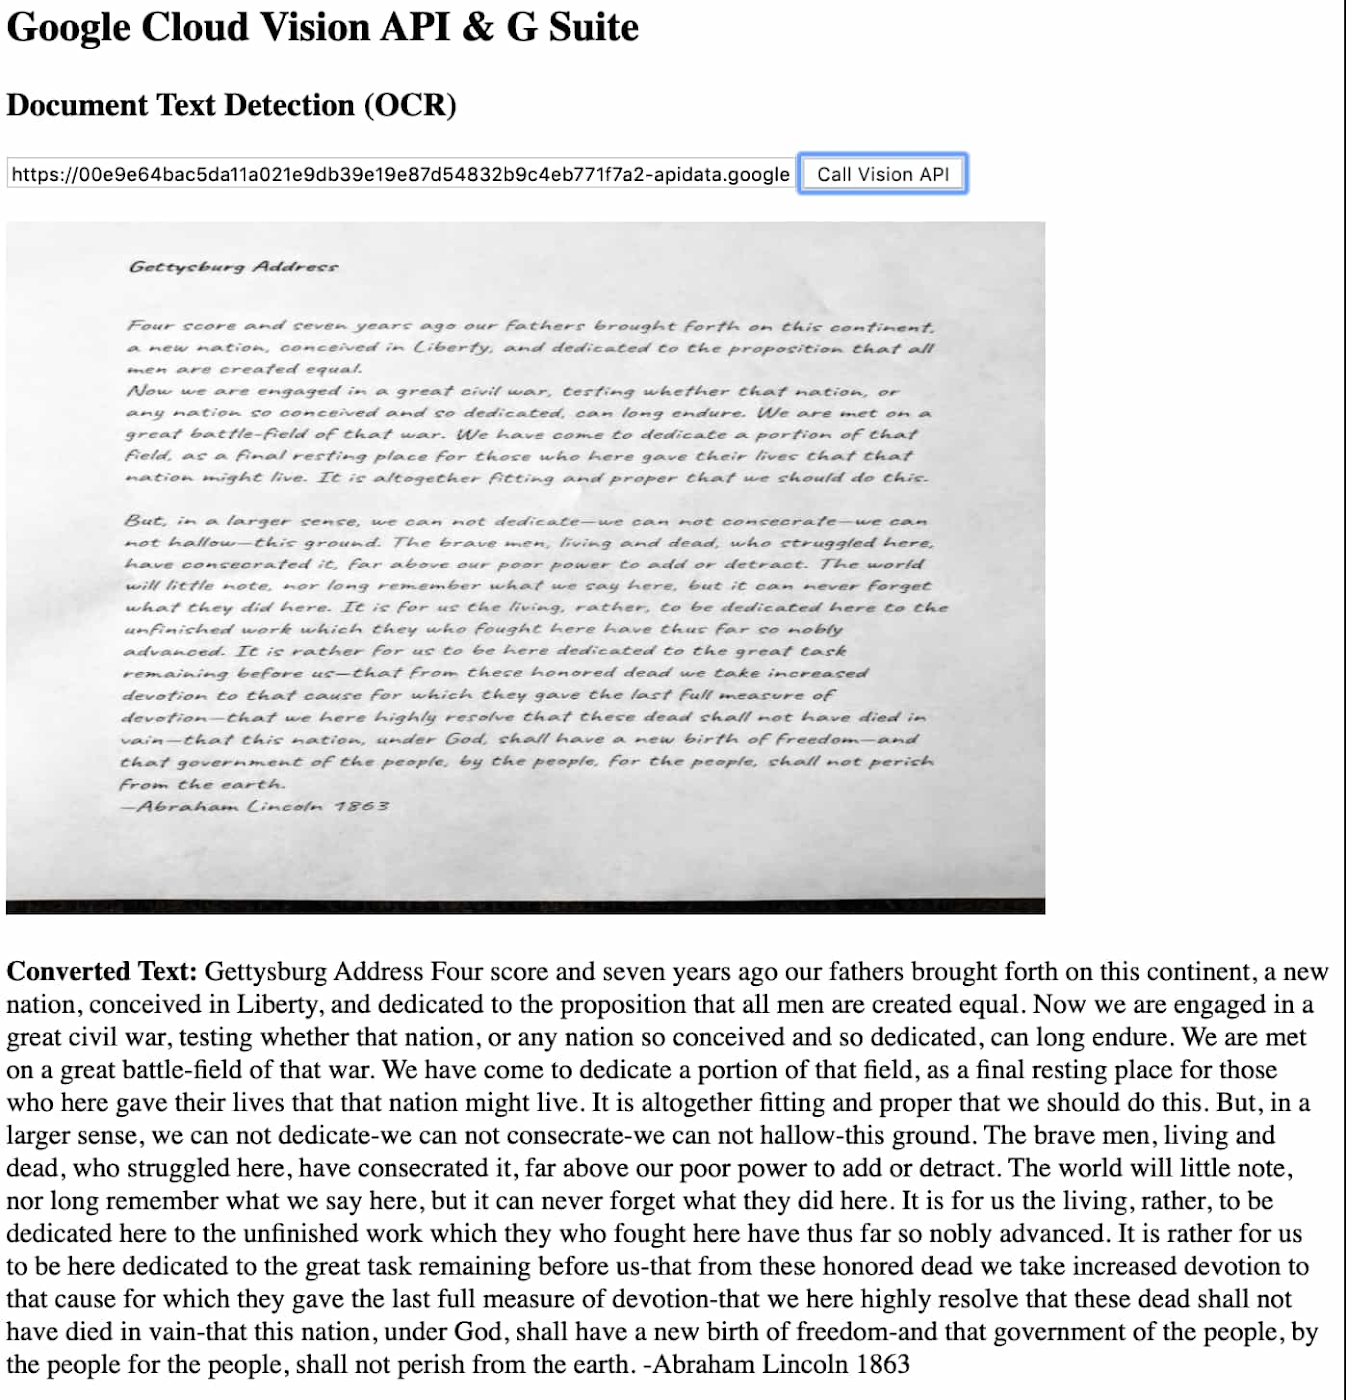
If successful, the “Converted Text” section will appear below the image!
How does this work?
To get a clearer picture of what’s going on here, let’s examine some of the key elements of this example. The GCP project portion merely enables access to the Vision API—the actual magic of this example is in the Apps Script code that does the following:
Provides a simple web UI to collect an image URL.
Then sends the image URL along with the API key to the Vision API via a REST call.
The API sends a response and the web app updates the UI with the converted text.
Building a web UI to collect an image URL
Using Apps Script to build a web app is fairly straightforward. It involves using some initial code that invokes an HTML file. So after creating the Apps Script project and its default Code.gs file, you add a snippet of code that will respond to an HTTP GET request from a browser (using doGet()) and returns an HTML page named “Main.”This is why you’ll need to create a separate HTML file Main.html, which will contain the UI code for presenting an input field and a button.
Also contained in Main.html are div tags that serve as placeholders for both the image selected (ImgTag) as well as the response text (status) from the Vision API.
Calling the Vision API and processing the results
The real meat of this example is in the two functions that serve to call the Vision API, and process the results. These could also be added to the Main.html file or to a separate file. For simplicity the code will be added to the Main.html file directly.
And here’s the core content of this code:
This code makes a call to the server side function makeRequest() with the Image URL. If successful, it processes and shows the response by calling showResponse().
This code extracts the text response from the returned JSON from the API and then updates the HTML div status with the converted text.
And finally, here’s the server side code makeRequest() in the Code.gs file:
Notice the key portion of this code is to build a JSON request using a function, buildJSONRequest().
This function assembles a properly formatted portion of JSON with the Image URL and request type DOCUMENT_TEXT_DETECTION (See more details on the Vision API’s text detection capabilities).
This JSON object is then sent to the API endpoint using Apps Script’s UrlFetchApp.fetch() call.
As the response is returned, it sends it back to the client in order to update the web page with the converted text.
Next steps to consider
As you can see from this example, connecting a G Suite application to the Vision API is fairly easily accomplished using just two files, Main.html and Code.gs, from an Apps Script project. If you’d like to keep building and enhancing this app, you can use Apps Script to create a new document from the generated text, or detect the language and even translate the document into a preferred target language using the Google Cloud Translation API.
These additional steps are relatively easy to add on to this starter example by following the guidance below:
Document creation Because the response text is available to the server in Apps Script, it’s easy to create a Google document with the converted text using the Apps Script DocumentApp.create() function. Learn how here.
Language detection To determine the language of the text, you can use the Google Translate API via a REST call with the Apps Script UrlFetchApp.fetch() call. Find out how here.
Language translation To translate the text to another language, you can just use the Apps Script function LanguageApp.translate(). Learn how here.
Hopefully this example will inspire you to add many new cool visual AI features to your G Suite apps! To learn more about building for G Suite or developing with the Vision APIs, check out their developer pages, and please register for Next OnAir, which kicks off July 14th.