How to connect a Private Cloud SQL instance to a Private IP VM

Andrew Fleischer
Strategic Cloud Engineer
Try Google Cloud
Start building on Google Cloud with $300 in free credits and 20+ always free products.
Free trialImagine that you’re dealing with extremely sensitive data that's stored in a MySQL database - credit card numbers, health records, sensitive text – you name it. You want to access that data from a virtual machine for critical application workloads but be absolutely sure that no traffic will ever be exposed to the public internet. The most straightforward way to accomplish this is to remove external IP addresses from the picture.
Working with private-IP only architectures has its advantages and disadvantages. Although it is undoubtedly more secure, it increases the complexity and planning that must go into connecting those instances and sometimes requires some additional steps in a cloud environment. In this blog, we are going to cover how one can connect a private Cloud SQL instance to a VM with an internal IP only in the Google Cloud Platform environment. This solution does not utilize the Cloud SQL Auth proxy, but instead expands on our public documentation on how to connect a Compute Engine instance to Cloud SQL. We’ll go through the following steps:
Create your Private Cloud SQL Instance
Create your private IP VM
Connect using the mysqlsh client
Testing your connection
Create your Private Cloud SQL Instance
Note: In order to use private IP your networking and application environment must meet certain requirements. In addition, setting up private IP for the first time requires extra IAM permissions. See the requirements listed here.
Create Cloud SQL Instance with private IP
In the Google Cloud Console, go to the Cloud SQL Instances page.
Go to Cloud SQL InstancesClick Create instance.
In the Creation wizard, in the Configuration Options section, expand the Connectivity section.
Select the Private IP checkbox.
A drop-down list shows the available VPC networks in your project. If your project is the service project of a Shared VPC, VPC networks from the host project are also shown.Select the VPC network you want to use:
If you see Private service connection required:

Click Set up connection.
In the Allocate an IP range section, choose one of the following options:
Select one or more existing IP ranges or create a new one from the dropdown. The dropdown includes previously allocated ranges, if there are any, or you can select Allocate a new IP range and enter a new range and name.
Use an automatically allocated IP range in your network.
Click Continue.
Click Create connection.
Verify that you see the Private service connection for network VPN_NAME has been successfully created.
Click Save.
You’ll notice that in order to create a Private Cloud SQL instance, you’ll need to create a private service connection and allocate an IP range. Private services access is implemented as a VPC peering connection between your VPC network and the underlying Google Cloud VPC network where your Cloud SQL instance resides. The private connection enables VM instances in your VPC network and the services that you access to communicate exclusively by using internal IP addresses. VM instances don't need Internet access or external IP addresses to reach services that are available through private services access. See further details here.
Create your Private IP VM
Create a Compute Engine instance in the same network and region as the Cloud SQL instance you’ve created. During creation:
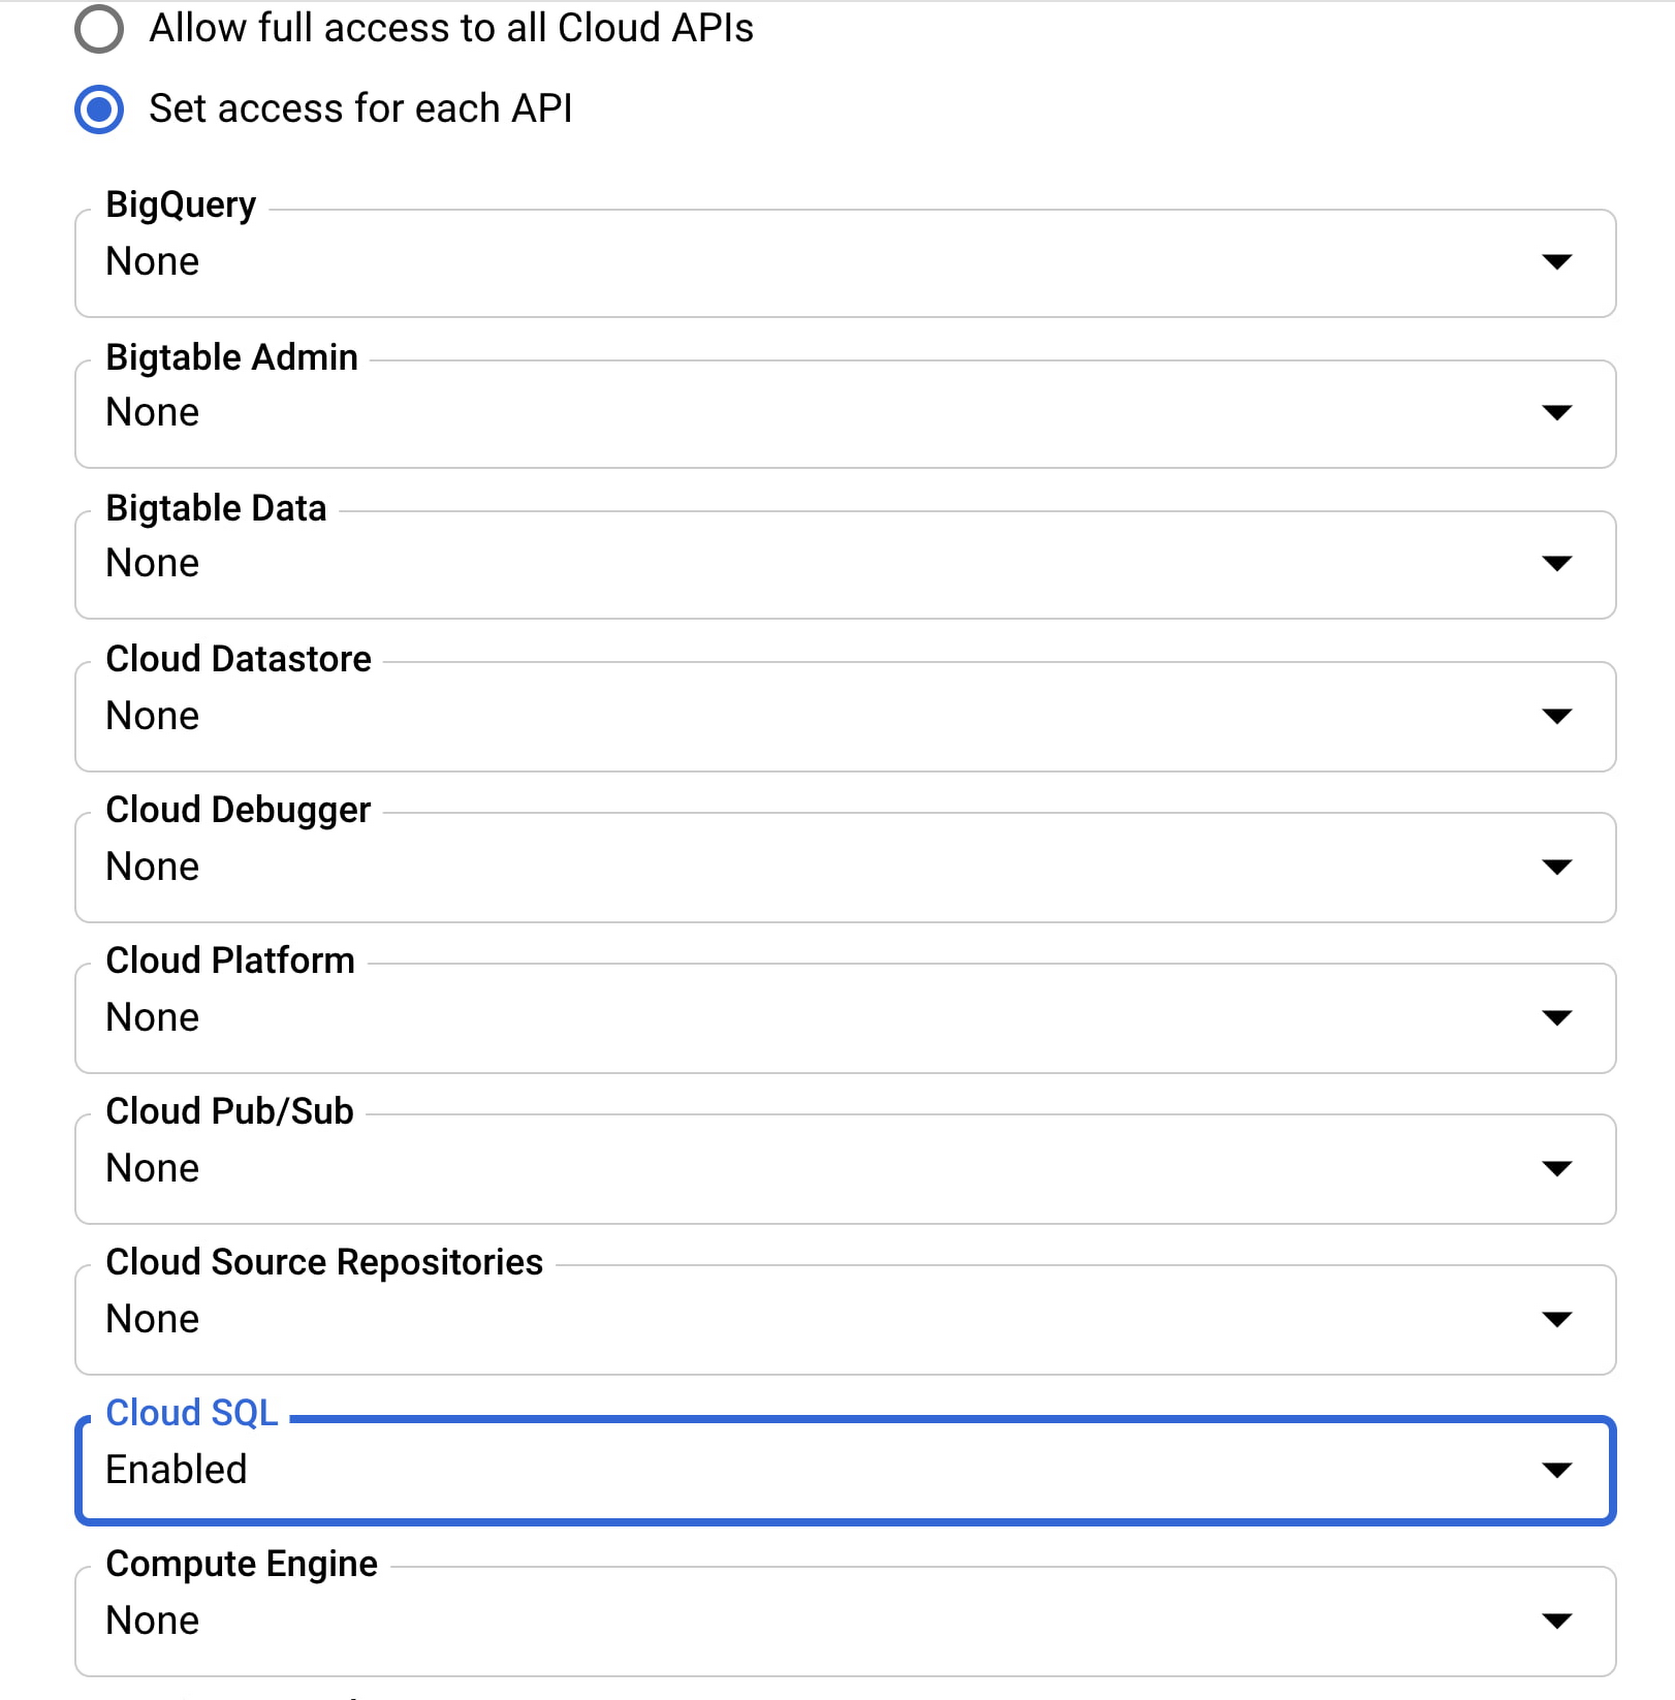
Under “Access Scopes”, click Set access for each API. Enable access to Cloud SQL APIs while creating your VM.
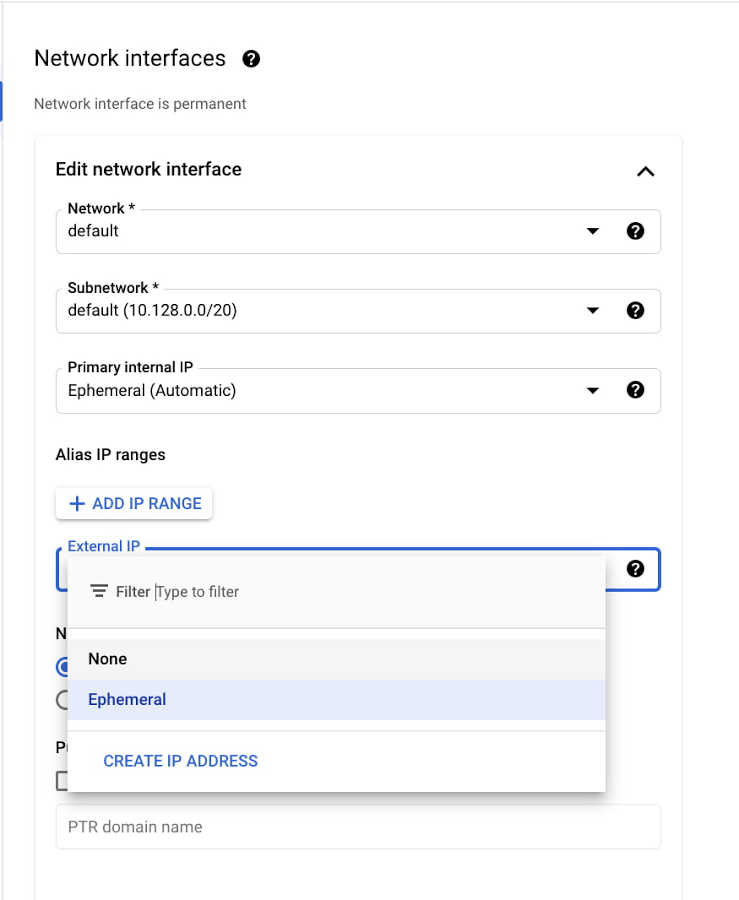
- Expand “Networking, Disks, Security, Management, Sole Tenancy”, inside of that “Networking”, then click your networking interface. Remove the external IP associated with the VM by specifying “None” for External IP.
Once you are satisfied, click “CREATE” to instantiate your private IP VM.
Connect Using the mysqlsh Client
First, SSH into your newly created VM by clicking “SSH” on the Google Cloud Compute Engine console.
For Linux, see Connecting to Linux Instances.
For Windows, see Connecting to Windows Instances.
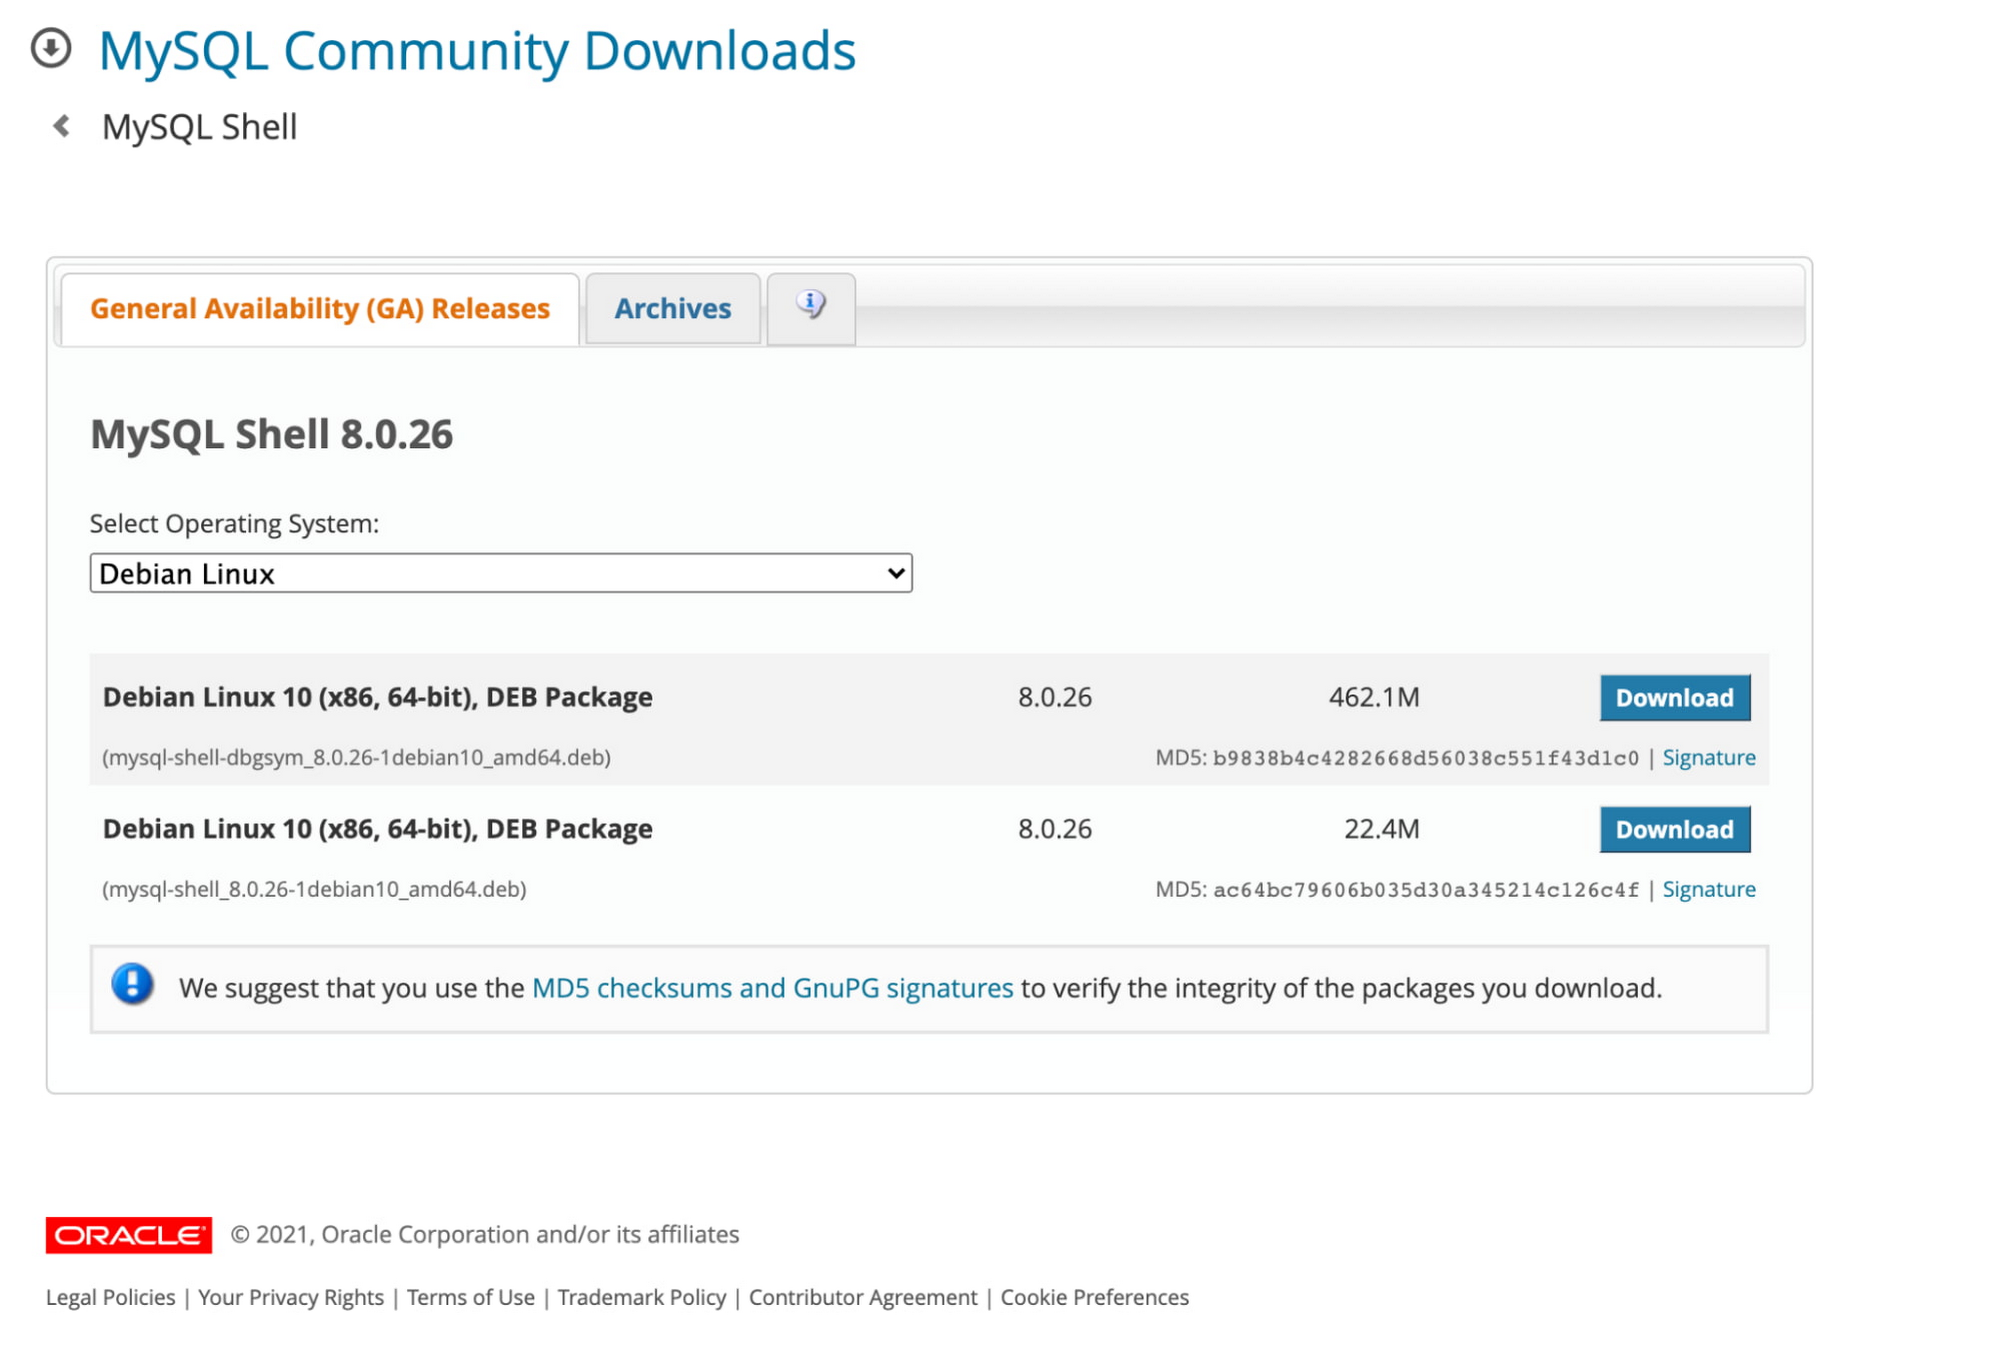
Download the MySQL shell command line tools from the Oracle site to your local machine.
Be sure to choose your correct operating system that your VM is running. In our example we’re using Debian.
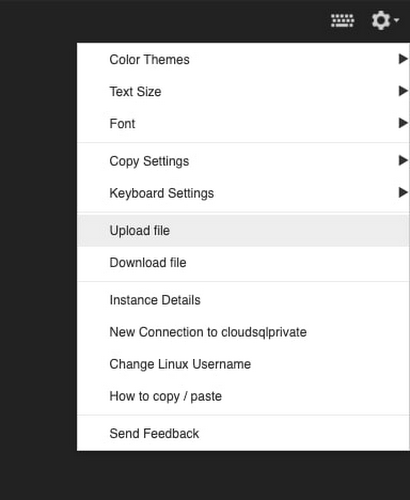
- Upload the .deb file to your VM by navigating to your SSH session tab, then clicking the gear icon in order to upload a file:
After the upload is complete, run the command
`sudo dpkg -i mysql-shell_8.0.26-1debian10_amd64.deb`to install the shell tool, or whichever command installs that package for your OS.Run the command
`mysqlsh \connect <INTERNAL_IP> --user=root --password=pass`Where <INTERNAL_IP> is the private IP address of your Cloud SQL instance which can be found on the Cloud SQL console.
Include the password parameter if you chose to create a password with your instance.
You should be connected!
You can now run the command `\sql SHOW DATABASES;` to see what’s inside.
Testing connection/Tips
To list the routes/IP range of the allocated private service connect service: gcloud compute addresses list --global --filter="purpose=VPC_PEERING"
For demonstration purposes, these instances were created in an automatic default network configuration. If you’re seeing connection issues, check if you have any special firewall rules that block access to your CloudSQL instance.
Ensure Cloud SQL API access is enabled on the VM