This page applies to Apigee and Apigee hybrid.
View
Apigee Edge documentation.

In a conditional flow,
policies are executed only if the flow's condition evaluates to
true (as opposed to policies attached to the PreFlow or PostFlow,
which are always executed). This section describes how to create a conditional flow.
About conditional flows
During the processing of a request and response, only one conditional flow is executed per
segment—the first flow whose condition evaluates to true.
The following examples illustrate some ways to use conditional flows.
Example 1
The following ProxyEndpoint definition shows a conditional flow that is executed
by the ProxyEndpoint on any HTTP GET request to the API proxy:
<ProxyEndpoint name="default">
  <PreFlow>
    <Request/>
    <Response/>
  </PreFlow>
  <Flows>
    <Flow name="Flow-1">
      <Condition>request.verb="GET"</Condition>
      <Request/>
      <Response/>
    </Flow>
  </Flows>
  <PostFlow>
    <Request/>
    <Response/>
  </PostFlow>
  ...
</ProxyEndpoint>
Notice that the condition references the request.verb
flow
variable. A flow variable is named references that hold state information associated
with an API transaction processed by Apigee. Apigee defines many state variables that you can
reference.
Example 2
If your
service backend provides weather reports and weather forecasts, your API might define two
conditional flows that map to those API
resources: /reports and /forecasts. When an API call
includes one of those resources in the URL, the condition evaluates to true and the logic
attached to the conditional flow is executed.
App developers then access your resources by making requests to a URL in the form:
http://myAPIs.myCo.com/weather/reports
or:
http://myAPIs.myCo.com/weather/forecasts
In an API proxy, you can define a conditional flow that corresponds to a specific resource:
<ProxyEndpoint name="default">
  <PreFlow>
    <Request/>
    <Response/>
  </PreFlow>
  <Flows>
    <Flow name="Flow-1">
      <Condition>(proxy.pathsuffix MatchesPath "/reports")</Condition>
      <Request/>
      <Response/>
    </Flow>
    <Flow name="Flow-2">
      <Condition>(proxy.pathsuffix MatchesPath "/forecasts")</Condition>
      <Request/>
      <Response/>
    </Flow>
  </Flows>
  <PostFlow>
    <Request/>
    <Response/>
  </PostFlow>
  ...
</ProxyEndpoint>
In this example, you reference the proxy.pathsuffix flow variable,
which contains the suffix portion of the URL used to access the API proxy. You can then attach
different policies to the conditional flow for each resource.
Example: Creating a conditional flow
The next example:
- Creates a conditional flow that executes only when the request message
is an HTTP
GET. - Adds a policy to the new flow.
Adding a conditional flow
New Proxy Editor
To add a conditional flow:
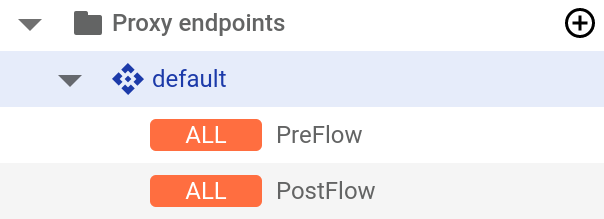
- Select the Develop tab in the Proxy Editor.
- Select Proxy endpoints > default in the left-hand pane.
Note: You may need to expand the visual editor in the right-hand pane to see all the elements. To do so, click and drag the divider between the visual editor and the text editor down a little.
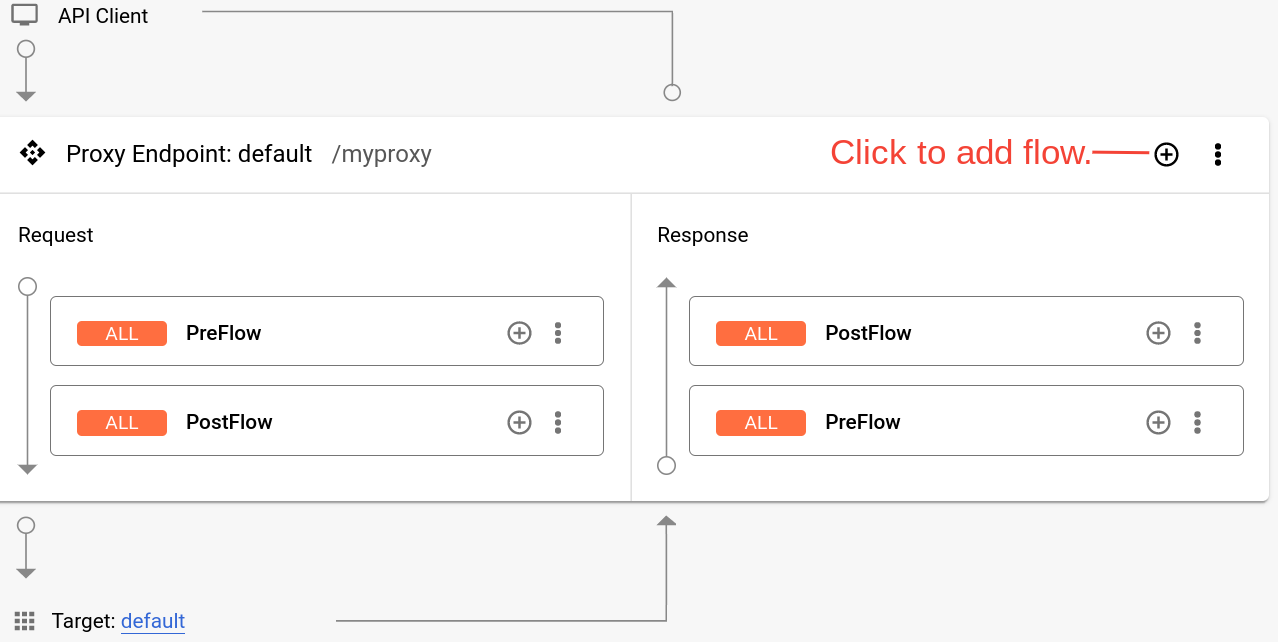
- Click the + button above the Response pane.
- In the Add conditional flow dialog, select Path and verb, and in the
Path field, enter the path suffix that you want to be in the request path in order for
the conditional flow to execute. See Example 2 above.
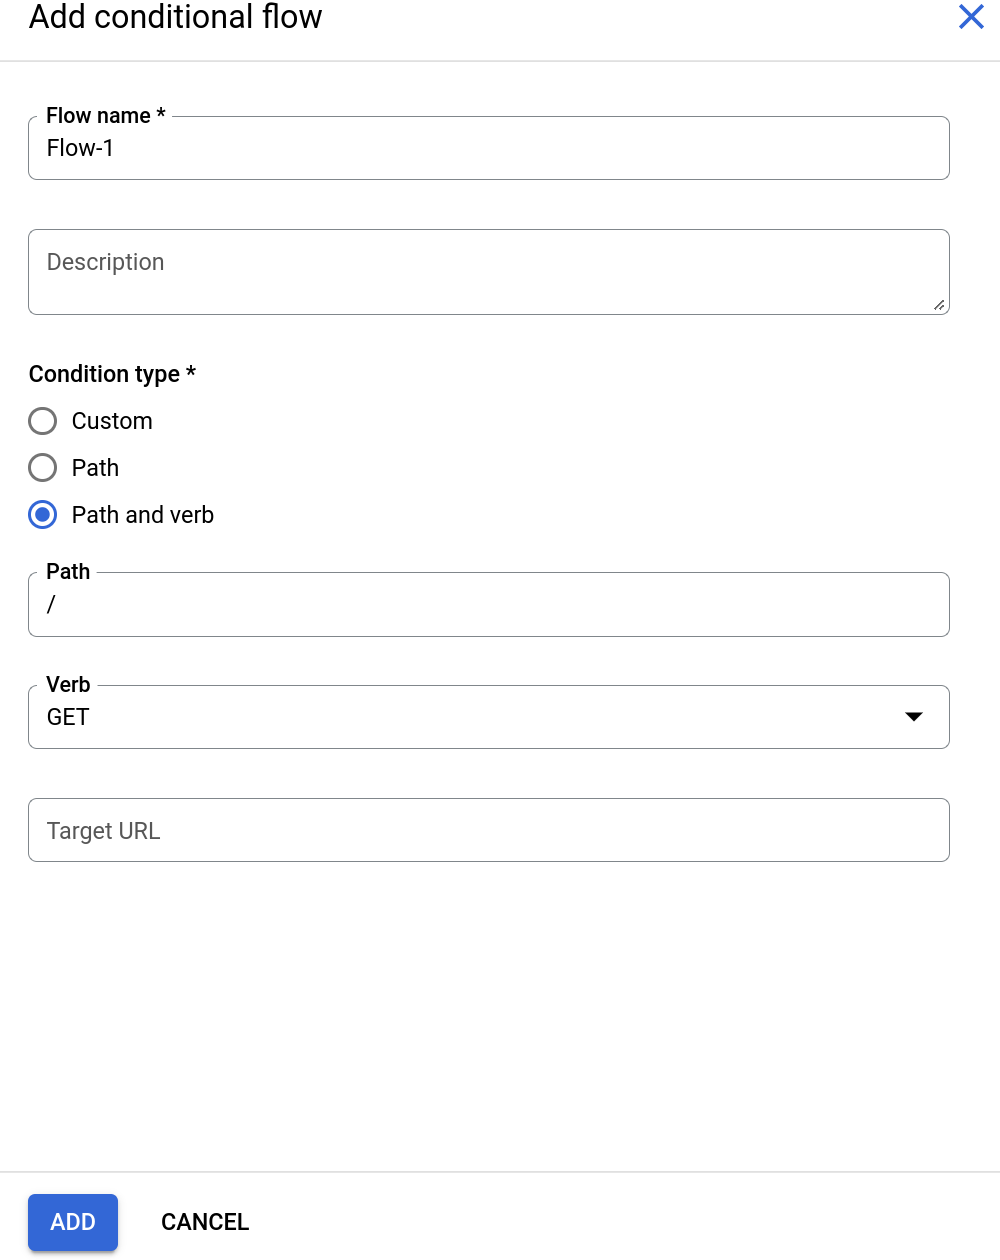
The conditional flow only executes if the request is a
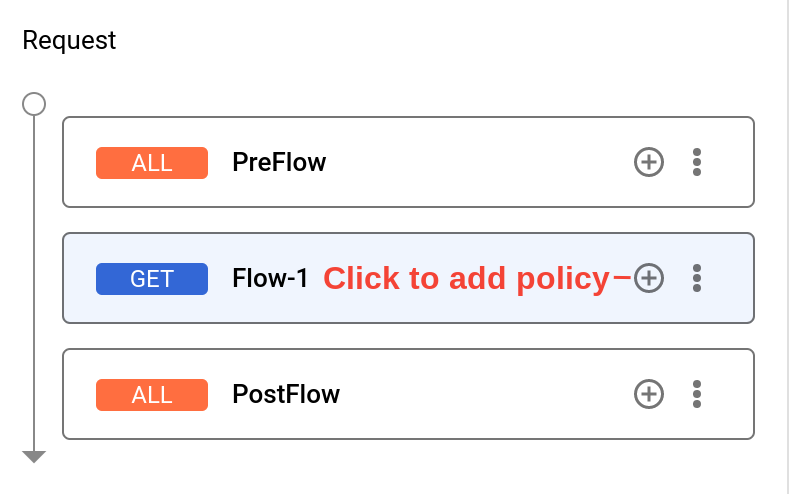
GETrequest (but not forPUT,POST, etc.).The new flow, called
Flow-1, now appears in the Proxy Endpoint pane.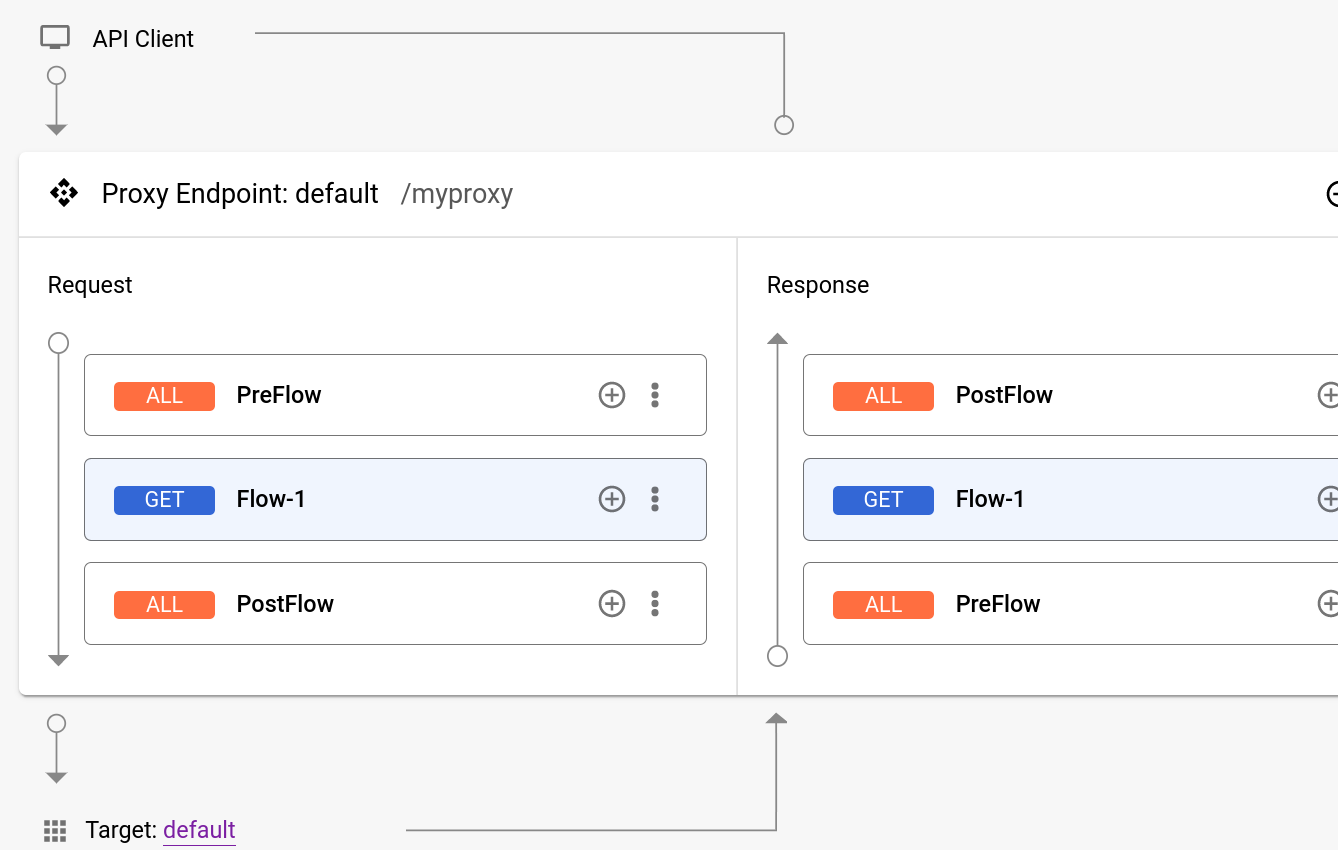
The XML code for the new conditional flow is displayed in the text editor.

You can edit the Condition element if you wish. See Adding logic to flows.
Attaching a policy to the flow
Now that you have created the conditional flow, you can attach a policy to it. The next example adds a Quota policy, which restricts the number of request messages that an API proxy allows over a period of time, to the flow:
- In the left-hand pane, click the + button to the right of Policies.
- In the Create policy dialog, click in the Select policy type field and scroll down to Traffic Management and select Quota.
- Click Create to create the policy.
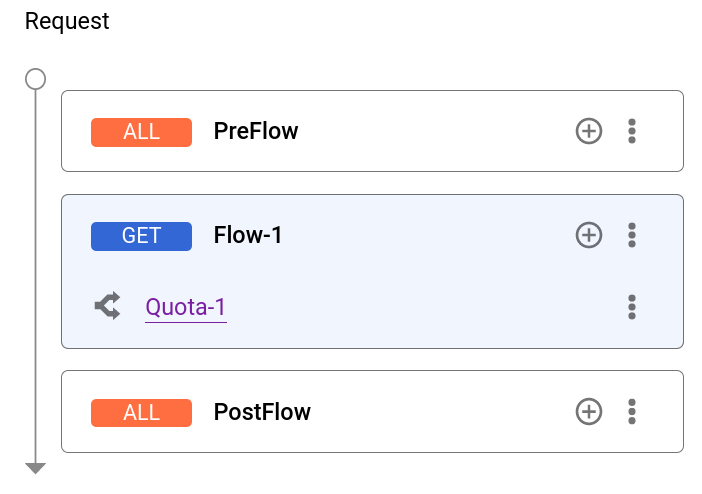
- Click the + button next to Flow-1 in the Request pane.
- In the Add policy step dialog, click in the Select existing policy field and select Quota-1.
- Click Add.
The Request pane now displays the flow and attached policy, Quota-1.
The text editor now displays a step containing the Quota-1 policy in the Flow-1 element of the XML:
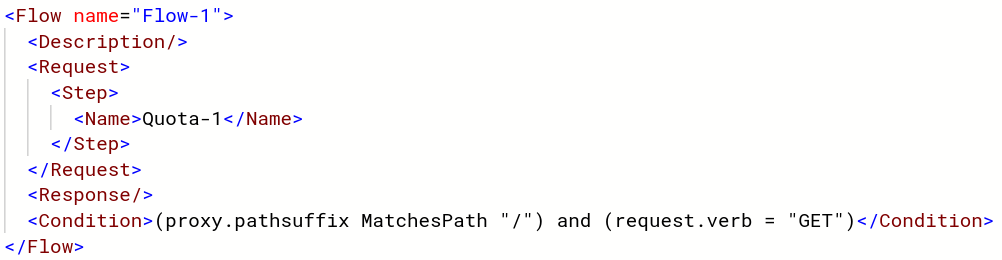
With this configuration, the Quota policy will be enforced for GET requests.
Requests of other types will not contribute to the maximum number of requests in the Quota policy.
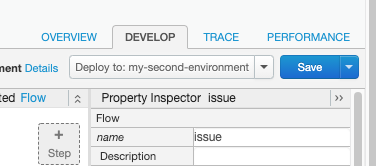
Classic Proxy Editor
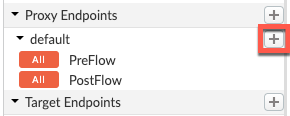
To add a conditional flow, select the Develop tab in the API proxy builder.
Click ![]() in the desired endpoint.
in the desired endpoint.
The New Conditional Flow form lets you name the flow and configure a condition. In the
following example, you add a simple condition that evaluates the HTTP of the request message for
a GET verb (as opposed to PUT, POST, etc.) on any URI after the base path.
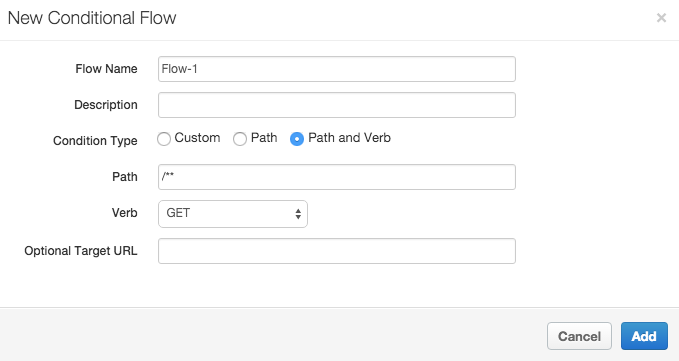
(Learn how to construct conditional statements in Conditions with flow variables.)
The new flow, called Flow-1, now appears in the Navigator menu.
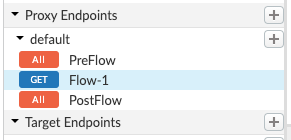
Now observe the XML configuration for the ProxyEndpoint. Select Flow-1 in the Navigator menu.
You will see the following configuration.
<PreFlow name="PreFlow">
    <Request/>
    <Response/>
</PreFlow>
<Flows>
  <Flow name="Flow-1">
    <Request/>
    <Response/>
    <Condition>(proxy.pathsuffix MatchesPath "/**") and (request.verb = "GET")</Condition>
  </Flow>
</Flows>
<PostFlow name="PostFlow">
  <Request/>
  <Response/>
</PostFlow>
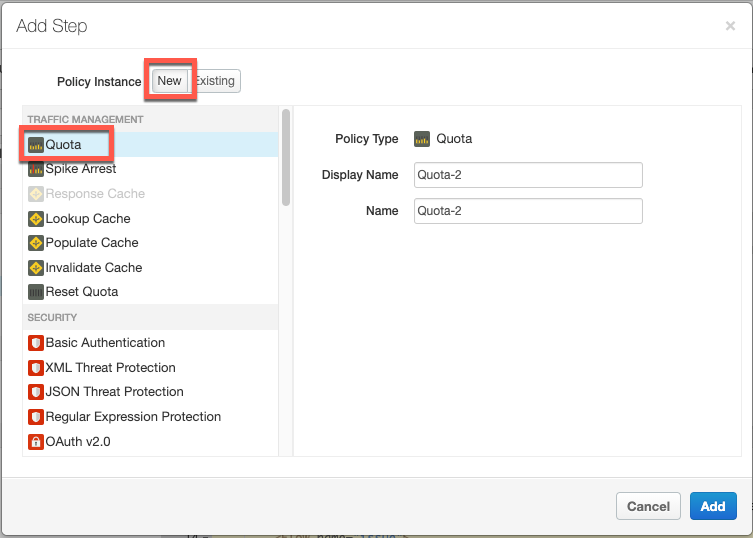
Once you have created a conditional flow, it is available for policy attachment. With the flow selected, click the + Step icon in the request or response diagram to add a new or existing policy to the flow.

By attaching the policy to the selected flow, you are configuring the API proxy to enforce the Quota policy only for requests made to that flow URI and verb combination. For example, if you attach the policy to the learn flow in the request, the following XML is generated in the text editor:
<ProxyEndpoint name="default">
...
   <Flow name="issue">
        <Description/>
        <Request>
            <Step>
                <Name>Quota-2</Name>
            </Step>
        </Request>
        <Response/>
        <Condition>(proxy.pathsuffix MatchesPath "/issue/**") and (request.verb = "GET")</Condition>
    </Flow>
...
</ProxyEndpoint>
In this configuration, if a GET request comes in on the API proxy with a URI
pattern of .../issue/** (/issue/ with anything in the URI after the last forward
slash), quota is enforced on that API call.
Next steps
The following topics provide more detail about constructing conditions and using variables: