G Suite Pro Tips: How to organize your emails using Gmail labels
Greg Wilson
Director, Developer Advocacy
How to master Gmail’s advanced search and labelling
Try Google Workspace at No Cost
Get a business email, all the storage you need, video conferencing, and more.
SIGN UPA few years ago, I realized that I sucked at email. I was missing important emails or simply forgetting to reply because I got distracted. I was surrounded by many amazing coworkers who seemed to have their email act together, so I started asking them to share their best practices with me.
Today, I’m sharing a couple tips I learned early on: using Gmail’s advanced search and labelling. In this post, I’ll do the following:
- Use advanced search to find an email.
- Create a label, give it a color, and set up a filter to apply that label.

Using Gmail’s advanced search to find that email from your boss
The average person receives around 120 emails a day. Finding important emails—for example, messages from your boss—can be challenging. Fortunately, Gmail has a simple way to do advanced searches, and it’s easy as 1-2-3.
Let’s say you’re trying to find an email from your boss that was about budgets.
Here’s how to do it
- Inside the Gmail search box, click the Down arrow. This opens up a window with more ways to filter your search results.
- Fill in the form. Enter the manager’s email address and “Budget” in the subject.
- Click the Search button to see the results.
Using labels, colors, and filters to help you manage the important emails
Sometimes we can get overwhelmed by the amount of emails coming into our inboxes and miss the important ones. Gmail has features to help you manage your inbox with labels, colors, and filters.
Let’s say you want to make sure you never miss an email from your manager. You might want to create a label and a filter that makes it easy to identify and find these emails.
Step 1: Create a label
Go to Settings (hint: the gear icon on the top right).
Click the Labels menu item (hint: it’s next to General).
Scroll down the page and click on the Create new label button.
Name your new label; for emails from my boss, I use the label “Management.”
Click Create.
Step 2: Give your new label a color
Find your label’s name on the left hand side of your Gmail inbox, and click the three dots.
Select Label color.
Select the color you’d like for the label; I picked red to make it super visible.
Step 3: Setup a filter to apply the label
Inside the Gmail search box, click the Down arrow, which opens a window to create a filter.
In the “From” section of the form, enter the email address of your manager.
Select Create filter.
The form will now show actions the filter can take; in this case, we select Apply the label and choose the label “Management.”
Select Create filter and you’re done!
Voilà! You now have a red label named “Management” that is filtering emails from your boss.
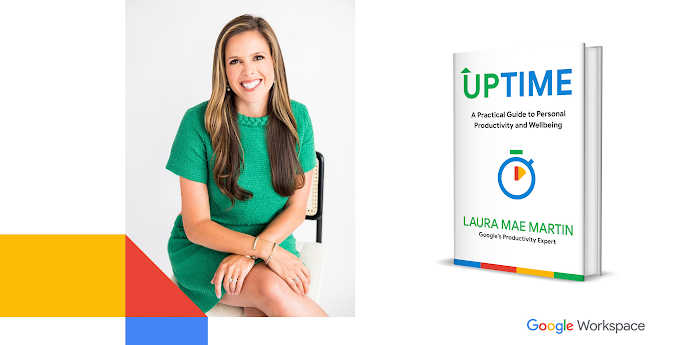
I hope these tips about Gmail's advanced search and labelling help you save time and improve your productivity. For more on becoming a master of Gmail, check out this post from Google Productivity Advisor, Laura Mae Martin.