Build a dev workflow with Cloud Code on a Pixelbook
Simon Zeltser
Developer Programs Engineer
Can you use a Pixelbook for serious software development? Do you want a workflow that is simple, doesn’t slow you down, and is portable to other platforms? And do you need support for Google Cloud Platform SDK, Kubernetes and Docker? I switched to a Pixelbook for development, and I love it!
Pixelbooks are slim, light, ergonomic, and provide great performance. Chrome OS is simple to use. It brings many advantages over traditional operating systems:
- frictionless updates
- enhanced security
- extended battery life
And the most compelling feature for me: almost instant coming to life after sleep. This is great when hopping between meetings and on the road.
A little about me - I’m a Developer Programs Engineer. I work on Google Cloud and contribute to many open source projects. I need to accomplish repeatable development tasks: working with Github, build, debug, deploy and observe. Running and testing the code on multiple platforms is also of high importance. I can assure you, the workflow below built on Pixelbook satisfies all the following:
- Simple, repeatable development workflow with emphasis on developer productivity
- Portable to other platforms (Linux, MacOS, Windows)—“create once, use everywhere”
- Support for Google Cloud Platform SDK, Github, Kubernetes and Docker.
Let’s dive into how you can set up a development environment on Pixelbook that meets all those requirements using Cloud Code for Visual Studio Code, remote extensions, and several other handy tools. If you are new to the world of Chromebooks and switching from a PC, check out this post to get started.
Step 1: Enable Linux apps on Pixelbook
Linux for Chromebooks (aka Crostini) is a project to let developers do everything they need locally on a Chromebook, with an emphasis on web and Android app development. It adds Linux support.
On your Pixelbook:
1. Go to Settings (chrome://settings) in the built-in Chrome browser.2. Scroll down to the “Linux (Beta) ” section (see screenshot below).
4. At the end, a new Terminal window should automatically open to a shell within the container. We’re all set to continue to the next step - installing developer tools!
Pin the terminal window to your program bar for convenience.
Configure Pixelbook keyboard to respect Function keys
Folks coming from Windows or MacOS backgrounds are used to using Function keys for development productivity. On Chrome OS, they are replaced by default to a group of shortcuts.
However, we can bring them back:
Navigate to chrome://settings. Now, pick “Device” on the left menu, then pick “keyboard”. Toggle “treat top-row keys as function keys”:
Step 2: Install development tools
For Kubernetes development on GCP, we need to install tools like Docker, Google Cloud SDK and kubectl. Pixelbook Linux is Debian Stretch, so we will install prerequisites for docker and gcloud using instructions for Debian Stretch distribution.
Install and configure Google Cloud SDK (gcloud):
Run these commands from gcloud Debian quickstart to install gcloud sdk:
Troubleshooting
You might run into this error:
Your keyrings are out of date. Run the following commands and try the Cloud SDK commands again:
Add gcloud to PATH
Installing Docker CE for Linux:
Follow these instructions.
And then add your user to the docker group:
NOTE: This allows running docker commands without sudo.
Install kubectl
Installing Visual Studio Code
Go to VSCode linux install instructions page.
Download the .deb package (64bit) from the link on the page.
After the download is complete, install the deb file using “Install app with Linux (beta)”:
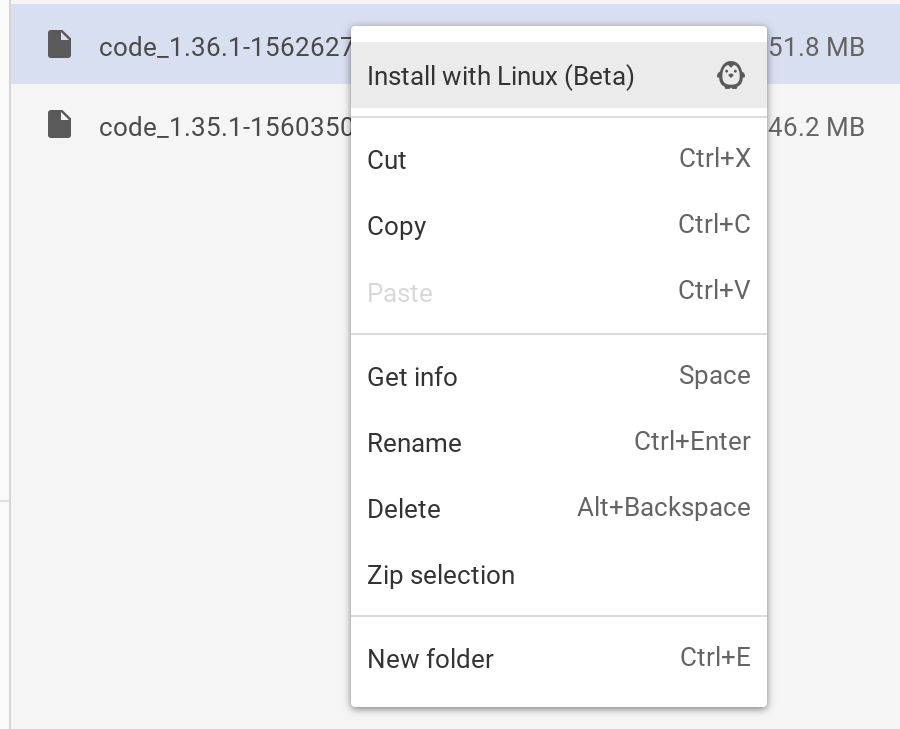
Troubleshooting
If you don’t see “Install with Linux” as an option for the deb file, double check that you switched to the beta channel.
Now let’s install a few extensions that I find helpful when working on a remote container using VS Code:
Docker - managing docker images, autocompletion for docker files, and more.
Remote Containers - use a docker container as a full-featured development environment.
These two, along with Cloud Code, are key extensions in our solution.
Step 3: Configuring Github access
Configure github with SSH key
Now copy and past the key into Github.
NOTE: If facing permissions error doing ssh-add, run sudo chown $USER .ssh and re-run all the steps for github setup again.
Set the username and email of github:
Step 4: Remote development
Now that we have the tools installed and Github access configured, let’s configure our development workflow. In order to create a solution that is portable to other platforms, we will use remote containers extension. We will create a container that will be used to build, deploy and debug applications that we create. This is how it will work:
We will open our codebase in a remote container. This will let VS Code think that it is open in isolated Linux environment, so everything we do (build, deploy, debug, file operations) will be interpreted as if we were working on a dedicated Linux VM with its own file system: every command we execute on VS Code will be sent for execution on our remote container. This way we achieve the goal of portability—remote Linux container can run on both MacOS and Windows just like we do it on Pixelbook with Chrome OS that supports Linux.
Dev Container settings for each repo
Here’s how to set up a dev container for an existing project. You can find the full source code in the Cloud Code templates repo. This Github repo includes templates for getting started with repeatable Kubernetes development in five programming languages—Node.js, Go, Java, Python and .NET. Each template includes configuration for debugging and deploying the template to Kubernetes cluster using Cloud Code for VS Code and IntelliJ. For simplicity, we work with a HelloWorld template that just serves “Hello World” message from a simple web server in a single container.
To enable remote container development, we need to add a .devcontainer folder with two files:
Dockerfile — defines container image that holds all developer tools we need installed in a remote development container
Devcontainer.json — Instructs VS Code Remote Tools extension how to run remote development container.
Creating a container image for remote development
Our remote container needs to have the SDK we use for development in the programming language of our choice. In addition, it needs tools that enable Cloud Code and Kubernetes workflows on Google Cloud. Therefore in the Dockerfile we install:
Skaffold — tool Cloud Code uses for handling the workflow for building, pushing and deploying apps in containers
In addition, container images are immutable. Every time we open the code in a remote container, we’ll get a clean state—no extra settings will be persisted between remote container reloads by default (kubernetes clusters to work with, gcloud project configuration, github ssh keys). To address that, we mount our host folders as drives in the container (see this part later in devcontainer.json) and copy its content to the folder in the container file system where dev tools expect to find these files.
Example from Dockerfile of kubeconfig, gcloud and ssh keys sync between host and remote container:
devcontainer.json
This file tells Remote Container extension which ports to expose in the container, how to mount drives, which extensions to install in the remote container, and more.
A few notable configurations:
runArgs contains command line arguments remote extension passes to docker when remote container is launched. This is where we set environment variables and mount external drives in a container. This helps to eliminate authorizations and specifies the kubernetes clusters we want to work with in Cloud Code.
In the extensions section, we add a few VS Code extensions for enhanced productivity in the development container. These will be installed on a dev container but not on the host, so you can tailor this choice to the codebase you plan to work on in the dev container. In this case I am setting up for nodejs development.
Cloud Code for VS Code — Google’s extension that helps to write, deploy and debug cloud-native applications quickly and easily. It allows deploying code to kubernetes and supports 5 programming languages.
Npm support for VS Code
Markdownlint — Improves the quality of markdown files.
Gitlens — Shows the history of code commits along with other relevant useful information.
Output colorizer — Colors the output of various commands. Helpful when observing application logs and other info in the IDE.
Vscode-icons — Changes icons to known file extensions for better visibility and discoverability of the files.
Docker — Manages docker images, autocompletion for docker files and more
TSLint — Linting for typescript (optional)
Bracket pair colorizer (optional)
Npm intellisense (optional)
ESLint Javascript (optional)
Hello World in Dev Container on Pixelbook
Let’s try to build, debug and deploy the sample Hello World nodejs app on Pixelbook using the remote dev container setup we just created:
Initialize gcloud by running gcloud init in a command line of your Pixelbook and following the steps. As part of our earlier setup, when we open the code in a remote container, Gcloud settings will be sync’ed into a dev container, so you won’t need to re-initialize every time.
Connect to a GKE cluster using the command below. We will use it to deploy our app. This also can be done outside of the dev container and will be sync’ed using our earlier setup in .devsettings.
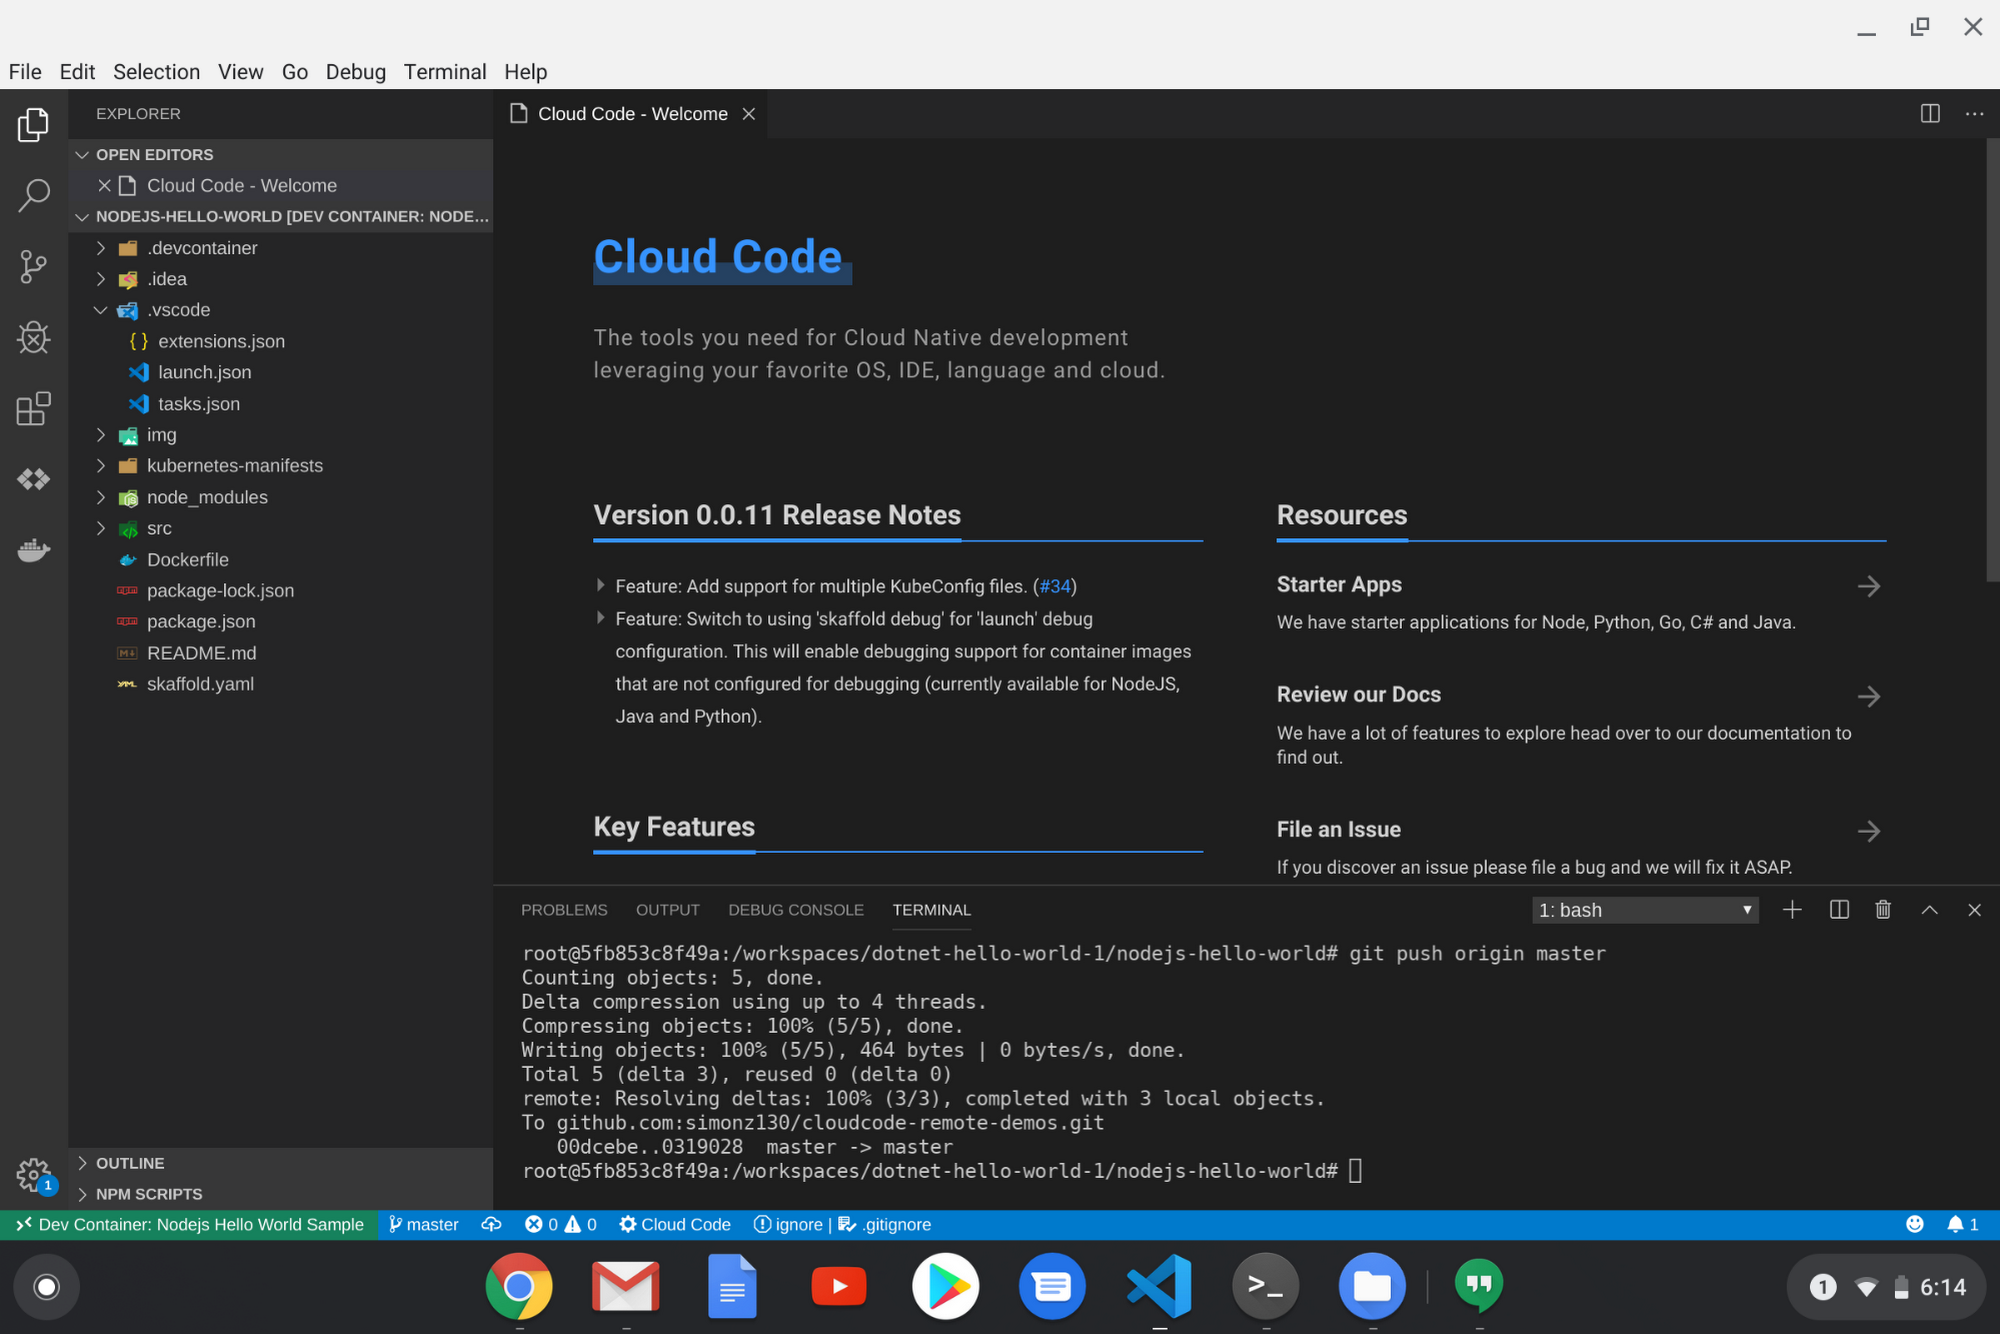
Open the code in dev container: In VS Code command palette, type: Remote-Containers: Open Folder in Container… and select your code location. The code will open in dev container, pre-configured with all the toolset and ready to go!
Build and deploy the code to GKE using Cloud Code: In VS Code Command Palette, type: Cloud Code: Deploy and follow the instructions. Cloud Code will build the code, package it into container image, push it into container registry, then deploy it into GKE cluster we initialized earlier—all from the dev container on a Pixelbook!
Though slick and small, the Pixelbook might just fit your developer needs. With VS Code, Remote development extension, Docker, Kubernetes and Cloud Code you can lift your development setup to the next level, where there is no need to worry about machine-specific or platform-specific differences affecting your productivity. By sharing dev container setup on Github, developers that clone your code will be able to reopen it in a container (assuming they have the Remote - Containers extension installed).
Once done, developers will get an isolated environment with all dependencies baked in — just start coding!
If you have a Pixelbook — or if you don’t, and just want to try out Cloud Code — the Hello World app and all config files are available on GitHub. Let me know how it went and what your favorite setup for developer productivity is.