A continuación, actualizarás las barras de navegación superior (encabezado) e inferior (pie de página) para incluir la página Comenzar.
Para configurar la navegación, haz lo siguiente:
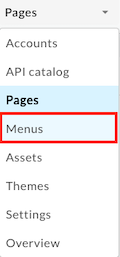
Selecciona Menús (Menus) en el menú desplegable del portal para abrir la página Menús.
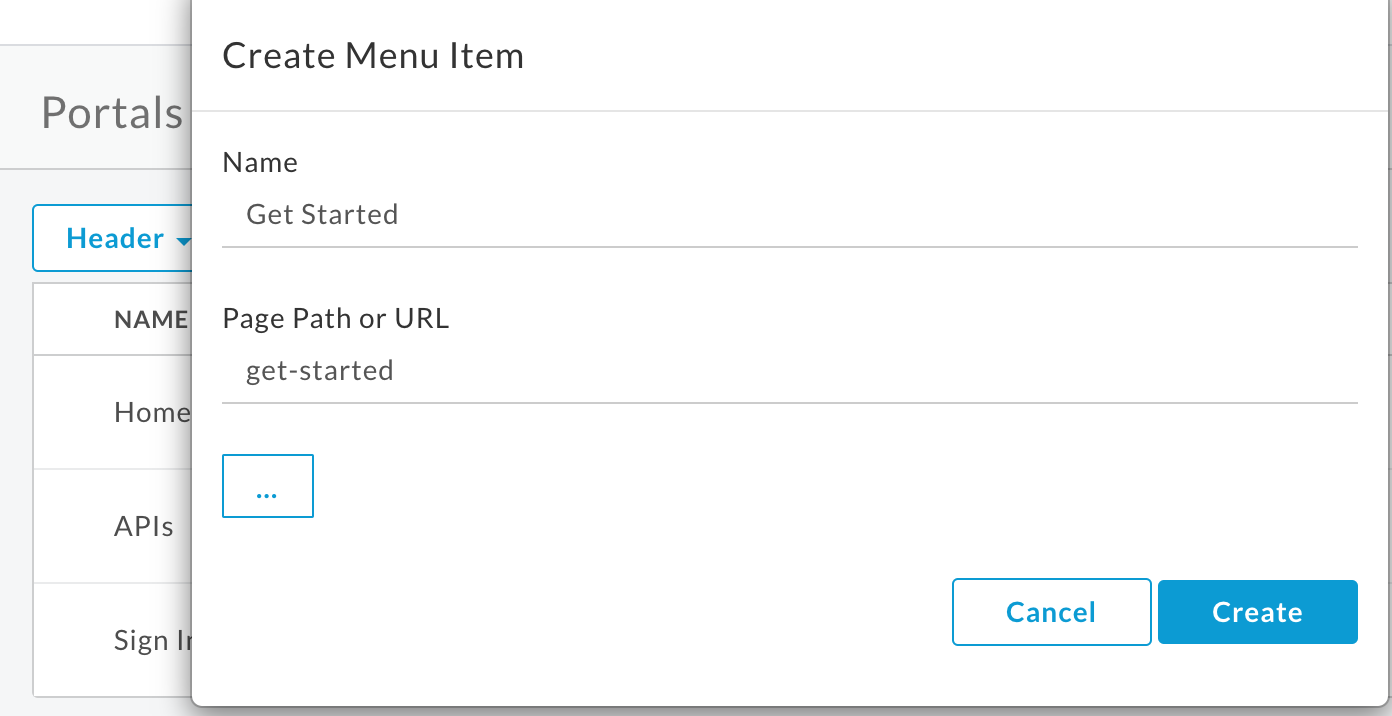
Primero, actualizarás la barra de navegación superior (encabezado) para agregar Comenzar como un elemento de menú. Ten en cuenta que Header está seleccionado de forma predeterminada en el menú desplegable.
Haz clic en + Elemento de menú.
En el diálogo del menú de navegación, ingresa los siguientes detalles:
Campo
Valor
Nombre
Comenzar
Ruta o URL de la página
Haz clic en ... y selecciona Get Started (get-started) en la lista. (Es posible que debas desplazarte).
Haz clic en Crear.
Reorganiza el elemento de menú Comenzar (Get Started):
Para mostrar las acciones, coloca el cursor sobre el elemento de menú Comenzar (Get Started).
Mantén presionado el botón del mouse sobre el controlador () que aparece a la izquierda del nombre del elemento de menú.
Arrastra el elemento de menú para colocarlo antes de las API y suelta el botón del mouse.
Selecciona Pie de página (Footer) en el menú desplegable para actualizar la barra de navegación inferior (pie de página).
Repite los pasos del 2 al 5 para agregar Comenzar como un elemento de menú en la barra de navegación inferior (pie de página).
Haz clic en Publicar para publicar los cambios en el portal en vivo. Confirma la operación cuando se te solicite.
Haz clic en Live Portal para abrir el portal en vivo en una pestaña nueva del navegador (o actualiza la pestaña en la que ya está abierto).
Haz clic en Get Started en la barra de navegación superior para mostrar la página Comenzar.
A continuación, vas a publicar una API en el portal.
[[["Fácil de comprender","easyToUnderstand","thumb-up"],["Resolvió mi problema","solvedMyProblem","thumb-up"],["Otro","otherUp","thumb-up"]],[["Difícil de entender","hardToUnderstand","thumb-down"],["Información o código de muestra incorrectos","incorrectInformationOrSampleCode","thumb-down"],["Faltan la información o los ejemplos que necesito","missingTheInformationSamplesINeed","thumb-down"],["Problema de traducción","translationIssue","thumb-down"],["Otro","otherDown","thumb-down"]],["Última actualización: 2025-09-03 (UTC)"],[[["\u003cp\u003eThis guide focuses on setting up navigation for Apigee and Apigee hybrid portals by updating both the header and footer navigation bars.\u003c/p\u003e\n"],["\u003cp\u003eThe primary action is adding a "Get Started" menu item to the top and bottom navigation bars.\u003c/p\u003e\n"],["\u003cp\u003eUsers will utilize the portal's Menus page to create and arrange the new "Get Started" menu item.\u003c/p\u003e\n"],["\u003cp\u003eOnce added, the "Get Started" menu item should be repositioned to precede the "APIs" section in both navigation bars.\u003c/p\u003e\n"],["\u003cp\u003eThe process concludes by publishing these navigation changes to the live portal and verifying the placement of the "Get Started" page.\u003c/p\u003e\n"]]],[],null,["# Step 5: Set up navigation\n\n*This page\napplies to **Apigee** and **Apigee hybrid**.*\n\n\n*View [Apigee Edge](https://docs.apigee.com/api-platform/get-started/what-apigee-edge) documentation.*\n\nNext, you'll update the top (header) and bottom (footer) navigation bars to include the **Get Started** page.\n\nTo set up navigation:\n\n1. Click **Menus** on the portals details page. \n First you'll update the top (header) navigation bar to add **Get Started** as a menu item. Notice that **Header** is selected by default in the menu drop-down.\n2. Open the navigation menu dialog.\n\n ### Cloud Console UI\n\n Click **+ Menu Items**.\n\n ### Classic UI\n\n Click **+ Menu Item**.\n3. In the navigation menu dialog, enter the following details:\n\n \u003cbr /\u003e\n\n4. Click **Create**.\n\n5. Rearrange the **Get Started** menu item.\n\n ### Cloud Console UI\n\n 1. Click the arrow_upward **Up arrow** on the **Get started** row to move it up.\n 2. Click it repeatedly until **Get started** is after **Home** and before **APIs**.\n\n ### Classic UI\n\n 1. Position your cursor over the **Get Started** menu item to display the actions.\n 2. Click and hold the mouse button over the handle () that appears to the left of the menu item name.\n 3. Drag the menu item to position it before APIs and release the mouse button. \n6. Click **Footer** in the menu drop-down to update the bottom (footer)\n navigation bar.\n\n7. Repeat steps 2 through 5 to add **Get Started** as a menu item in the\n bottom (footer) navigation bar.\n\n8. Publish your changes to the live portal.\n\n ### Cloud Console UI\n\n Click **Publish menu**.\n\n ### Classic UI\n\n\n Click **Publish**.\n9. Open the live portal in a new browser tab\n (or refresh the tab in which it is already open).\n\n ### Cloud Console UI\n\n Click **View Live Portal**.\n\n ### Classic UI\n\n Click **Live Portal**.\n10. Click **Get Started** in the top navigation bar to display the\n Get Started page.\n\nNext, you'll publish an API to the portal.\n\n\n[1](/apigee/docs/api-platform/publish/portal/get-started/create-portal)\n\n\n[2](/apigee/docs/api-platform/publish/portal/get-started/customize-color-palette)\n\n\n[3](/apigee/docs/api-platform/publish/portal/get-started/customize-logo)\n\n\n[4](/apigee/docs/api-platform/publish/portal/get-started/edit-page)\n\n\n[5](/apigee/docs/api-platform/publish/portal/get-started/set-up-navigation)\n\n\n[(NEXT) Step 6: Publish an API](/apigee/docs/api-platform/publish/portal/get-started/publish-api)\n\n\u003cbr /\u003e"]]

 ) que aparece a la izquierda del nombre del elemento de menú.


