Esta página se aplica a Apigee y Apigee Hybrid.
Consulta la documentación de
Apigee Edge.

En este paso, crearás un proxy de API sencillo que llama a un servicio de destino simulado.
Apigee en la consola de Cloud
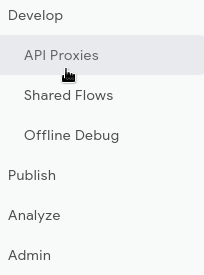
En la Google Cloud consola, ve a la página Desarrollo de proxy > Proxies de API.
- Asegúrate de que el nombre de tu organización esté seleccionado en el selector de proyectos del panel Google Cloud. El nombre de la organización es el mismo que el nombre de tu Google Cloud proyecto.
- Haz clic en + Crear.
- En el panel Crear un proxy, en Plantilla de proxy, selecciona Proxy inverso (el más habitual). Un proxy inverso simplemente dirige el tráfico entrante a un servicio de backend.
- En Detalles del proxy, introduce lo siguiente:
- Nombre del proxy: introduce
myproxy. En los pasos restantes de esta sección se presupone que este es el nombre de tu proxy. - Ruta base: se asigna automáticamente el valor que introduzcas en
Proxy name. La ruta base forma parte de la URL que se usa para enviar solicitudes a tu API. Apigee usa la URL para hacer coincidir y enrutar las solicitudes entrantes al proxy de API adecuado. - Descripción (opcional): introduce una descripción para el nuevo proxy de API, como "Prueba de Apigee con un proxy sencillo".
- Target (Existing API): (API de destino): introduce
https://mocktarget.apigee.net. Define la URL de destino que invoca Apigee en una solicitud al proxy de API. El servicio mocktarget está alojado en Apigee y devuelve datos sencillos. No requiere ninguna clave de API ni token de acceso. - Espacio (opcional): si tu organización tiene habilitado Apigee Spaces, puedes asociar el proxy de API con un espacio seleccionado de la lista de opciones disponibles. Para obtener más información, consulta el artículo Introducción a los espacios de Apigee.
- Haz clic en Siguiente.
- Nombre del proxy: introduce
- En Implementar (opcional), deja el campo Entornos de implementación sin modificar. En este ejemplo, solo crearás el proxy sin implementarlo en esta fase. También puedes ignorar el campo Cuenta de servicio. Déjalo en blanco.
- Haz clic en Crear.
Apigee crea el nuevo proxy y muestra un resumen de los detalles del proxy en el panel Resumen del proxy.
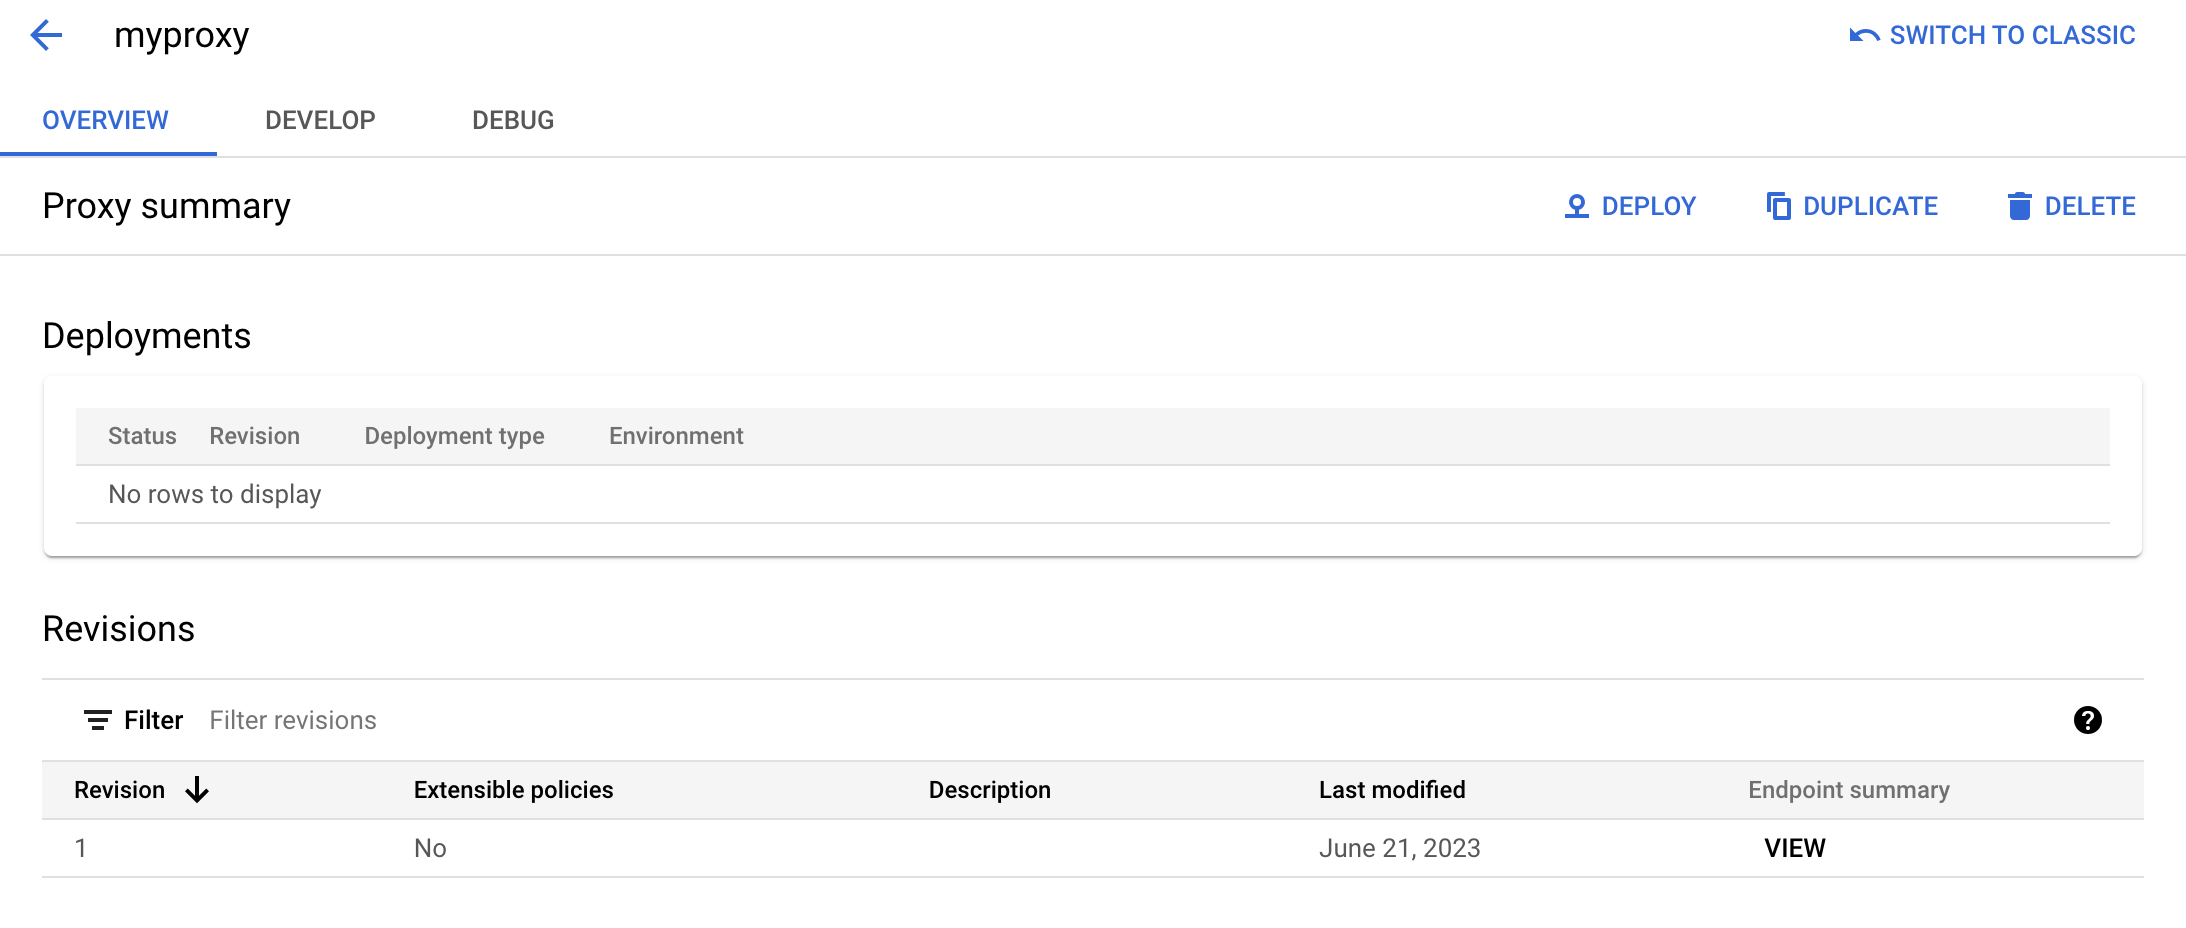
La sección Implementaciones está vacía porque el proxy aún no se ha implementado.
- En la sección Revisiones, en Resumen de endpoint, haga clic en Ver.
En el panel de vista de puntos finales se muestra lo siguiente:
- Puntos finales del proxy: la ruta base que has definido para el proxy, que en este ejemplo es
/myproxy. - Endpoints de destino: la ruta base que has definido para el destino, que en este ejemplo es
https://mocktarget.apigee.net.
- Puntos finales del proxy: la ruta base que has definido para el proxy, que en este ejemplo es
- Haz clic en Cerrar para volver a la página de resumen del proxy.
Apigee Classic
Para crear un proxy de API sencillo en la interfaz de usuario clásica de Apigee, sigue estos pasos:
- Abre la interfaz de usuario de Apigee en un navegador.
- En la vista principal de la interfaz de usuario, haz clic en Desarrollar > Proxies de API.
En la lista desplegable Seleccionar entorno, elige el entorno en el que quieras crear un proxy de API.
La interfaz de usuario de Apigee muestra una lista de proxies de API de ese entorno. Si aún no has creado ningún proxy, la lista estará vacía.
- Haz clic en Crear.

Se inicia el asistente Crear proxy:

- Selecciona Proxy inverso (la opción más habitual).
Se muestra la vista Detalles del proxy.
- Configura tu proxy con los siguientes ajustes:
- Nombre de proxy: introduce
myproxy. En los pasos restantes de esta sección se da por supuesto que este es el ID de tu proxy. - Ruta base del proxy: se define automáticamente como
/myproxy. La ruta base del proxy forma parte de la URL que se usa para enviar solicitudes a tu API. Apigee usa la URL para hacer coincidir y enrutar las solicitudes entrantes al proxy de API adecuado. - Descripción (opcional): escribe una descripción para tu nuevo proxy de API, como Prueba de Apigee con un proxy sencillo.
- Target (Existing API): (API de destino): introduce
https://mocktarget.apigee.net. Define la URL de destino que invoca Apigee en una solicitud al proxy de API. El servicio mocktarget está alojado en Apigee y devuelve datos sencillos. No requiere ninguna clave de API ni token de acceso.
Los detalles de tu proxy de API deberían ser similares a los siguientes:
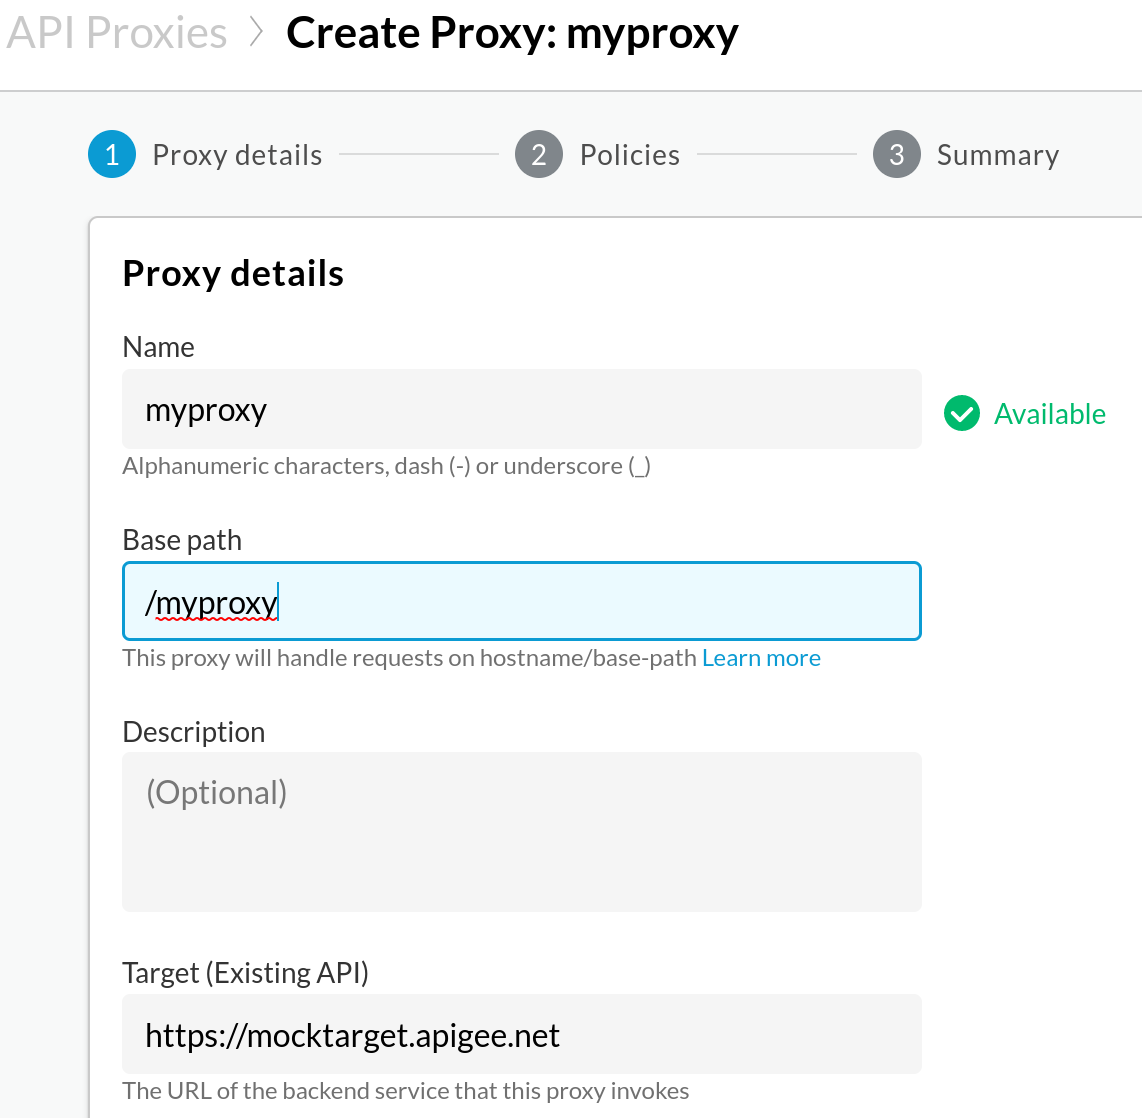
- Nombre de proxy: introduce
- Haz clic en Siguiente.
- En la pantalla Políticas comunes, selecciona Transferencia (sin autorización) como opción de seguridad.
- Haz clic en Siguiente.
- En la pantalla Resumen, haz clic en Crear. (Deja la opción Despliegue opcional sin seleccionar).
Apigee genera el proxy (a veces denominado paquete de proxy):

- Haz clic en Ir a la lista de proxies.
Apigee muestra la vista Proxies, que contiene una lista de proxies de APIs. El nuevo proxy tiene un indicador de estado gris, lo que significa que aún no se ha implementado.
A continuación, desplegarás el proxy de API. Un proxy debe desplegarse antes de que un cliente pueda usarlo.
1 (SIGUIENTE) Paso 2: Implementa el proxy de API 3 4 5