Esta página aplica-se ao Apigee e ao Apigee Hybrid.
Veja a documentação do
Apigee Edge.

Use a API ou a IU do Apigee para editar um proxy de API. A edição de um proxy de API pode incluir a configuração de políticas, a configuração de pontos finais do proxy, pontos finais de destino e pontos finais de integração, a adição ou a remoção de flow hooks e a implementação do proxy.
Quando edita um proxy de API, pode decidir o que fazer com as alterações resultantes:
- Guarde as alterações no servidor, mas não crie uma nova revisão. Isto é feito quando não quer implementar as alterações guardadas, mas apenas garantir que não são perdidas se terminar a sessão.
OU
- Crie uma nova revisão do proxy da API e implemente-a no cluster. Não pode implementar alterações a um proxy de API sem criar uma nova revisão do mesmo.
Apigee na Cloud Console
Para editar um proxy de API e guardar as alterações através da Apigee Cloud Console:
Na Google Cloud consola, aceda à página Desenvolvimento de proxy > Proxies de API.
Selecione o proxy que quer editar na lista de proxies. A IU apresenta o separador Vista geral para esse proxy na Google Cloud consola.
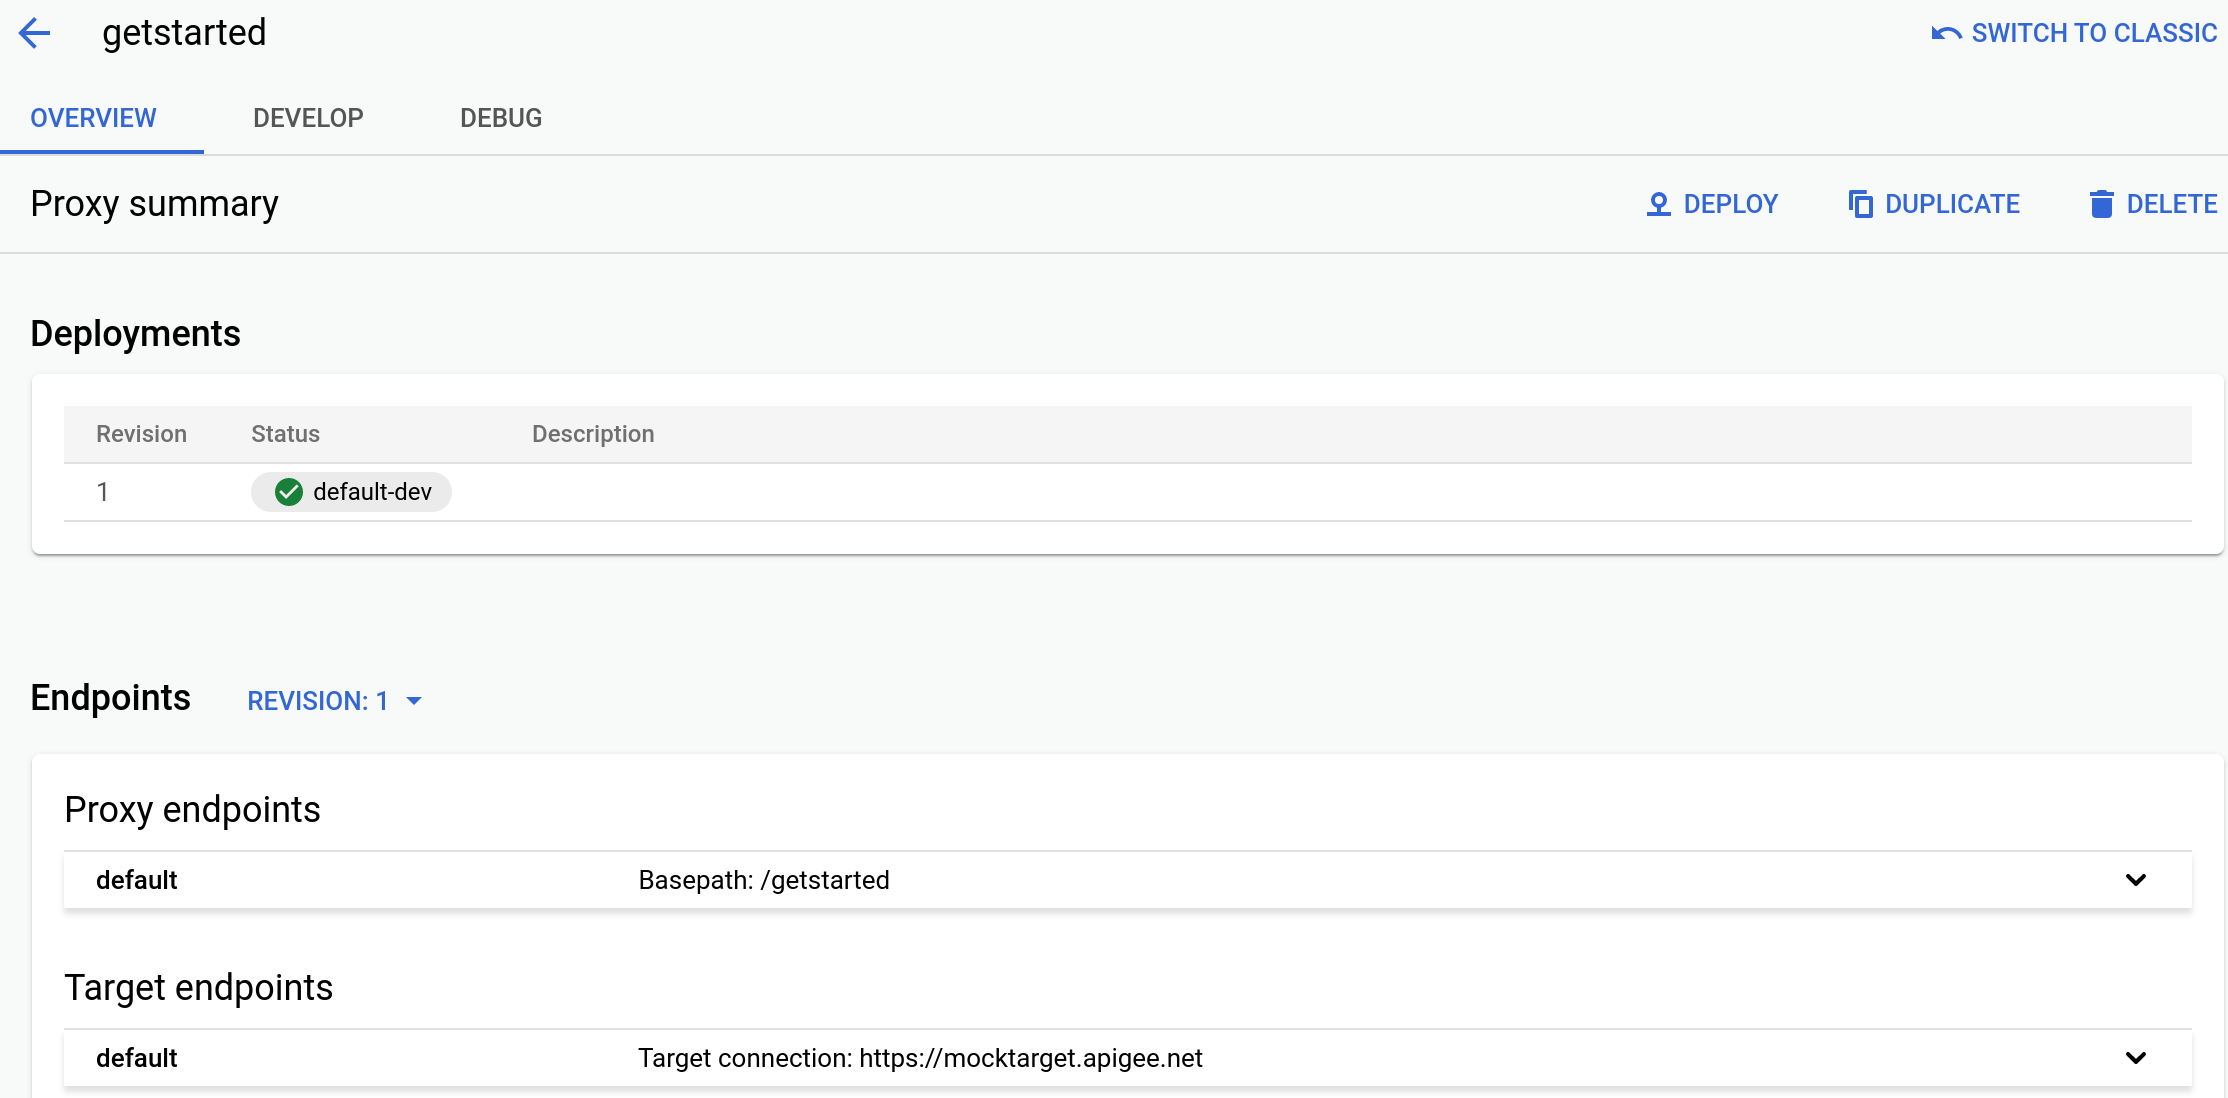
- Clique no separador Desenvolver para fazer as alterações ao proxy.
Por exemplo, para adicionar uma política, clique no ícone + junto a Políticas, selecione a política a adicionar, introduza um nome e um nome a apresentar opcional, clique em Criar e configure a política na interface.
- Quando terminar de fazer alterações, pode
efetuar uma das seguintes ações:
- Para guardar as alterações, mas não criar uma nova revisão, clique no botão Guardar. (Deve fazê-lo periodicamente para garantir que as alterações não são perdidas se terminar a sessão).
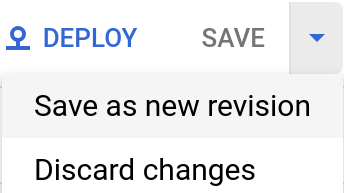
- Para guardar as alterações como uma nova revisão (quando estiver a preparar-se para implementar e testar),
clique no menu pendente junto ao botão
Guardar e selecione Guardar como nova revisão:
A IU do Apigee guarda as alterações e gera uma nova revisão do proxy. Não implementa o novo pacote no tempo de execução. Tem de o fazer explicitamente, conforme descrito em Implementar um proxy de API.
Apigee clássico
Para editar um proxy de API e guardar as alterações com o editor de proxy clássico:
- Inicie sessão na IU do Apigee.
- Clique em Proxies de API na vista principal.
Em alternativa, pode selecionar Develop > API Proxies no menu de navegação do lado esquerdo.
Selecione o ambiente que contém o proxy que quer editar.
A IU do Apigee apresenta uma lista de proxies de API para o ambiente selecionado:

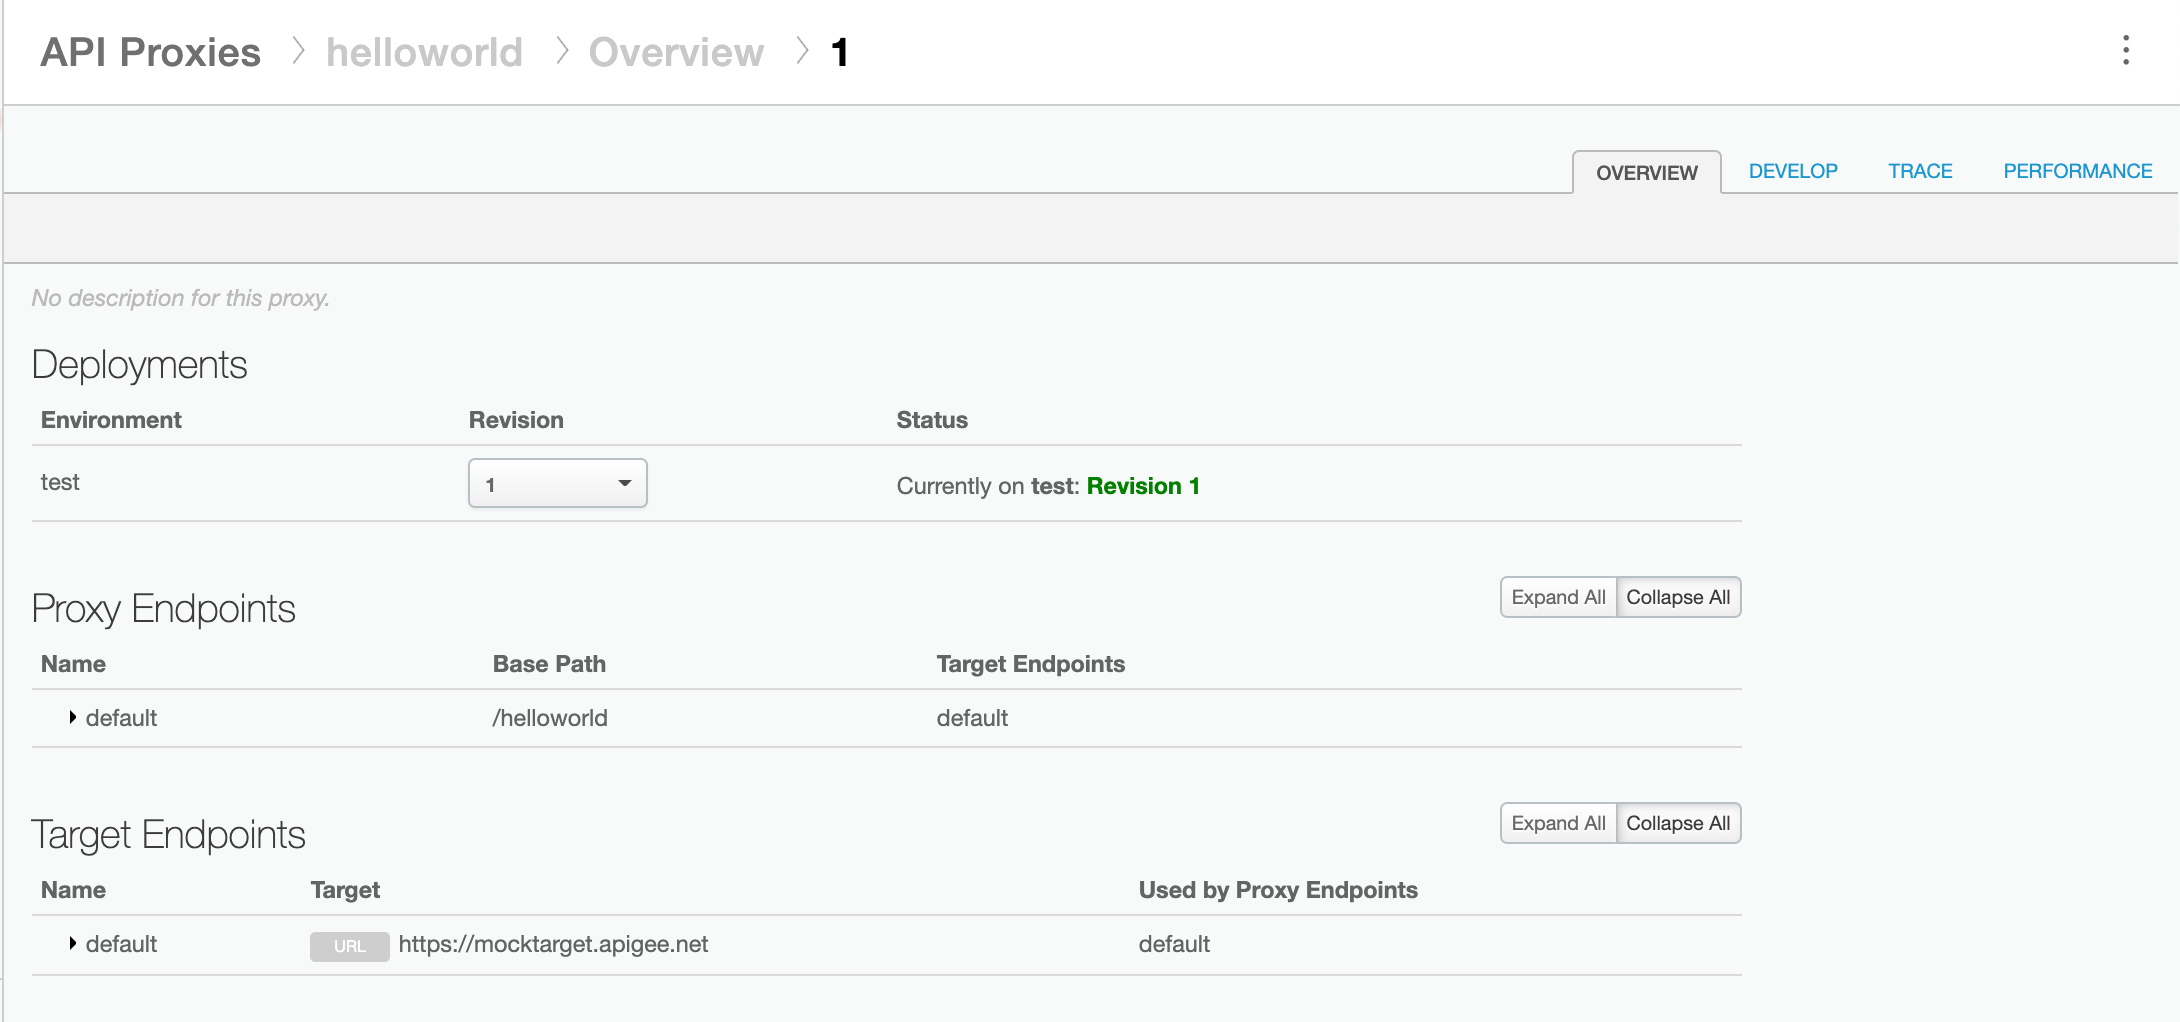
- Clique no proxy que quer editar. A IU apresenta o separador Vista geral para esse proxy no editor de proxies:
- Clique no separador Desenvolver na parte superior direita da vista.
- Use o editor de proxy para fazer as alterações ao proxy. Quando terminar de fazer alterações, pode
efetuar uma das seguintes ações:
- Guardar as alterações, mas não criar uma nova revisão (mais comum; deve fazê-lo periodicamente para garantir que as alterações não são perdidas se terminar a sessão).
- Guardar as alterações como uma nova revisão (quando se prepara para implementar e testar).
- Para guardar, mas não criar uma nova revisão, clique em Guardar
na parte superior direita da IU:

A IU do Apigee guarda as suas alterações para que possa sair da página e retomar o trabalho mais tarde.
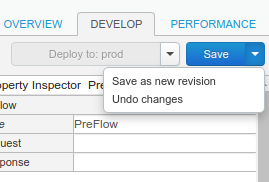
- Para guardar as alterações como uma nova revisão, clique na seta de menu pendente junto a
Guardar e selecione Guardar como nova revisão:
A IU do Apigee guarda as alterações e gera um novo pacote de proxy para si. Não implementa o novo pacote no tempo de execução. Tem de o fazer explicitamente, conforme descrito em Implementar um proxy de API.
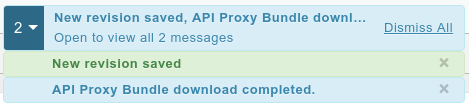
A IU apresenta a mensagem Nova revisão guardada:
Depois de criar uma nova revisão, normalmente, implementa-a no cluster, conforme descrito no artigo Implementar um proxy de API.
API Apigee
Edite um proxy de API para criar uma revisão na sua organização do Apigee emitindo um pedido POST
para o seguinte recurso:
https://apigee.googleapis.com/v1/organizations/$ORG/apis
Tem de definir o nome do proxy de API através do parâmetro de consulta name. Restrinja
os carateres usados no nome aos seguintes: A-Za-z0-9._\-$ %
Opcionalmente, pode importar um pacote de configuração de proxy de API através dos seguintes passos:
- Defina o parâmetro de consulta
actioncomoimport - Definir o cabeçalho
Content-typecomomultipart/form-data - Transmita o nome do pacote de configuração do proxy de API no seu sistema de ficheiros local
O exemplo seguinte demonstra como editar um proxy de API importando um pacote de configuração (helloworld-config.zip) de um proxy de API no seu sistema de ficheiros local através da API.
export TOKEN=$(gcloud auth print-access-token)
export ORG=ORGANIZATION_NAME
curl "https://apigee.googleapis.com/v1/organizations/$ORG/apis?name=helloworld&action=import" \
  -X POST \
  -H "Authorization: Bearer $TOKEN" \
  -H "Content-type: multipart/form-data" \
  -F "file=@helloworld-config.zip"
Onde $TOKEN está definido como a sua chave de acesso OAuth 2.0, conforme descrito em
Obter uma chave de acesso OAuth 2.0. Para informações sobre as opções de curl usadas neste exemplo, consulte a secção
Usar o curl. Para uma descrição das variáveis de ambiente que pode usar, consulte o artigo
Definir
variáveis de ambiente para pedidos de API Apigee.
Segue-se um exemplo da saída da resposta:
{
  "basepaths": [
    "/helloworld"
  ],
  "configurationVersion": {
    "majorVersion": 4
  },
  "createdAt": "1559145292799",
  "displayName": "helloworld",
  "entityMetaDataAsProperties": {
    "bundle_type": "zip",
    "subType": "Proxy",
    "lastModifiedAt": "1559145292799",
    "createdAt": "1559145292799"
  },
  "lastModifiedAt": "1559145292799",
  "name": "helloworld",
  "policies": [
    "verify-api-key",
    "remove-query-param-apikey",
    "OAuth-v20-1"
  ],
  "proxies": [
    "default"
  ],
  "proxyEndpoints": [
    "default"
  ],
  "resourceFiles": {},
  "targetEndpoints": [
    "default"
  ],
  "targets": [
    "default"
  ],
  "type": "Application",
  "revision": "1",
  "description": "Hello world"
}
Para mais informações sobre a edição de um proxy de API, consulte o método apis.create na API Apigee. Para ver todos os métodos disponíveis para proxies de API, consulte a API de proxies de API.